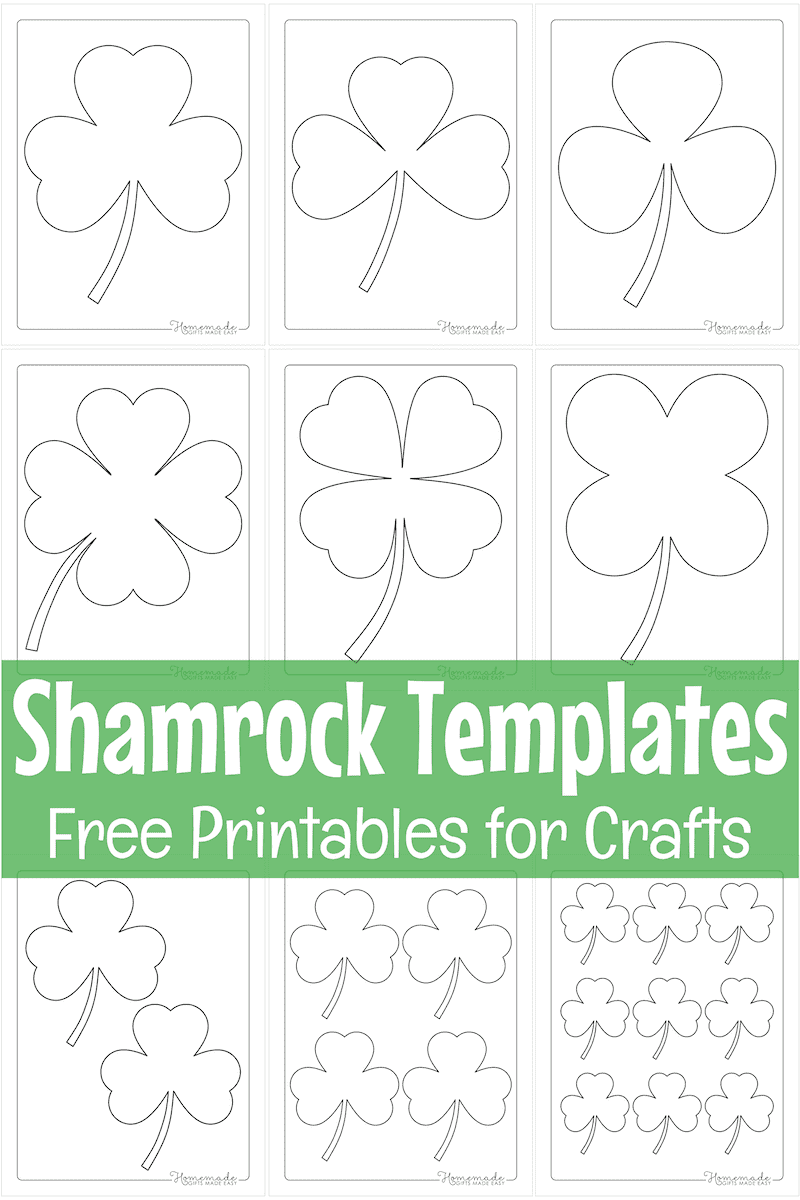
5 Easy Shamrock Template Ideas to Unleash Creativity
St. Patrick's Day is the perfect excuse to break out the cardstock, paints, and glitter. Whether you are prepping for a classroom activity, decorating your mantel, or looking for a fun weekend craft with the kids, a simple outline can go a long way. If you want to elevate your seasonal DIY projects, it is time to unleash your creativity with these 5 easy shamrock template ideas.

By using a basic, printable shamrock template as your foundation, you can adapt a single shape into dozens of unique art pieces. You do not need to be an expert crafter or have expensive supplies to make something eye-catching. Let's dive into five practical, fun ways to transform a simple green outline into standout seasonal decor.
1. The 3D Pop-Up Shamrock Card
Standard greeting cards are nice, but a three-dimensional handmade card leaves a lasting impression. This project uses a basic template to create depth, making the shamrock look like it is leaping off the paper.
Materials Needed
- Light green and dark green cardstock paper
- Scissors and a craft knife
- Glue stick or double-sided tape
- A bone folder (optional, for crisp creases)
Step-by-Step Instructions
- Print and cut out three identical shamrock shapes using your template on dark green cardstock.
- Fold each shamrock precisely down the vertical center so the front sides face inward.
- Apply glue to the outside left panel of the first folded shamrock and press it against the outside right panel of the second shamrock.
- Attach the third shamrock in the same manner until you have a stack that fans out.
- Glue the outer backs of the stack directly into the center fold of a folded piece of light green cardstock to create a pop-up effect when opened.
2. Watercolor Resist Stained Glass Window
Transform your windows into a vibrant display of color that catches the spring sunlight. Watercolor resist is an easy, satisfying technique that looks far more complex than it actually is.
Materials Needed
- Watercolor paper or heavy white drawing paper
- A white oil pastel or white crayon
- Liquid watercolors or pan watercolors in various shades of green and yellow
- Your shamrock template
Step-by-Step Instructions
- Trace your shamrock template onto the watercolor paper using a pencil, then cut it out.
- Use the white oil pastel to draw patterns—such as stripes, polka dots, or zig-zags—across the paper shamrock. Press down firmly.
- Brush water lightly over the entire surface of the paper, then drop your green and yellow watercolors onto the wet paper.
- Watch as the paint pools around the white crayon marks, creating a striking resist effect.
- Allow the paper to dry completely, then tape it to a sunny window using clear tape.
3. Textured Yarn-Wrapped Shamrock Garland
If you love rustic, tactile home decor, this yarn-wrapped project adds cozy texture to any mantel, doorway, or classroom bulletin board.
Materials Needed

- Sturdy corrugated cardboard (from old shipping boxes)
- Green yarn in varying shades and textures
- Scissors
- Hot glue gun
- Twine or string
Step-by-Step Instructions
- Trace your shamrock template onto the cardboard and cut out several shapes. (Thicker cardboard yields a sturdier final product).
- Secure the end of your green yarn to the back of the cardboard shamrock using a dab of hot glue.
- Begin wrapping the yarn tightly around the cardboard cut-out, overlapping and changing yarn spools as desired to create a multi-toned, textured look.
- Tuck the final end of the yarn under a previous wrap and secure it with a drop of glue.
- Attach your finished yarn shamrocks to a long piece of twine using small clothespins or hot glue to create a gorgeous hanging garland.
4. Stamped Cork Shamrock Wall Art
Upcycling everyday household items is a fantastic way to craft on a budget. Wine corks make incredible stamps that create a wonderful honeycomb texture when arranged carefully.
Materials Needed
- An 8x10 canvas or heavy piece of stretched burlap
- A collection of used wine corks (about 15 to 20)
- Acrylic paints in emerald green, lime green, and white
- A paper plate for mixing paint
- Your shamrock template as a visual guide
- Lightly sketch the outline of your shamrock onto the canvas using a pencil, referencing your paper template.
- Pour your green and white acrylic paints onto the paper plate, swirling them slightly to create depth.
- Dip the flat end of a wine cork into the paint mixture, ensuring an even coating.
- Stamp the cork inside your penciled shamrock outline, working from the edges inward.
- Vary the paint shades on your corks to give the finished art a dynamic, mottled appearance. Let dry overnight before hanging.
- Clear self-adhesive contact paper
- Tissue paper squares in shades of green, yellow, and white
- Black construction paper
- Scissors
- Cut a shamrock silhouette out of black construction paper, ensuring you also cut out the centers of the leaves to leave a hollow frame.
- Peel the backing off a sheet of clear contact paper and place your black frame sticky-side up.
- Let crafters of all ages press colorful tissue paper squares onto the sticky surface inside the black frame until it is completely filled.
- Seal the design by placing a second sheet of contact paper over the top, pressing down firmly to remove air bubbles.
- Trim around the outer edges of the black frame, punch a hole in the top stem, and hang it proudly in a window.
Step-by-Step Instructions
5. Festive Shamrock Suncatchers
Brighten up gloomy late-winter days with translucent suncatchers made from tissue paper. This is a classic craft that kids love, and it results in a gorgeous stained-glass look.
Materials Needed
Step-by-Step Instructions
Tips for Choosing the Right Template
Before you begin any of these projects, make sure your starting template suits your needs. A simple, bold outline with clean edges works best for yarn wrapping and cork stamping, while a larger, single-page outline is ideal for tracing onto cardstock or canvas. You can easily adjust the print size on your home printer to make mini shamrocks for cards or oversized versions for wall art.
By taking a basic outline and applying different textures, paints, and folding techniques, you can make this St. Patrick's Day uniquely creative. Gather your supplies, pick your favorite idea from this list, and enjoy bringing a little handmade magic into your home.