A Step-by-Step Guide to Creating Army Memoranda with Ease
Writing military correspondence can feel intimidating, especially when you are staring at a blank page and trying to remember every rigid formatting rule enforced by the United States Army. Whether you are drafting a policy letter, requesting administrative action, or responding to higher headquarters, getting the format right is essential for your career and professional credibility. Fortunately, following a step-by-step guide to creating Army memoranda with ease can take the guesswork out of the process.
In the Army, the standard governing document for all correspondence is AR 25-50 (Preparing and Managing Correspondence). While the regulation is thick and full of granular rules, most company- and battalion-level writers only need to master a handful of core templates. This guide breaks down the process into manageable, logical phases so you can write clear, concise, and regulation-compliant memos every single time.
Understanding the Basics of Army Correspondence
Before you open Microsoft Word, it helps to understand why the Army places so much emphasis on memoranda formatting. Unlike civilian corporate emails, military memos are designed to be read quickly by busy commanders who need the bottom line up front (BLUF). Standardized margins, specific font requirements, and rigid heading structures ensure that any reader in the Department of Defense can instantly identify the sender, recipient, and purpose of the document.
Types of Memoranda You Need to Know
While AR 25-50 outlines several types of correspondence, you will generally encounter three primary formats:
- Standard Memorandum: Used for correspondence within your command, between separate activities, and to individuals or agencies outside the Department of Defense.
- Memorandum for Record (MFR): Often used as an in-house document to record a phone conversation, meeting notes, or administrative actions where no external recipient is required.
- For Record Memorandum: A specialized version of the MFR used when the primary recipient is the file itself, usually to document an event or policy for future reference.
Step-by-Step Guide to Creating Army Memoranda
To draft a flawless document efficiently, follow this sequential workflow. By breaking the writing process into distinct steps, you minimize formatting errors and revisions.
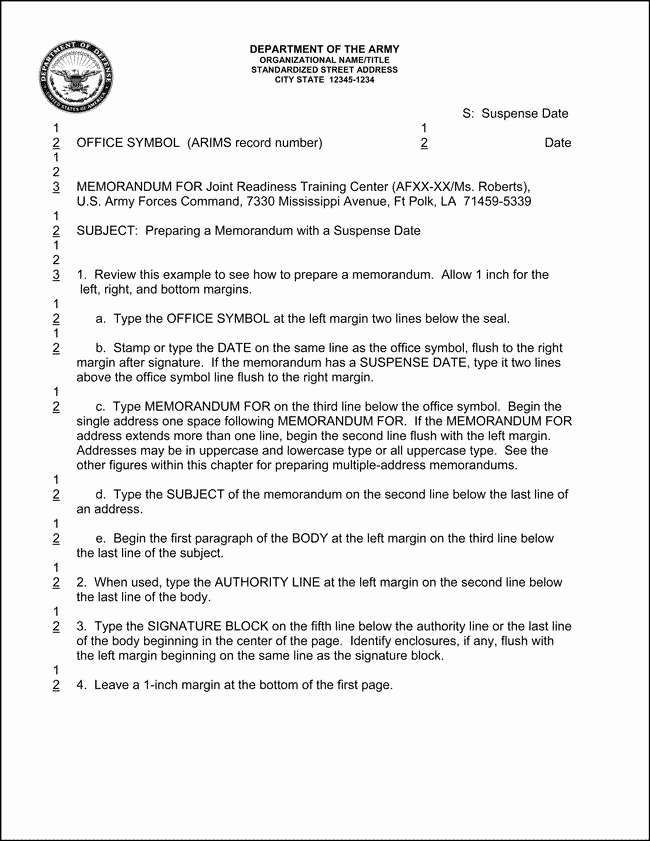
Step 1: Set Up Your Page Margins and Typography
Formatting errors are the number one reason military memos get kicked back by an executive officer or unit human resources (S1) shop. Start your document by establishing the correct layout parameters:
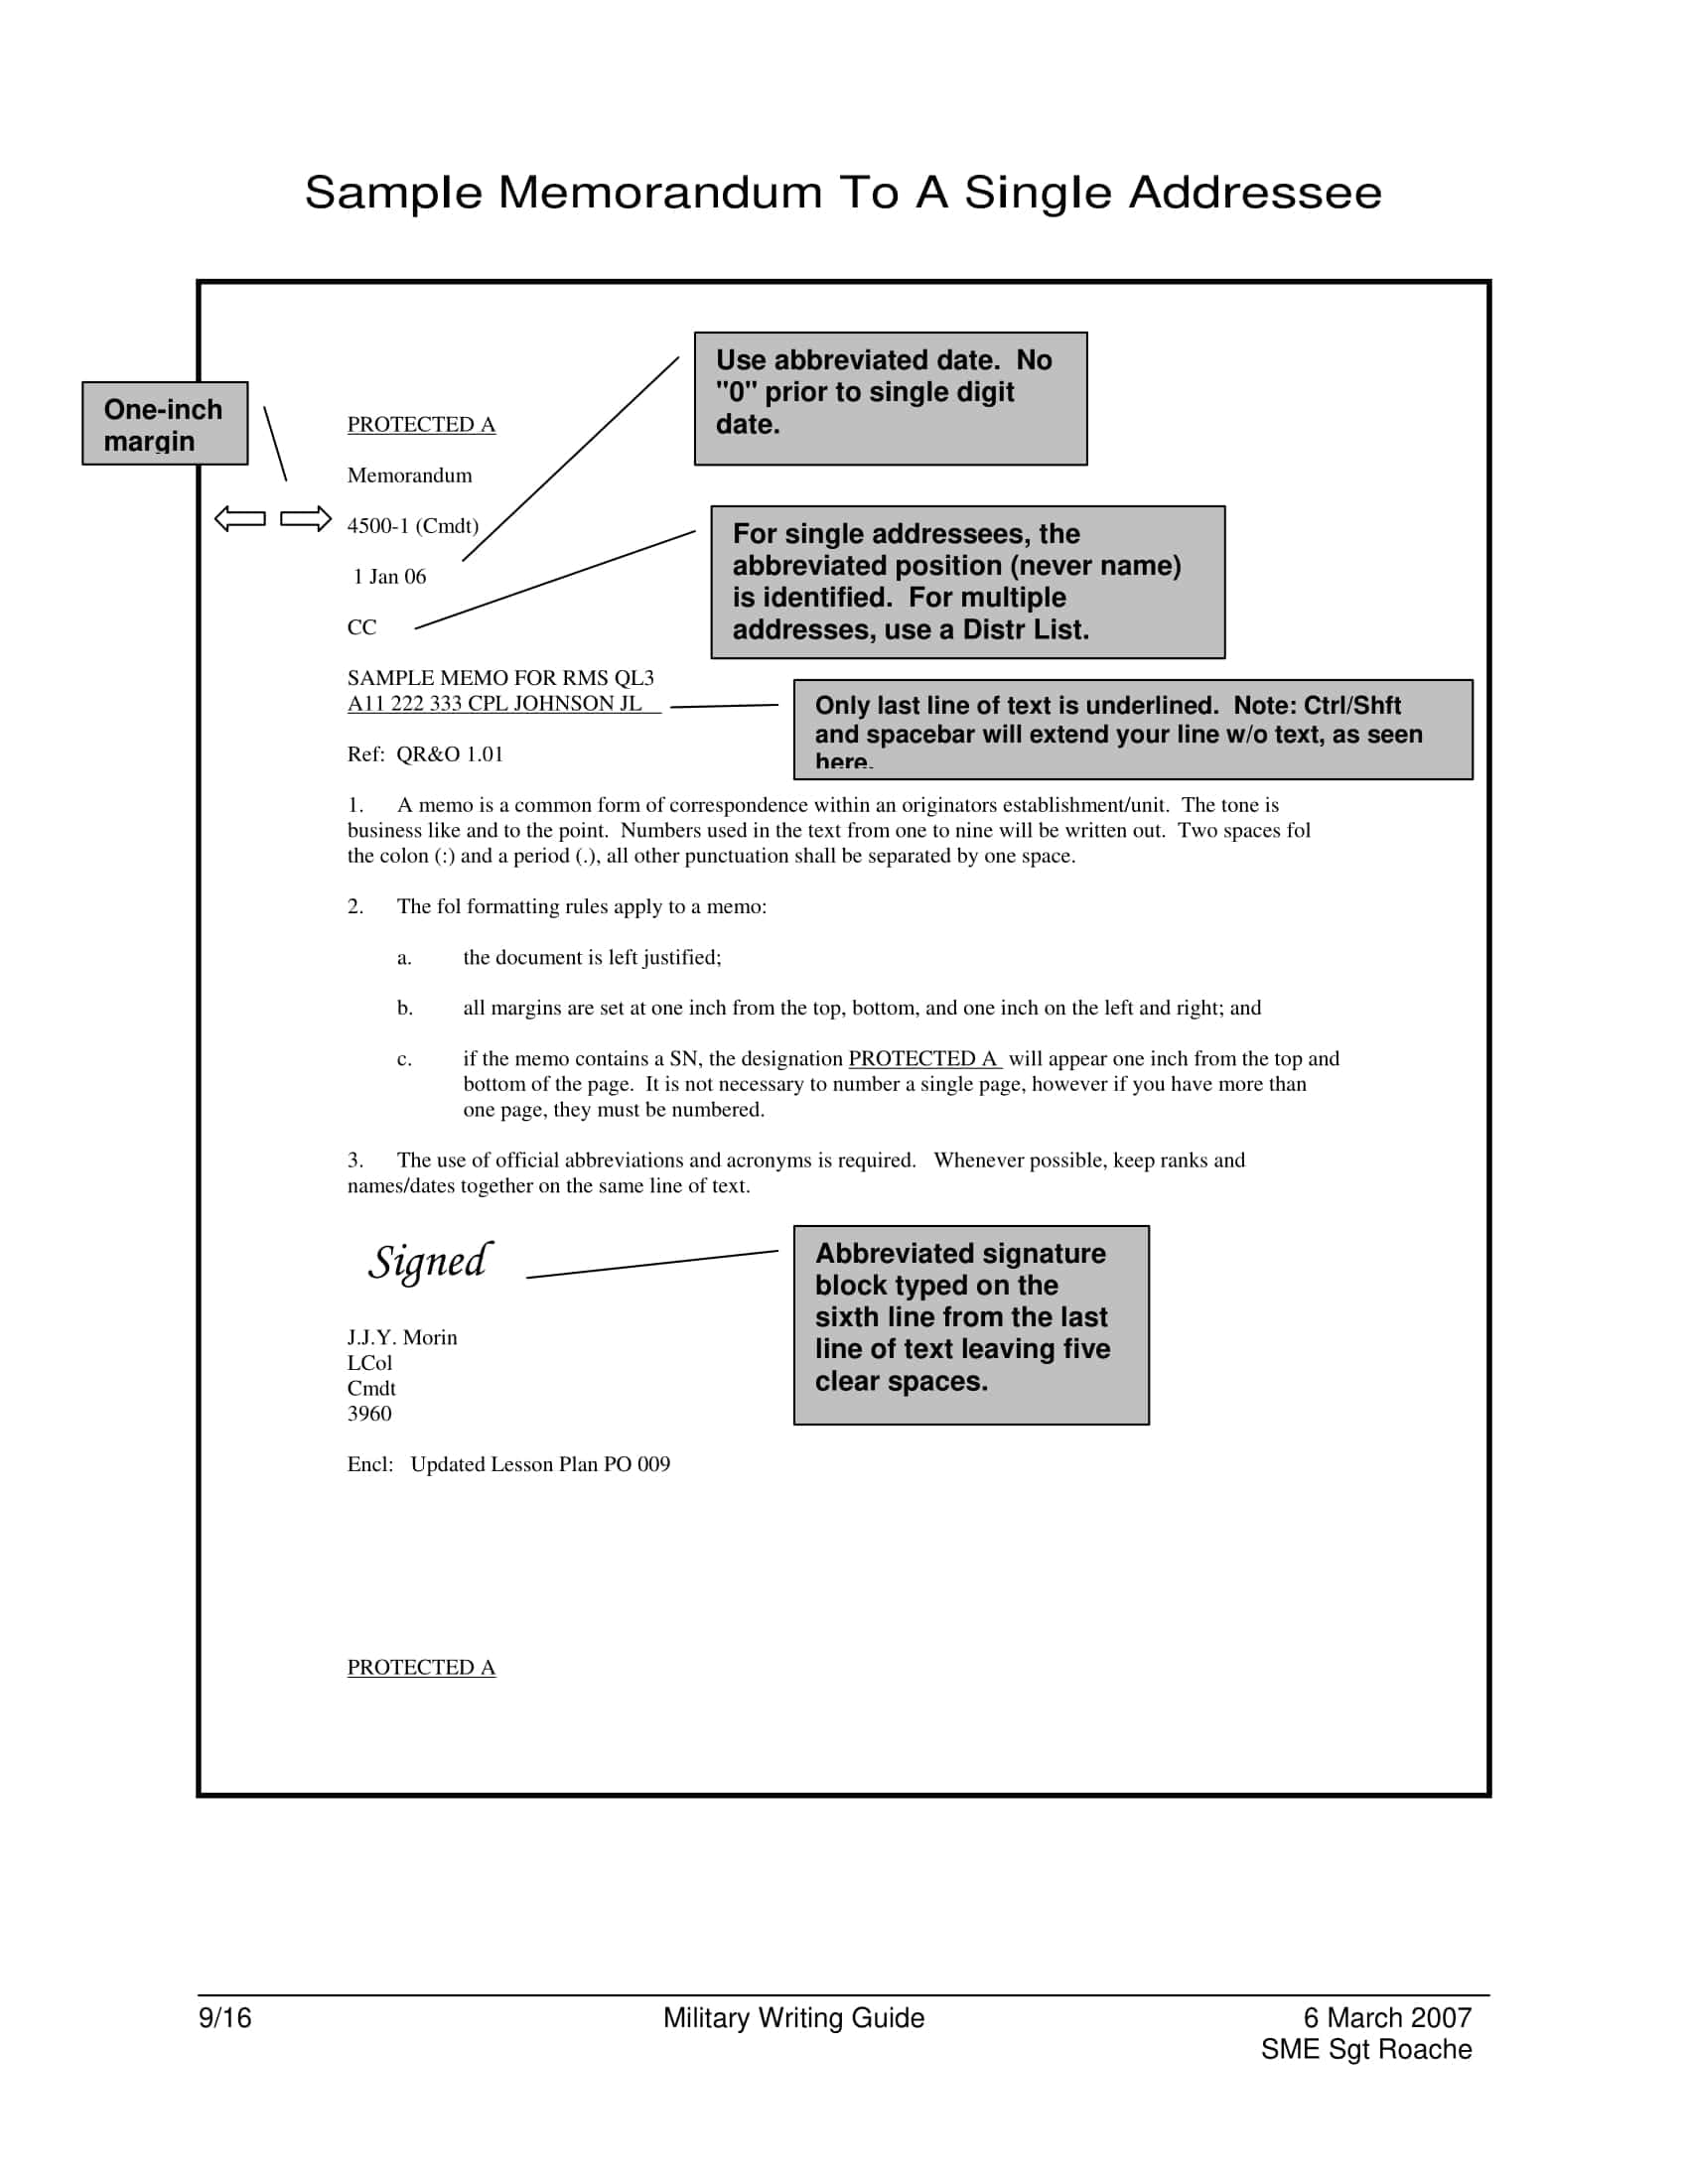
- Margins: Set 1-inch margins on the top, bottom, left, and right of the document.
- Font: Use a standard, professional font. Traditionally, Arial or Times New Roman in 12-point size is preferred, ensuring uniformity across the force.
- Spacing: Single-space the body paragraphs, but double-space between paragraphs. Turn off extra space after paragraphs in your word processor settings to maintain strict military alignment.
Step 2: Draft the Heading Block
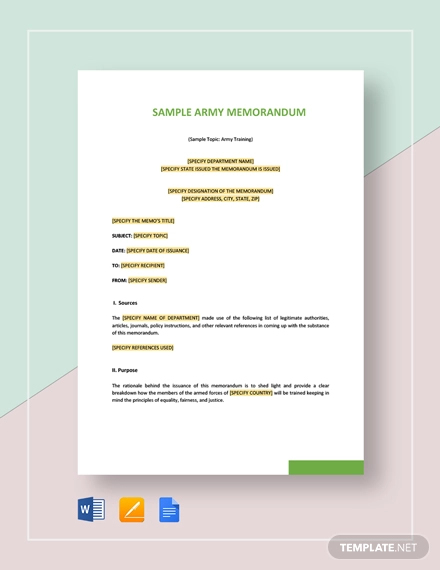
The heading block sits at the top of the first page and clearly establishes the routing of the correspondence. Pay close attention to capitalization and punctuation.
- Office Symbol: On the second line from the top (flush left), type the office symbol of the preparing agency (e.g., AFZX-GA).
- Date: On the right margin, directly across from the office symbol, type the date in military format (DD Month YYYY, such as 14 October 2026).
- MEMORANDUM FOR: Skip two single-spaced lines below the office symbol. Type "MEMORANDUM FOR" in all-caps, followed by a colon, and list the designated recipient.
- SUBJECT: Skip one double-spaced line below the recipient. Type "SUBJECT:" in all-caps, followed by a concise, descriptive subject line that summarizes the memo's intent.
Step 3: Write the Body Using the BLUF Principle
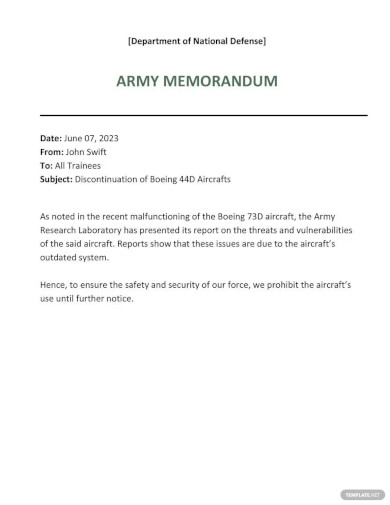
Military writing values brevity and clarity above all else. Avoid flowery language, passive voice, and unnecessary jargon. Every memo should open with your core message.
Use the BLUF (Bottom Line Up Front) approach as your first paragraph. The reader should know within five seconds why you are writing and what action you require. Follow the BLUF with supporting details, numbered paragraphs if the document is long or complex, and a clear concluding paragraph that outlines the next steps or suspense date.
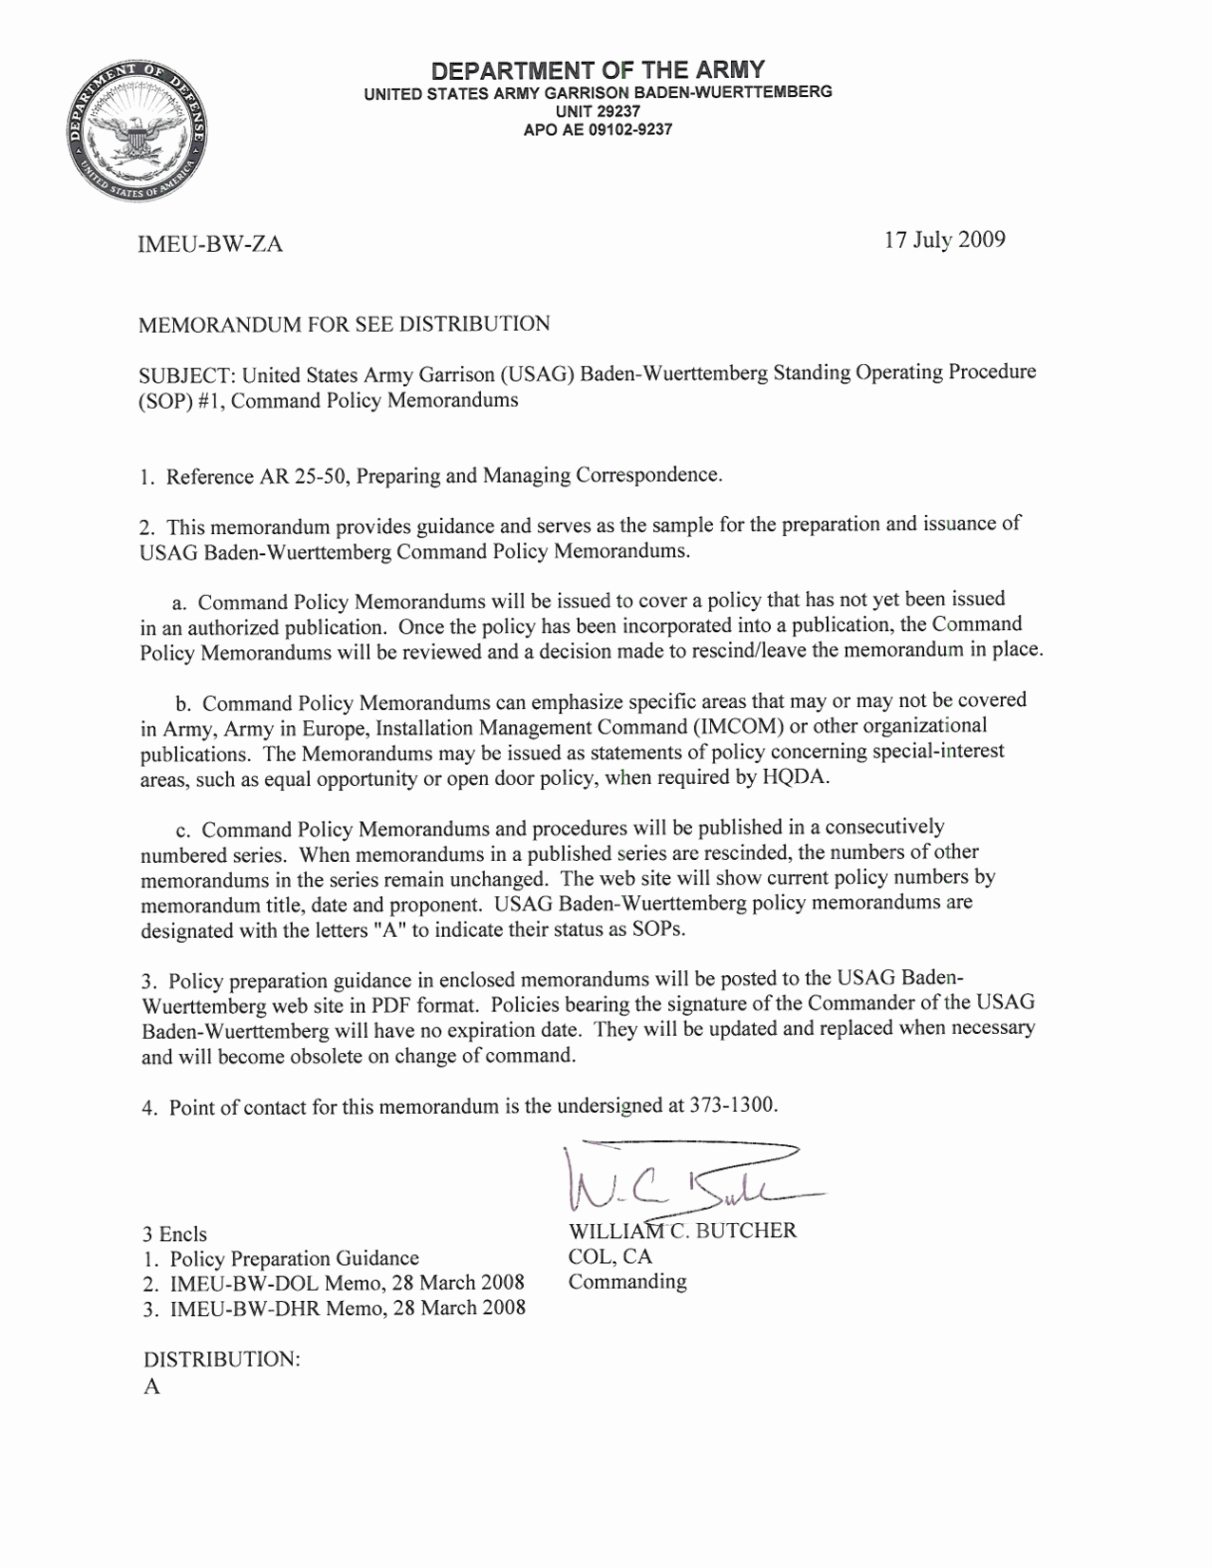
Step 4: Format the Signature Block
The signature block validates the authority of the document. Getting the spacing right here prevents awkward formatting spillover onto a second page.
- Skip four blank lines below the final paragraph of the body.
- Type the commander’s or authorized author’s name block centered, roughly in the middle of the page (or flush left, depending on local command SOP, though center alignment is standard under general AR 25-50 guidelines).
- Include the full name, rank, branch, and official title or duty position (e.g., JOHN A. DOE, CPT, EN, Commanding).
Pro Tips for Speeding Up Your Workflow
Creating Army memoranda with ease doesn't just mean knowing the rules; it means utilizing smart habits that save you time.
First, create a master template in Microsoft Word with the correct margins, font styles, and a pre-formatted heading block. Save it securely on your shared drive so you never have to rebuild a memo from scratch.
Second, always run a peer review before submitting your draft to the chain of command. A fresh set of eyes will catch missing punctuation in the office symbol, minor typos in the subject line, or formatting discrepancies that spell the difference between an immediate approval and a frustrating rewrite.
Finally, keep a digital copy of AR 25-50 bookmarked on your desktop or intranet portal. When an unusual administrative situation arises—such as adding enclosures, formatting multi-page policy letters, or citing references—having the official regulation at your fingertips ensures you remain accurate and confident in your writing.