A50 Wireless Headset Base Station: Setup & Guide
Understanding the A50 Wireless Headset Base Station
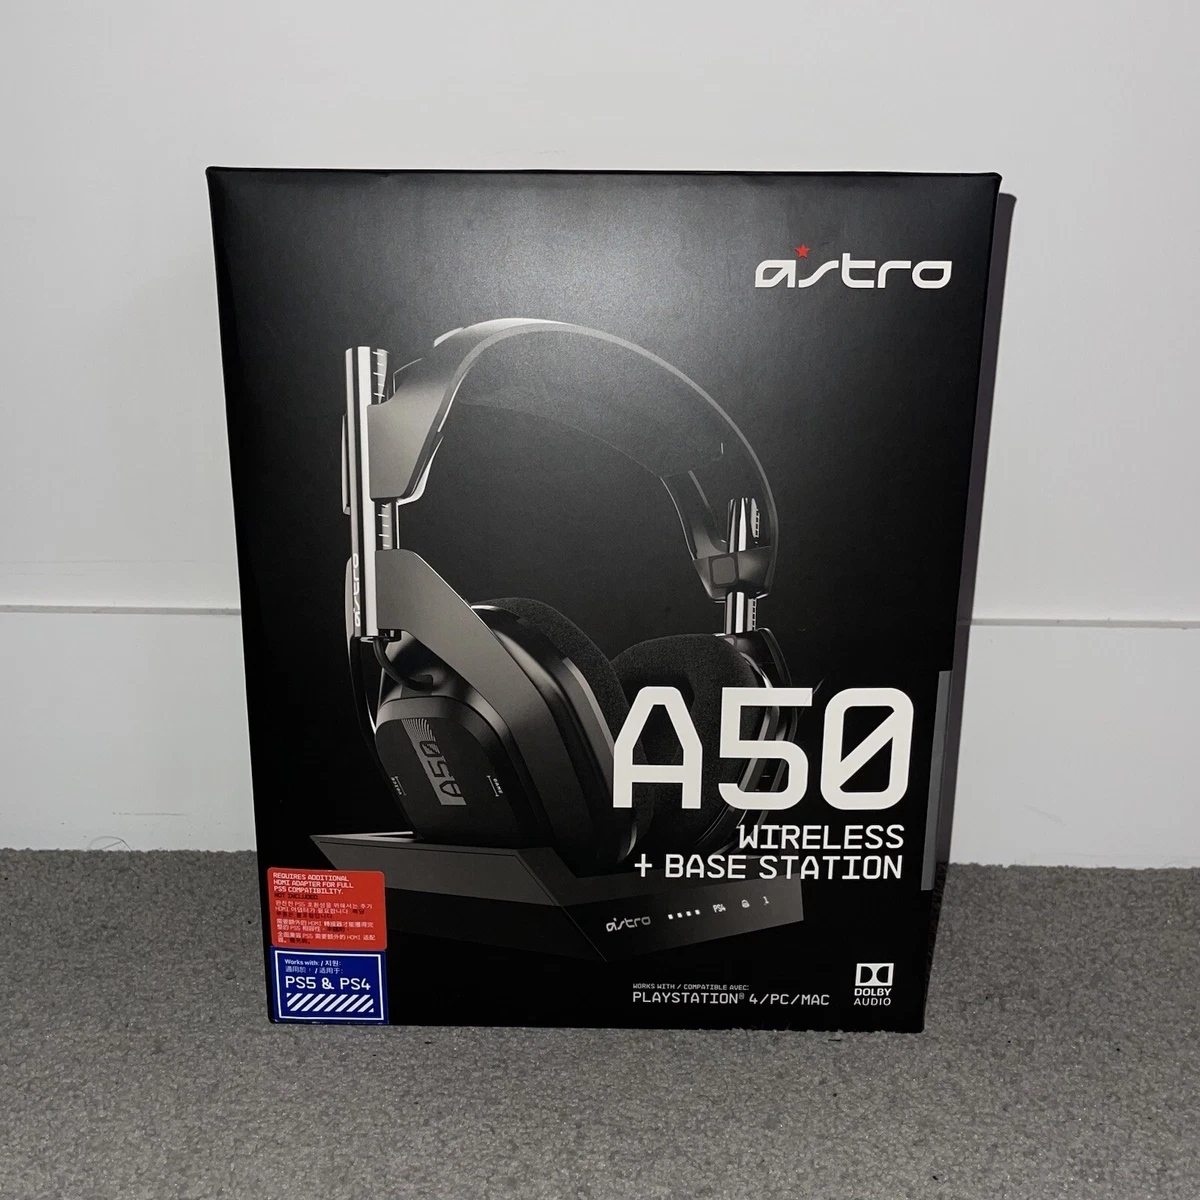
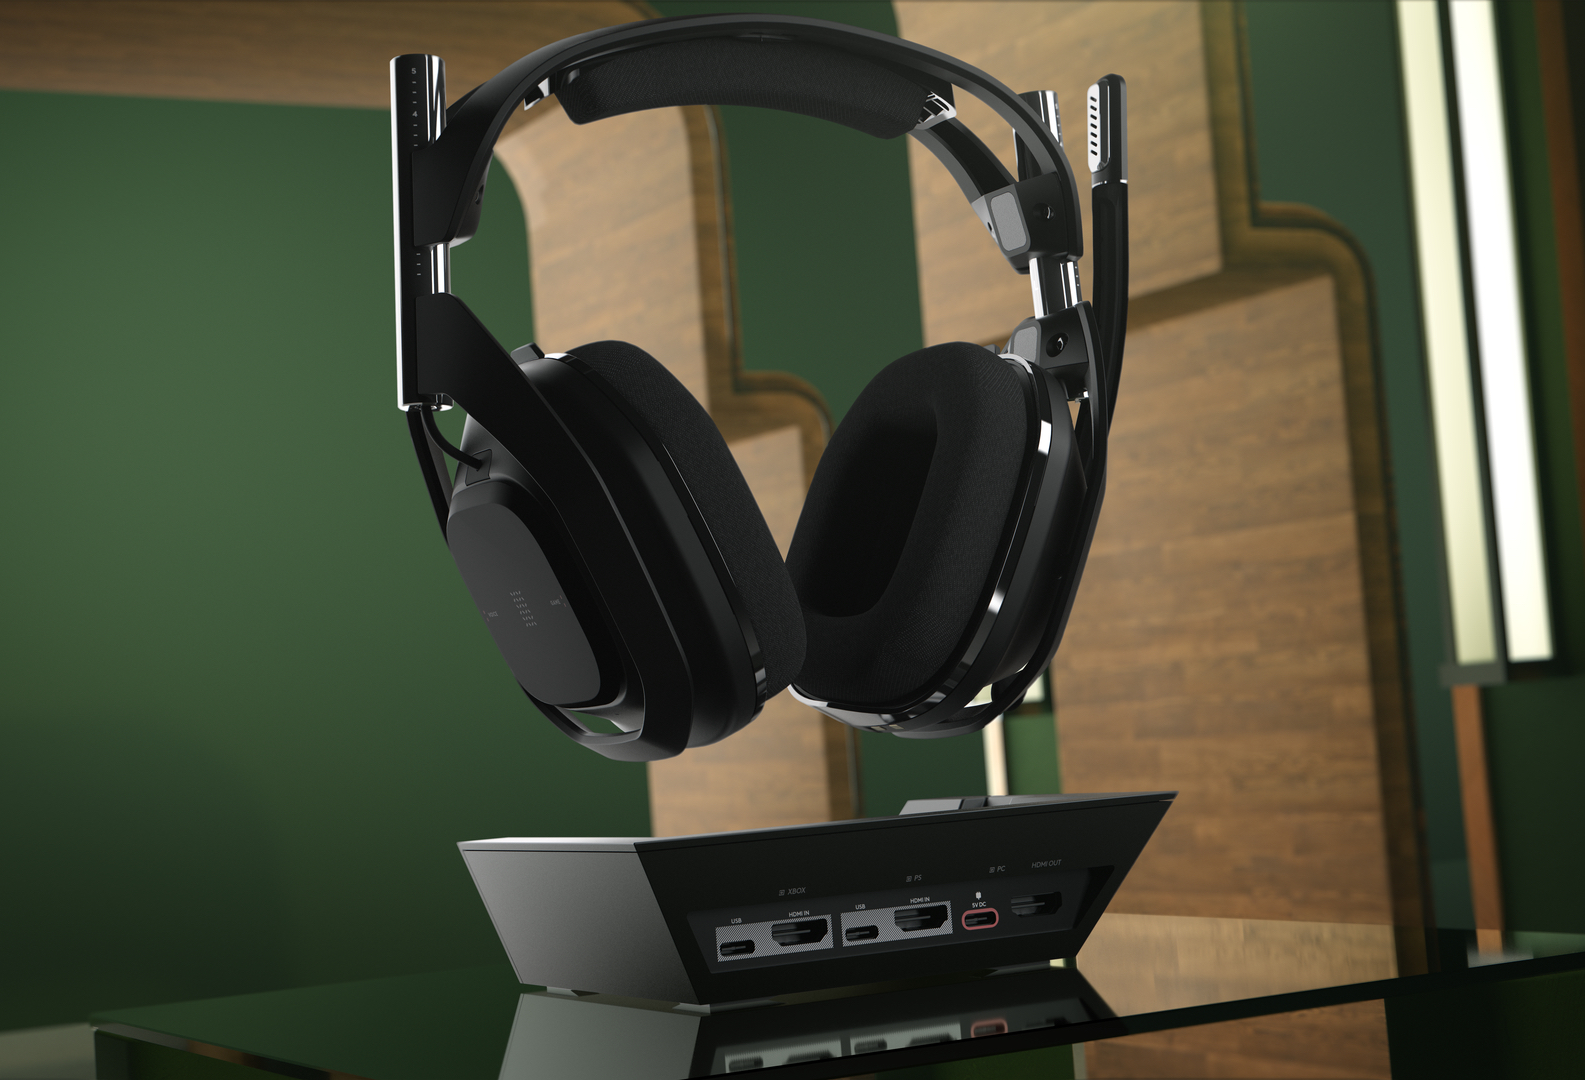
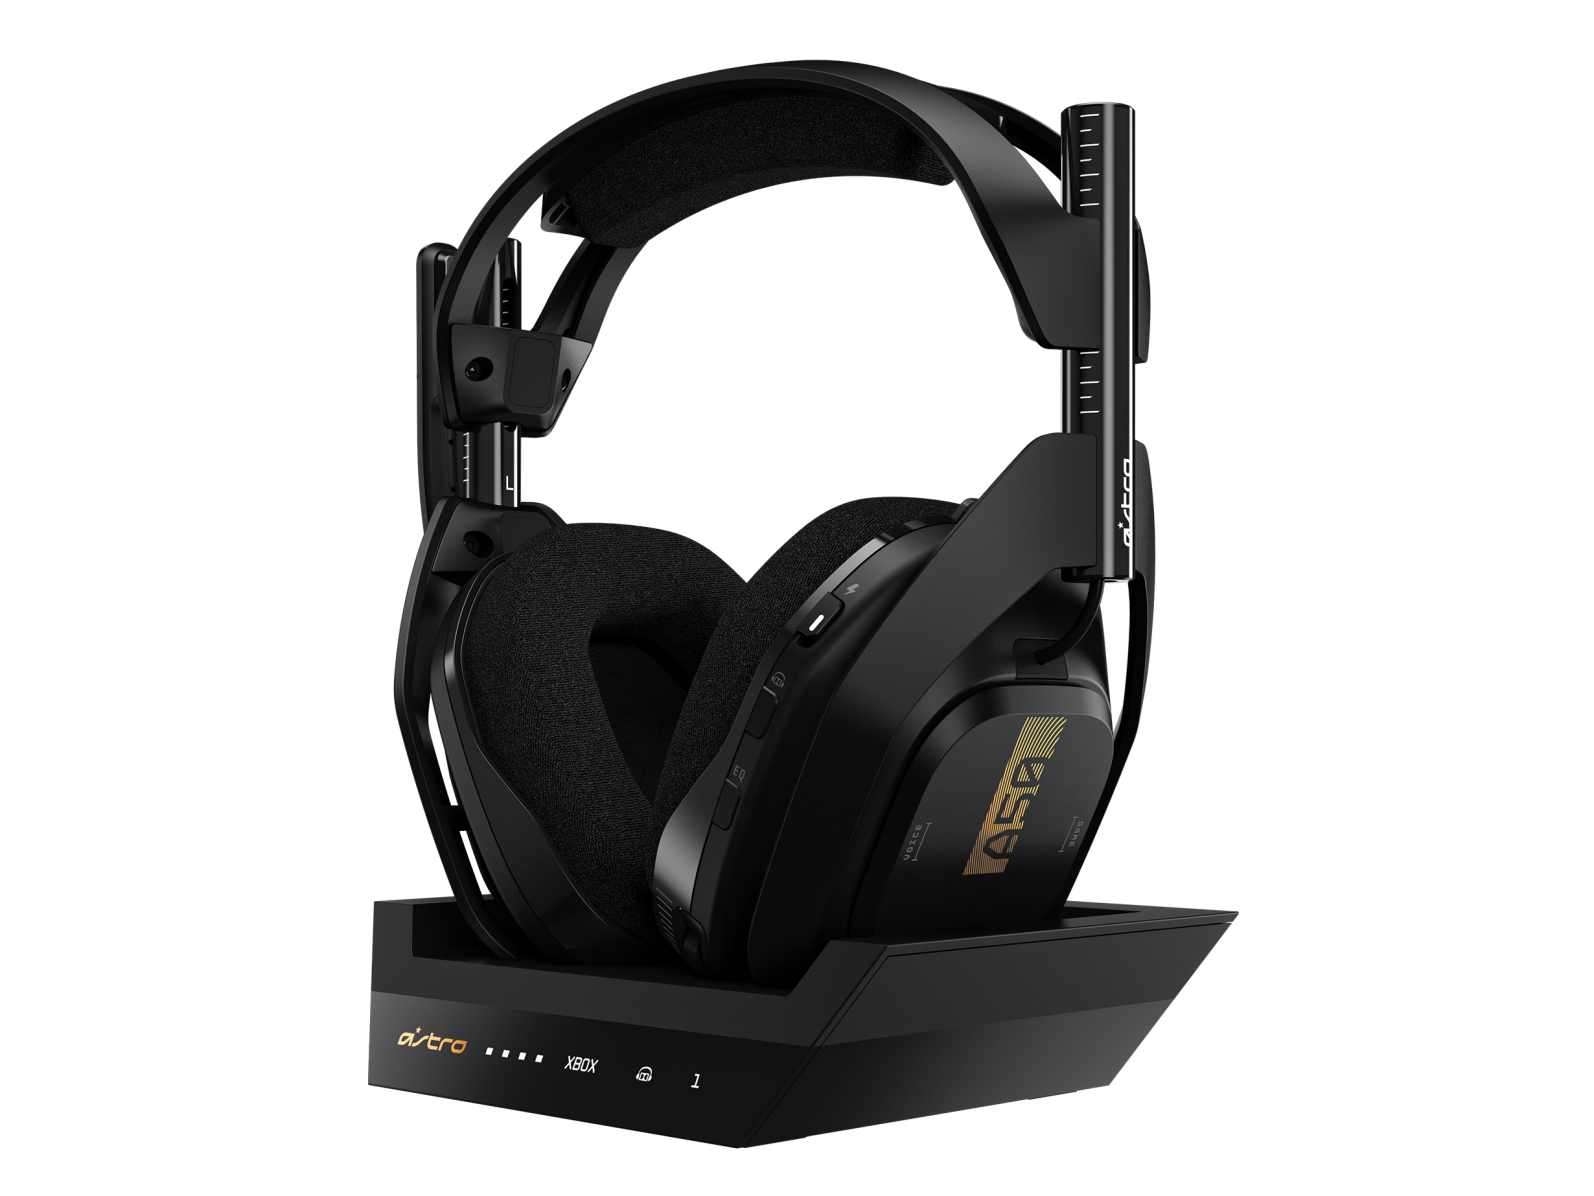
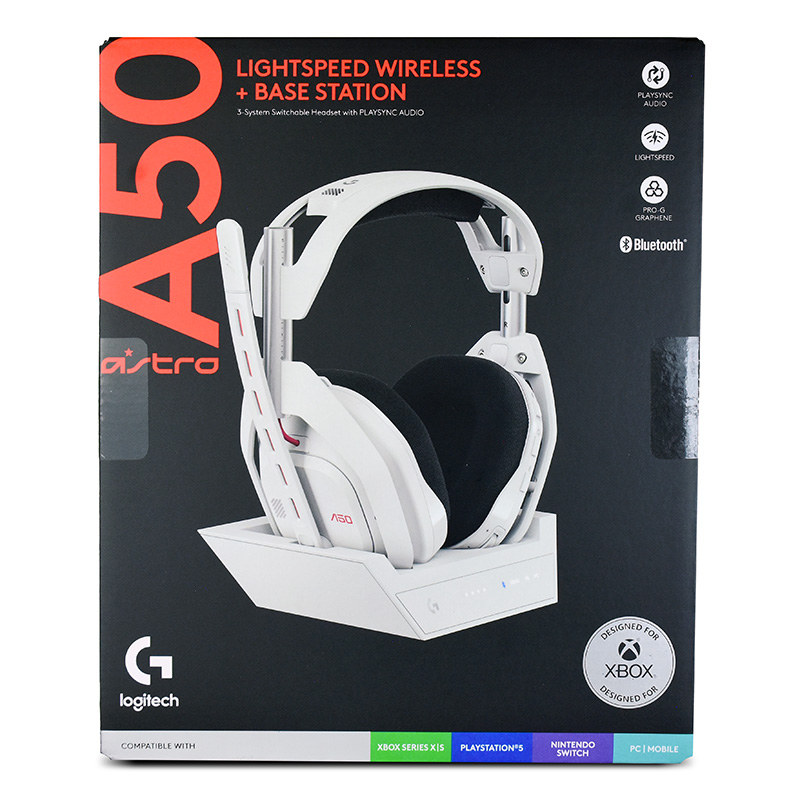
The Astro A50 is widely regarded as a premier audio solution for serious gamers, but the true magic lies in its hardware hub: the A50 wireless headset base station. This dock does much more than simply hold your headset when you are finished playing. It functions as a high-fidelity wireless transmitter, a charging dock, a sound card, and a command center all rolled into one sleek unit.
Whether you are playing on a PC, PlayStation, or Xbox, understanding how this base station operates can dramatically improve your audio experience. From managing your EQ presets to ensuring zero-latency chat communication, the base station is the backbone of the entire ecosystem.
Hardware Overview and Indicators
Before diving into setup, it helps to know what each light and port on your base station actually does. Taking a moment to examine the physical layout will make troubleshooting much easier down the road.
Front Panel Indicators
The front face of the base station features several LED indicators designed to give you instant feedback on your headset's status:
- Battery Life Bar: Four lights indicate the current charge level of the headset battery, ranging from 25% to 100%.
- PC/Console Mode Indicator: A small icon showing whether the base station is currently configured for PC use or console use.
- Dolby Atmos / Surround Sound Indicator: Illuminates when spatial audio processing is enabled.
Rear Ports and Connections
The back of the unit houses the necessary connections for your specific gaming setup:
- Micro-USB or USB-C Port: Connects the base station to your PC or console for power and data transmission.
- AUX In/Out: Allows you to feed outside audio into your headset or stream your chat audio out.
- Optical Port (TOSLink): Essential for older console setups to deliver Dolby Digital surround sound.
Step-by-Step Setup Guide
Setting up your A50 wireless headset base station is straightforward, but the exact steps vary depending on whether you are gaming on a PC or a modern console.
Setting Up on PC
- Plug the provided USB cable from the back of the base station into an available USB port on your computer.
- Flip the small switch on the side of the base station from 'Console' to 'PC'.
- Dock the A50 headset into the base station and ensure the charging lights illuminate.
- Download and open the Logitech G HUB software to update firmware and customize your audio profiles.
- Go to your Windows sound settings and set 'ASTRO A50 Game' as your default playback device, and 'ASTRO A50 Voice' as your default communication device.
Setting Up on Consoles (PlayStation / Xbox)
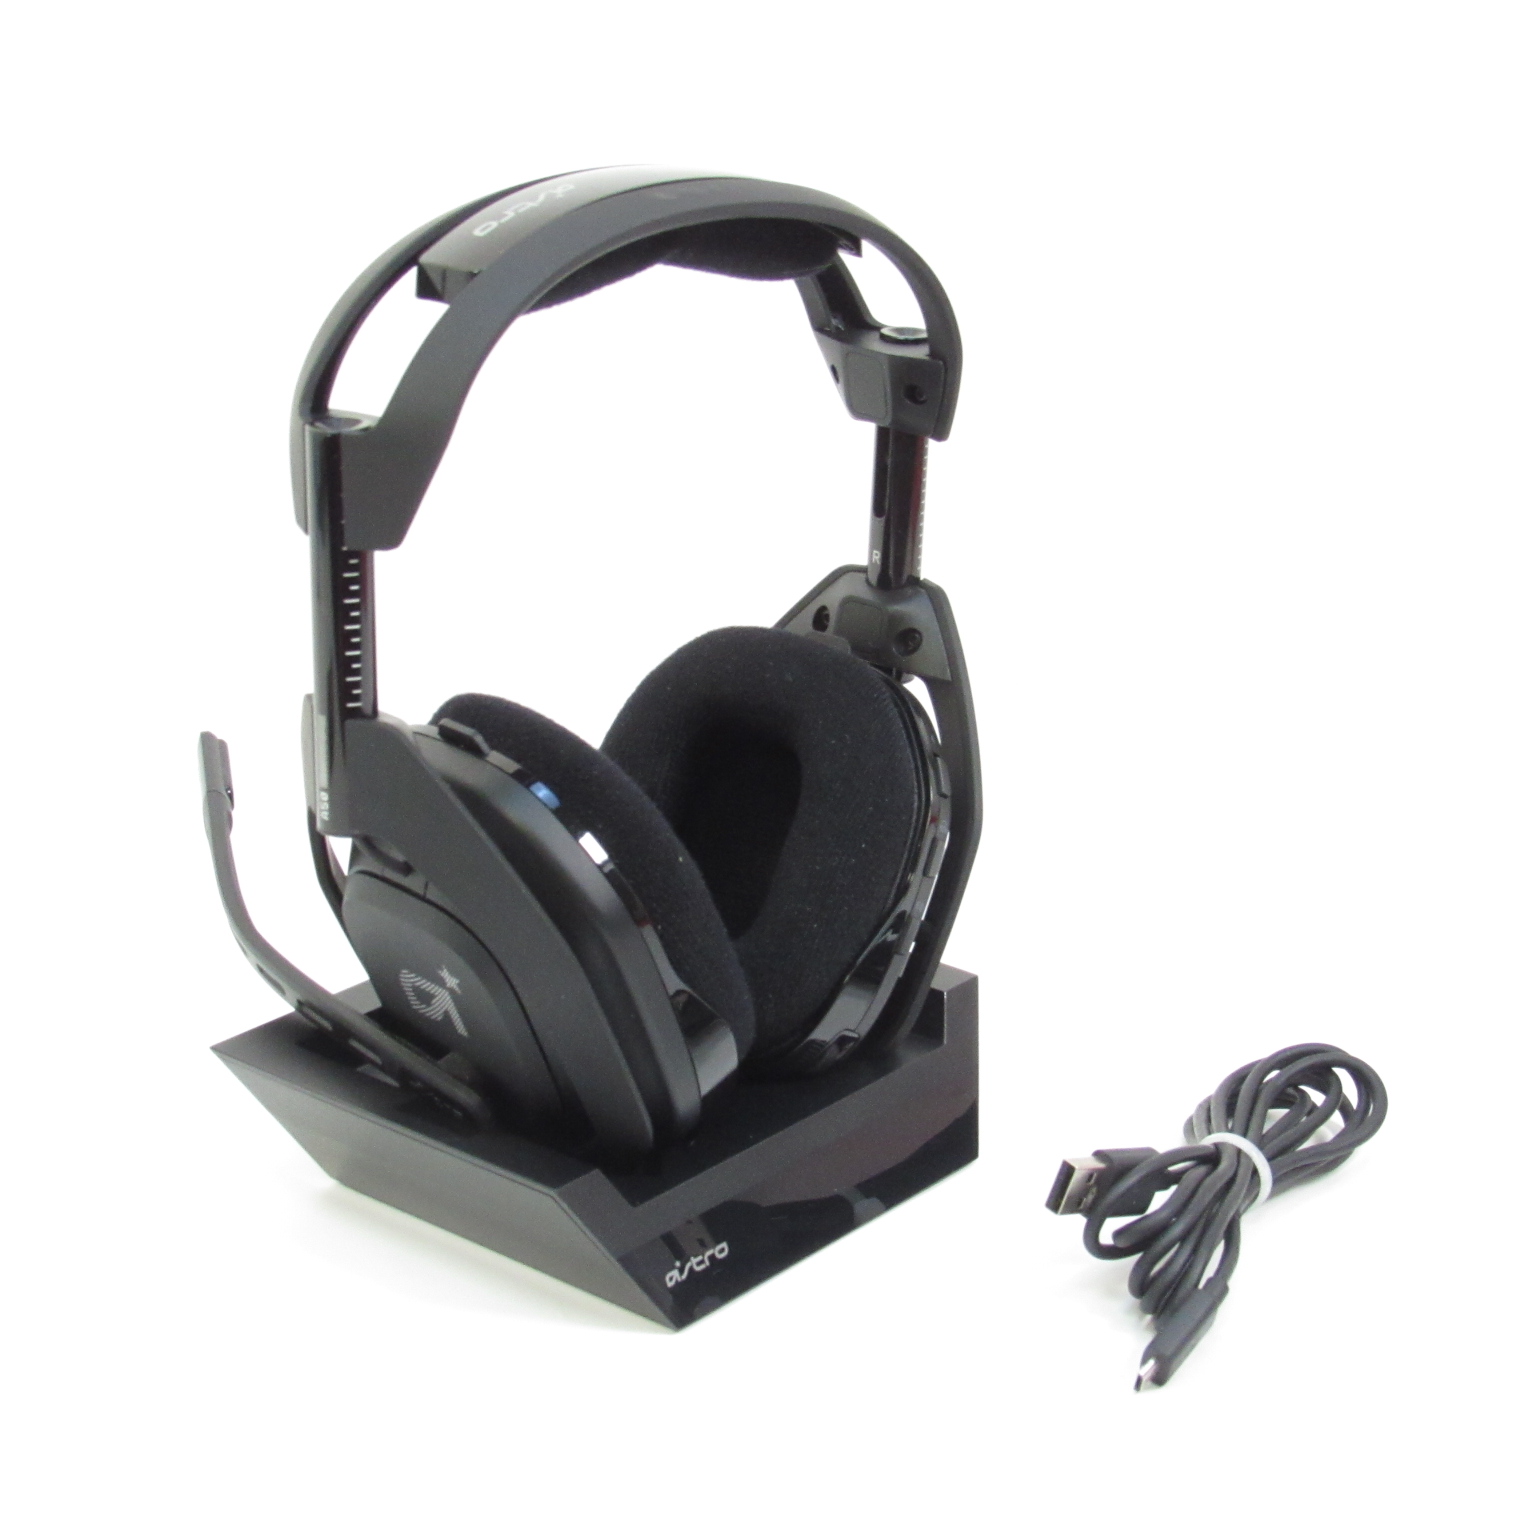
Depending on your console generation, you may rely purely on USB audio or require an HDMI audio extractor for optical audio:
- Connect the base station to the console via the USB cable.
- Ensure the switch on the base station matches your specific console edition (PlayStation or Xbox versions are platform-locked due to security chips).
- Configure your console's audio output settings to prioritize headset audio and enable spatial audio options like Tempest 3D Audio (PS5) or Windows Sonic / Dolby Atmos (Xbox).
Optimizing Audio and EQ Presets
One of the best features of the base station is its onboard memory, which stores up to three custom Equalizer (EQ) presets. You can toggle through these presets using the button on the right ear cup of the headset.
Using the companion software, you can tweak frequencies to suit your playstyle:
- Tournament Mode: Boosts mid-ranges to emphasize footsteps and crucial audio cues in competitive shooters.
- Media Mode: Enhances bass and treble for a cinematic experience while watching movies or playing single-player games.
- Core Mode: A flat, balanced profile designed to give you the developer's intended sound mix.
Troubleshooting Common Base Station Issues
Even high-end gear can occasionally run into hiccups. Here is how to resolve the most common issues associated with the base station.
Headset Not Charging
If your headset fails to charge when docked, check the following:
- Ensure the charging pins on both the headset and the base station are clean and free of dust or debris.
- Verify that the USB cable is firmly plugged into a high-output USB port (avoid unpowered USB hubs).
- Perform a hard reset on the headset by holding the Game side of the audio balance paddle and the Dolby button simultaneously for 6 seconds.
No Audio or Microphone Not Working
If your PC or console is not recognizing the base station:
- Double-check the PC/Console switch on the side of the unit. If it is set to the wrong mode, audio drivers will not load correctly.
- Unplug the USB cable, wait ten seconds, and plug it back in to power cycle the device.
- Verify that your operating system or console input/output settings are explicitly routing audio through the Astro A50 devices rather than monitor speakers or secondary headsets.
Conclusion
The A50 wireless headset base station is much more than a convenient charging stand. It is the central command center for a top-tier audio experience. By understanding its ports, keeping its firmware updated through companion software, and correctly configuring your PC or console settings, you can unlock crystal-clear comms, immersive spatial sound, and reliable, drop-free wireless performance for years to come.