Ahamkara Bones Tracker: Find Every Destiny 2 Collectible
Introduction to Ahamkara Bones
For Guardians chasing the elusive Cursebreaker title in Destiny 2, finding every hidden lore collectible is a mandatory rite of passage. Among these secrets, the Ahamkara bones scattered throughout the Dreaming City pose one of the biggest navigation challenges. Relying on memory or random wandering won't cut it; using a reliable ahamkara bones tracker or a detailed text guide is essential to ensure you don't miss a single one.
There are 16 Ahamkara bones hidden across the Dreaming City, the Spine of Keres, the Harbinger's Seclude, and the Ascendant Challenges that rotate on a three-week curse cycle. This guide breaks down the location of every single bone, organized by region and activity, so you can clean out the Dreaming City efficiently.
Dreaming City Patrol Zone Bones
Six of the bones are located directly within the public patrol spaces of the Dreaming City. You can collect these at any time, regardless of the curse week.
1. Divalian Mists Ridge
Spawn in at the Divalian Mists fast travel point. Hop onto your sparrow and head toward the cliffside on the far left (west) edge of the area, overlooking the abyss toward the Blind Well entrance cave. Look down over the ledge to find a small rocky outcropping where the first bone rests.
2. Spine of Keres Observatory
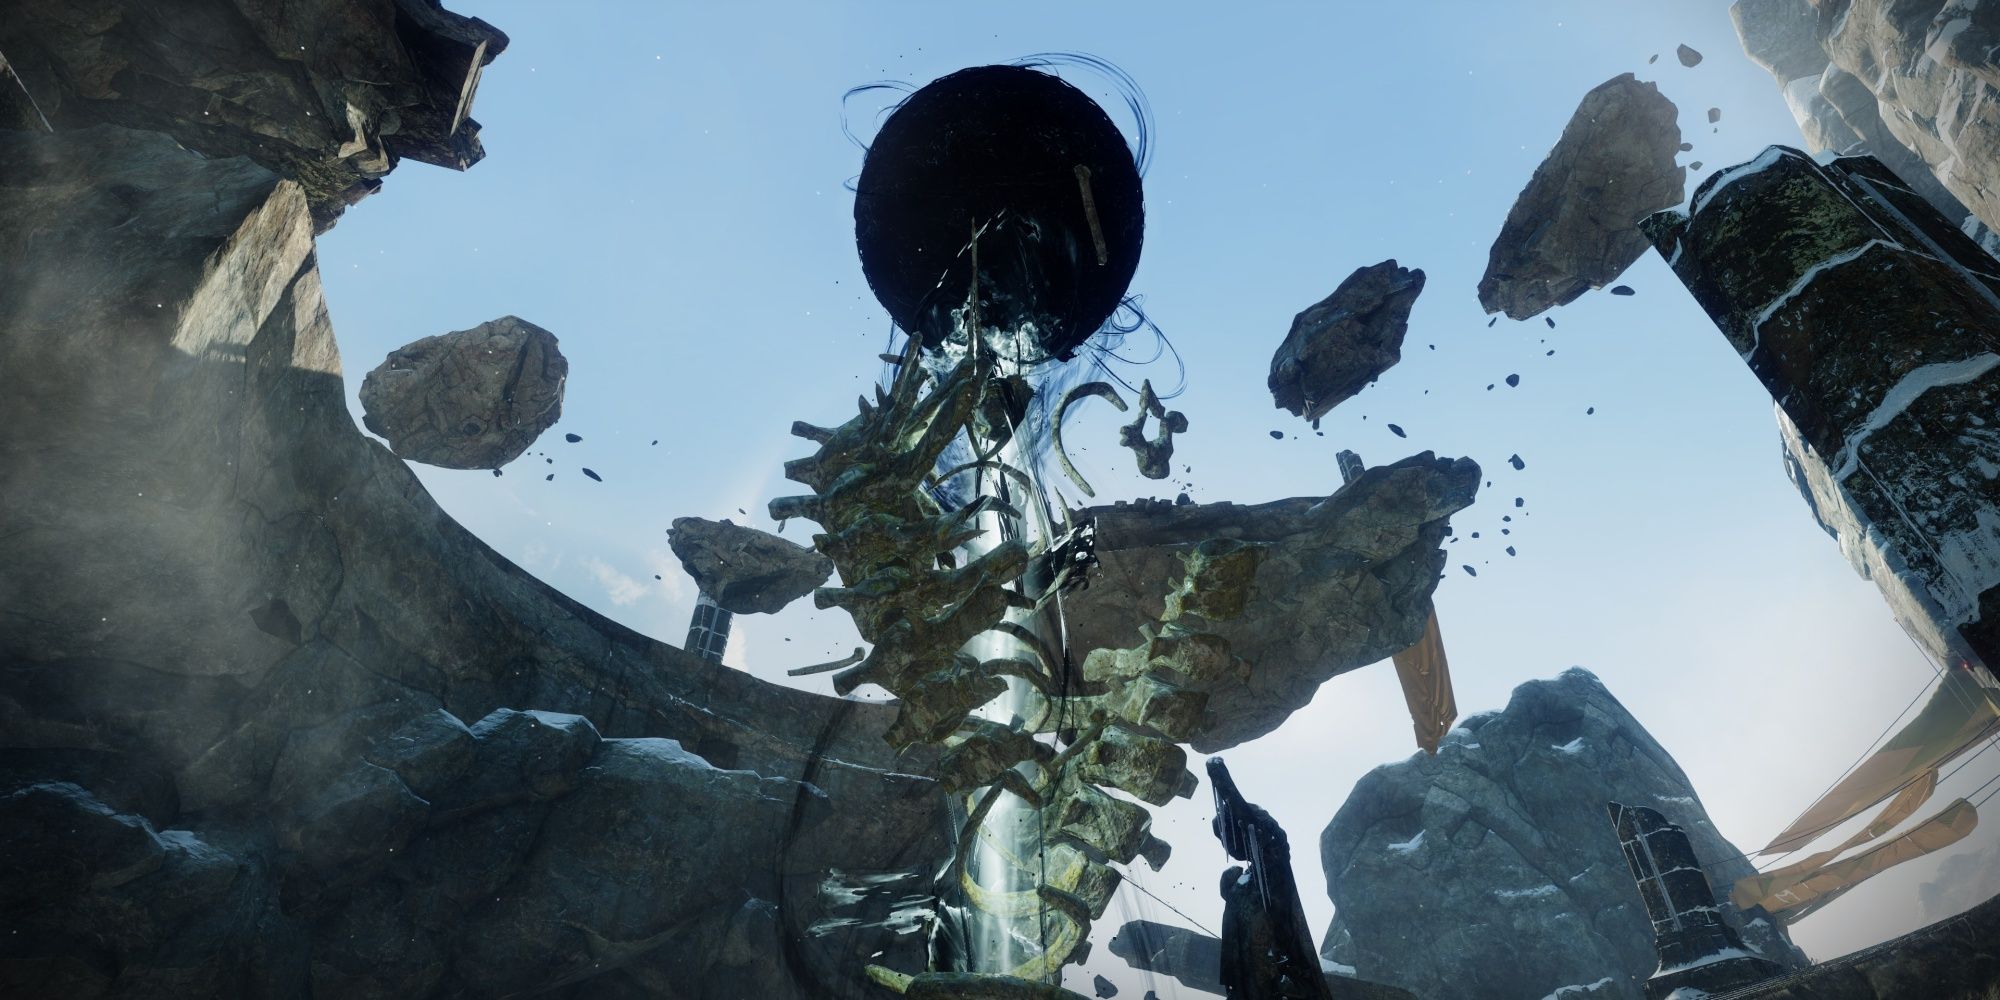
Travel to the Spine of Keres via the northern pathway from Divalian Mists. Make your way to the very top of the massive tower at the end of the area where the Oracle engine sits. Instead of going inside the main chamber, check the outer balcony ledges surrounding the tower structure.
3. Harbinger's Seclude Statue
Head deep into the Harbinger's Seclude, past the large open room where you usually fight Taken or Scorn. Enter the large cathedral-like room with the giant statue of Sjur Eido. Climb up behind the statue's head or use the upper platforms to find the bone resting near the architecture.
4. Rheasilvia Cliffside
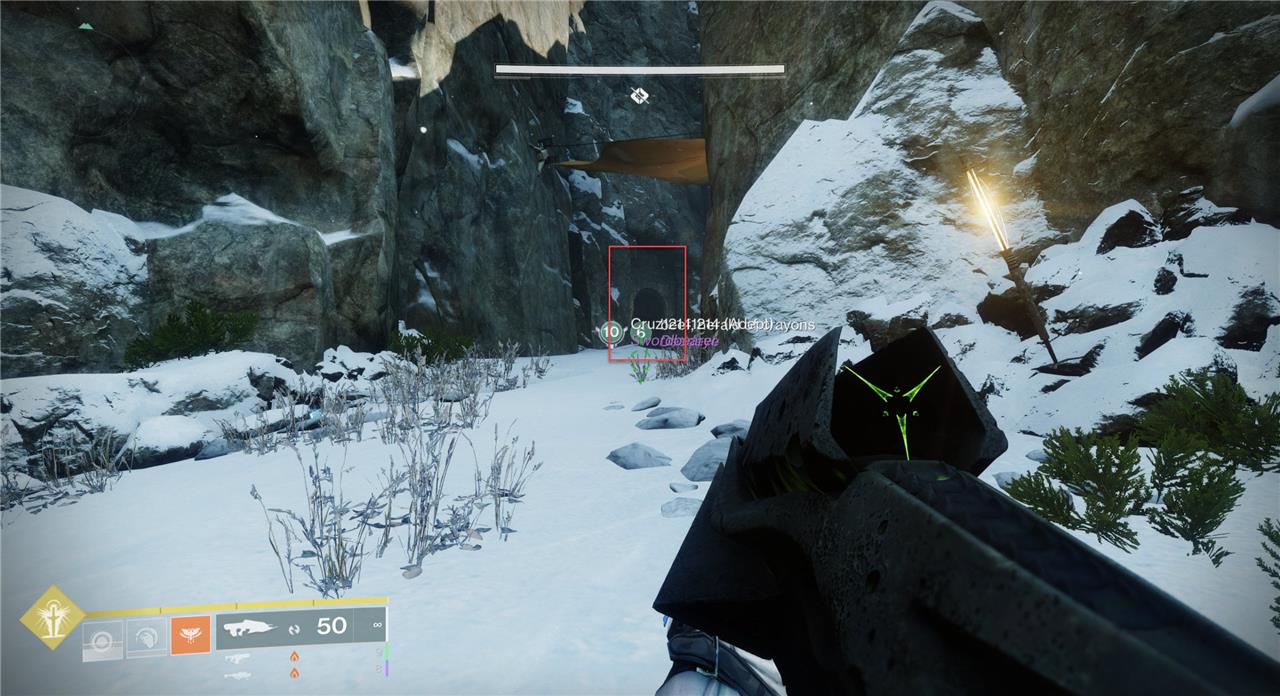
In the Rheasilvia zone, head toward the massive bridge that leads to the Awoken temple. Before crossing the bridge, look down over the right-side cliff edge. You will see a series of protruding rock ledges. Carefully jump down these ledges to locate a hidden cave housing the bone.
5. Bay of Drowned Wishes Lost Sector
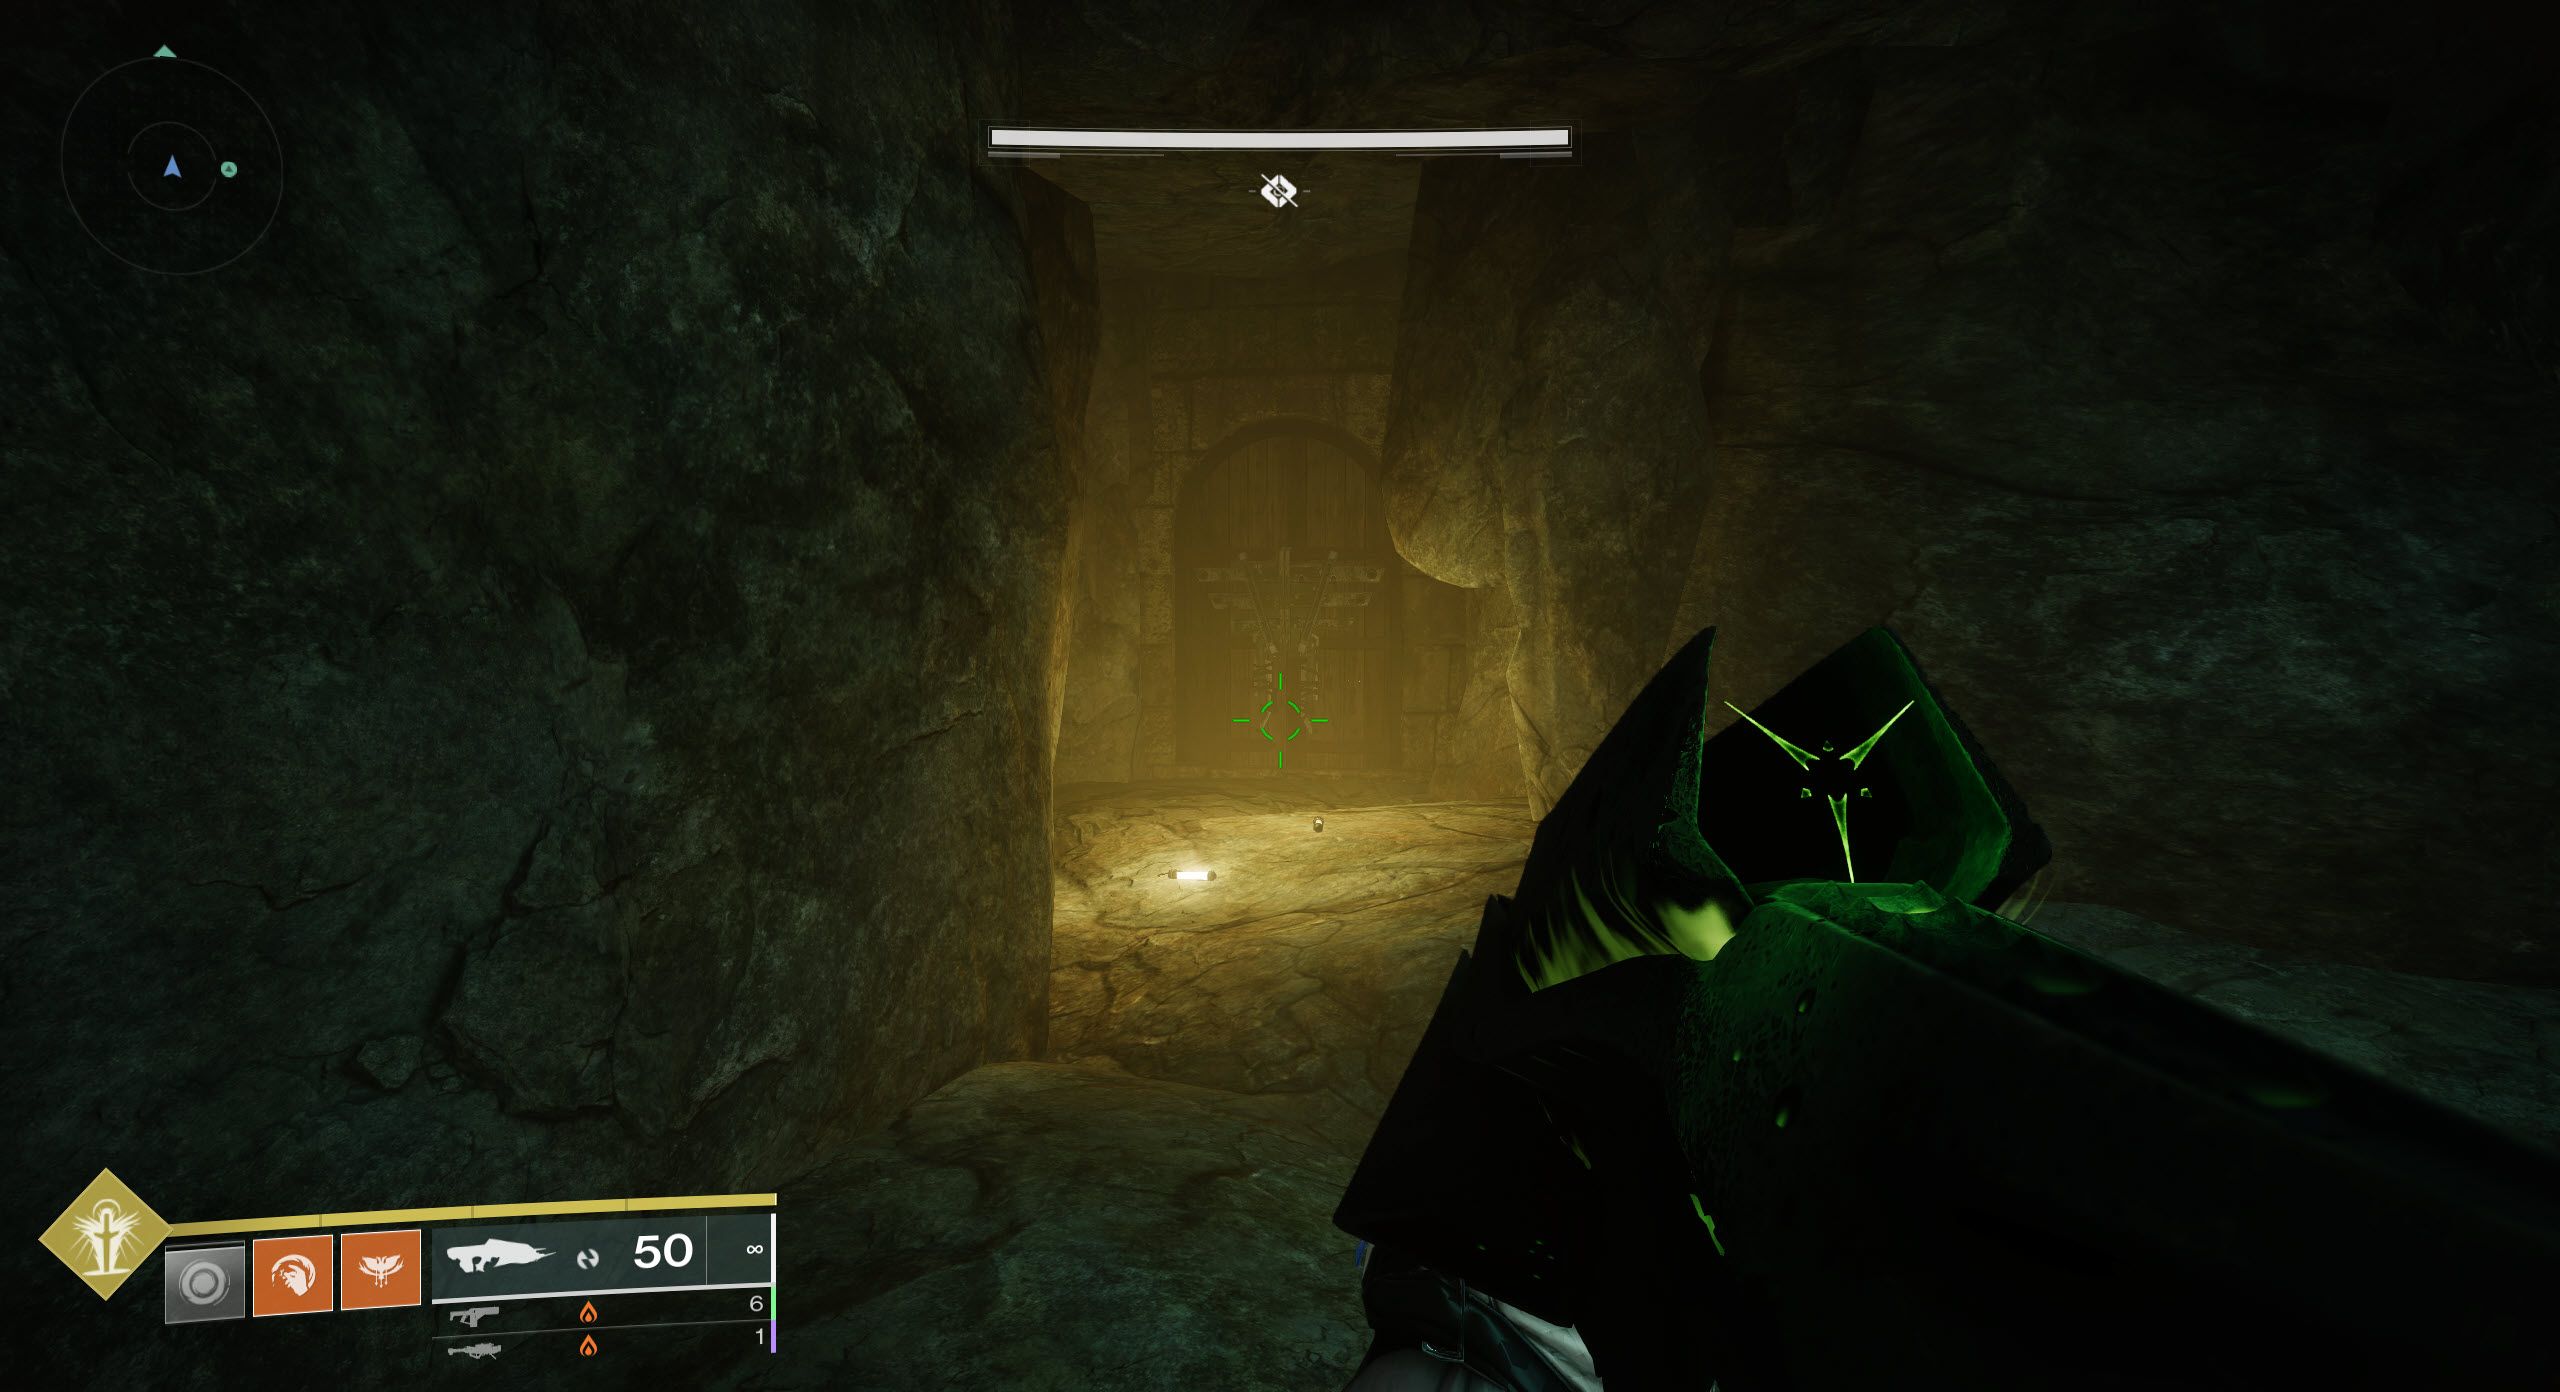
Clear out the Bay of Drowned Wishes Lost Sector in the Divalian Mists. Once you defeat the boss and open the cache, look at the back right corner of the boss room near the high cavern wall. The bone is nestled among the glowing blue Awoken crystals.
6. Chamber of Starlight Lost Sector
Located in the Rheasilvia region, enter the Chamber of Starlight Lost Sector. Defeat the Chieftain boss at the end. Climb up to the high ledge behind the chest area where the ambient light shines down to spot this well-hidden bone.
Ascendant Challenge Ahamkara Bones
Seven of the Ahamkara bones are locked inside the weekly Ascendant Challenges. To access these, you must consume a Tincture of Queensfoil to gain the 'Ascendance' buff, allowing you to see hidden platforms and portals.
7. Aphelion's Rest (Challenge 1)
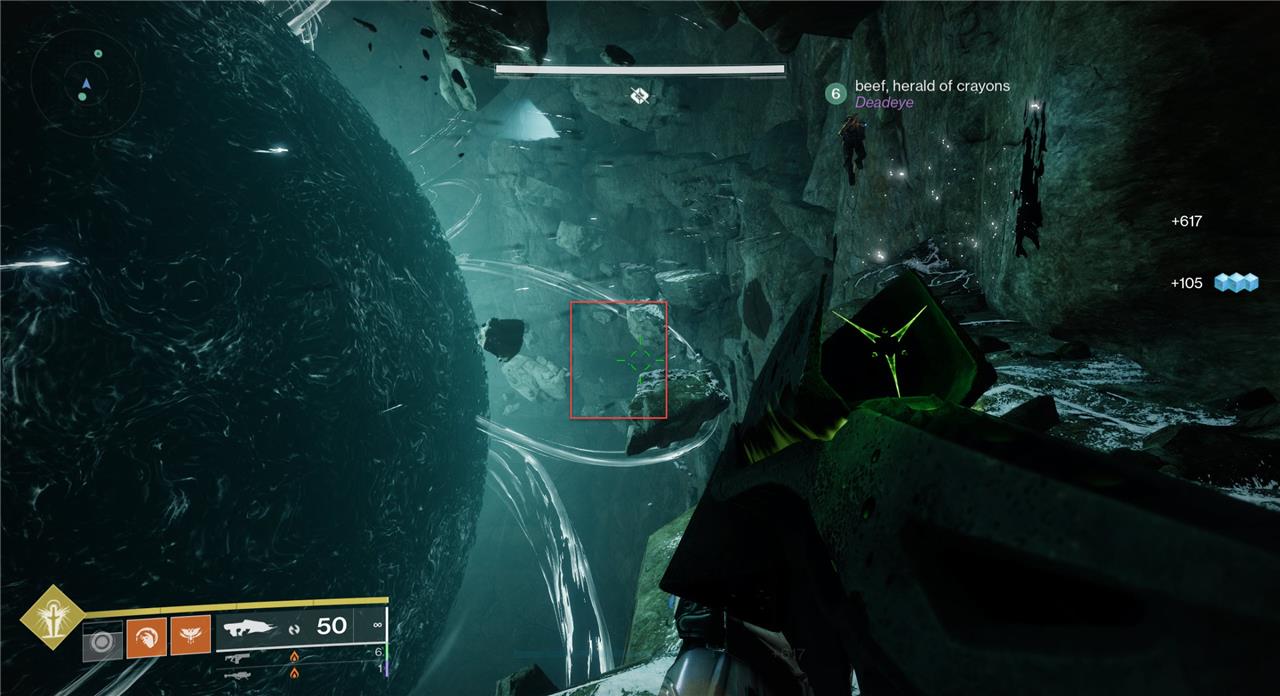
Found inside the Aphelion's Rest Lost Sector portal during the first week's rotation. Climb to the very top of the giant crystal structure in the center platform area of the Ascendant realm rather than heading straight to the objective orb.
8. Cimmerian Garrison (Challenge 2)

During the second week's challenge in Chamber of Starlight, navigate through the initial maze of platforms until you reach the final sword-platform encounter. Before grabbing the chest, look at the high floating debris arches behind the platform to find the bone.
9. Shattered Ruins (Challenge 3)
Located in the Spine of Keres Ascendant Challenge (Week 3). As you climb the massive broken wizard towers, look for a floating debris platform off to the side guarded by a few Taken knights. The bone is perched right on the edge of that broken pillar.
10. Forfeit Shrine (Challenge 4)
During Week 4 in the Harbinger's Seclude challenge, you must navigate a dark maze filled with glowing lights. The bone sits openly on top of the central tree-like structure in the middle of the arena. Clear the adds first, then jump up to claim it.
11. Refraction Site (Challenge 5)
In Week 5 (Bay of Drowned Wishes), follow the path of blights until you reach the final platform with the giant shrieker. Look up at the ruined archways high above the central fighting platform.
12. Keep of Honed Edges (Challenge 6)
In Week 6 (Divalian Mists), climb the massive castle structure. At the top where you defeat the sword-bearer boss, check the outer perimeter walls surrounding the central keep tower.
13. Ouroborea (Challenge 7 - Spine of Keres variant)
During this specific rotation, look closely at the floating platforms surrounding the central tower where you destroy the blights. The bone rests on a thin, isolated pillar that requires a precise glide or jump.
The Shattered Throne Dungeon Bones
The final three Ahamkara bones require you to venture into the Shattered Throne dungeon. Since this dungeon is on a regular rotation, you can farm these whenever it is featured or active.
14. The Labyrinth (Before the Ogre Encounter)
After navigating through the thrallway and entering the vast open maze area with wandering zealots, stick to the right-hand wall. Explore the small alcoves and ruined structures until you find a secluded corner holding the bone.
15. The Tower of the Damned (Pillar Jump)
During the ascent up the high towers of the dungeon (where Hobgoblins snipe at you from afar), look for alternate jumping routes that lead away from the main path. One of the high pillar balconies holds an Ahamkara bone.
16. Dûl Incaru Boss Arena
In the final boss room against Dûl Incaru, clear out the initial knights and crystal wizards. Before delivering the final blows to the boss, check the pillars and ledges along the back wall of the arena to collect the sixteenth and final bone.
Tips for Efficient Hunting
- Bring Stompees or Transversive Steps: Enhanced mobility makes jumping puzzles and tricky ledge-drops much safer.
- Stock Up on Tinctures of Queensfoil: Keep at least five in your inventory so you never have to pause your run to farm more.
- Check Off a Physical or Digital Checklist: Because there are 16 collectibles across different game modes and weekly rotations, tracking your progress using a dedicated tool prevents confusion.
Once you secure all 16 bones, you will unlock the 'Corrupted Omelette' lore entry and be one massive step closer to completing your Cursebreaker seal. Equip your new title with pride, Guardian!