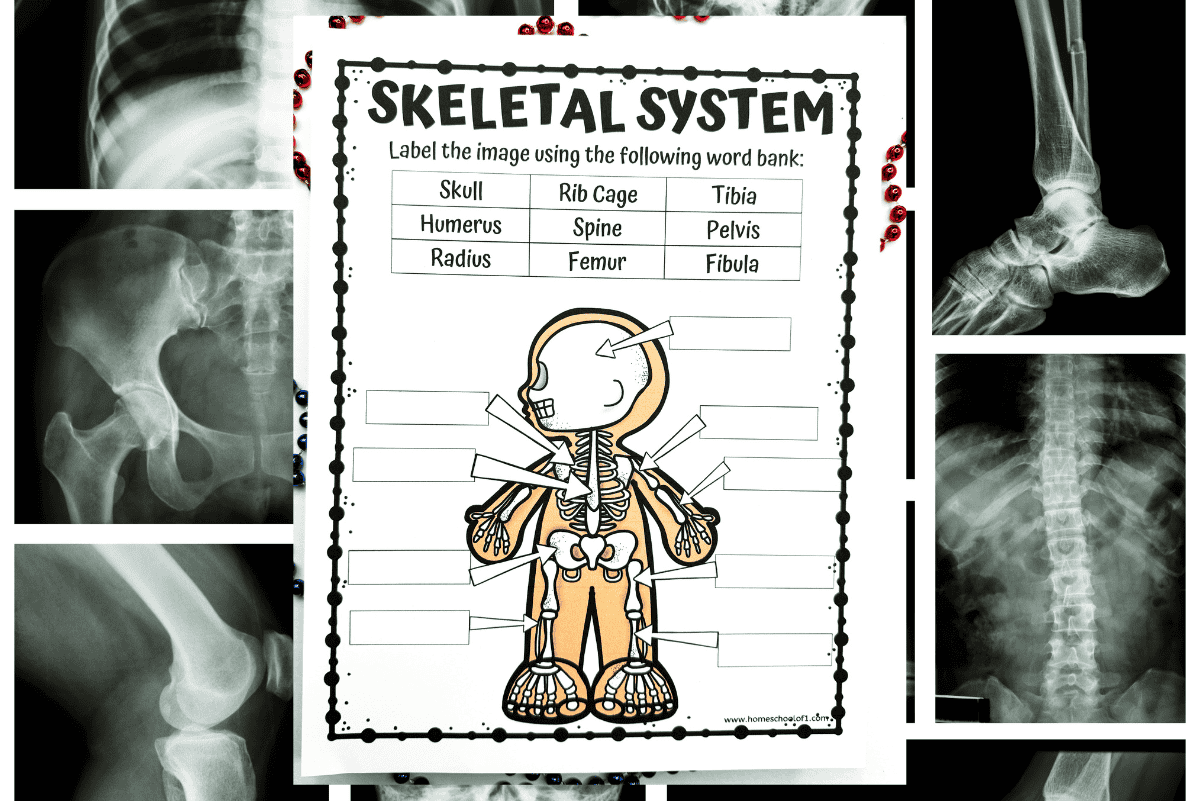
Avoid These Common Mistakes When Labeling Skeleton Diagrams
Whether you are studying for high school biology, an undergraduate anatomy practical, or nursing school entrance exams, memorizing the human skeletal system is a rite of passage. At first glance, filling in a bone chart seems straightforward. However, practical exam conditions and complex anatomical views frequently trip students up. If you want to protect your grade and build genuine clinical comprehension, learning how to avoid these common mistakes when labeling skeleton diagrams is crucial.

From reversed orientations to homophone misspellings that cost full points, simple oversights are often the difference between an A and a C. Below are the most frequent pitfalls students encounter and the exact strategies you need to master your next skeletal assessment.
How to Avoid These Common Mistakes When Labeling Skeleton Diagrams
Skeleton diagrams present unique cognitive challenges because they require you to translate a three-dimensional body onto a flat, two-dimensional sheet. When stress levels rise during timed tests, spatial reasoning can falter. By anticipating where errors naturally happen, you can double-check your work systematically before turning in your exam paper.
1. Inverting Left and Right (Ignoring Anatomical Position)
The single most widespread error on any anatomy test is confusing the diagram's perspective with your own. Anatomical position always refers to the subject's left and right, not the viewer's. When you look at an anterior (front) view of a skeleton, the bone on your right side is actually the skeleton's left side.
- The Pitfall: Labeling a circled arm as the "Right Humerus" simply because it sits on the right side of your paper.
- The Fix: Mentally place yourself inside the diagram. Stand up and align your body with the orientation of the skeleton shown on the page. If the diagram shows a posterior (rear) view, left and right match your perspective; if it is an anterior view, they are reversed.
2. Confusing the Radius and Ulna
In the forearm, the radius and ulna lie parallel to each other in standard anatomical position. Because they have similar lengths and neighbor each other closely, students routinely swap their names.
- The Anatomical Anchor: In anatomical position (palms facing forward), the radius is always lateral (on the thumb side), while the ulna is medial (on the pinky side).
- Memory Trick: Think of the radius "radiating" out toward the thumb, or remember that "Rad dudes give a thumbs-up." Conversely, the ulna forms the prominent point of your elbow via the olecranon process and aligns straight down to your little finger.
3. Swapping the Tibia and Fibula
Just as the forearm trips up learners, the lower leg causes equal confusion. The tibia and fibula run side-by-side between the knee and ankle, and their names sound deceptively similar.
- The Anatomical Anchor: The tibia is the thick, anterior, weight-bearing bone (the shinbone) located medially. The fibula is the slender, needle-like bone located laterally.
- Memory Trick: The fibula is small like a "little fib" (lie), and it sits on the outside. The tibia is the "Tough" shinbone on the inside. When viewing an isolated leg diagram, look for the medial malleolus at the ankle—that always marks the tibia.
4. Mixing Up Carpals and Tarsals (and Their Digits)
Video: Skull Bones Mnemonic (Cranial and Facial Bones) | Anatomy and Physiology

The hands and feet share strikingly similar structural organization, which leads to frequent terminology swaps under pressure. Students often label the ankle bones as carpals or accidentally write "metatarsals" when pointing to the palm of the hand.
- Carpals vs. Tarsals: You drive a car with your hands (carpals = wrist); you walk on the tar with your feet (tarsals = ankle).
- Metacarpals vs. Metatarsals: The prefix meta- means "beyond." Metacarpals sit beyond the carpals in the palm; metatarsals form the arch and sole of the foot.
- Phalanges: Both fingers and toes are called phalanges. Always specify whether a diagram prompt asks for "proximal, middle, or distal phalanges" of the manual (hand) or pedal (foot) region.
5. Overlooking Vertebral Region Nuances
Skeleton diagrams frequently include callouts for the vertebral column. A generic label like "spine" or "backbone" will almost certainly result in lost points on a college-level exam. Even when students know the three main mobile regions, they often mismatch their counts or distinctive shapes.
- Mealtime Mnemonic: Remember the times you eat: breakfast at 7 (Cervical: C1–C7), lunch at 12 (Thoracic: T1–T12), and dinner at 5 (Lumbar: L1–L5).
- Structural Clues: Thoracic vertebrae have costal facets for rib attachment and long, downward-pointing spinous processes (resembling a giraffe). Lumbar vertebrae have huge, blocky bodies designed for weight bearing and blunt, square spinous processes (resembling a moose).
6. Critical Spelling Traps: The "Ilium" vs. "Ileum" Dilemma
Anatomy instructors are notoriously strict about spelling because a one-letter alteration can completely change the organ system being discussed. The most famous example is the pelvic bone versus the digestive tract.
- Ilium (with an "i"): The large, flared, superior portion of the hip bone (coxal bone).
- Ileum (with an "e"): The final and longest segment of the small intestine.
Writing "ileum" on a skeletal diagram will cost you credit on nearly every formal exam. Other common spelling traps include writing pelvis when the pointer specifically indicates the pelvic girdle or the sacrum, and confusing peroneal (lateral leg) with perineal (pelvic floor).
7. Misinterpreting Leader Lines
Sometimes the issue is not anatomical knowledge, but visual comprehension. Diagram leader lines can be ambiguous, especially in crowded areas like the skull or the thoracic cage.
- Follow the Line to its Exact Termination: Look closely at the arrowhead or dot. Is the pointer indicating the entire rib, the costal cartilage connecting it to the sternum, or the intercostal space between ribs?
- Differentiate Bone from Bone Marking: Check the instructions. Are you being asked to identify the bone (e.g., Temporal bone) or the bony landmark (e.g., Mastoid process or External acoustic meatus)? Providing a landmark name when a whole bone is required—or vice versa—is a fast way to lose points.
A Quick Self-Check Protocol for Skeleton Practical Exams
Before submitting any labeled skeletal worksheet or lab test, run through this four-step inspection checklist:
- Check the View: Am I looking at an anterior, posterior, lateral, or medial projection? Have I assigned left and right from the diagram's perspective?
- Trace the Extremities: Is the radius on the lateral forearm? Is the tibia on the medial leg? Are wrist bones marked carpals and ankle bones marked tarsals?
- Verify Specificity: Did the question ask for the broad region, the individual bone, or a specific process/fossa/condyle?
- Audit the Spelling: Scan specifically for troublesome vowels: Ilium, Phalanges, Clavicle, and Coccyx.
By taking deliberate time to anchor bones to reliable landmarks rather than relying on pure rote memory, you will eliminate careless errors, save precious exam minutes, and approach your practical anatomy tests with total confidence.