Batman Pumpkin Carving Templates: Easy to Pro Guide
When autumn arrives and the nights grow longer, there is no symbol quite as fitting for your front porch as the Bat-Signal piercing through the dark. Whether you want to delight trick-or-treaters or show off your comic fandom, using batman pumpkin carving templates gives you a clean, recognizable layout that transforms a simple orange gourd into an emblem of justice. From the sleek oval of the 1989 film to the gritty, angular insignias of modern comics, there is a template style to match every carver's skill level.
Choosing the Right Batman Template for Your Skill Level
Before making your first cut, it helps to match your stencil to your carving experience. Intricate curves and sharp inner angles can prove frustrating if you are working with dull tools or a brittle pumpkin rind.
Beginner: The Minimalist Bat-Signal
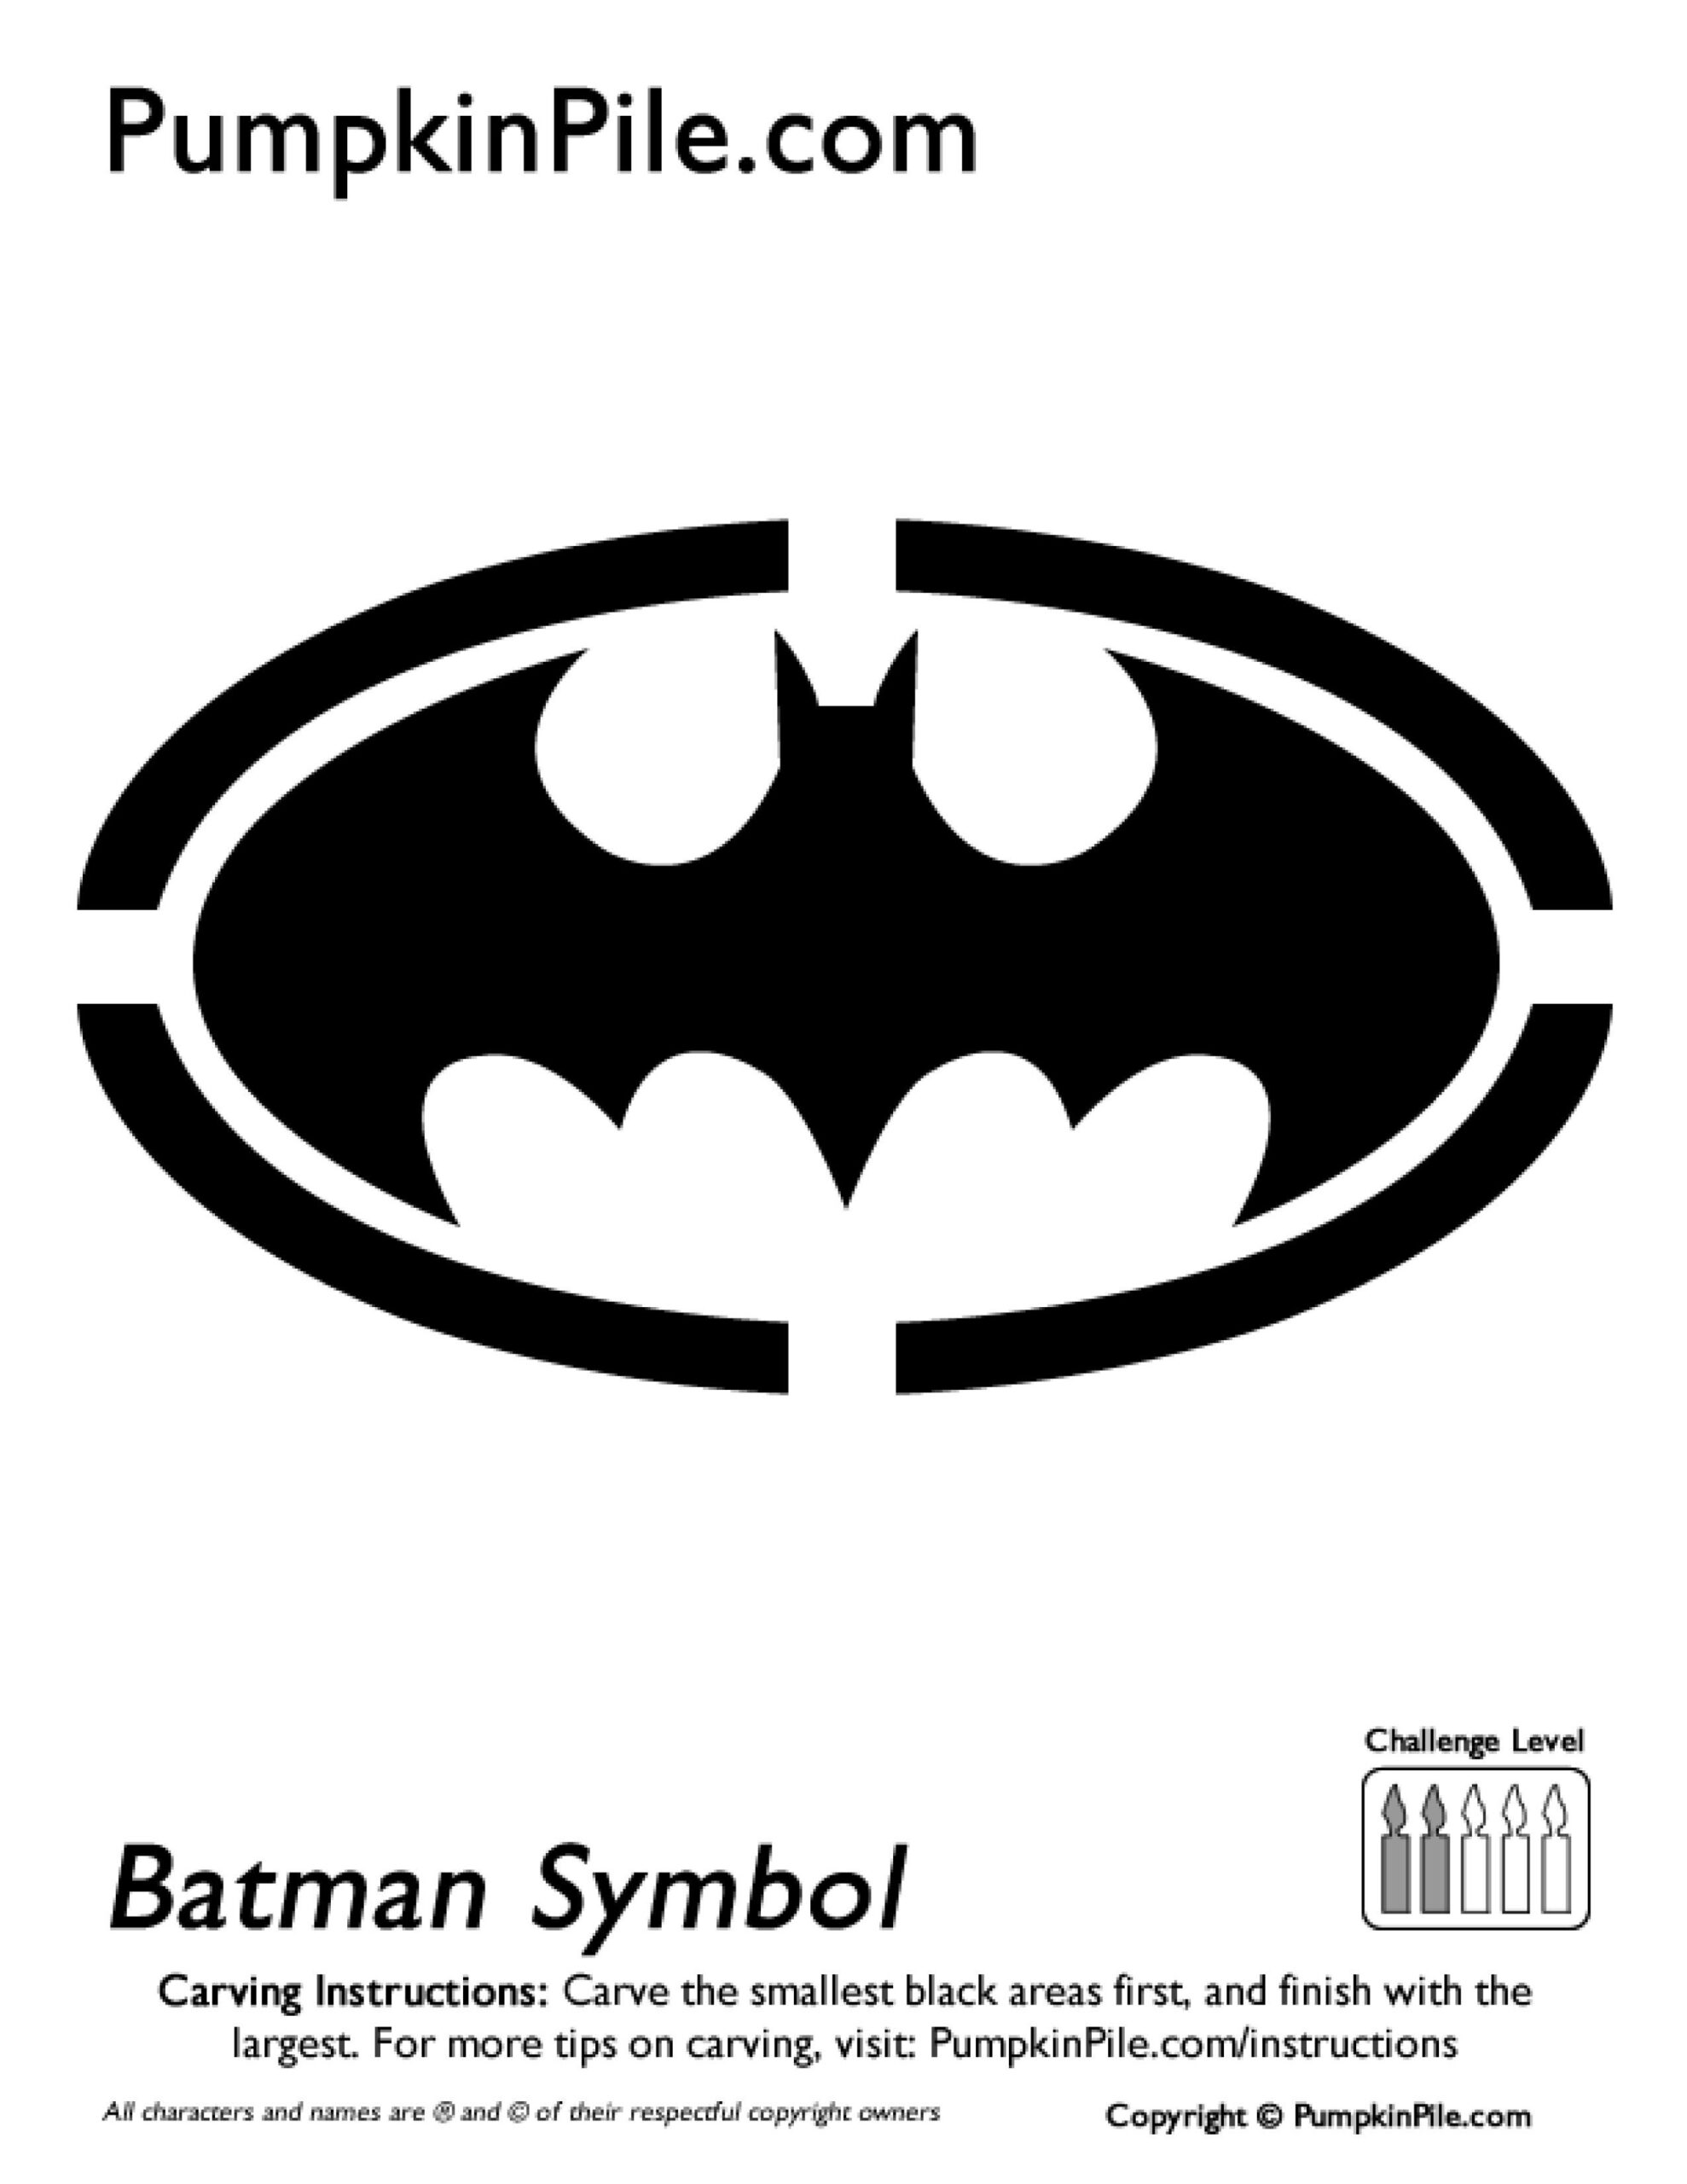
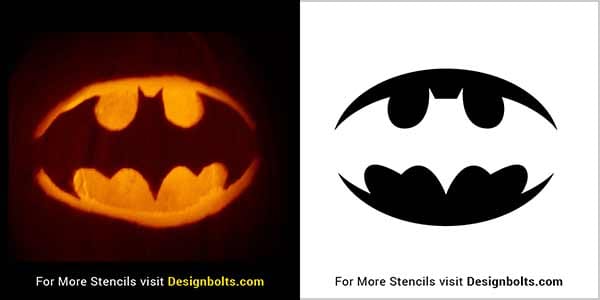
The classic, wide-winged bat silhouette remains the most popular choice for novices. Because this design relies on broad cuts and simple geometry, you do not need to worry about delicate floating pieces snapping off. For best results, carve out the bat silhouette entirely so bright yellow light pours through the shape, projecting an unmistakable shadow against your entryway.
Intermediate: The Cowl and Negative Space
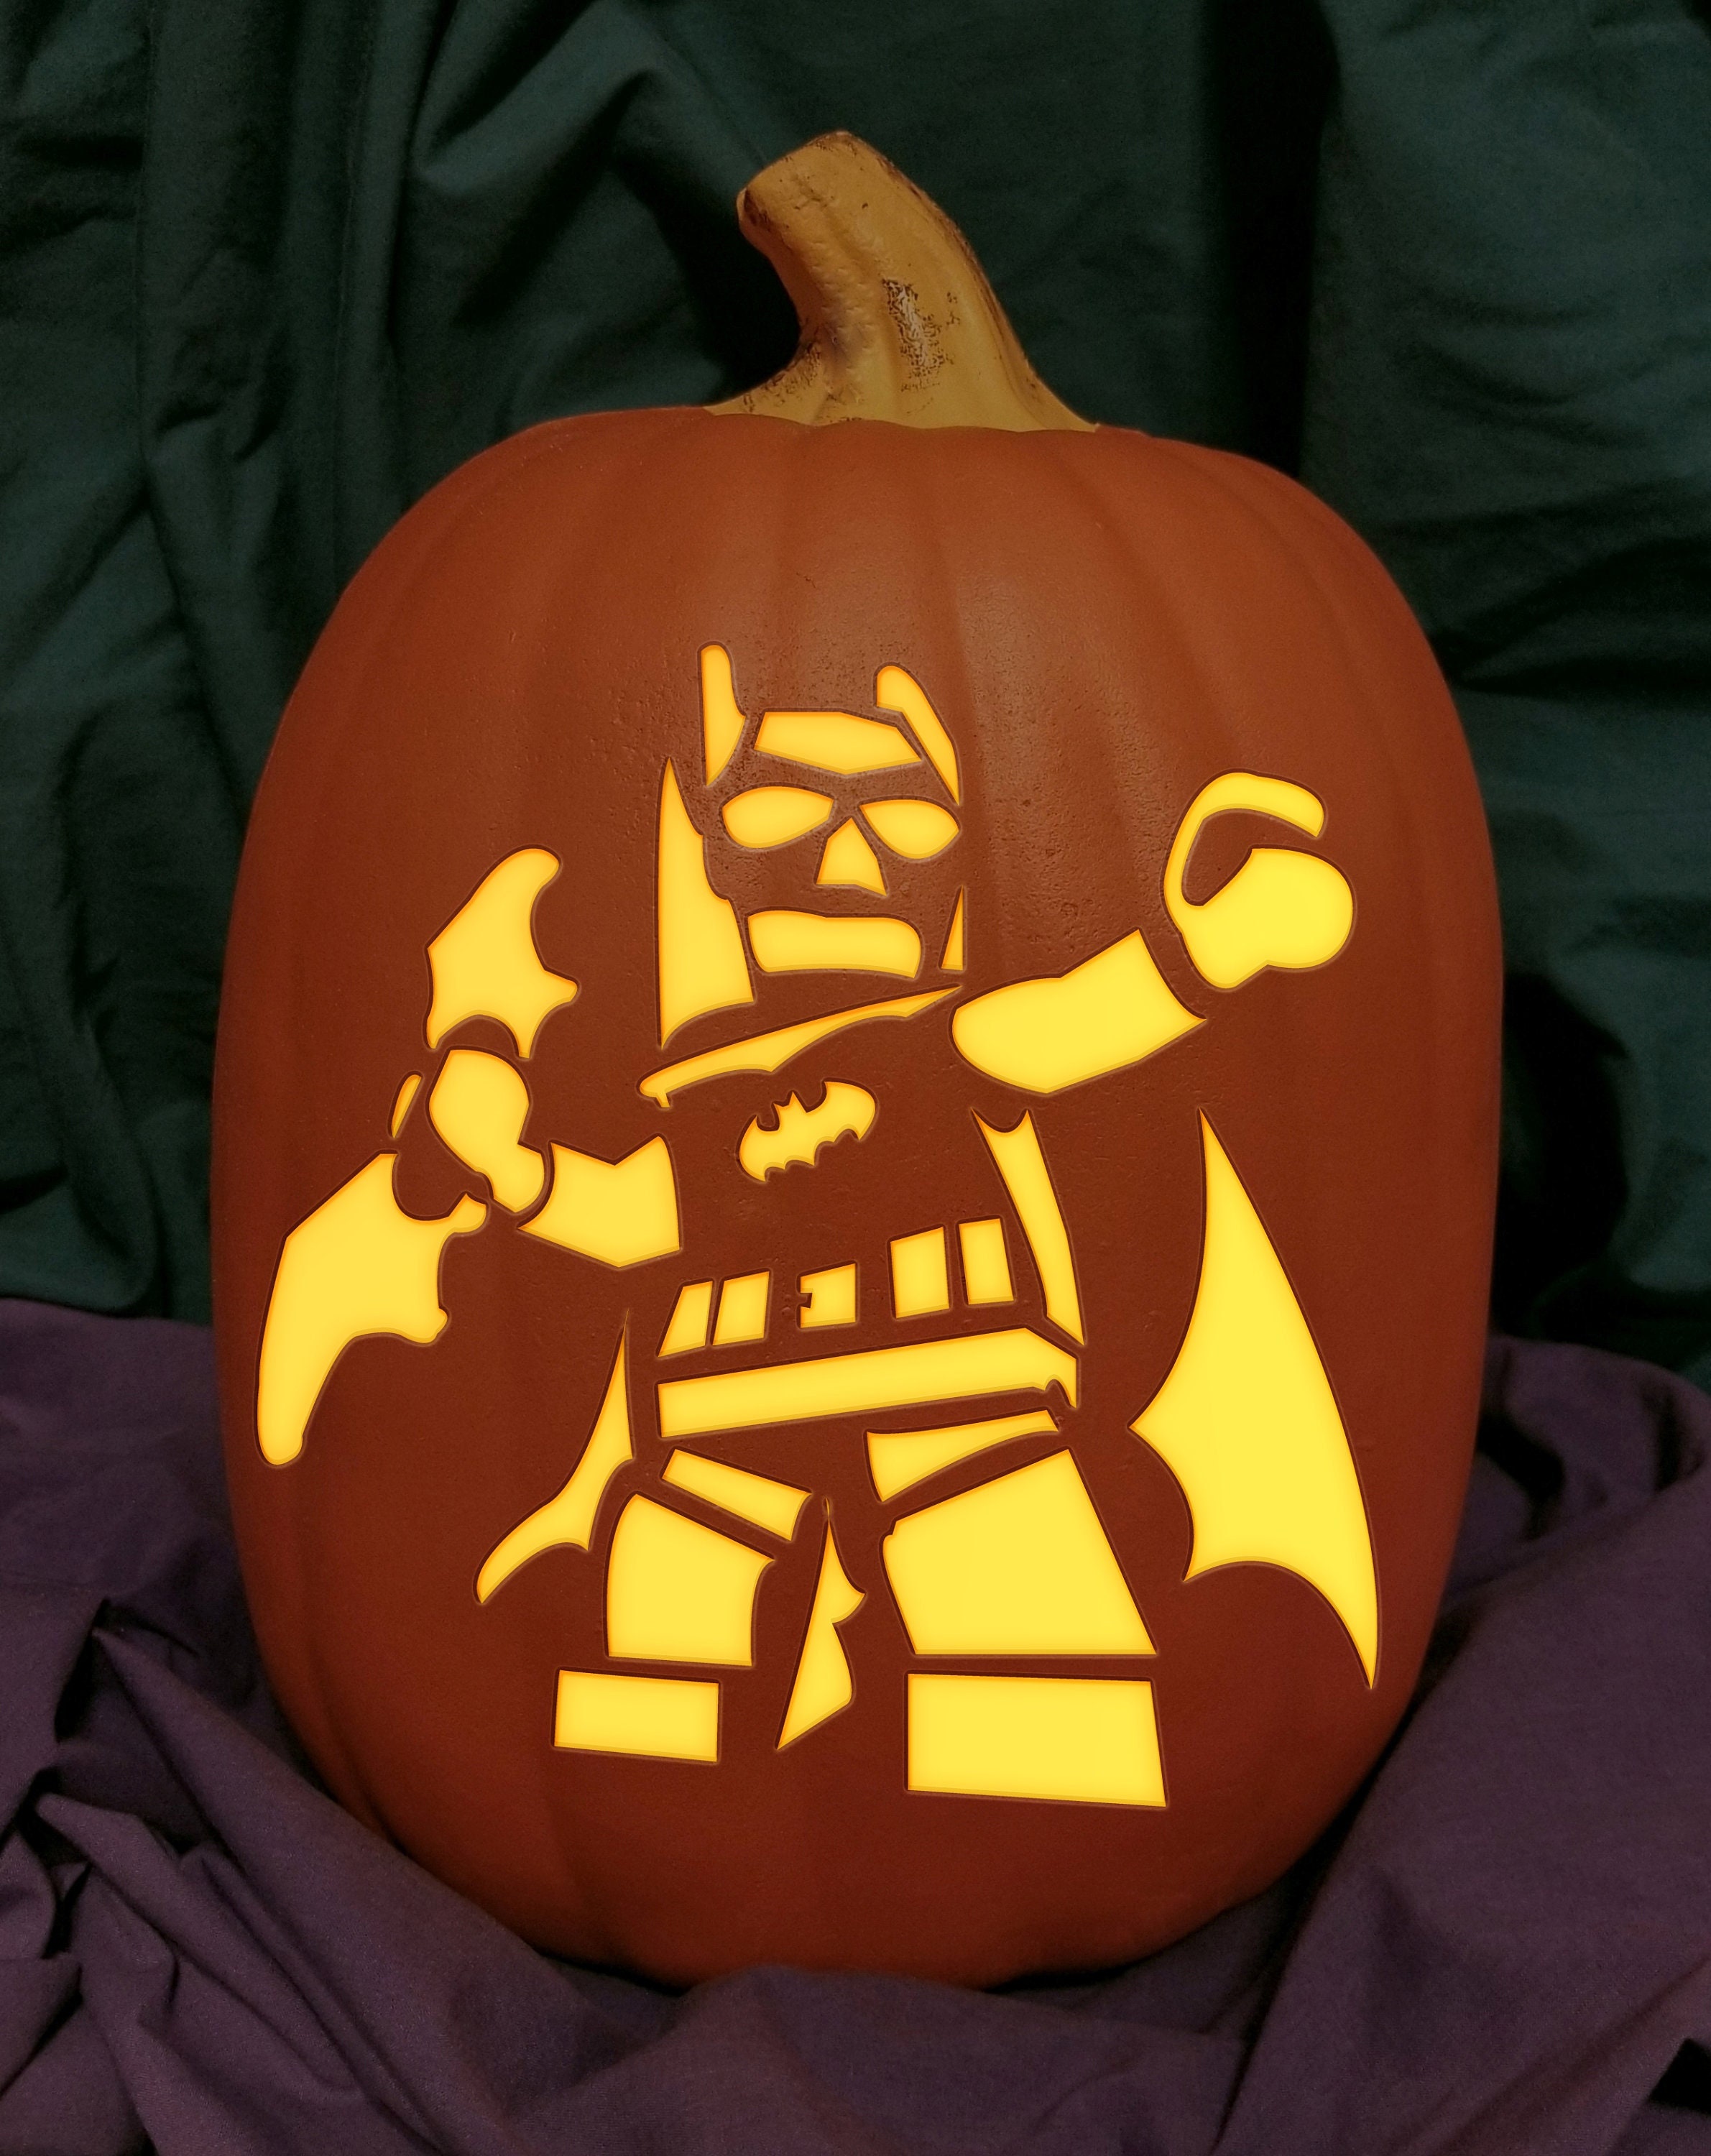
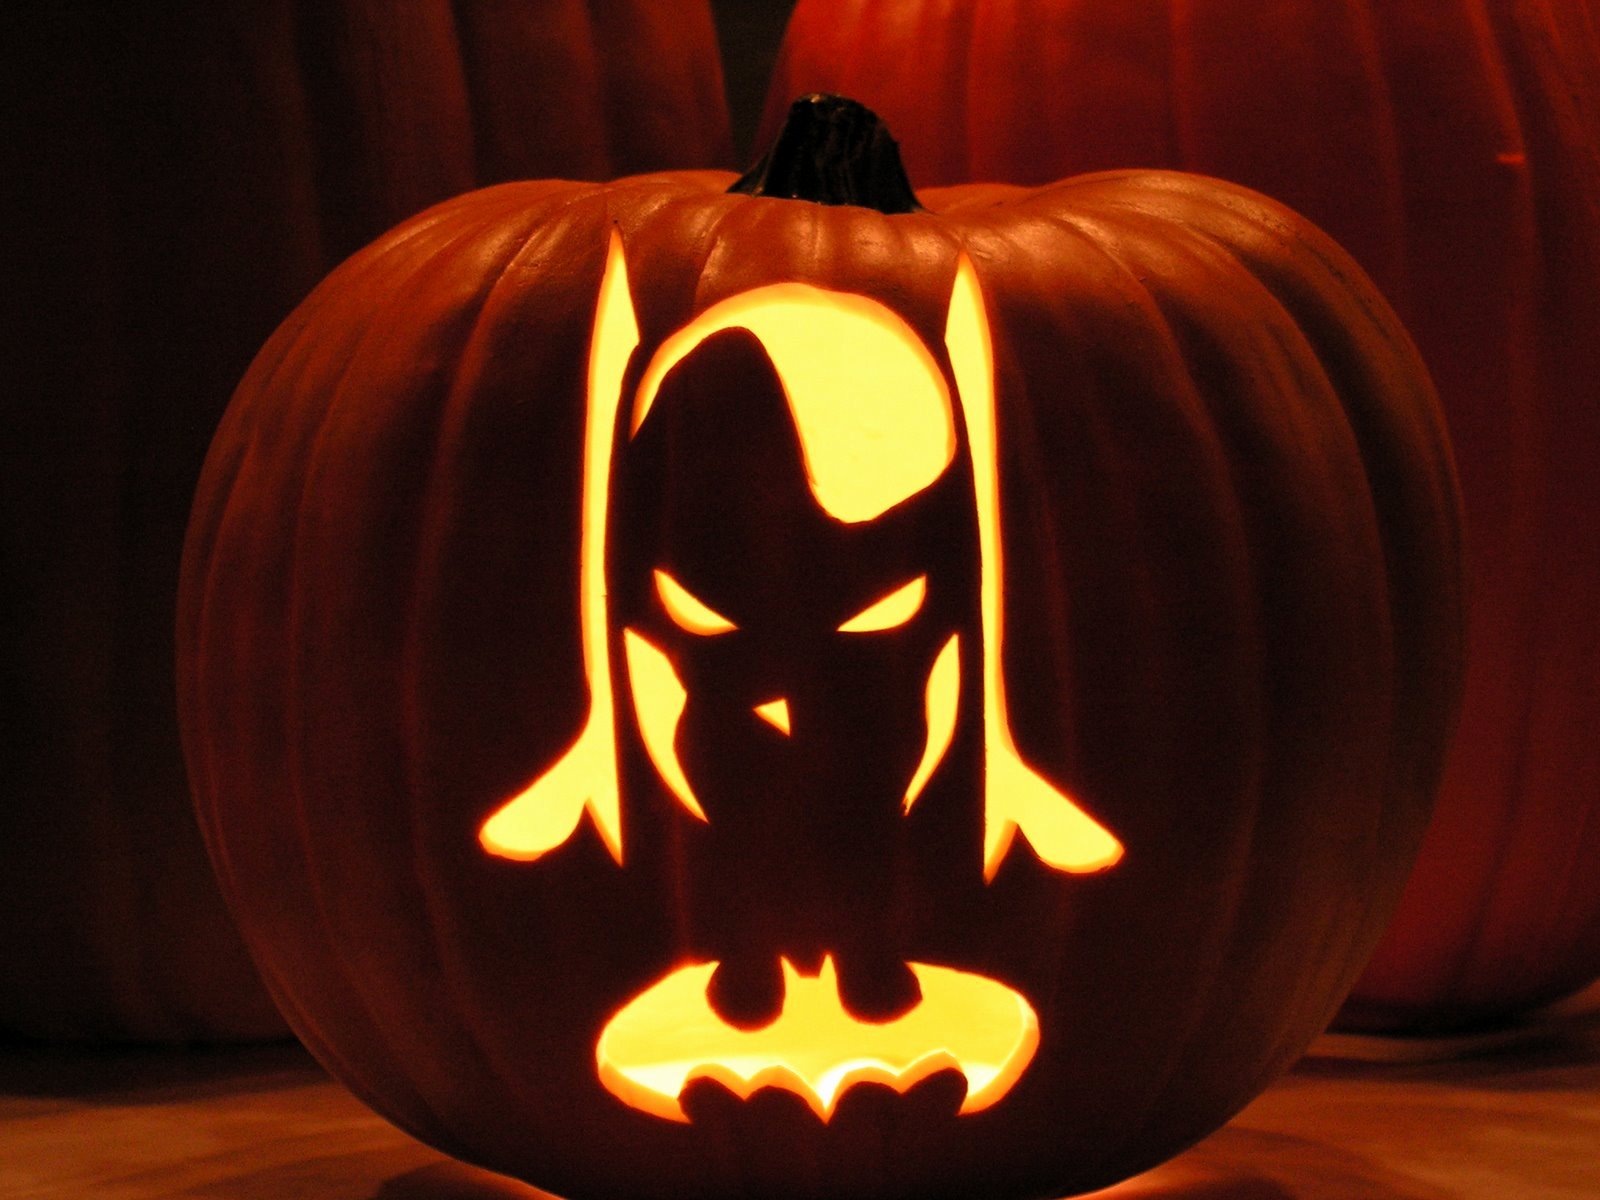
If you have carved a few pumpkins in the past, an intermediate template featuring the Dark Knight's profile or cowl is an excellent upgrade. These designs rely heavily on negative space—the unused flesh of the pumpkin forms Batman's mask and sharp ears, while the carved channels define his jawline, piercing white eyes, and shoulder cape. The key challenge here is maintaining thin connecting bridges between cutouts so the mask does not cave inward.
Advanced: Surface Etching and Comic Portraits
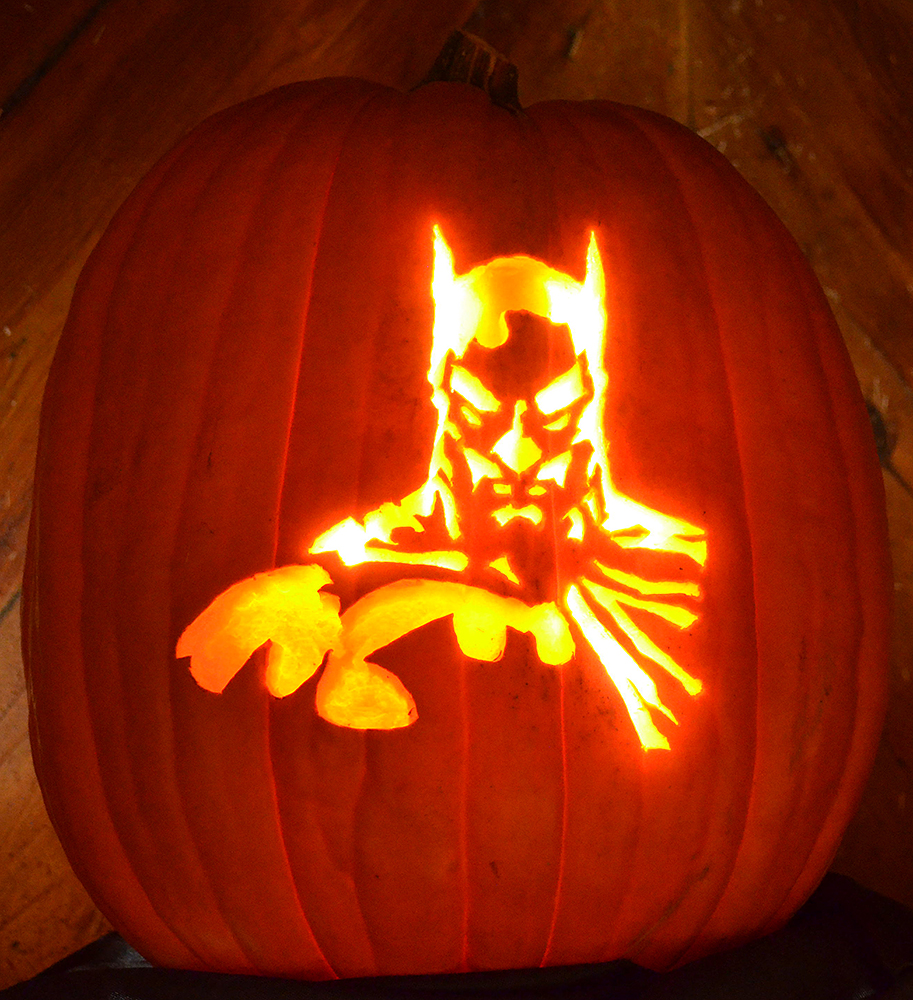
For master carvers, advanced templates introduce surface scraping (also known as flesh etching or shaving) rather than complete pass-through cuts. These designs treat the pumpkin skin like a lithograph, peeling away varying depths of rind to create layered shades of orange and amber. Advanced Batman templates often recreate Jim Lee comic panels, rain-soaked gargoyle poses, or dramatic showdowns between Batman and the Joker.
Essential Tools for Precision Stencil Carving
Ditch the flimsy plastic knives found in discount kits. High-detail templates require dependable, sharp tools that offer clean control:
- Heavy-duty serrated keyhole saw: Perfect for removing the pumpkin lid and roughing out large background areas.
- Craft hobby knife (X-Acto): Crucial for scoring fine lines, sharp bat-ear points, and tight wing scallops.
- Transfer wheel or awl: Used to poke tiny locator holes along the printed lines of your template.
- Linoleum cutters or clay ribbon tools: Essential for peeling back skin to achieve a glowing, textured background without cutting all the way through the wall.
- Scraping scoop: A large ice cream scoop or metal plastering trowel to thin the interior wall to a consistent one-inch depth.
How to Use Batman Pumpkin Carving Templates Step-by-Step
Getting a digital or printed pattern onto an uneven, organic surface can be tricky. Follow these steps to ensure crisp lines and structural stability.
Step 1: Prep the Gourd
Video: Batman (Pumpkin Carving Timelapse) [4K UHD]
Select a pumpkin with a relatively flat face and minimal deep ridges. When cutting the access hole, cut an angled circle into the bottom rather than the top. Bottom-opening keeps the stem intact, hides the seam completely, and lets you slide the pumpkin over your light source instead of dropping a candle down from above. Scrape the interior wall behind your carving zone until it is roughly three-quarters of an inch to one inch thick. If the wall is too thick, deep cuts block the light; if it is too thin, the structure sags.
Step 2: Resize and Position Your Stencil
Print your chosen Batman template so it covers roughly 60 to 70 percent of the pumpkin’s visible face. If the stencil wraps too far around the sides, the image distorts. To make the flat sheet of paper conform to a round pumpkin, cut small horizontal relief slits along the paper's margins. This allows the sheet to curve cleanly across the surface without bunching. Fasten it tightly using blue painter's tape, which holds securely against damp rind without leaving gummy residue.
Step 3: Transfer the Design
You can transfer your Batman stencil using one of two proven methods:
- The Pin-Prick Method: Take a pushpin, awl, or tracing wheel and follow every outline of the stencil, punching small holes roughly one-eighth of an inch apart into the pumpkin's flesh. Remove the paper, then rub a handful of cornstarch or flour across the rind; the white powder settles into the holes, making the design instantly visible.
- Direct Tracing: Place a sheet of graphite transfer paper beneath your template and trace over the lines firmly with a ballpoint pen. This leaves an unbroken line on the pumpkin face, which is especially useful for detailed cowl silhouettes.
Step 4: Cut from the Center Outward
Always begin your cuts in the center of the design and work toward the outer edges. This keeps the surrounding flesh supported and rigid while you work on delicate details. For a Batman silhouette, tackle the tiny eye slits, the points between the ears, and the inner cape folds before making the broad cuts around the perimeter. Hold your saw at a strict 90-degree angle to the pumpkin face so light streams directly outward toward viewers.
Through-Cutting vs. Flesh Etching: Recreating the Bat-Signal
The most visually striking Batman pumpkins use a hybrid carving style that blends traditional cut-outs with surface etching. When you look at the Bat-Signal in comics or movies, a dark bat shape sits centered inside an intense cone of yellow spotlight. Recreating this on a pumpkin gives your display a cinematic depth.
To achieve this effect, leave the central bat silhouette completely intact (unpeeled pumpkin rind). Then, carve a smooth oval frame around it. Instead of cutting that oval completely out, use a linoleum gouge to strip away just the dark orange outer rind within the oval border. The exposed translucent inner pulp will glow a radiant, warm yellow when back-lit, while the untouched skin in the center blocks the light completely, casting a stark, menacing Bat silhouette.
Lighting and Preserving Your Dark Knight Jack-o'-Lantern
Once your template is carved, your lighting choice makes or breaks the presentation. High-contrast designs like Batman look best under bright, focused light rather than flickering candlelight. A cool-white battery-operated puck light or a plug-in LED spotlight (rated for outdoor use) pushes far more lumens through the scraped pulp, ensuring the Bat-Signal remains visible from the street.
To keep your creation from shriveling before Halloween night:
- Coat exposed edges: Smooth a thin layer of petroleum jelly or vegetable oil along every exposed cut to lock in moisture.
- Hydrate: If your pumpkin begins to curl or wilt, submerge it face-down in a bath of cold water and a splash of bleach for two to three hours. It will rehydrate and plump back up.
- Keep it cool: Keep the pumpkin out of direct sunlight during the day. If daytime temperatures are warm in your area, bring your lantern inside or store it in a cool garage until dusk.
With a reliable template, steady hands, and the right transfer technique, your carved tribute to Gotham's protector will stand out as the centerpiece of your Halloween display.