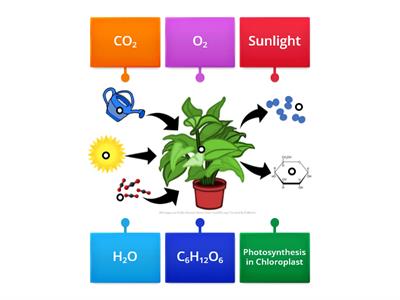
Beautifully Designed A4 Photosynthesis Labels
Teaching plant biology often comes with a major hurdle: helping students visualize an invisible, microscopic process. Photosynthesis involves complex chemical equations, chloroplast structures, and gas exchanges that can easily overwhelm learners if presented as plain text in a textbook. That is why educators and homeschoolers constantly search for visual aids that simplify these concepts without sacrificing scientific accuracy.

Using beautifully designed A4 photosynthesis labels transforms a standard worksheet into an engaging, interactive learning experience. By combining thoughtful typography, color-coded pathways, and clean vector illustrations, these ready-to-print resources capture students' attention and significantly improve information retention.
Why Visual Aids Matter in Plant Biology
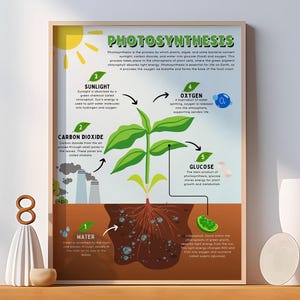
The human brain processes visual information much faster than text alone. When students study photosynthesis, they need to trace how light energy, carbon dioxide, and water convert into glucose and oxygen. A well-structured A4 diagram acts as a roadmap for this chemical journey.
- Cognitive Load Reduction: Clean layouts prevent visual clutter, allowing students to focus strictly on the biological process.
- Spatial Memory: Labeling specific plant structures—such as the palisade mesophyll, stomata, and chloroplasts—helps students remember where these reactions occur.
- Active Engagement: Interactive labeling tasks turn passive reading into an active, hands-on cognitive exercise.
Key Components to Include in Your Diagrams
A comprehensive photosynthesis diagram must cover both the macro level (the plant and its environment) and the micro level (inside the leaf and cell). When selecting or creating your printable sheets, ensure the following core elements are clearly marked:
1. External Inputs and Outputs
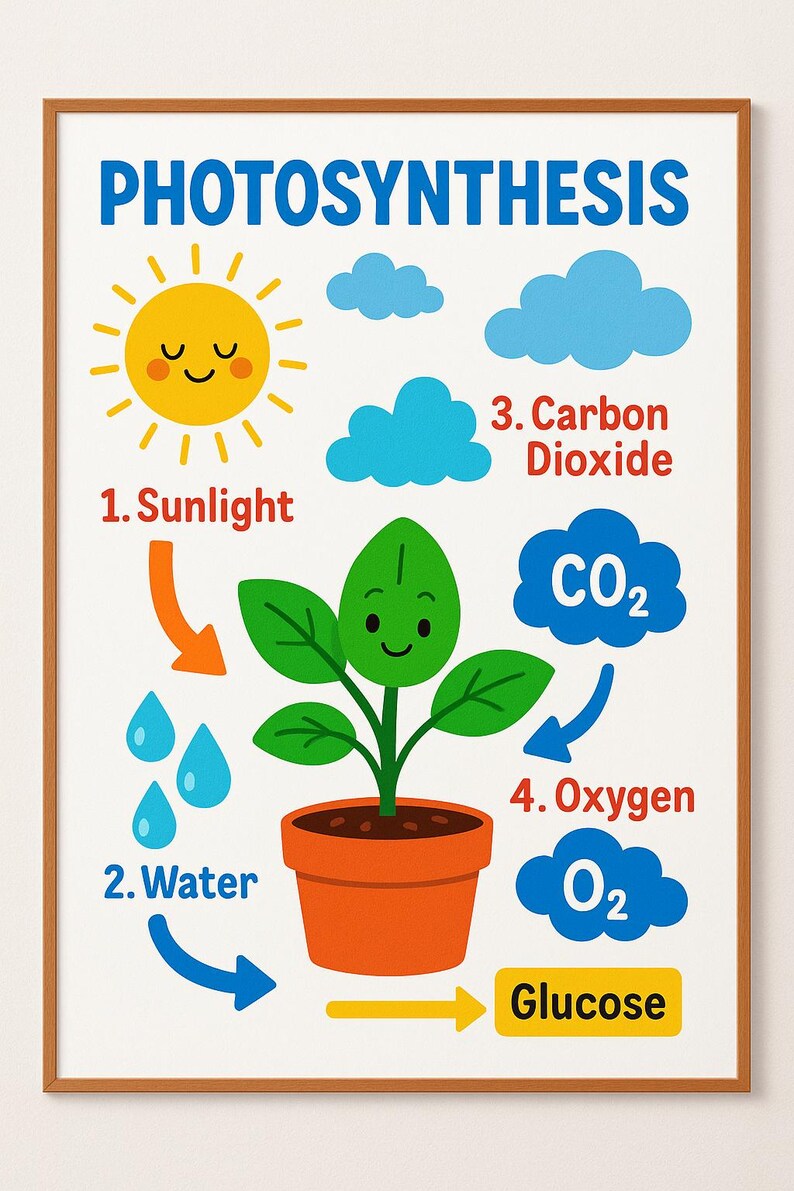
Every standard photosynthesis equation requires clear markers for what enters and leaves the plant system:
- Sunlight (radiant energy absorbed by chlorophyll)
- Carbon dioxide ($CO_2$) entering through the leaves
- Water ($H_2O$) absorbed through the root system
- Oxygen ($O_2$) released as a byproduct
- Glucose ($C_6H_{12}O_6$) produced as chemical energy
2. Internal Leaf Anatomy
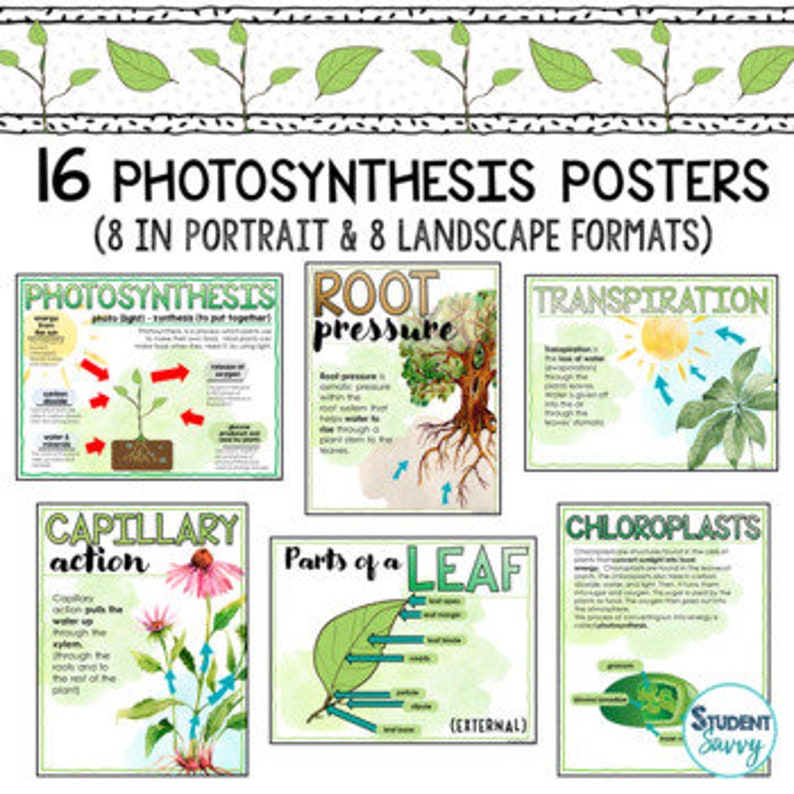
To understand the mechanics of the process, students need to look closer at the cross-section of a leaf. Essential labels should point out the upper epidermis, palisade mesophyll layer (where most photosynthesis takes place), spongy mesophyll, vascular bundles (xylem and phloem), and guard cells surrounding the stomata.
Designing for the Standard A4 Format

Why choose A4 dimensions specifically? A4 is the global standard for educational worksheets, making it universally compatible with standard home and school printers. However, designing specifically for A4 requires a strategic layout to ensure maximum legibility and usability.
Typography and Readability
The best educational designs use clean, sans-serif fonts such as Helvetica, Arial, or Open Sans. Headers should be bold and distinct, while labels should feature crisp, legible lettering with plenty of surrounding white space. Crowded text leads to student fatigue and mistakes during grading.
Color Theory in Science Printables
Color plays a massive psychological role in education. Beautifully designed sheets typically leverage nature-inspired palettes:
- Vibrant Greens: Used for chloroplasts and leaf tissue to establish an immediate visual connection to plant life.
- Bright Yellow/Orange: Representing radiant light energy from the sun.
- Cool Blues: Highlighting water absorption and transport through the xylem.
- Clear Red/Grey: Used to indicate gas exchange elements like carbon dioxide and oxygen.
For budget-friendly classrooms, ensure your chosen designs also look sharp in grayscale or high-contrast black and white, maintaining clarity even without color printing.
How to Implement Labels in Your Curriculum
Having high-quality, printable resources is only half the battle. Integrating them effectively into your lesson plans maximizes their educational impact. Here are a few creative ways to use them:
- Laminated Station Rotations: Print your A4 diagrams on heavy cardstock and laminate them. Provide dry-erase markers so students can practice labeling the parts repeatedly during science centers.
- Interactive Notebook Inserts: Scale down the A4 layout slightly so students can glue the diagram into their interactive science notebooks as a permanent reference guide.
- Assessment Tool: Use a blank version of the diagram as a quick formative assessment or quiz at the end of a plant biology unit.
Conclusion
Investing time in clear, aesthetically pleasing educational materials pays off through higher student engagement and better test scores. By upgrading standard worksheets to beautifully designed A4 photosynthesis labels, you create an inviting learning environment where complex biological concepts become accessible, memorable, and fun to explore.