Best Airbrush Photo Editor Tools & Techniques
When you look at glossy magazine covers or high-end fashion campaigns, the skin of the models almost always looks impossibly smooth and flawless. Historically, this required hours in a darkroom or meticulous manual brushwork. Today, achieving that polished look is much faster thanks to a digital airbrush photo editor.

Whether you are a professional photographer refining a client's portfolio or an enthusiast looking to polish up a casual selfie, understanding how to use airbrushing tools correctly is essential. Done right, it enhances natural beauty; done wrong, it creates a plastic, unnatural finish. This guide explores what airbrush photo editors do, how to choose the right one, and best practices for realistic retouching.
What Is an Airbrush Photo Editor?
An airbrush photo editor is a software tool—either desktop-based or available as a mobile app—that mimics the effect of a physical airbrush. In traditional makeup artistry, an airbrush applies a fine mist of foundation for an even, seamless complexion. Digital airbrushing does the exact same thing to pixels.
Instead of applying paint, the digital tool blends color tones, blurs harsh transitions, and softens textures. It is most commonly used for:
- Smoothing skin texture and reducing the appearance of pores.
- Minimizing fine lines, wrinkles, and blemishes.
- Even out skin tone inconsistencies and redness.
- Contouring the face using subtle highlights and shadows.
Popular Features to Look For
Not all editing suites are created equal. If you are shopping for a dedicated airbrush photo editor, look for these core features:
- Adjustable Brush Opacity and Flow: Fine control over how much effect is applied with each stroke prevents over-editing.
- Healing and Cloning Brushes: Essential for removing temporary blemishes like acne or scars without disturbing the surrounding skin texture.
- Frequency Separation Capabilities: Advanced tools allow you to separate color tones from skin texture, enabling smooth skin without destroying natural pores.
- AI-Powered Enhancements: Modern apps use artificial intelligence to automatically detect faces, eyes, and skin, speeding up the retouching workflow.
Top Software and Apps for Airbrushing Photos
Depending on your device and skill level, several options stand out in the current market for digital retouching.
1. Adobe Photoshop
As the industry standard, Photoshop offers unmatched control. Using a combination of the Mixer Brush, Healing Brush, and frequency separation techniques, professionals can achieve hyper-realistic airbrushed skin. It has a steep learning curve, but the results are entirely customizable.
2. PortraitPro
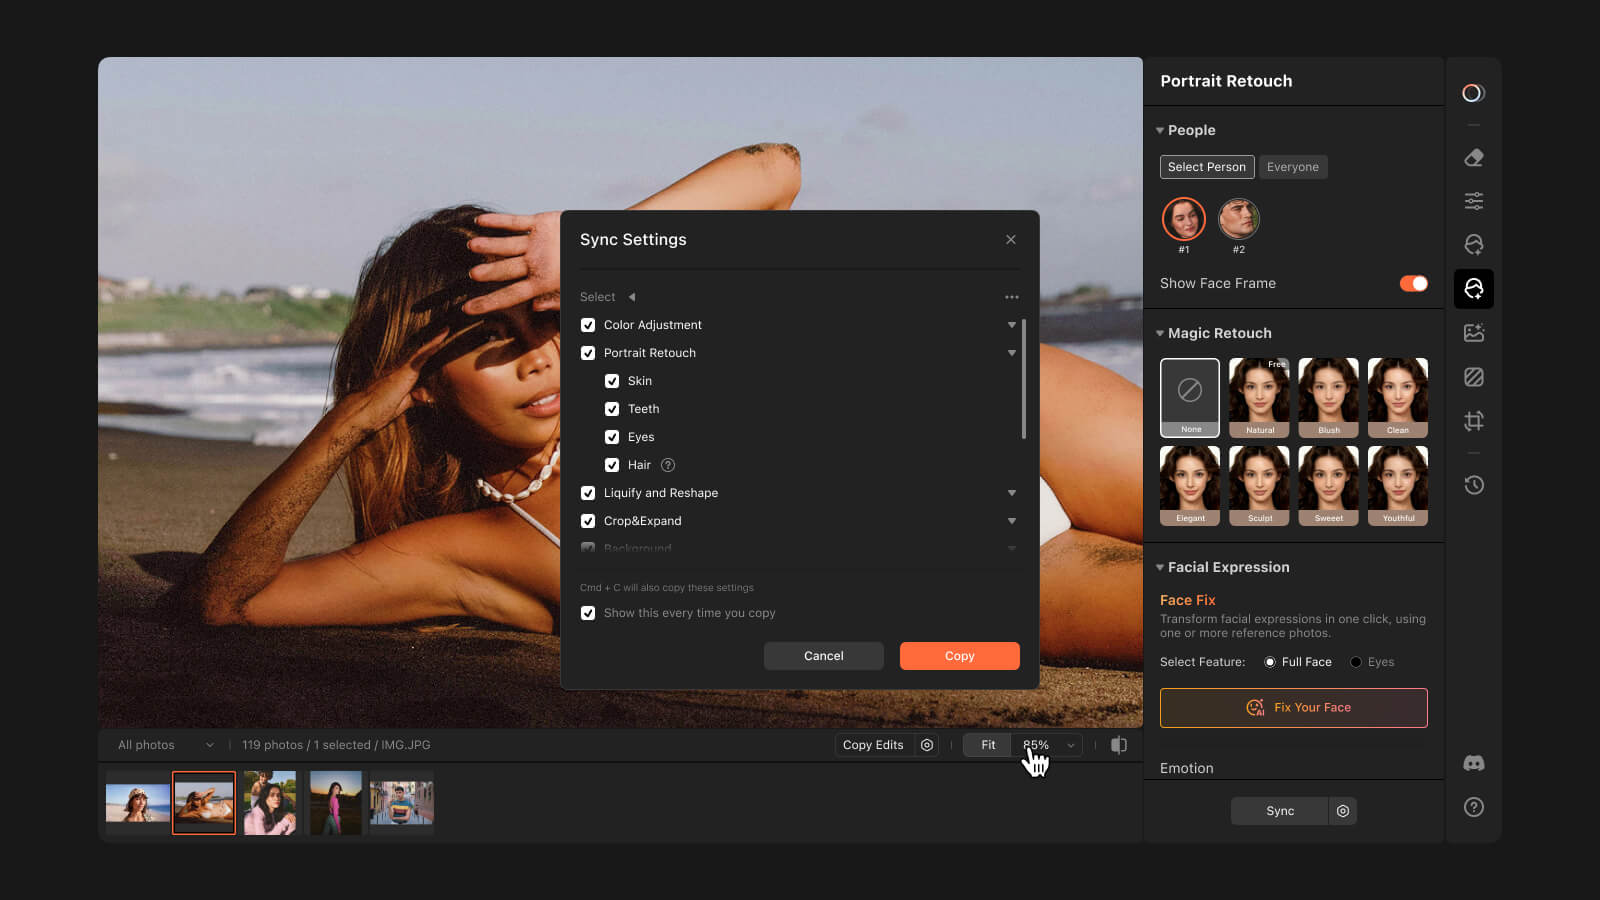
PortraitPro is specifically designed for portrait retouching. It uses intelligent facial recognition software to map out facial features, allowing users to adjust lighting, skin smoothness, and makeup with simple slider controls. It is ideal for photographers who want speed and precision.
3. Mobile Apps (Facetune, AirBrush, Lightroom Mobile)
For quick touch-ups on smartphones, apps like Facetune and AirBrush provide instant smoothing, reshaping, and blemish removal. They are user-friendly and designed for casual users who want polished selfies in seconds.
Step-by-Step Guide to Natural Airbrushing
The biggest trap in digital editing is the "plastic skin" look, where all pores and natural contours are completely erased. To keep your portraits looking professional, follow this step-by-step workflow:
- Perform Basic Global Adjustments First: Before touching up the skin, fix your exposure, contrast, white balance, and cropping. Retouching should always be one of the final steps in your editing pipeline.
- Clean Up Distractions: Use a spot healing brush to remove temporary blemishes, stray hairs falling across the face, or dust particles on clothing. Leave permanent features like birthmarks unless specifically asked to remove them.
- Smooth the Skin Gently: Select your airbrush tool or softening brush. Keep the opacity low (around 10% to 20%) and build up the effect gradually. Focus on areas with harsh shadows or uneven texture, such as under the eyes or around the cheeks.
- Preserve Texture: Real skin has pores and fine lines. If your airbrushing makes the skin look like glass or porcelain, dial back the effect. You can often paint back in a subtle layer of film grain or noise to restore a natural look.
- Enhance Eyes and Teeth (Optional): Gently brighten the whites of the eyes and add a touch of clarity to the iris, but avoid over-whitening teeth, which can look unnatural in natural lighting.
Common Mistakes to Avoid
Even with the best airbrush photo editor, it is easy to cross the line from enhanced to over-edited. Watch out for these common pitfalls:
- Ignoring the Neck and Hands: If you smooth a subject's face to perfection but leave their neck and hands untouched, the contrast will look jarring and obviously edited.
- Loss of Dimension: Heavy blurring flattens facial features. Always maintain natural highlights on the nose, forehead, and cheekbones to keep the face looking three-dimensional.
- Over-Saturation: Pushing skin warmth or saturation too high during the airbrushing process can result in an unnatural orange or sunburned hue.
Conclusion
An airbrush photo editor is a powerful instrument in any visual creator's toolkit. When used with restraint and precision, it elevates portraits, boosts subjects' confidence, and delivers a professional polish. Remember that the best retouching is often invisible—the viewer should notice a striking, healthy portrait, not the digital brushstrokes behind it.


