Build the Ultimate DIY DeWalt Crosscut Sled
Why Your DeWalt Table Saw Needs a Crosscut Sled

Table saws are incredible workhorses, but the factory miter gauge that comes with most models—including popular DeWalt jobsite and contractor saws—often leaves a lot to be desired. Miter slots tend to have a little bit of play, and the standard gauge offers minimal support for wide panels or long boards. This is where a custom-built DeWalt crosscut sled transforms your cutting accuracy.
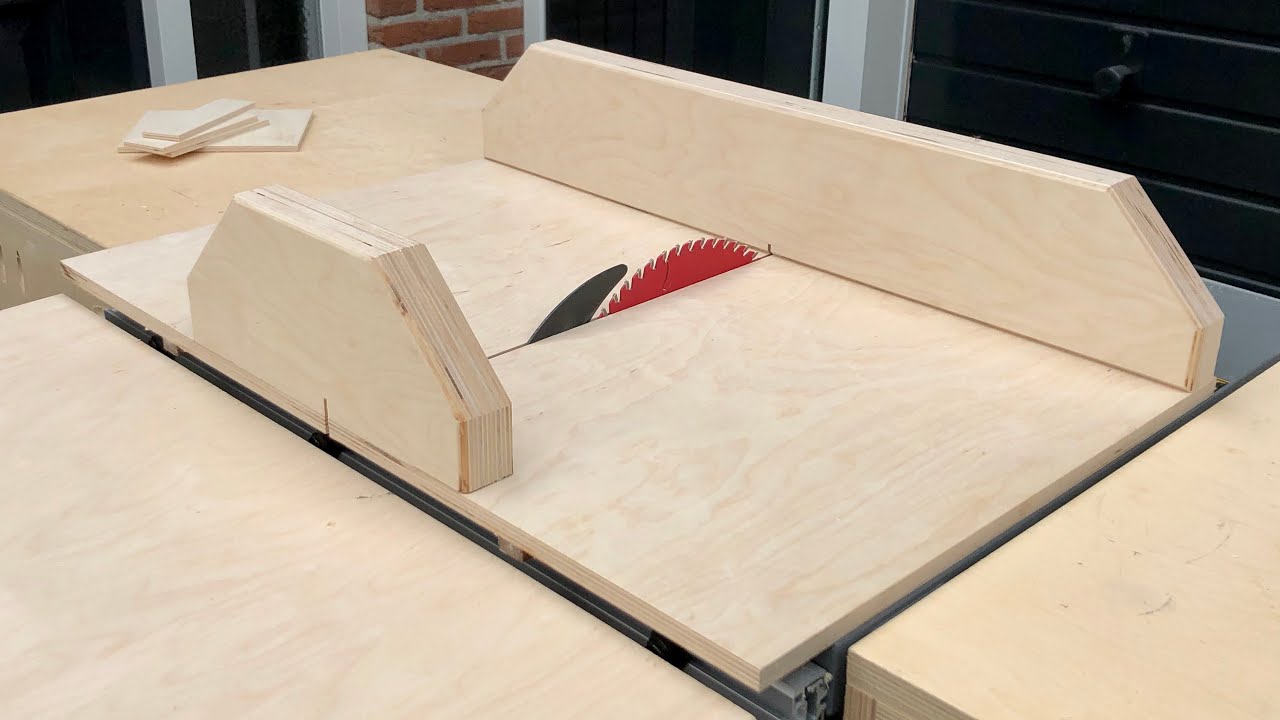
By riding on runners fitted directly into the table saw's miter slots, a crosscut sled completely eliminates side-to-side slop. It cradles your workpiece securely against a rigid fence, allowing you to make safe, splinter-free, and perfectly square 90-degree crosscuts. Whether you are building fine furniture, cutting picture frames, or tackling rough workshop storage projects, this jig quickly becomes the most used accessory in your shop.
Choosing Materials for Your Sled Base and Fence
The secret to a flat, reliable sled is choosing dimensionally stable sheet goods. Avoid cheap construction-grade plywood, which often warps and lacks consistent thickness.
- Base: 1/2-inch or 3/4-inch Baltic birch plywood is the gold standard. It offers incredible strength, resists warping, and stays flat. A 1/2-inch base maximizes your maximum cutting depth, while 3/4-inch provides ultimate rigidity for heavy stock.
- Fence: Use two strips of 3/4-inch plywood laminated together (glued and screwed) to create a dead-flat, ultra-rigid fence. If your fence flexes even a fraction of a millimeter, your cuts will not be square.
- Runners: Hardwood like oak or hard maple works well, or you can purchase high-density polyethylene (HDPE) runners. HDPE is fantastic because it doesn't swell or shrink with humidity changes.
Step-by-Step Build Guide
Building a custom sled for your specific DeWalt table saw model requires patience and careful measuring. Follow these steps to ensure a professional result.
1. Fitting the Miter Runners
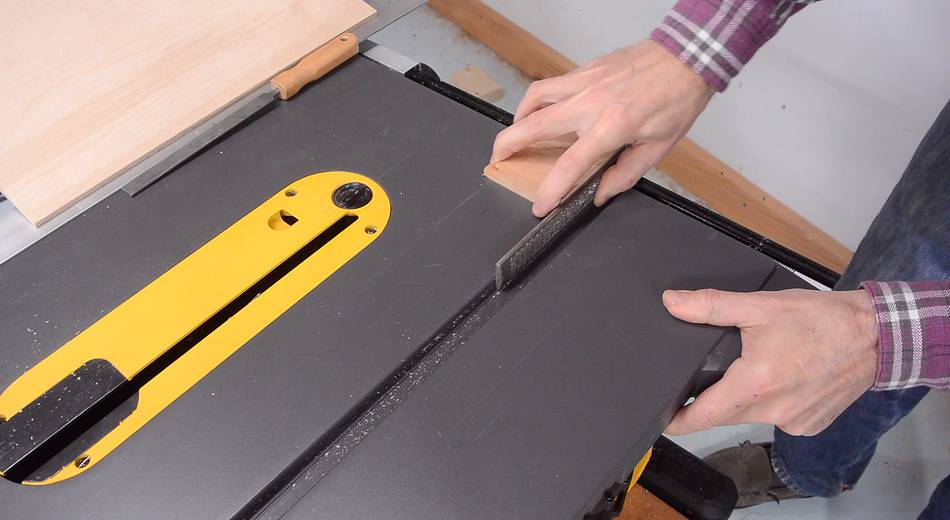
DeWalt table saws typically feature standard 3/4-inch miter slots, but the depth can vary slightly depending on whether you are using a compact jobsite saw (like the DWE7485) or a larger contractor model. Rip your runner material so it slides smoothly in the slot with zero lateral play, but without binding. If your wood runners feel tight due to humidity, sand the sides slightly or apply paste wax.
Place thin spacer coins or playing cards into the bottom of the miter slots. Set your runners on top of these spacers—this lifts the runners slightly above the table surface. Apply a few drops of double-sided tape or CA glue to the top of the runners.
2. Attaching the Base
Carefully lower your pre-cut plywood base down onto the glued runners, making sure the back edge of the plywood extends past the back of the table saw blade opening. Press down firmly to bond the base to the runners. Gently lift the sled assembly off the saw; your runners should now be perfectly positioned on the underside of the plywood base.
To make the connection permanent, pre-drill countersunk pilot holes through the top of the plywood base into the runners, and secure them with flat-head wood screws. Ensure the screw heads are seated slightly below the surface of the plywood so they don't scratch your table saw top.
3. Building and Mounting the Rear Fence
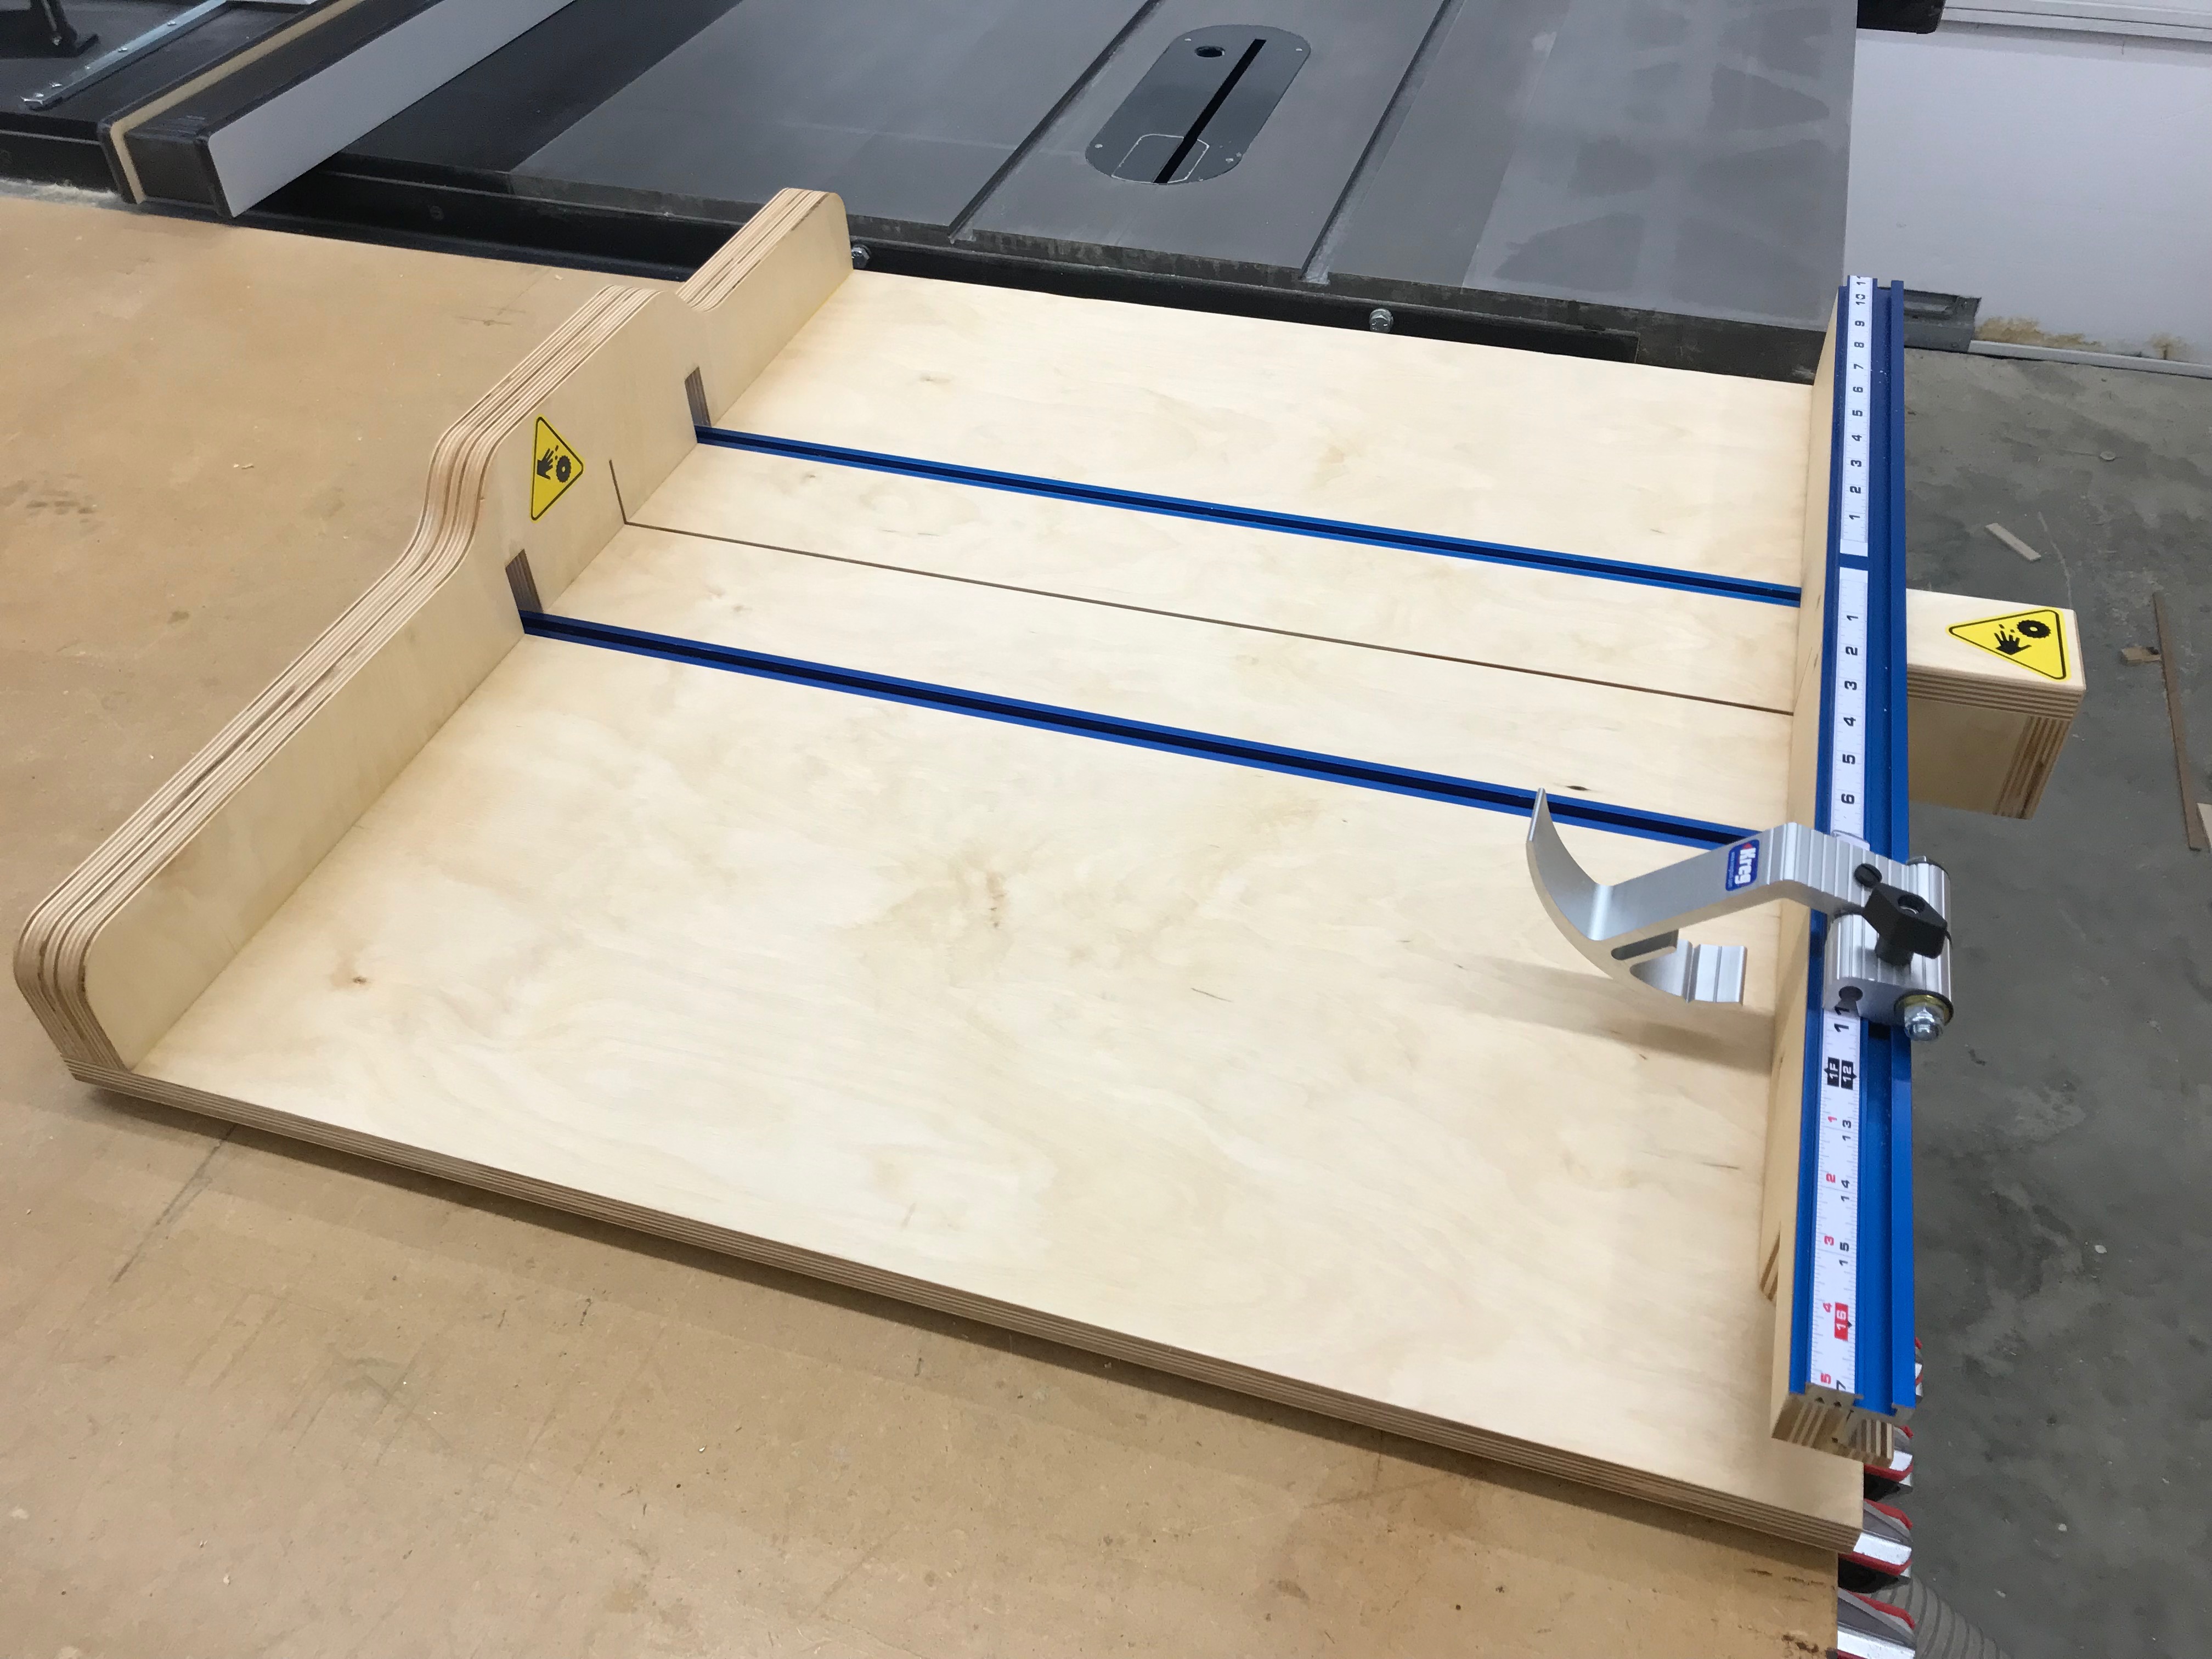
Your crosscut sled will feature two fences: a rear fence where the wood rests, and a temporary front fence that connects the front of the base together. For now, keep the front base intact.
Mount your laminated rear fence to the base using glue and heavy-duty screws driven from underneath the base up into the fence. Before tightening the screws completely, use a machinist's square to ensure the fence is as close to 90 degrees to the blade path as possible.
4. Making the Blade Cut-Through
Safety is critical during this step. Put on your safety glasses, clear the table, and plug in your DeWalt table saw.
- Start the saw and slowly push the sled forward, allowing the spinning blade to cut completely through the rear fence and the base of the sled.
- Do not cut all the way through the front edge of the sled; leave the front bridge intact to keep the two halves of the sled rigidly connected.
- Turn off the saw and wait for the blade to come to a complete stop before pulling the sled back.
The 5-Cut Method for Perfect Squareness
Even with careful measuring, a fence mounted by eye will rarely be dead square. To achieve true zero-tolerance accuracy, use the famous "5-cut method" developed by woodworking legend Alan Strazza.
- Take a scrap piece of sheet good (at least 12x12 inches) with a reasonably straight factory edge.
- Place the edge against your fence and make a cut.
- Rotate the piece clockwise 90 degrees, place the freshly cut edge against the fence, and make another cut.
- Repeat this rotation for a total of 4 cuts.
- On the 5th and final cut, trim a very thin sliver off the edge, and then cut the piece off the main board entirely.
- Measure the resulting small offcut with digital calipers at both ends. If the end near the saw blade is wider than the outer end, your fence needs to be pivoted. Adjust your fence screws accordingly and repeat the test until the measurements on both ends of the strip are identical.
Safety Features and Best Practices
A crosscut sled encloses the saw blade during the cut, which inherently improves safety compared to freehand miter gauge usage. However, you should still practice strict workshop safety habits.
Always keep your hands well away from the path of the blade. Consider building a clear acrylic blade guard that mounts over the top of the rear fence to catch flying sawdust and prevent accidental contact. Additionally, never attempt to cut stock that is too thick for your blade height, and make sure your sled base glides smoothly before turning on the power.
Conclusion
Taking the time to build a dedicated crosscut sled for your DeWalt table saw yields massive dividends in precision and safety. By using stable materials, properly fitting your miter runners, and dialing in your squareness with the 5-cut method, you will produce furniture-grade crosscuts that elevate every woodworking project you tackle.