Chow Hound Nail Trim: A Stress-Free Guide
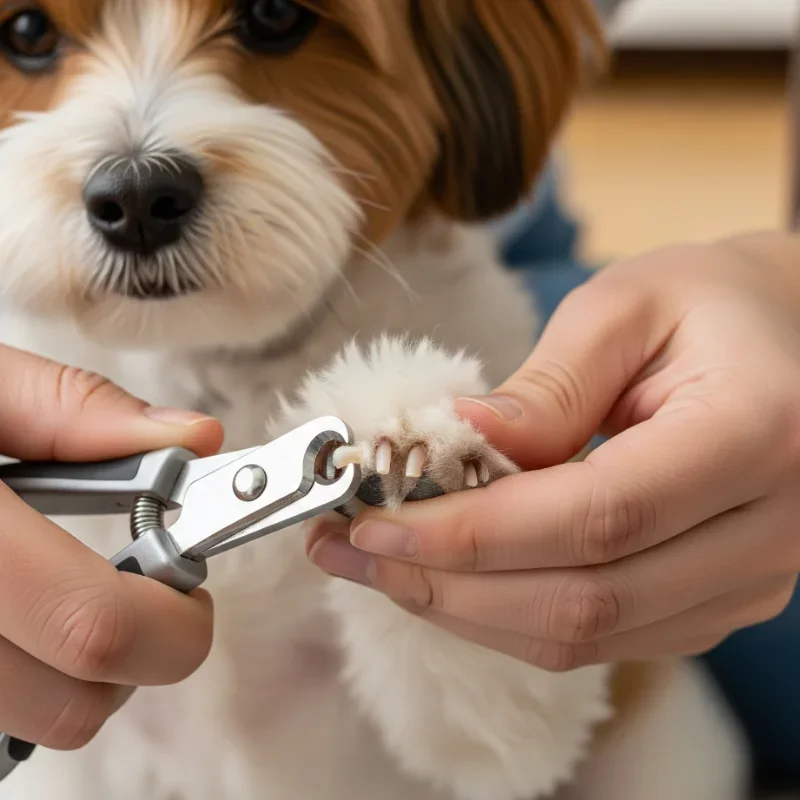
Grooming a dog that is intensely food-motivated—often affectionately called a chow hound—can present a unique set of challenges. When every rustle of a wrapper or movement near the kitchen signals snack time, getting your dog to sit still for a chow hound nail trim requires a bit of strategy. Unlike more laid-back pets, these enthusiastic eaters tend to fixate entirely on treats, sometimes leading to frantic pawing, licking, or impatient whining.

Keeping your dog's nails at a healthy length is essential for their overall mobility, joint health, and posture. Overgrown nails can catch on carpets, split painfully, or force your dog to distribute their weight unnaturally. Fortunately, combining the right tools with smart psychological tricks can turn a stressful grooming chore into a bonding experience that even a food-obsessed pup can handle.
Understanding the Anatomy of a Dog's Nail
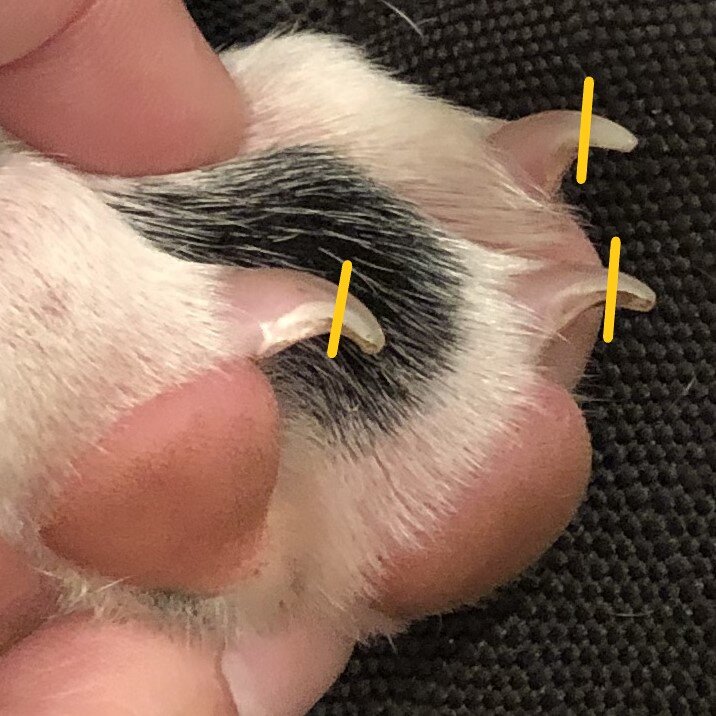
Before you clip a single claw, it helps to understand what you are cutting. A dog's nail consists of two primary parts: the hard outer shell and the living blood vessel and nerve inside, commonly known as the "quick."
- The Quick: This is the pinkish core inside light-colored nails. It supplies blood and feeling to the nail. Cutting into the quick causes pain and bleeding.
- The Shell: The outer keratin layer has no nerve endings. This is the only part you should be cutting or filing away.
If your dog has dark, pigmented nails, spotting the quick is much harder because it isn't visible from the outside. In this case, look at the underside of the nail. As you trim thin slices away, you will eventually see a small grayish or white oval appear in the center of the cut edge. Stop immediately once you see this circle, as it indicates you are getting very close to the quick.
Essential Tools for the Job
Using the correct equipment makes the trimming process faster, cleaner, and much safer. Investing in quality tools prevents crushing the nail, which is a common issue with dull or cheap clippers.
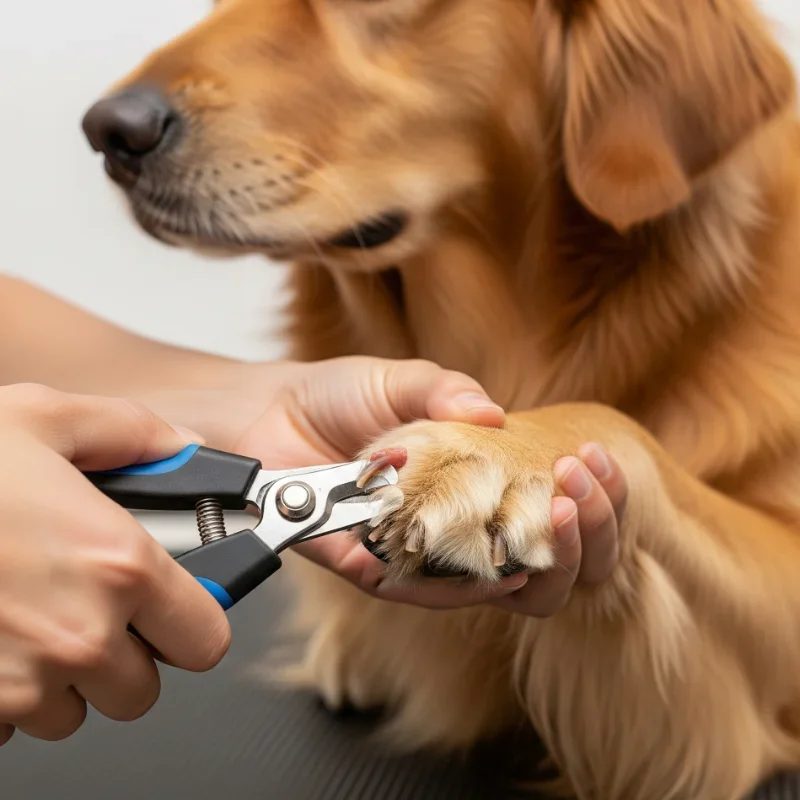
- Scissor-Style Clippers: Best for small to medium dogs. They offer precise control and make a clean cut.
- Plier-Style Clippers: Ideal for larger, thicker nails. They feature a heavy-duty spring mechanism that provides extra leverage.
- Guillotine Clippers: Feature a fixed ring where the tip of the nail is inserted, and a blade slides up to cut it. Use with caution, as they can sometimes crush rather than slice.
- Electric Nail Grinder: Great for smoothing rough edges and grinding nails down gradually, especially useful for dark nails where you want to inch closer to the quick safely.
- Styptic Powder: A non-negotiable safety item. If you accidentally nick the quick, applying a pinch of styptic powder instantly stops the bleeding.
Step-by-Step Guide to a Chow Hound Nail Trim
Because food-motivated dogs are easily distracted by the promise of snacks, you can use their appetite to your advantage. Follow these steps to ensure a smooth session.
1. Desensitize and Prep
Start by getting your dog comfortable with having their paws handled. Gently touch, massage, and hold their paws while offering high-value treats like small pieces of cooked chicken, cheese, or peanut butter. Pair the touch with the reward so your dog forms a positive association with paw handling.
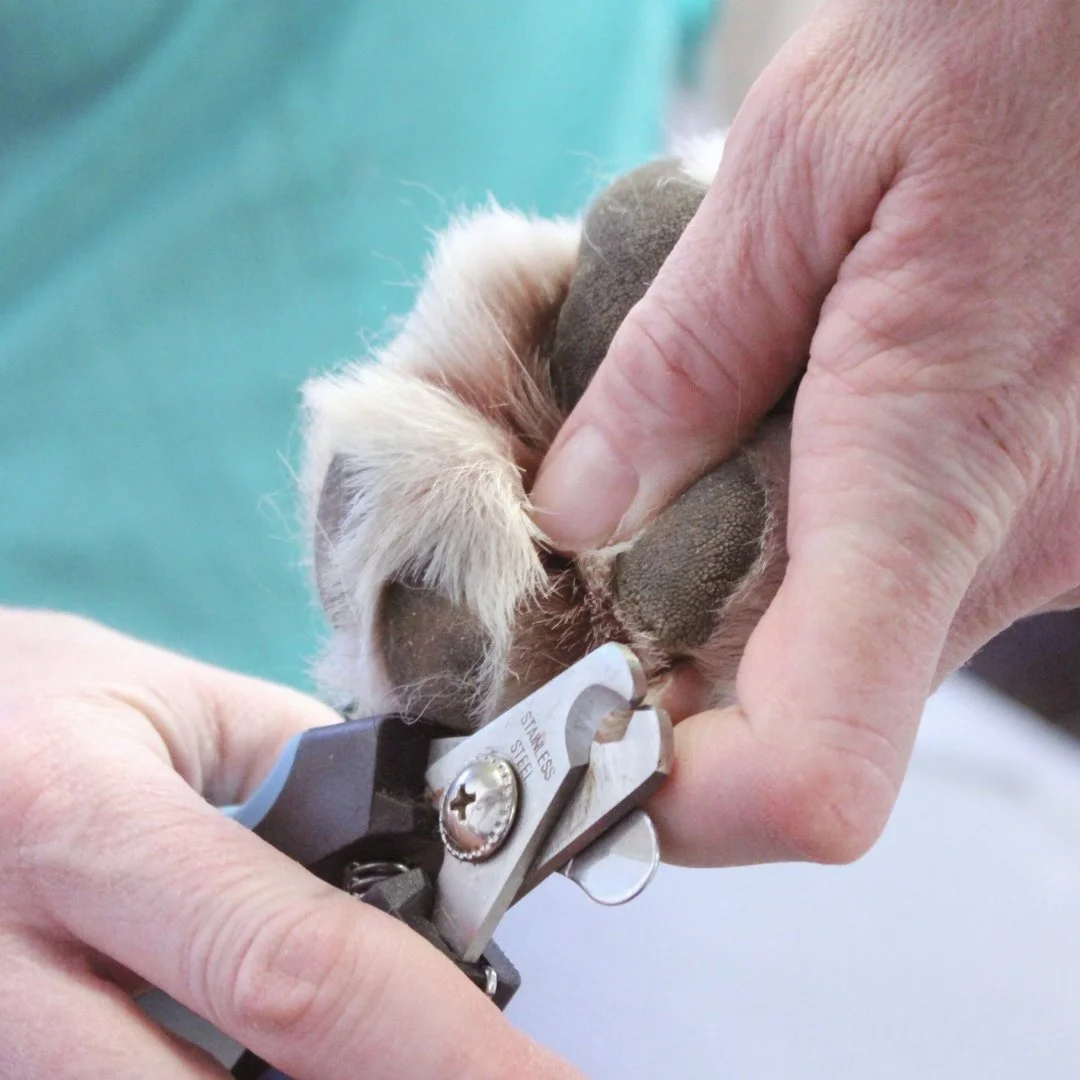
Next, show them the clippers without using them. Let them sniff the tool, and immediately reward them. This removes the initial fear of the equipment.
2. Distract with a Lick Mat
For a true chow hound, distraction is your best weapon. Smear a generous layer of dog-safe peanut butter (completely free of xylitol) or plain Greek yogurt onto a textured silicone lick mat. Stick the mat to a refrigerator, tile wall, or flat surface at your dog's eye level.
As soon as your dog starts licking the mat, they will be entirely absorbed in the food. This creates a natural window of time where you can focus on lifting and trimming their paws without resistance.
3. Trim in Small Increments
Take your time and avoid trying to cut the nail down to its ideal length all at once. Take off small slivers at a 45-degree angle, following the natural curve of the nail. If you are using a grinder, use short, sweeping motions rather than holding the spinning head in one spot too long, which generates uncomfortable friction heat.
4. Reward and Praise
As you finish each paw—or even each individual nail if your dog is particularly nervous—offer verbal praise and a tasty reward. Keep the sessions short. If your dog becomes overly restless, it is better to finish the remaining nails on another day than to force it and create long-term grooming anxiety.
Troubleshooting Common Challenges
Even with the best preparation, unexpected hiccups can happen during a grooming session.
- What to do if you hit the quick: Stay calm. Dogs feed off our energy. If you gasp or panic, your dog will panic too. Immediately apply a dab of styptic powder to the bleeding nail and apply gentle pressure for a few seconds. Offer a high-value treat to distract them from the brief pinch.
- Dealing with extreme paw sensitivity: If your dog pulls their paw away aggressively, slow down your training. Spend a few days just touching their paws for one second followed by a treat, gradually increasing the duration before you even bring out the clippers.
By pairing high-value distractions like lick mats with patience and proper tools, the dreaded chow hound nail trim can become a manageable, stress-free routine for both you and your hungry pup.