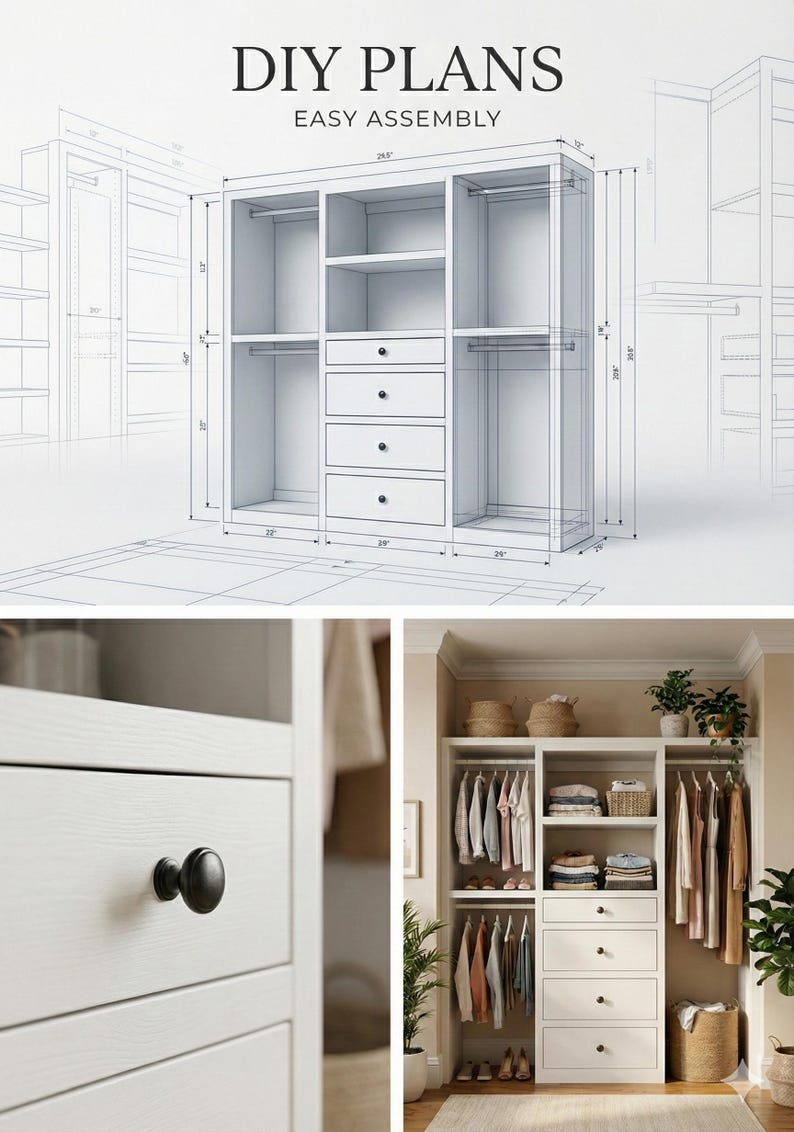
Closet Organizer Plans: Free DIY Build Guide
A custom closet system from a commercial installer can easily cost between $1,500 and $5,000. Fortunately, building your own custom shelving requires only basic carpentry skills, a weekend of labor, and a fraction of the budget. Using high-quality closet organizer plans free of licensing fees or paywalls allows you to tailor your storage specifically to your wardrobe, room dimensions, and storage needs.

This guide provides a comprehensive, field-tested plan for a universal 6-to-8-foot reach-in closet. You will find standard dimensional standards, material recommendations, an accurate cut list, and detailed assembly steps to build an organizer that lasts decades.
Standard Dimensions for Functional Closet Design
Before cutting wood, you must design around human ergonomics and clothing dimensions. Whether you modify these plans or build them to spec, adhere to these fundamental standards:
- System Depth: 14 inches is the gold standard for organizer towers and shelves. It allows folded garments to sit flat without overhang and keeps hanging clothes (which need 21 to 24 inches of clear depth) from rubbing awkwardly against shelves.
- Double-Hanging Heights: Set the lower rod 40 to 42 inches above the finished floor. Mount the upper rod 80 to 84 inches from the floor. This provides clearance for shirts, folded pants, and jackets on both tiers.
- Long-Hanging Clearance: Dresses, suits, and long coats need 60 to 68 inches of vertical drop from the rod to the floor or lower obstruction.
- Tower Width: Central shelf towers function best between 18 and 25 inches wide. Going wider than 30 inches without mid-span support causes 3/4-inch plywood shelves to sag under heavy loads.
Materials and Tools Required
Using the right sheet goods is the difference between a high-end built-in look and a sagging unit that degrades under humidity.
Recommended Materials
- Sheet Goods: Two 4x8-foot sheets of 3/4-inch cabinet-grade hardwood plywood (such as pre-finished maple or paint-grade birch). Avoid particle board; plywood holds screws and shelf pins far better over time.
- Edge Banding: 50 feet of 13/16-inch iron-on veneer edge banding matching your plywood species.
- Hardware: 1-1/4-inch coarse-thread pocket hole screws, 2-1/2-inch cabinet installation screws, 1/4-inch shelf support pins, and heavy-duty oval closet rods with end brackets.
- Wall Cleats: One 1x4 pine board (8 feet long) for structural wall hanging.
Tools You Will Need
- Circular saw with a fine-finish blade (60T or higher) and a straight-edge guide or track saw.
- Pocket hole jig (Kreg or equivalent).
- Shelf pin drilling jig (with 1/4-inch bit and stop collar).
- Cordless drill and impact driver.
- Household clothes iron (for edge banding) and edge-banding trimmer.
- Stud finder and 4-foot bubble level.
A Complete Closet Organizer Plan Free for DIY Builders
This design uses a central 24-inch shelf tower flanked by an upper horizontal shelf that spans the full width of your closet. Below the top shelf, one side features double hanging rods for shirts and folded slacks, while the other side features a single hanging rod for longer garments.
The Cut List (Based on an 8-Foot Closet)
Adjust the top shelf and rod lengths to match your exact wall-to-wall dimension:
- Tower Sides (Uprights): 2 pieces — 3/4" plywood at 14" x 76"
- Tower Top & Fixed Shelves: 3 pieces — 3/4" plywood at 14" x 22-1/2"
- Adjustable Shelves: 3 to 4 pieces — 3/4" plywood at 13-3/4" x 22-3/8" (cut 1/8" shorter in width and depth for clearance)
- Top Span Shelf: 1 piece — 3/4" plywood at 14" x your closet width (e.g., 94-1/2" for an 8-foot closet)
- Wall Cleats: 1x4 pine cut to support the top span and side rods
Step 1: Prep and Cut the Plywood
Break down your 4x8 plywood sheets using your track saw or a straight-edge guide. Cut your 14-inch strips first, then trim them to final lengths. Label all parts with painter's tape to avoid confusion during assembly.
Apply iron-on edge banding to all exposed front edges using a standard clothes iron set to medium heat. Press the veneer down firmly using a wooden block. Once cool, trim the excess veneer flush using an edge trimmer or a sharp chisel, then lightly soften the edge with 220-grit sandpaper.
Step 2: Drill Shelf Pin Holes and Pocket Holes
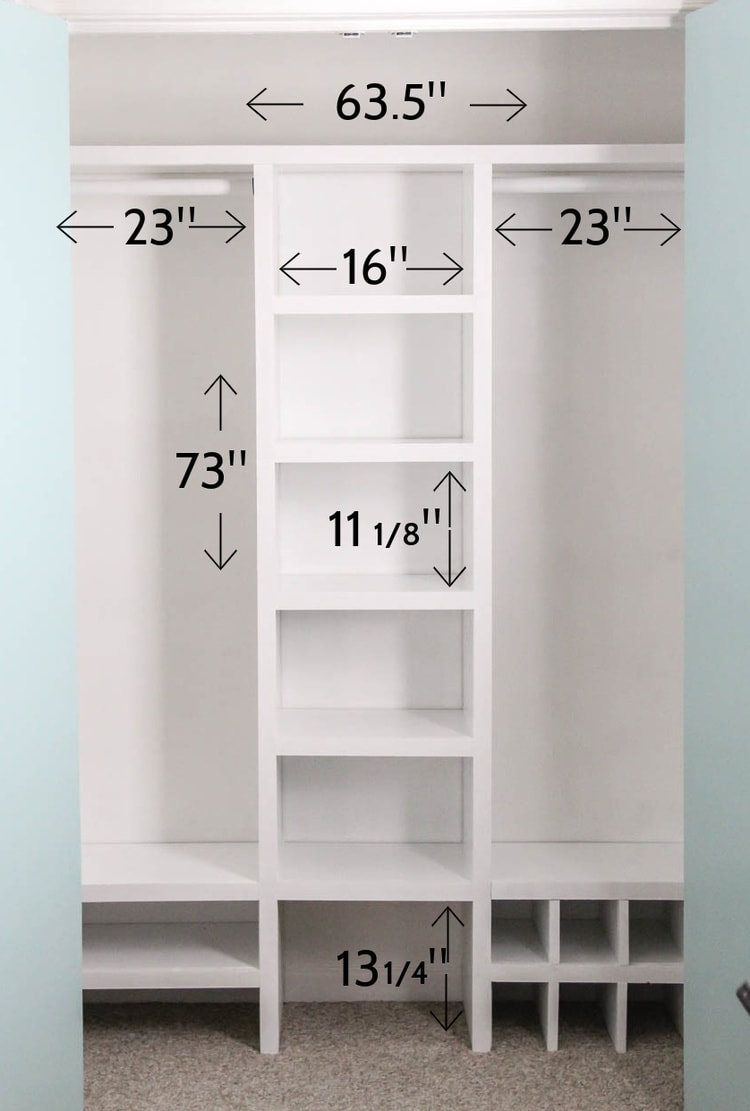
Lay the two 76-inch upright panels side-by-side on your workbench with their front edges touching. Use your shelf pin jig to drill 1/4-inch holes along the interior faces:
- Space the holes 1-1/4 inches (32mm) apart.
- Set the front row 1-1/2 inches back from the front edge.
- Set the rear row 1-1/2 inches forward from the back edge.
- Keep holes at least 6 inches away from the top, middle, and bottom fixed shelf locations.
On the undersides of the top, middle, and bottom fixed shelves, drill two pocket holes on each short end (four pocket holes per shelf).
Step 3: Assemble the Central Tower
Lay one upright panel flat on your workbench. Position the bottom shelf 3 inches from the bottom edge (leaving room for a base toe-kick or carpet clearance), the top shelf flush with the top edge, and the middle fixed shelf at roughly 42 inches from the bottom. Clamp each piece firmly at 90 degrees using corner clamps.
Fasten the shelves to the upright using 1-1/4-inch pocket hole screws. Place the second upright on top, ensure proper alignment, and screw it into the opposite ends of the shelves. Stand the tower up and verify that it is perfectly square by measuring diagonal corners from corner to corner; the measurements must match.
Step 4: Install Wall Cleats and Mount the Unit
Locate the wall studs in your closet using a stud finder and mark their locations with a pencil. Secure a continuous 1x4 pine cleat horizontally along the back wall at 76-3/4 inches above the floor, driving 3-inch cabinet screws into every wall stud. Install supporting cleats on both side return walls at the same height.
Slide your assembled tower into the closet, centering it horizontally or positioning it according to your preference. Level the tower in all directions using composite shims underneath if your floor is uneven. Anchor the tower to the wall studs through the back of the fixed shelves using 2-1/2-inch screws.
Step 5: Install Top Shelf, Rods, and Accessories
Rest the long top span shelf across the wall cleats and the top of the central tower. Fasten it down into the cleats and into the top shelf of the tower with 1-1/4-inch finish screws or pocket screws from below.
Install heavy-duty closet rod flanges directly into the side walls and the sides of the plywood tower:
- Double-hang side: Mount the upper rod 2 inches below the top shelf and the lower rod 40 inches above the finished floor. Center the rods 11 to 12 inches away from the back wall to allow standard hangers to rotate freely.
- Long-hang side: Mount a single rod 2 inches beneath the top span shelf.
- Insert your adjustable shelves into the central tower on 1/4-inch steel shelf pins.
Finishing and Customization Tips
Small details separate an amateur build from high-end cabinetry. Consider these additions:
- Baseboard Scribing: If you have thick baseboards, notch the back bottom corner of the tower uprights (e.g., 4 inches high by 1 inch deep) so the unit sits tight against the back wall without removing your room trim.
- Painting vs. Clear Coat: If using pre-finished maple plywood, your project is already protected against scuffs and moisture. If you use paint-grade birch, apply one coat of shellac-based primer followed by two coats of durable enamel trim paint (such as an acrylic-alkyd hybrid) before final installation.
- Drawer Additions: The 24-inch-wide central tower is built to standard furniture widths. You can easily add soft-close drawer slides and drawer boxes at any time down the road to store jewelry, socks, and accessories.
Achieve Custom Storage Without the High Price Tag
Building your own storage system turns wasted vertical space into structured, efficient capacity. By using this straightforward organizer plan, you can customize your layout for shoes, shirts, long coats, and bins while keeping structural integrity high and out-of-pocket costs minimal.