Create Stunning Conic Sections Art with Free Printables
Mathematics and art have shared a deep, fascinating relationship for centuries. From the golden ratio in Renaissance paintings to fractal geometry in modern digital graphics, numbers possess an inherent beauty. If you want to merge logical precision with creative expression, learning how to create stunning conic sections art with free printables is the perfect weekend project.

Whether you are a teacher looking for an engaging STEM-to-STEAM classroom activity, a homeschooling parent, or an adult crafter seeking a mindful geometric challenge, conic art bridges the gap between analytical thinking and visual design. Best of all, you do not need an advanced degree in calculus to produce gallery-worthy pieces.
Understanding Conic Sections in Art
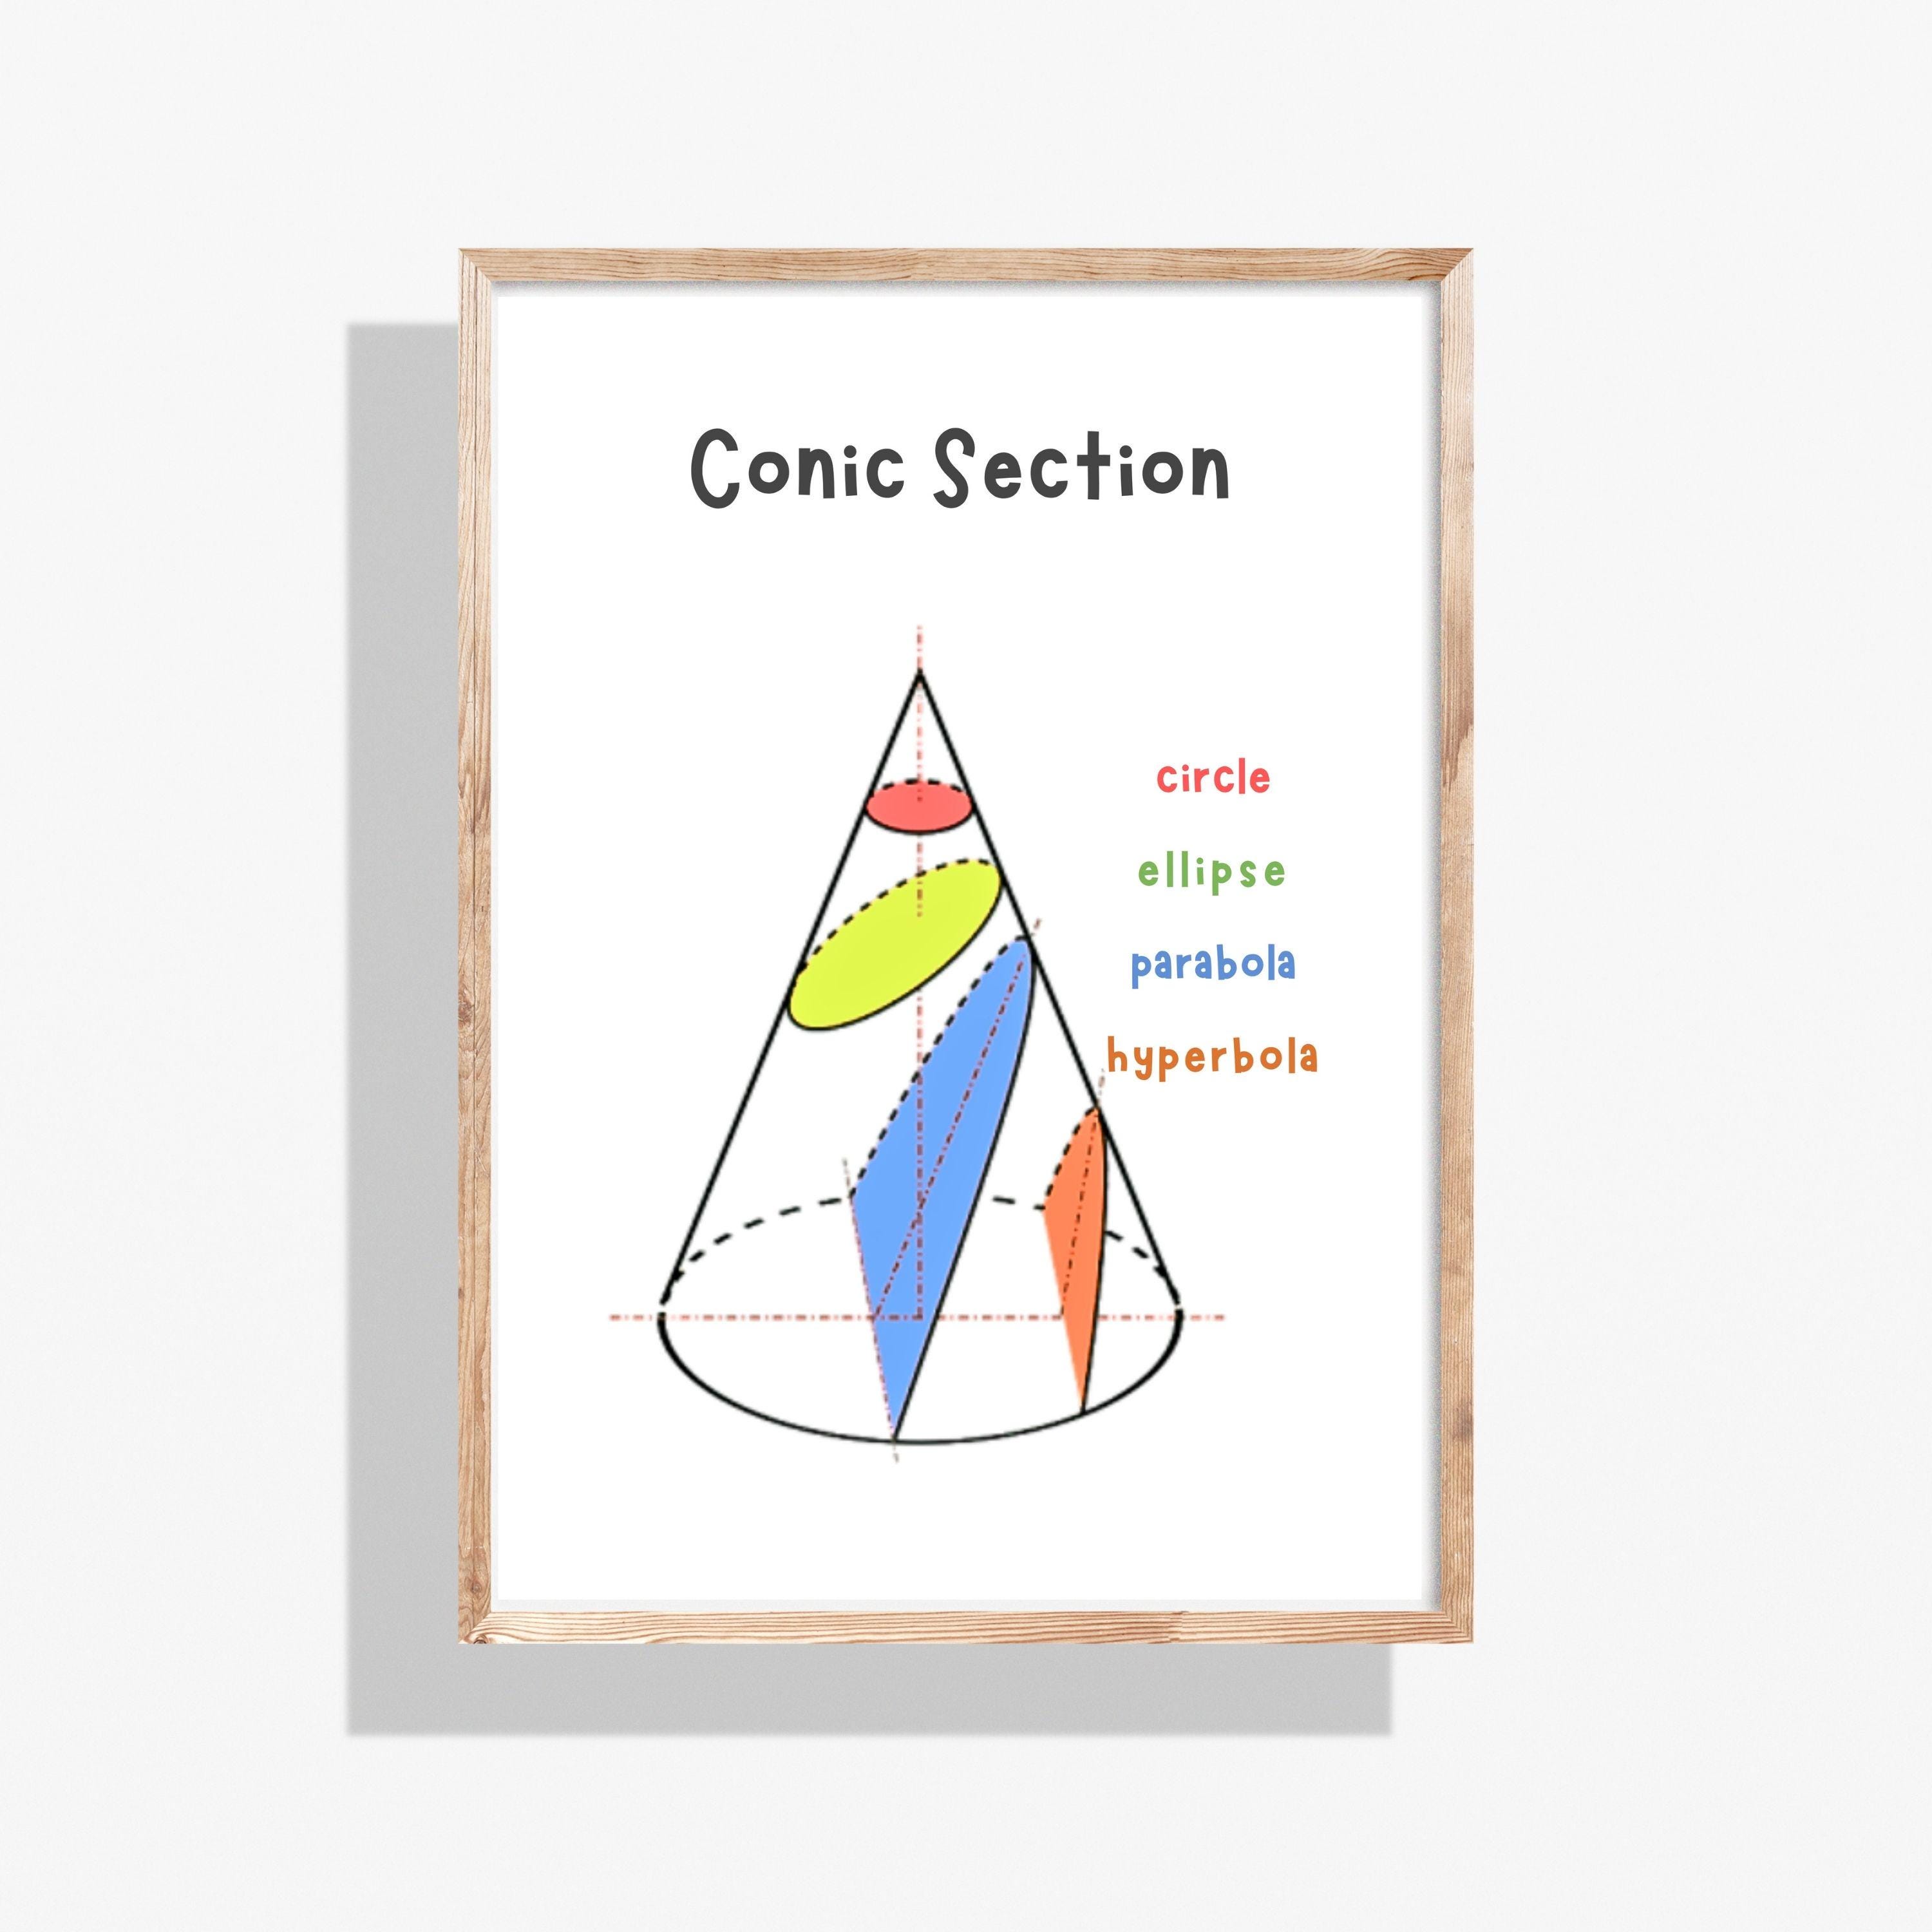
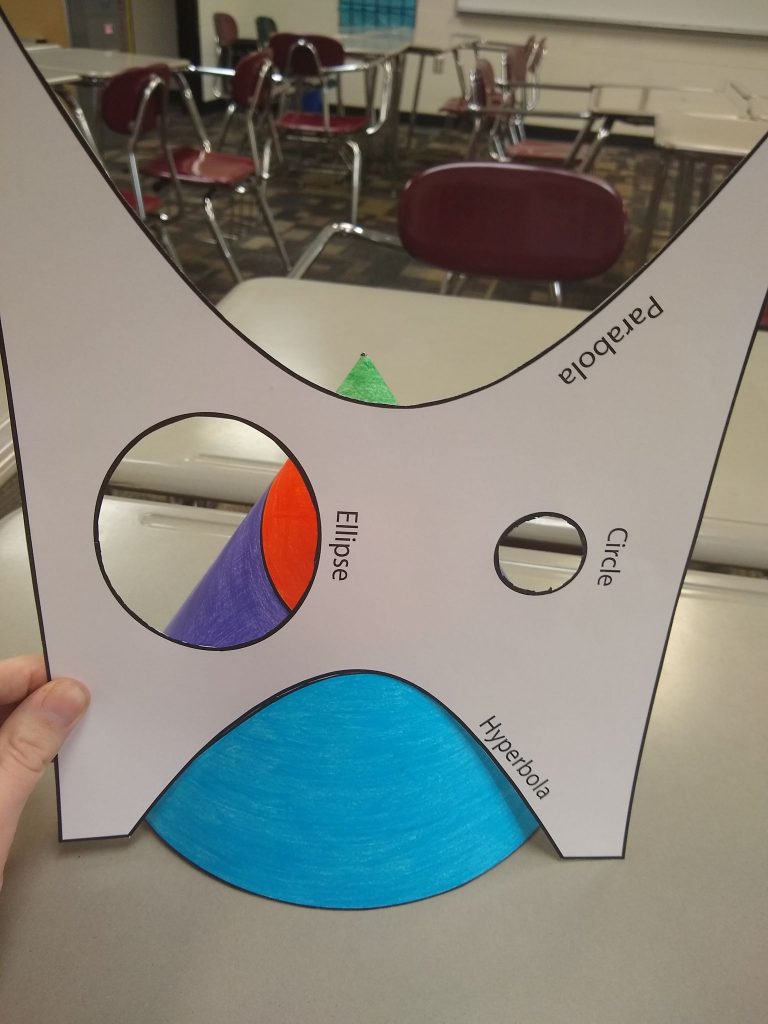
Before diving into the creative process, it helps to understand what conic sections actually are. Formed by slicing a double-napped right circular cone with a plane, these curves include four distinct shapes:
- Circles: Formed when the slicing plane is perpendicular to the axis of the cone.
- Ellipses: Formed when the plane cuts through the cone at an angle, creating stretched, symmetrical ovals.
- Parabolas: Formed when the plane is parallel to the side of the cone, creating a distinct U-shape.
- Hyperbolas: Formed when the plane cuts through both halves of the double cone, creating two mirrored, open curves.
In mathematics, we define these shapes using algebraic equations on a Cartesian coordinate plane. In art, however, we can harness their symmetrical properties to build mesmerizing visual patterns, mandalas, and string art displays.
Materials Needed for Your Project
Gathering your supplies beforehand ensures a smooth, frustration-free crafting experience. Because we are focusing on accessible, budget-friendly techniques, most of these items are likely already in your home or classroom:
- Free printable templates: Grid papers, polar coordinate grids, and pre-drawn conic outlines.
- Heavyweight cardstock: Standard printer paper tears easily under tension or heavy ink; cardstock provides durability.
- Coloring mediums: Fine-tip markers, colored pencils, watercolors, or gel pens.
- For string art (optional): Corkboards or foam boards, pushpins, embroidery floss, and a hammer and small nails (if using wooden boards).
- Drafting tools: Rulers, compasses, and protractors for adding custom flourishes.
Step-by-Step Guide: Create Stunning Conic Sections Art with Free Printables
Ready to bring your mathematical canvas to life? Follow this straightforward process to produce a striking geometric composition.
Step 1: Download and Print Your Template
Start by selecting a free printable grid. Polar coordinate grids work wonderfully for circular and hyperbolic designs, while standard rectangular grids excel for parabolic curves. Print your chosen template onto thick cardstock to ensure your finished piece holds its structure.
Step 2: Plot or Trace Your Curves
If you want a purely artistic approach, you can use pre-printed line art templates where the curves are already outlined. For a more interactive math lesson, use coordinates to plot points along the axes and connect them with straight lines. This technique—known as curve stitching—relies on the envelope of tangents to form smooth parabolic shapes out of straight lines.

Step 3: Add Color and Contrast
Conic art thrives on contrast. Use complementary color palettes to differentiate between intersecting hyperbolas or overlapping ellipses.
- Apply gradient shading from the focal points outward to create a three-dimensional illusion.
- Use metallic gel pens or gold leaf on a black cardstock background for a dramatic, modern aesthetic.
- Keep background lines subtle while making your primary conic curves bold and vibrant.
Step 4: Elevate Your Design with String Art
If you want to take your flat paper design into the third dimension, use your printable template as a pattern for string art.
- Tape your printed conic template securely onto a piece of corkboard, foam board, or a smooth wooden panel.
- Insert pushpins or small nails precisely along the plotted coordinate points of your parabola or hyperbola.
- Tie a knot around your starting pin and begin weaving embroidery floss back and forth according to your template's numerical sequence.
- Remove the paper template once your string network is complete, revealing a crisp, textured geometric sculpture.
Creative Ideas and Variations
Once you master the basic techniques of plotting and coloring conic curves, experiment with advanced variations to expand your portfolio:
Stained Glass Window Effect
Print multiple overlapping parabolas and hyperbolas on translucent vellum paper. Color the individual geometric segments with alcohol markers. When mounted against a sunny window, the overlapping transparent hues mimic the look of a medieval stained glass cathedral window.
Digital Integration
Scan your completed conic art templates into graphic design software like Adobe Illustrator or free alternatives like Inkscape. By vectorizing your hand-drawn math art, you can scale it infinitely to print large-scale posters, custom greeting cards, or even fabric patterns for sewing projects.
Conclusion
Art and mathematics are two different languages used to describe the exact same universe of order, symmetry, and beauty. By taking advantage of accessible resources, anyone can easily create stunning conic sections art with free printables. Grab your supplies, pick a template, and discover the hidden artistry waiting inside geometry.