Create Your Own Pikachu Perler Bead Masterpiece Today
Pixel art and fuse beads go hand in hand, making it easier than ever to bring your favorite video game characters to life. If you love Pokémon, capturing the electric yellow mouse in bead form is a rite of passage for crafters of all ages. Whether you are looking for a fun weekend activity with the kids or wanting to decorate your gaming setup with retro nostalgia, you can easily create your own Pikachu Perler bead masterpiece today.
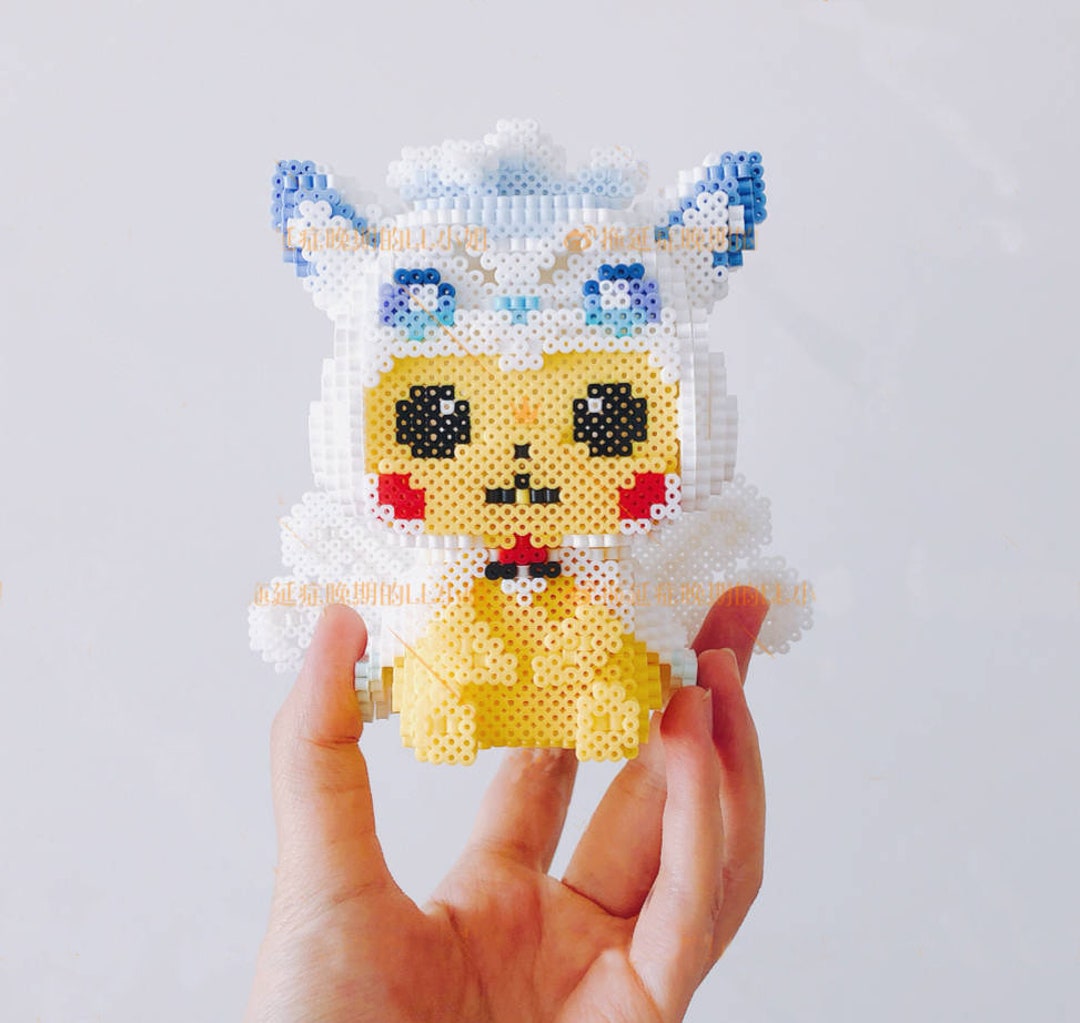
Perler beads (also known as Hama or fuse beads) are small, plastic cylinders that you arrange on a pegboard to form an image. Once your design is complete, you apply heat with an iron to melt the beads together. The process is simple, incredibly satisfying, and requires very few supplies to get started.
Gather Your Materials
Before you begin placing beads, you will need to gather a few essential crafting supplies. Having everything organized will make the process much smoother and prevent your pegboard from shifting midway through.
- Perler Beads: You will need specific colors for classic Pikachu: bright yellow, black, white, and a red or pinkish-red for the cheeks.
- Pegboards: A large square interlocking pegboard (or a clear hexagon board) is necessary. Since Pikachu is slightly taller than it is wide, a standard large square board will give you plenty of room.
- Ironing Paper: Usually comes in Perler bead starter kits, but parchment paper works as a reliable substitute. Do not use wax paper, as it will melt onto your design.
- Household Iron: Set to a medium heat setting (usually 'cotton' or 'wool') without steam.
- Tweezers (Optional): While not strictly required, tweezers make it much easier to place beads accurately, especially if you have larger hands or are fixing a mistake.
Choose Your Design Style
Pikachu has evolved visually over the decades. Before you start beading, decide which version of the iconic Pokémon you want to make.
The Retro Game Sprite
If you love classic Game Boy nostalgia, look up a sprite from Pokémon Red, Blue, or Yellow. These designs use a limited color palette and rely on stark contrast, making them exceptionally easy to map out on a pegboard.
Modern Chibi or Action Poses
For a more dynamic look, search online for pixel art grids showing Pikachu waving, winking, or holding a Pokéball. These designs typically use shading—incorporating a darker yellow or gold bead for shadows—to give the flat sprite a three-dimensional appearance.
Step-by-Step Beading Guide
Once you have selected your design grid or reference image, follow these steps to build your character.

- Start from the Bottom or Outline: Many crafters prefer to start with the black outline before filling in the colors. This establishes the boundary of the sprite so you do not run out of space on the pegboard.
- Fill in the Yellow Body: Carefully fill in all the internal pixels with your yellow beads. Double-check your counts as you go. Missing a single bead in the middle of the torso can throw off the symmetry of the entire face.
- Add the Facial Features: Place the black eyes, mouth, and the tips of the ears. Do not forget the iconic red circles on the cheeks and the small white highlight dots inside the eyes to give Pikachu a lively expression.
The Ironing Process: Melting Your Beads
Ironing is the most crucial step. A single mistake here can warp your board or ruin the beads, so take your time and follow these instructions carefully.
First, turn your iron on to a medium setting and let it heat up completely. Do not use any water or steam features, as moisture will ruin the melting process. Place your filled pegboard on a flat, heat-safe surface like an ironing board or a wooden table protected by a thick towel.
Cover the bead design entirely with your ironing paper or parchment paper. Place the hot iron flat onto the paper and move it in a gentle, slow circular motion for about 10 to 20 seconds. Avoid pressing down too hard; let the heat do the work. You should begin to see the bright colors of the beads shining clearly through the translucent paper as they fuse together.
Lift the iron straight up once the edges of all the beads look evenly melted and fused into a solid sheet. The holes in the center of the beads should still be slightly open—this ensures structural integrity without over-melting.
Cooling and Finishing Touches
To prevent your project from warping as it cools, place a heavy, flat object—like a thick hardcover book or a heavy pan—directly on top of the parchment paper while the beads are still hot. Let it sit for 5 to 10 minutes.
Once the project has cooled down completely to room temperature, peel away the paper. Gently remove the plastic creation from the pegboard. If you want a stronger bond, you can flip the design over, place the parchment paper on the back side, and give it another brief 10-second pass with the iron.
Displaying Your Finished Art
Now that your project is complete, you have plenty of fun options for displaying your handmade pixel art:
- Wall Art: Use mounting putty or double-sided adhesive strips to attach your Pikachu directly to a bedroom wall or gaming room bulletin board.
- Magnets: Hot glue a small neodymium magnet to the back of the cooled bead art to instantly create a custom refrigerator magnet.
- Coasters: If you used a slightly thicker design or melted both sides thoroughly, it makes a fun and quirky desk coaster for your cold drinks.
Crafting with fuse beads is a wonderfully relaxing hobby that yields immediate, rewarding results. Grab your supplies, clear off a flat surface, and enjoy bringing your favorite electric mouse to life today!


