Curtain Rods 48-84: Sizing and Style Guide
When outfitting standard-sized windows, patio doors, or paired casements, adjustable curtain rods 48 84 inches are among the most versatile and widely purchased hardware sizes on the market. Designed to telescope smoothly from four to seven feet, this size bracket accommodates a broad range of residential window openings without requiring custom metal fabrication.

However, getting the look right involves more than picking an attractive finish off a shelf. Telescoping rods have structural quirks, weight limits, and specific mounting requirements that dictate how well your drapes hang. This guide covers how to choose, size, and mount a 48-to-84-inch drapery rod so your window treatments look intentional, balanced, and secure.
Understanding the 48-84 Inch Size Range
Telescoping curtain rods work via concentric tubes: a narrower inner rod slides neatly inside a wider outer rod. When fully collapsed, a 48-84 inch rod measures 48 inches (4 feet); when fully extended, it reaches up to 84 inches (7 feet).
A common mistake is buying an 84-inch maximum rod for an 84-inch wide window frame. If you extend a telescoping rod to its absolute physical limit, the inner and outer tubes barely overlap at the center seam. This drastically reduces the rod's load-bearing capacity, creating an unsightly downward bow even under lightweight fabrics.
As a general rule, a 48-to-84-inch rod works best on window frames measuring between 36 inches and 66 inches wide. This gives you ample room to extend the rod past the window trim while maintaining a sturdy 6- to 12-inch overlap between the telescoping poles inside the center bracket.
Choosing Curtain Rods 48-84 for Your Room
Drapery hardware sets the tone for your window trim. To select the right model, consider diameter, configuration, and architectural style.
1. Rod Diameter and Drapery Weight
The diameter of the rod determines both its visual presence and its resistance to bending:
- 5/8-inch diameter: Suitable only for lightweight panels, sheer curtains, or small café-style curtains. If extended beyond 60 inches, 5/8-inch rods will flex under anything heavier than cotton-linen blends.
- 3/4-inch to 1-inch diameter: The residential sweet spot. A 1-inch rod carries substantial presence, supports medium-to-heavy curtains (such as blackout-lined drapes or medium-weight velvet), and resists sagging across wider spans.
- 1 1/8-inch to 1 1/4-inch diameter: Ideal for expansive rooms with tall ceilings or heavy luxury drapery. The larger scale prevents the hardware from looking spindly on wide windows.
2. Single Rod vs. Double Rod
If you want both daytime privacy and nighttime light blockage, consider a double rod set within the 48-84 range. Double rods feature two parallel bars held by specialized brackets:
- The back rod (usually smaller, around 5/8-inch) hangs close to the glass and holds sheer panels that diffuse natural sunlight.
- The front rod (typically 3/4-inch or 1-inch) sits further out to support heavier privacy or blackout panels.
3. Finials and Return Styles
The ends of your rod affect both aesthetics and function:
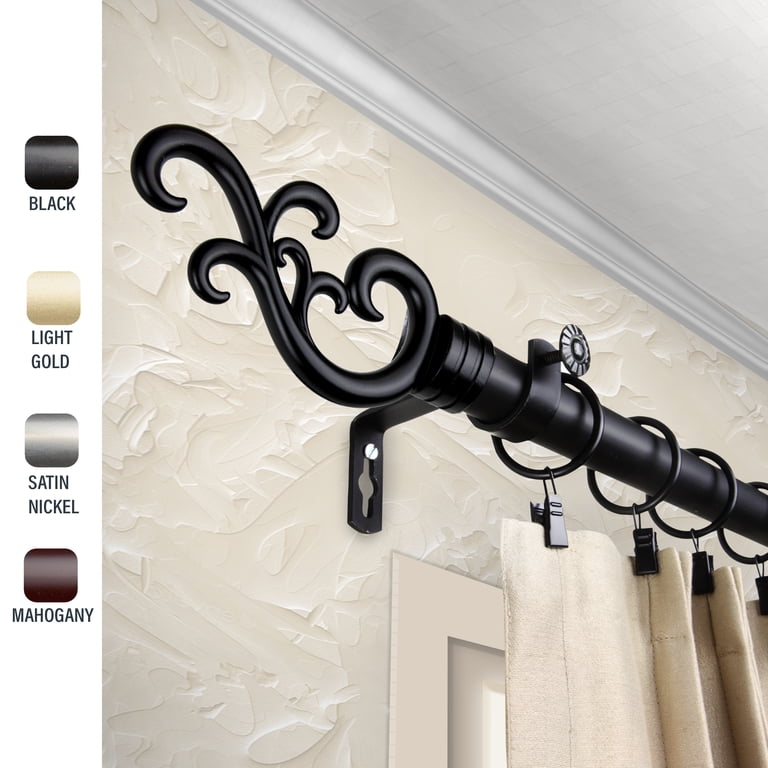
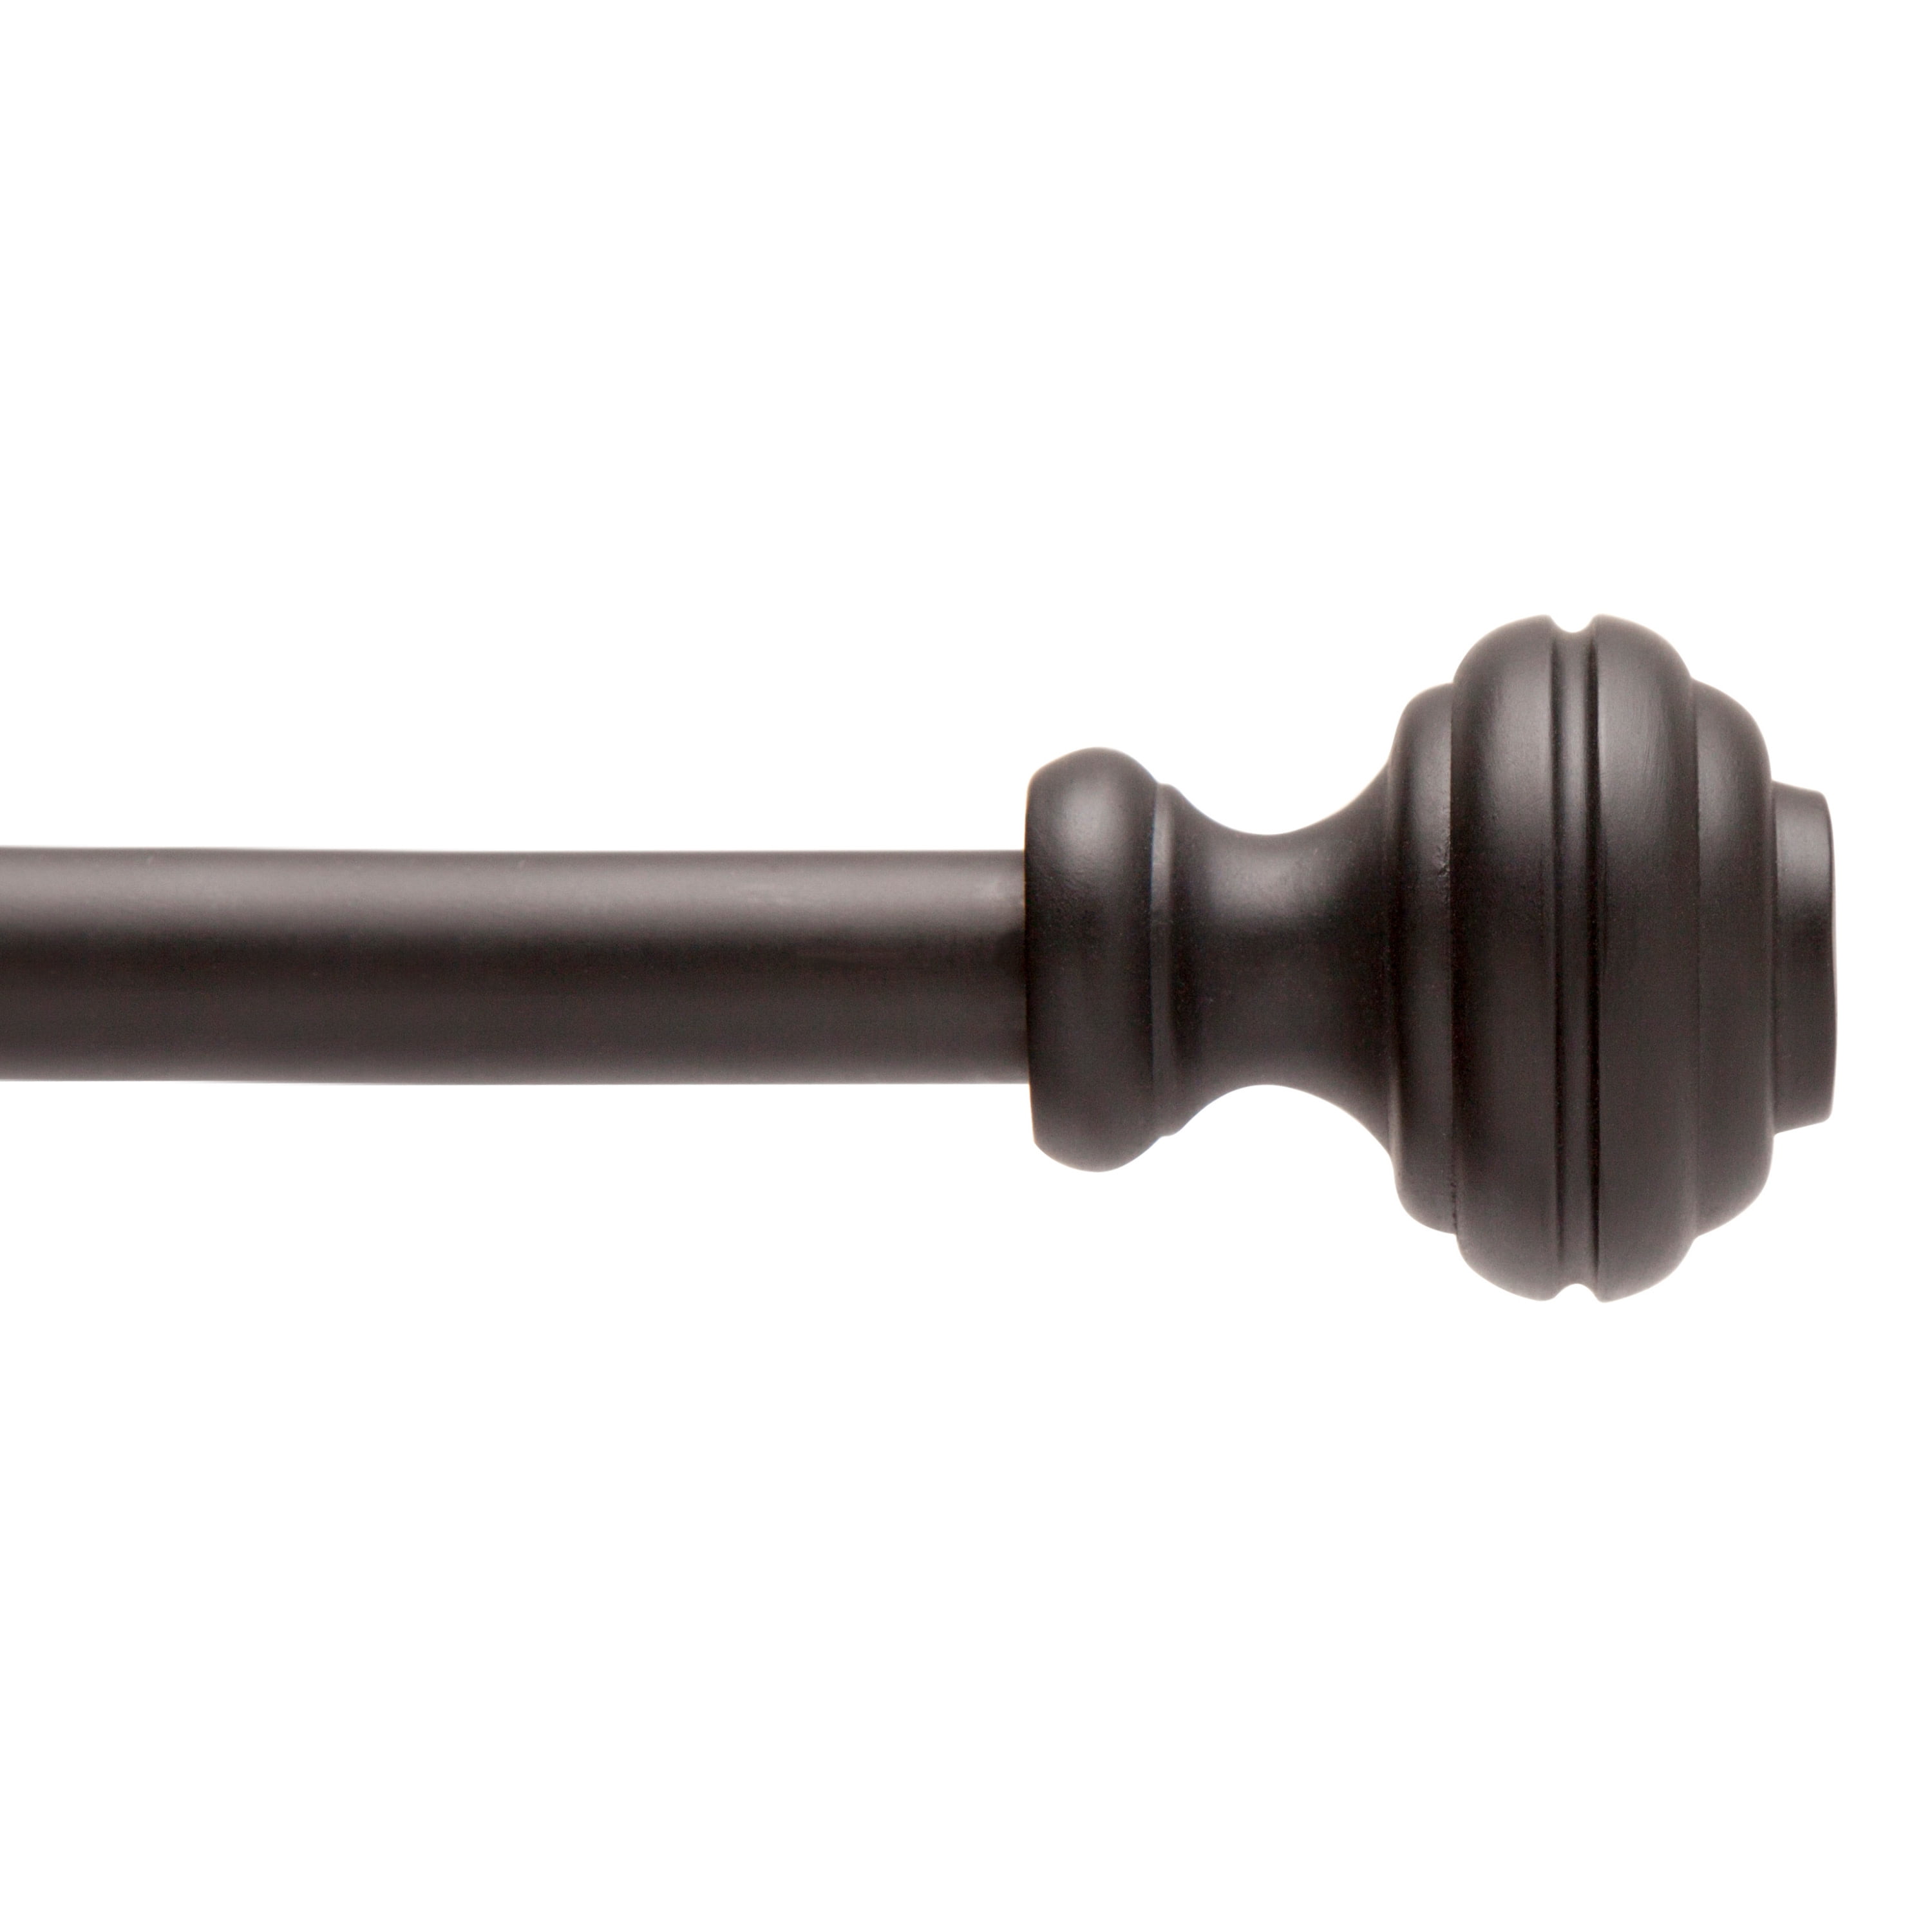
- Decorative Finials: Options range from classic ball and urn shapes to modern geometric squares or brushed metal endcaps. Make sure to account for finial length—they add 2 to 6 inches on each side, which matters if your window is close to an adjacent corner.
- French Return (Wrap-Around): Instead of ending with decorative finials, the rod curves directly back into the wall. This style is exceptional for bedrooms because it allows blackout curtains to seal against the wall, eliminating the side light gap.
Preventing Sagging: The Role of the Center Bracket

Almost every curtain rod in the 48-84 inch range ships with three mounting brackets: two for the outer ends and one for the center. Do not skip the center support bracket.
Because telescoping rods are joined at the center, the seam is inherently the weakest point of the entire assembly. Placing the third bracket directly over the inner-tube transition accomplishes two critical things:
- It distributes the downward weight of your drapery evenly across the wall.
- It conceals the visible step-down seam where the smaller diameter tube enters the larger one.
If you regularly open and close your curtains by hand, ensure your drapery panels are configured as a split pair (one panel stacking left, one stacking right). That way, the center bracket will not block your curtains from closing completely in the middle.
How to Measure and Hang for a Designer Look
Hanging your curtain rod incorrectly can make a room feel cramped and reduce the amount of natural light entering through the glass. Use these three professional sizing rules when mounting a 48-84 inch rod:
Mount High Above the Frame
Never mount your rod directly onto the wooden casing of the window. Mounting the rod 4 to 6 inches above the window frame—or roughly halfway between the top of the trim and the ceiling/crown molding—draws the eye upward and creates the illusion of higher ceilings.
Extend Wide for Light
Extend the rod 6 to 10 inches past the outer edge of the frame on both sides. This creates space known as "stack-back." When the curtains are pulled open during the day, the fabric rests against the wall rather than covering the glass, maximizing incoming daylight and making the window appear significantly wider.
Ensure Proper Clearance to the Floor
Measure from the proposed rod height down to the floor before drilling any holes. Standard curtain panel lengths are 84, 96, and 108 inches. Depending on your preference, aim for your drapes to hover 1/2 inch above the floor (a clean, modern drop) or kiss the floor with a slight break.
Step-by-Step Installation Advice
Installing an adjustable rod is a manageable 30-minute DIY project if you prepare properly:
- Locate Studs or Use Quality Anchors: Window frames are flanked by king and jack studs, meaning your outer brackets might bite directly into solid wood. However, your center bracket almost certainly won't hit a stud. Skip the cheap plastic ribbed anchors that come in the box; install threaded drywall anchors or toggle bolts rated for at least 30 to 50 pounds.
- Level Across the Top: Do not assume your ceiling or floor is level. Measure up from the top of the window trim to mark your bracket heights. If the window trim itself is visibly off, use a 36- or 48-inch bubble level to find true horizontal so your rod looks straight to the eye.
- Lock the Telescoping Adjustment: Once the rod is placed into the brackets, tighten the small set screws located on each bracket collar. These keep the rod from shifting sideways when you pull your curtains open and shut.
Final Considerations
Curtain rods measuring 48 to 84 inches offer an adaptable, off-the-shelf window treatment solution for most home layouts. By choosing a 1-inch diameter for standard drapes, mounting the brackets high and wide, and always installing the included center support bracket, you ensure a clean, tailored finish that elevates the entire room.