DIY Dalmatian Ears: A Great Way to Show Love
Crafting is one of the most personal ways to celebrate the things and people we adore. Whether you are prepping for a costume party, creating a fun accessory for a school play, or simply celebrating your favorite spotted pup, making DIY Dalmatian Ears A Great Way to Show Love for creativity and canine companions alike. Instead of buying mass-produced plastic headbands from a store, handcrafting your own ears allows you to customize the size, texture, and look to match your exact vision.

This beginner-friendly guide will walk you through everything you need to create a comfortable, durable, and utterly charming pair of Dalmatian ears from scratch. Let's dive into the materials, steps, and styling tips to bring your spotted creation to life.
Materials Needed for Your Dalmatian Ears
Before you begin crafting, gathering your supplies will make the process smooth and enjoyable. Most of these items can be found at your local craft store or repurposed from around the house.
- White felt or faux fur: Faux fur gives a fluffy, realistic look, while stiff felt is exceptionally easy to cut and glue.
- Black felt or fabric paint: You will need this to create the signature Dalmatian spots.
- A plain headband: A sturdy plastic or metal headband serves as the foundation.
- Hot glue gun and glue sticks: For quick and secure assembly.
- Scissors: A sharp pair of fabric scissors is essential for clean edges.
- A piece of cardboard or cardstock: To create a stencil for the ear shape.
Step-by-Step Guide to Making DIY Dalmatian Ears
Once your workspace is set up and your materials are ready, you can complete this project in under an hour. Follow these simple steps for professional-looking results.
1. Design and Cut Your Stencil
Before cutting into your good fabric, draw an ear shape on a piece of scrap paper or cardstock. Dalmatian ears are characteristically long, floppy, and slightly rounded at the tips. Fold your paper in half to ensure both sides of your stencil are symmetrical. Cut out the paper template and hold it up to your headband to check the proportions.
2. Cut the Fabric
Pin your stencil to your white felt or faux fur. You will need four total pieces of white fabric: two for the front and two for the back of the ears. Carefully cut around the stencil. If you are using faux fur, cut from the back side of the fabric using just the tips of your scissors to avoid snipping the fur fibers themselves.
Video: Dalmation Ears

3. Add the Signature Spots
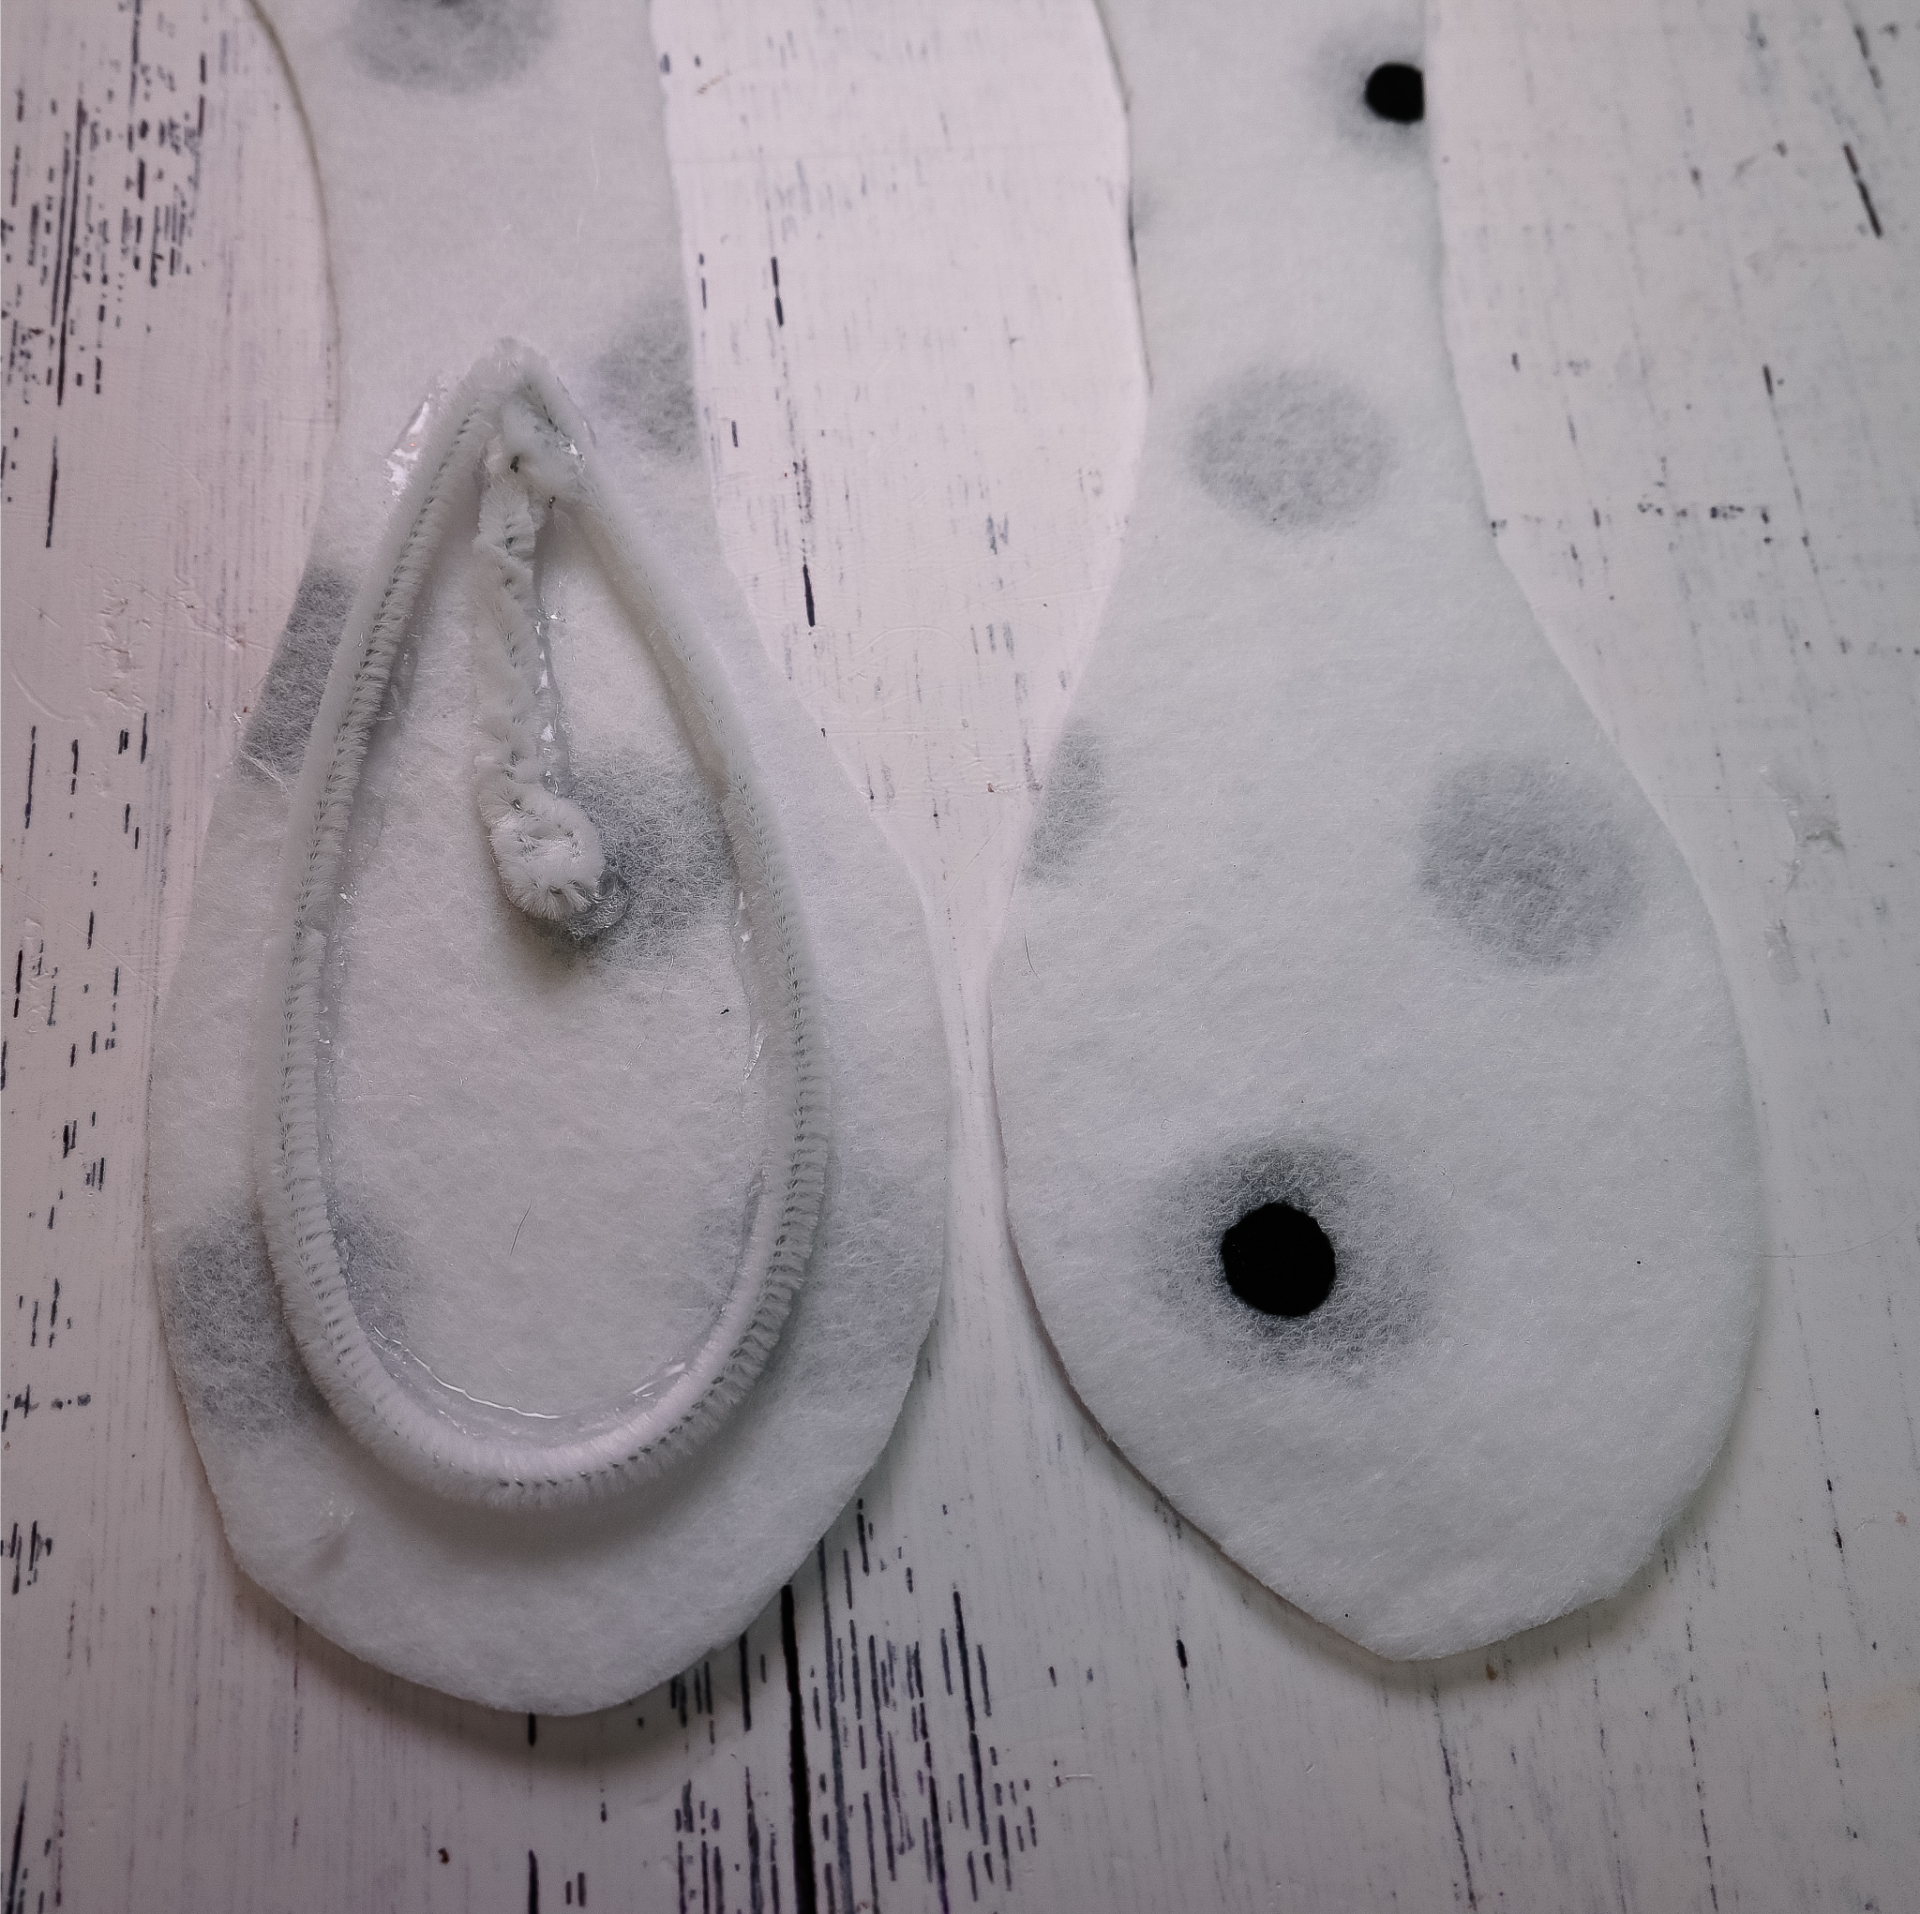
No Dalmatian is complete without its iconic spots! Take two of your white fabric pieces (these will be the front-facing sides of the ears) and add your black spots. You have two great options here:
- Felt method: Cut irregular, organic oval shapes out of your black felt and hot-glue them onto the white fabric.
- Paint method: Use black fabric paint or a permanent fabric marker to draw patches directly onto the felt. Make sure to vary the sizes of the spots for a natural look.
4. Assemble the Ears
Take one spotted front piece and one plain back piece. Align the edges with the right sides facing outward (or inward if you plan to flip them inside out, though felt works best when glued directly edge-to-edge). Run a thin line of hot glue along the outer edges, leaving the top straight edge open so you can attach it to the headband. Press firmly until the glue sets.
5. Attach to the Headband
Wrap the open tab of each ear around your headband. You can position them slightly off-center for a playful look or place them upright on top for a more traditional costume appearance. Fold the fabric tab securely around the band and secure it with a generous amount of hot glue. Hold it in place for 30 seconds until the glue cools completely. Repeat the process for the second ear.
Tips for Customization and Comfort
To make your handmade accessory truly stand out, consider these quick adjustments:
- Add wire for posing: If you want your floppy ears to hold a specific shape or curve, insert a thin pipe cleaner or floral wire inside the ear before sealing it shut.
- Wrap the headband: If your headband is a contrasting color, wrap it in white ribbon or leftover white felt so it blends seamlessly into your hair or wig.
- Padding for comfort: If you plan to wear the headband for hours, glue a small piece of felt or foam to the inside tips of the headband where it rests behind your ears.
Show Off Your Handmade Creation
Handmade crafts carry a special energy that store-bought items simply cannot replicate. Wearing your new creation is a wonderful conversation starter and an expression of your artistic side. Whether you wear them to a themed party, a charity dog walk, or just around the house to make a family member smile, making these accessories proves that DIY projects are truly a great way to show love.