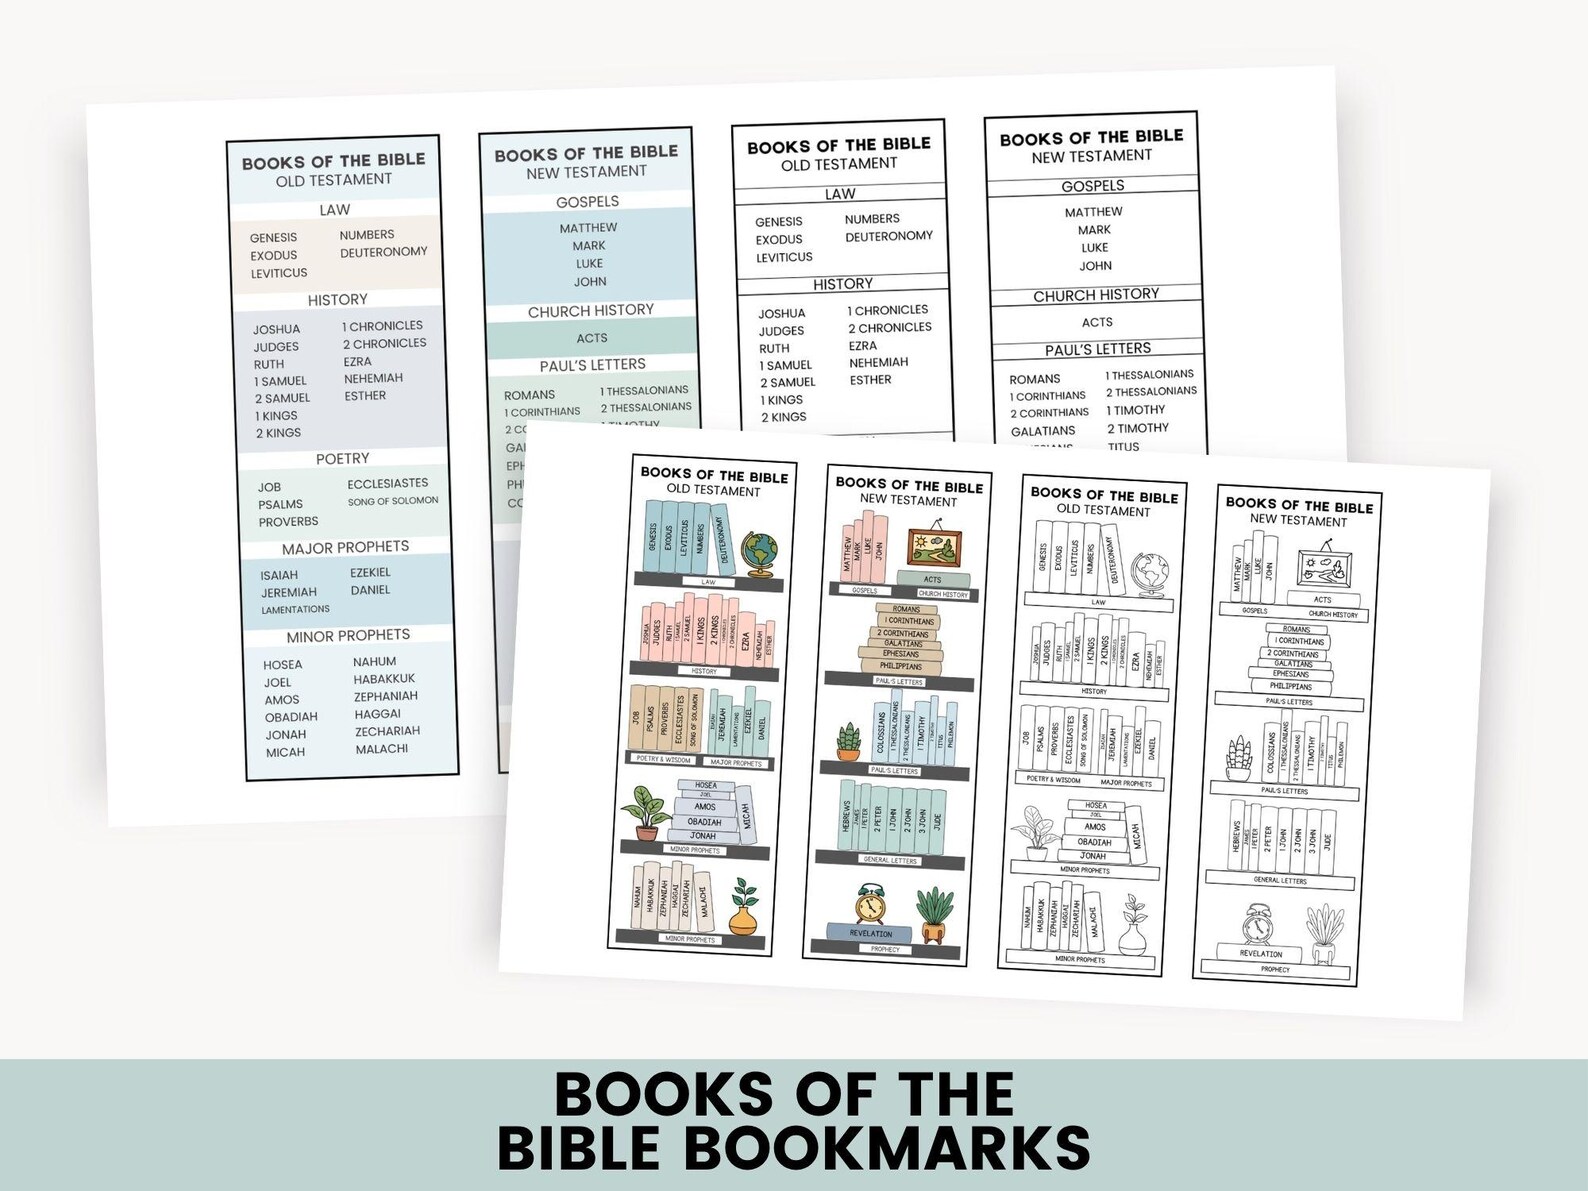
DIY PDF Bible Bookmarks: Avoid Common Mistakes
DIY PDF Bible Bookmarks: Avoid Common Mistakes

Crafting your own Scripture markers is a deeply rewarding project. Whether you want to highlight favorite verses, gift meaningful stationery to a Bible study group, or coordinate your quiet time tools, using digital templates offers endless customization. However, jumping straight into a digital download without a plan can lead to frustrating misprints, flimsy paper, and ruined supplies. If you want professional-looking results right from your home printer, it helps to know how to avoid common mistakes when creating your own Bible bookmarks with PDFs.
By understanding paper weights, layout settings, and finishing techniques, you can produce stunning, durable markers that will stand up to daily use in your study sessions. Let's walk through the most frequent pitfalls and how you can sidestep them.
1. Choosing the Wrong Paper Weight
One of the most frequent errors crafters make is printing digital designs on standard copy paper. Regular printer paper (usually 20 lb bond) is far too thin. Once you cut it, it feels flimsy, curls easily, and offers no resistance against the pages of a thick study Bible.
How to Fix It
Always opt for heavy cardstock. For a sturdy bookmark that still fits comfortably in a binding, look for cardstock in the 65 lb to 110 lb range. If your printer struggles to feed heavy cardstock through its rollers, check your printer manual for the maximum weight limit, or use a rear-feed tray if available.
2. Overlooking Printer Scaling and Page Sizing
When you open a digital template, your PDF reader or printer driver often defaults to "Fit to Page" or shrinks the document to fit printable margins. This automatic adjustment can throw off the precise dimensions of your bookmarks, leaving you with awkward white borders or distorted graphics.
The Solution for Exact Dimensions
- Open your PDF in a reliable reader like Adobe Acrobat.
- Check the print settings and ensure the scale is set to 100% or "Actual Size."
- Disable any "Fit to Printable Area" or automatic scaling checkboxes.
- Print a single test page with a ruler held against the screen to verify sizing before wasting your best cardstock.
3. Forgetting to Account for Bleed and Trim Marks
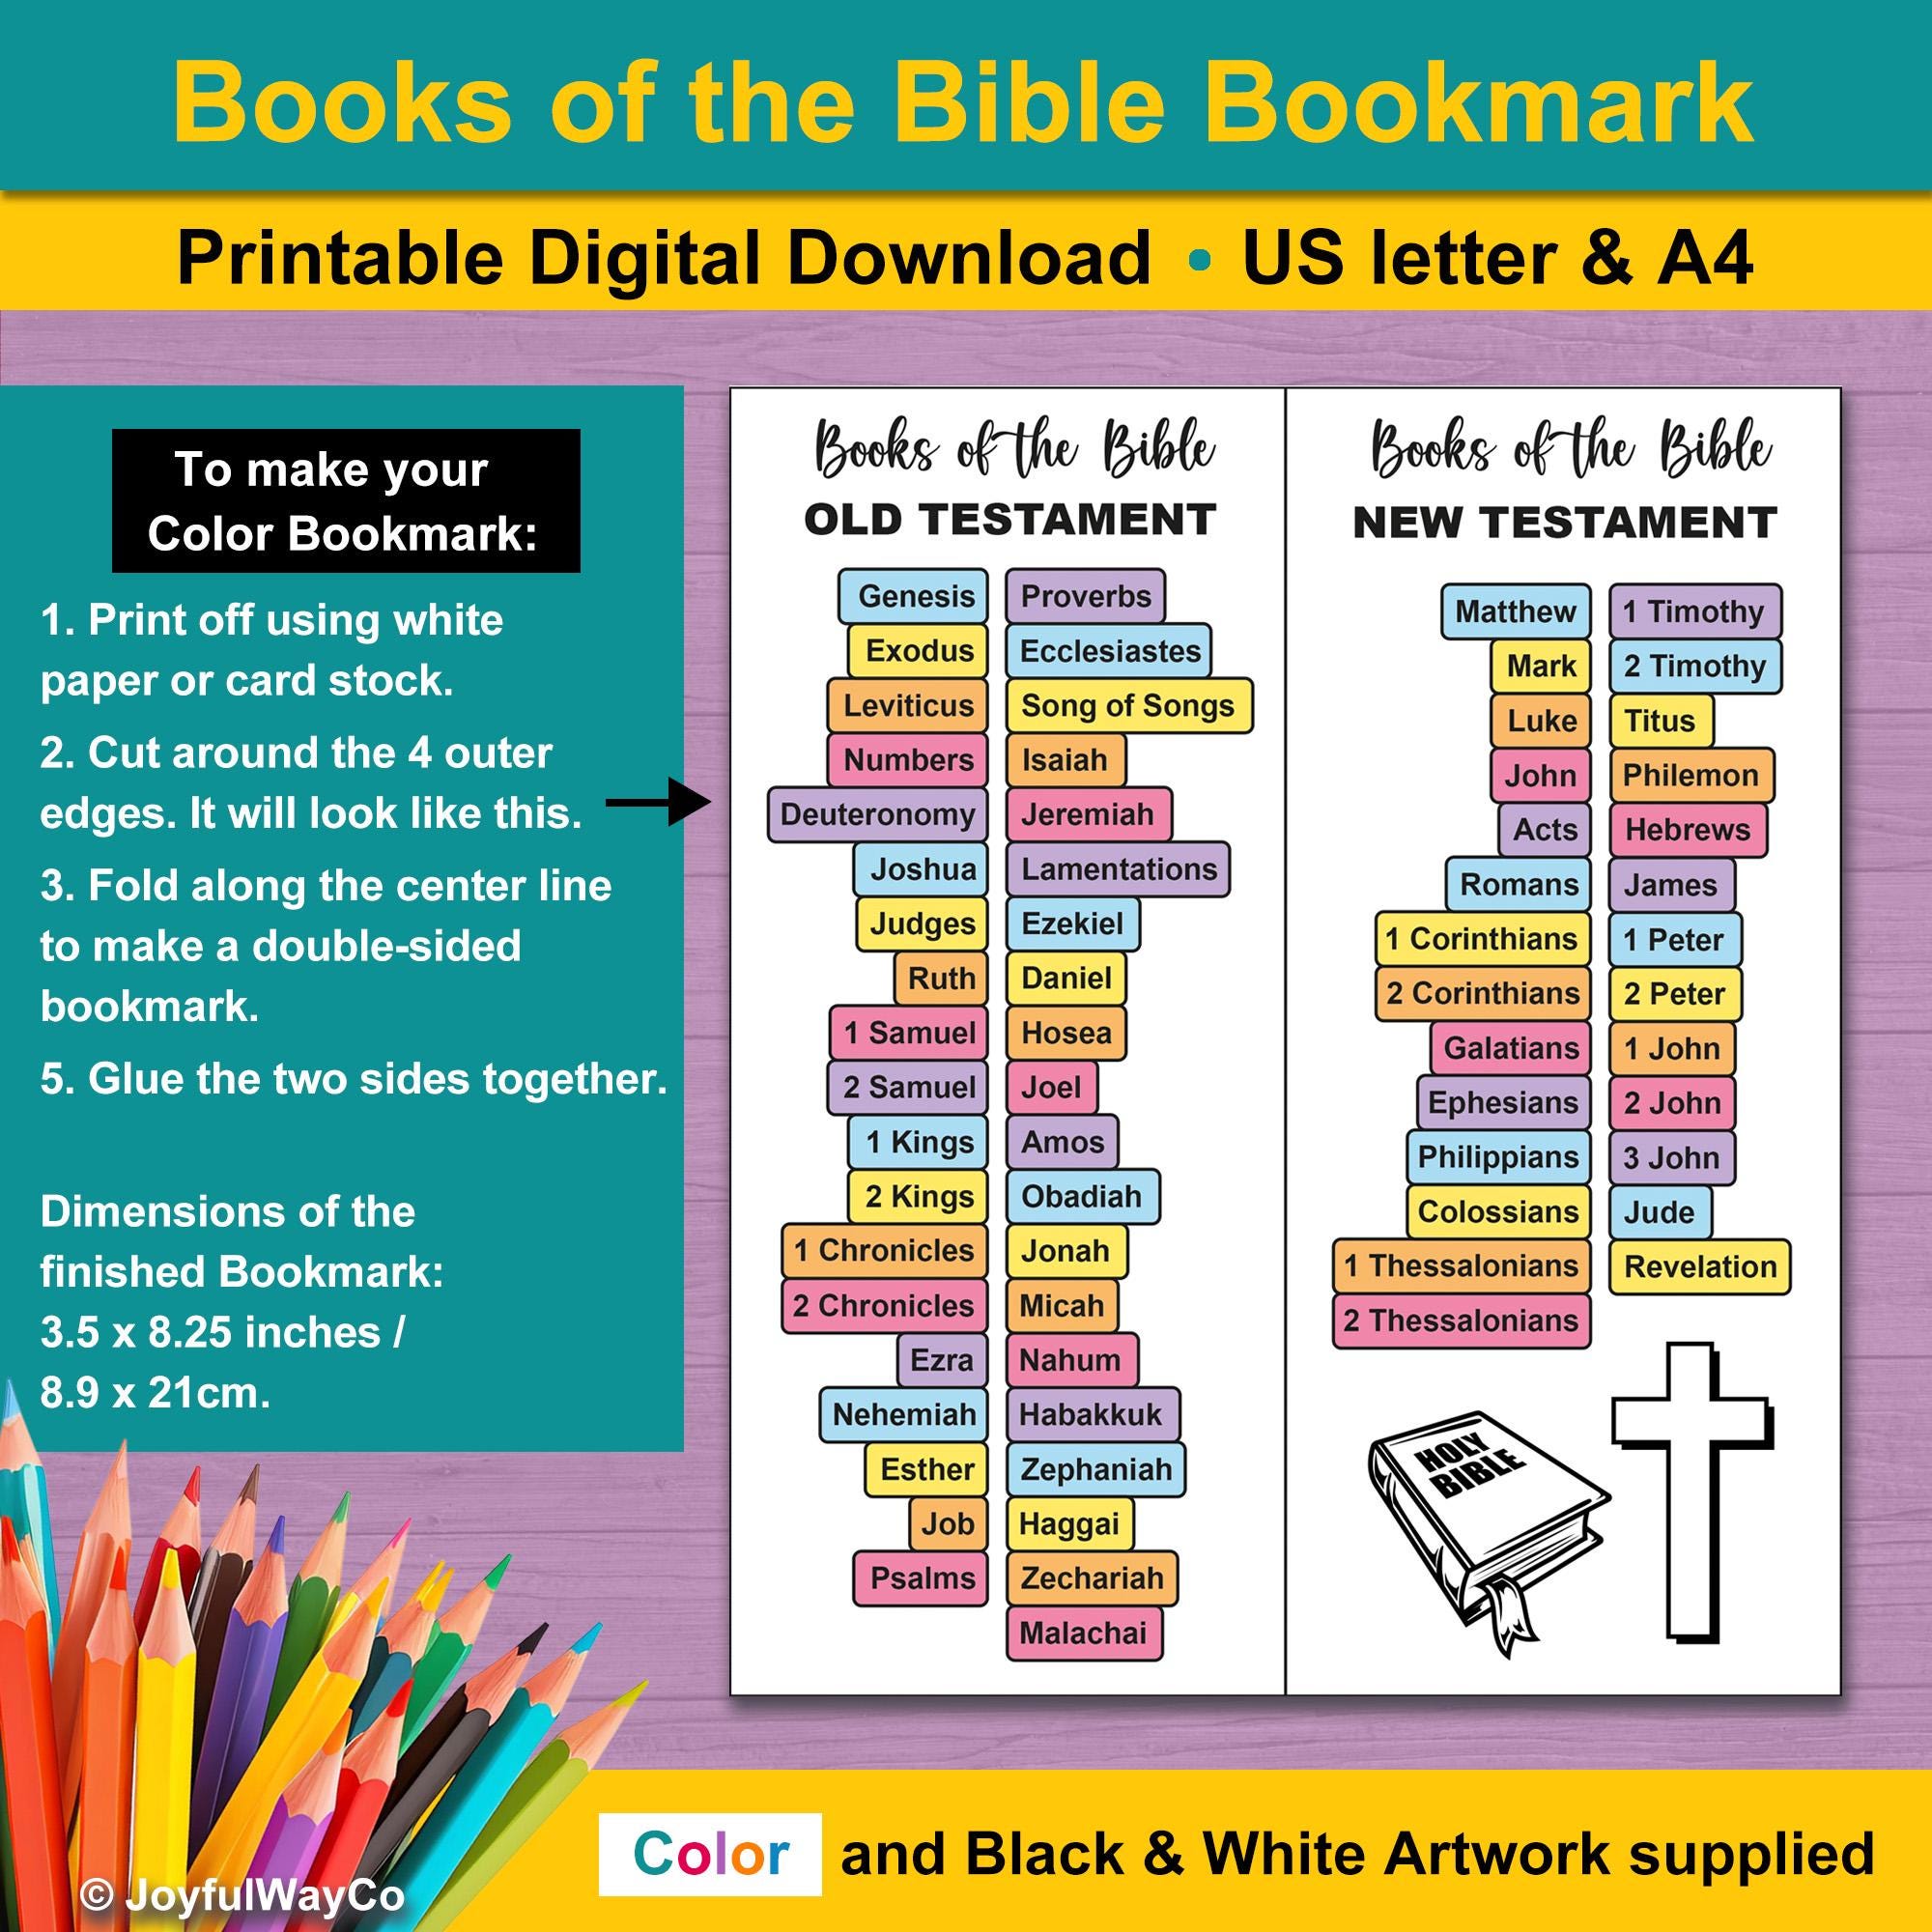
Many DIY designers print vibrant, full-color designs with background patterns right up to the edge. When you cut these out manually, even a tiny millimeter slip of the scissors can leave an unsightly white sliver on one side of the bookmark.
To achieve clean, professional edges, look for PDF templates that include crop lines. If you are designing your own PDF layout, add a small bleed area (extending the background color past the cut line) to ensure your final product looks polished even if your cuts aren't 100% robotic.
4. Relying Solely on Household Scissors
Using old kitchen scissors or dull office shears to cut cardstock almost always results in jagged edges, frayed corners, and uneven lines. Because bookmarks are long and narrow, maintaining a straight edge by hand is remarkably difficult.
Invest in Better Cutting Tools
For crisp, straight borders, upgrade your toolkit:
- Paper Trimmer: A guillotine or rotary paper trimmer allows you to line up the edges of your PDF template and slice through cardstock in one clean motion.
- Corner Rounder: A simple corner-rounding punch softens sharp 90-degree corners, giving your bookmarks a manufactured, high-end finish that resists dog-earing.
5. Skipping Lamination or Protection
Bible reading often involves oils from your hands, morning coffee, or highlighter ink. Unprotected paper bookmarks absorb moisture quickly, leading to smudged ink and stained designs after just a few weeks of use.
Even if you use heavy cardstock, consider adding a protective layer. You can run your printed sheet through a thermal laminating machine before cutting, or use clear self-adhesive laminating sheets. If you prefer a more natural paper texture, a light coat of fixative spray can help seal inkjet printer ink against accidental moisture.
6. Punching Hole Missteps
Adding a tassel, ribbon, or leather cord is a classic way to finish a bookmark. However, punching a hole too close to the edge often results in the paper tearing under the tension of the tassel.
As a rule of thumb, place your hole punch at least a quarter-inch to a half-inch down from the top edge. If you are using standard cardstock without lamination, reinforce the hole using a small reinforcement sticker on the back before threading your ribbon through.
Final Thoughts
Creating your own Scripture markers is a wonderful creative outlet, and getting great results is mostly about preparation. By selecting the right cardstock, locking in your printer scaling at 100%, and utilizing proper cutting tools, you will bypass the frustrations that catch many beginners off guard. Take your time with each step, and you will end up with durable, beautiful keepsakes that enhance your daily Bible reading for years to come.