DIY Turkey Print Out Artwork: A Step-by-Step Guide
Autumn brings a natural desire to warm up our living spaces with cozy, seasonal decor. While commercial holiday decorations can be expensive, creating your own statement pieces is surprisingly simple and affordable. If you want to add a touch of rustic elegance to your walls this fall, you need to learn how to create stunning turkey print out artwork. With just a computer, a good printer, and a few styling tricks, you can produce gallery-worthy decor for a fraction of the cost.

Gather Your Materials and Supplies
Before you dive into the digital design process, you need to assemble the right physical materials. The secret to making a printable look like an expensive oil painting lies in the quality of your paper and your frame.
- Heavyweight paper or cardstock: Standard printer paper is too thin and will show wrinkles when framed. Look for matte cardstock (at least 80 lb weight) or fine art watercolor paper compatible with inkjet printers.
- A quality color printer: An inkjet printer with individual color cartridges typically yields richer, more vibrant tones than laser printers for artwork.
- A suitable frame: Thrifted vintage frames add instant authenticity to vintage-style animal prints.
- Mat board (optional): Adding a white mat creates visual breathing room and elevates the look of the final piece.
Sourcing Your Turkey Image
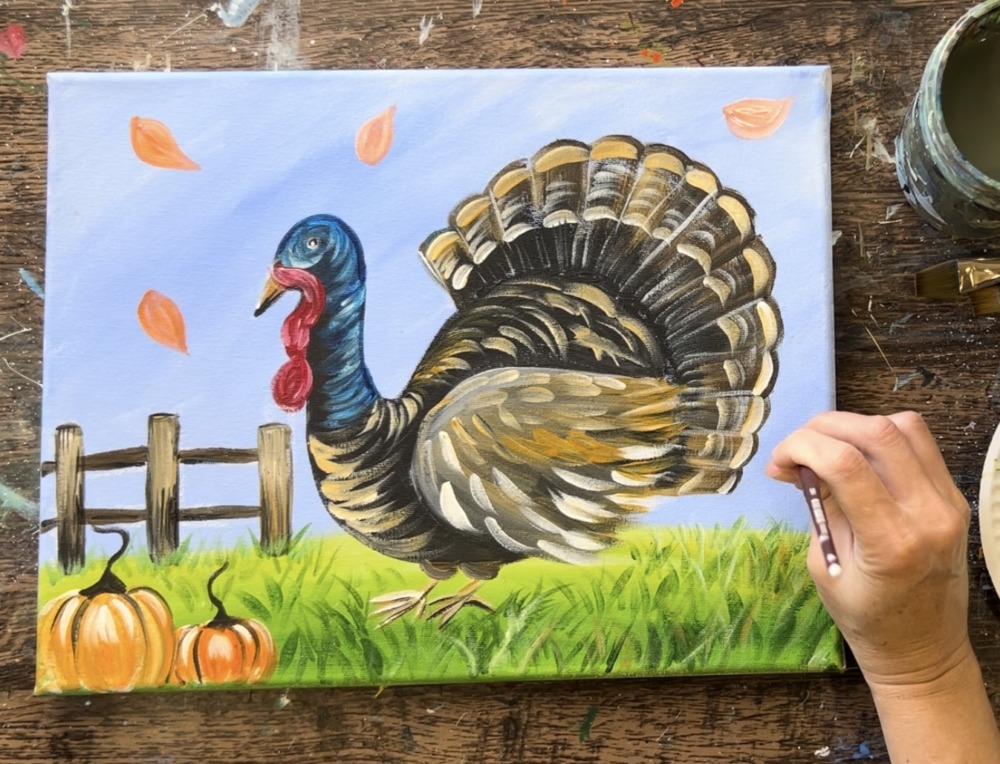
The foundation of great printable art is a high-resolution image. You do not need to be a graphic designer to find breathtaking vintage illustrations of wild turkeys.
Where to Find Free Public Domain Art
Many museums and libraries have digitized centuries-old natural history illustrations and made them available for public use. Excellent sources include:
- The Biodiversity Heritage Library: A goldmine for detailed, scientific illustrations of birds, including classic Audubon-style turkey drawings.
- The Library of Congress: Offers high-resolution scans of historical posters and agricultural prints.
- Wikimedia Commons: Search for "wild turkey painting" or "vintage turkey illustration" and filter by high resolution.
Always ensure the image file is at least 300 DPI (dots per inch) if you plan to print it larger than an 8x10 inch size. Low-resolution images will appear pixelated and blurry when enlarged.
Preparing and Editing Your Digital File
Once you download your chosen turkey image, you may need to perform some minor digital adjustments to ensure it fits your frame and matches your interior aesthetic.
- Crop to standard ratios: Resize the image to match standard frame sizes, such as 5x7, 8x10, 11x14, or 16x20 inches. Make sure you crop evenly so the turkey remains the focal point.
- Enhance contrast and warmth: Open the image in a basic photo editor. Slightly bumping up the contrast and warming the color temperature can make vintage illustrations pop against a cream or parchment-colored background.
- Add texture digitally (optional): If the background of your image is stark digital white, you can overlay a subtle linen or aged paper texture set to a low opacity for a more authentic antique feel.
How To Create Stunning Turkey Print Out Artwork
Video: How I make fine art prints at home 🎨 #artist #arttutorial
With your file prepped and your paper loaded into the printer, it is time to bring your vision to life. Follow these steps to execute the printing process flawlessly.
Step 1: Adjust Printer Settings
Do not simply hit "Print" using default settings. Open your printer properties dialog box and select the highest quality print mode. Change the paper type setting to "Matte Photo Paper" or "Heavyweight Cardstock" so your printer deposits the optimal amount of ink without pooling.
Step 2: Print a Test Page
Always run a test print on a piece of cheap standard printer paper first. This allows you to check the scaling, margins, and color saturation before wasting your expensive fine art paper.
Step 3: Trim to Size
Once your final piece prints, let the ink dry completely for five to ten minutes to avoid smudging. Use a metal ruler and a sharp craft knife on a self-healing cutting mat to trim the edges cleanly, ensuring it fits your frame precisely.
Framing and Styling Tips for Maximum Impact
The frame you choose makes all the difference when displaying print-at-home art. To elevate your turkey artwork and make it look genuinely high-end, consider these styling approaches:
- Embrace the Antique Look: Look for ornate, dark wood or gilded frames at thrift stores. The contrast between a stately vintage turkey and an antique frame creates a sophisticated focal point for a mantel or dining room wall.
- Skip the Glass: If you use textured fine art paper or canvas-textured cardstock, try framing the print without the glass. This removes glare and mimics the tactile finish of an authentic canvas painting.
- Create a Seasonal Gallery Wall: Pair your turkey print with other autumn-themed botanical sketches, landscape paintings of changing leaves, or vintage typography prints to create a cohesive fall gallery wall.
Conclusion
Crafting custom seasonal decor does not require professional artistic skills or a hefty budget. By taking advantage of public domain resources and following the right printing techniques, you can easily master how to create stunning turkey print out artwork for your home. Whether displayed proudly above the fireplace during Thanksgiving dinner or left out all through autumn, this timeless DIY project adds warmth, character, and personal charm to any room.