Easy Felt Ornament Pattern Ideas & Step-by-Step Guide
Handmade holiday decorations bring a timeless, cozy charm to any Christmas tree. If you want to add a personal touch to your seasonal decor this year, crafting with a felt ornament pattern is one of the most rewarding and accessible projects you can take on. Felt is an forgiving, fray-resistant material that requires no advanced sewing machine skills, making it ideal for beginners and experienced crafters alike.

Whether you want to stitch simple stars, whimsical animals, or traditional stockings, working with patterns allows you to create professional-looking keepsakes that will last for generations. In this guide, we will cover the essential supplies you need, how to choose or draft a felt ornament pattern, and a step-by-step tutorial to bring your design to life.
Gathering Your Supplies
Before you begin cutting and stitching, it is important to collect the right tools. Because felt has a dense structure, using appropriate notions ensures clean lines and a durable finish.
- Felt Sheets: Wool-blend felt offers the best durability, rich color, and resistance to pilling. Craft-store acrylic felt is cheaper and works fine for simple projects, though it wears out faster.
- Embroidery Floss: Match your floss to the felt color for invisible seams, or choose a contrasting color (like white on red) to make the blanket stitch stand out as a design feature.
- Sharp Embroidery Needles: A size 5 or 7 embroidery needle easily pierces through two layers of felt without straining your fingers.
- Poly-Fill Stuffing: Use a lightweight polyester fiberfill to give your ornaments a lovely, plump dimension.
- Small Sharp Scissors: Precision scissors are critical for cutting out intricate curves and corners on your pattern pieces.
- Template Material: Cardstock or freezer paper works best for tracing your felt ornament pattern pieces accurately.
Finding or Drafting a Felt Ornament Pattern
You can find countless templates online, ranging from free printable PDFs to intricate Etsy sewing kits. However, drafting your own custom shapes is surprisingly simple if you keep a few design rules in mind.
Tips for Designing Your Own Templates

If you want to draw your own shapes, keep them simple and bold. Tiny, intricate details (like narrow antlers or skinny star points) are notoriously difficult to turn right-side out or stuff properly with fiberfill. Aim for a finished size between 3 and 5 inches, which leaves enough room for a neat border stitch while fitting comfortably in the palm of your hand.
Always draw your designs on paper first. Cut them out and hold them against your tree to test the scale before transferring anything to fabric. Remember to leave space on your pattern if you plan to add embroidered details, beads, or sequins to the front face.
Step-by-Step Tutorial: Sewing a Simple Star Ornament
Ready to put your template into action? Follow this straightforward tutorial to create a classic stuffed star decoration.
- Prepare the Template: Print or draw your star shape on cardstock and cut it out cleanly. Pin the cardstock template to your felt sheet and cut out two identical star shapes.
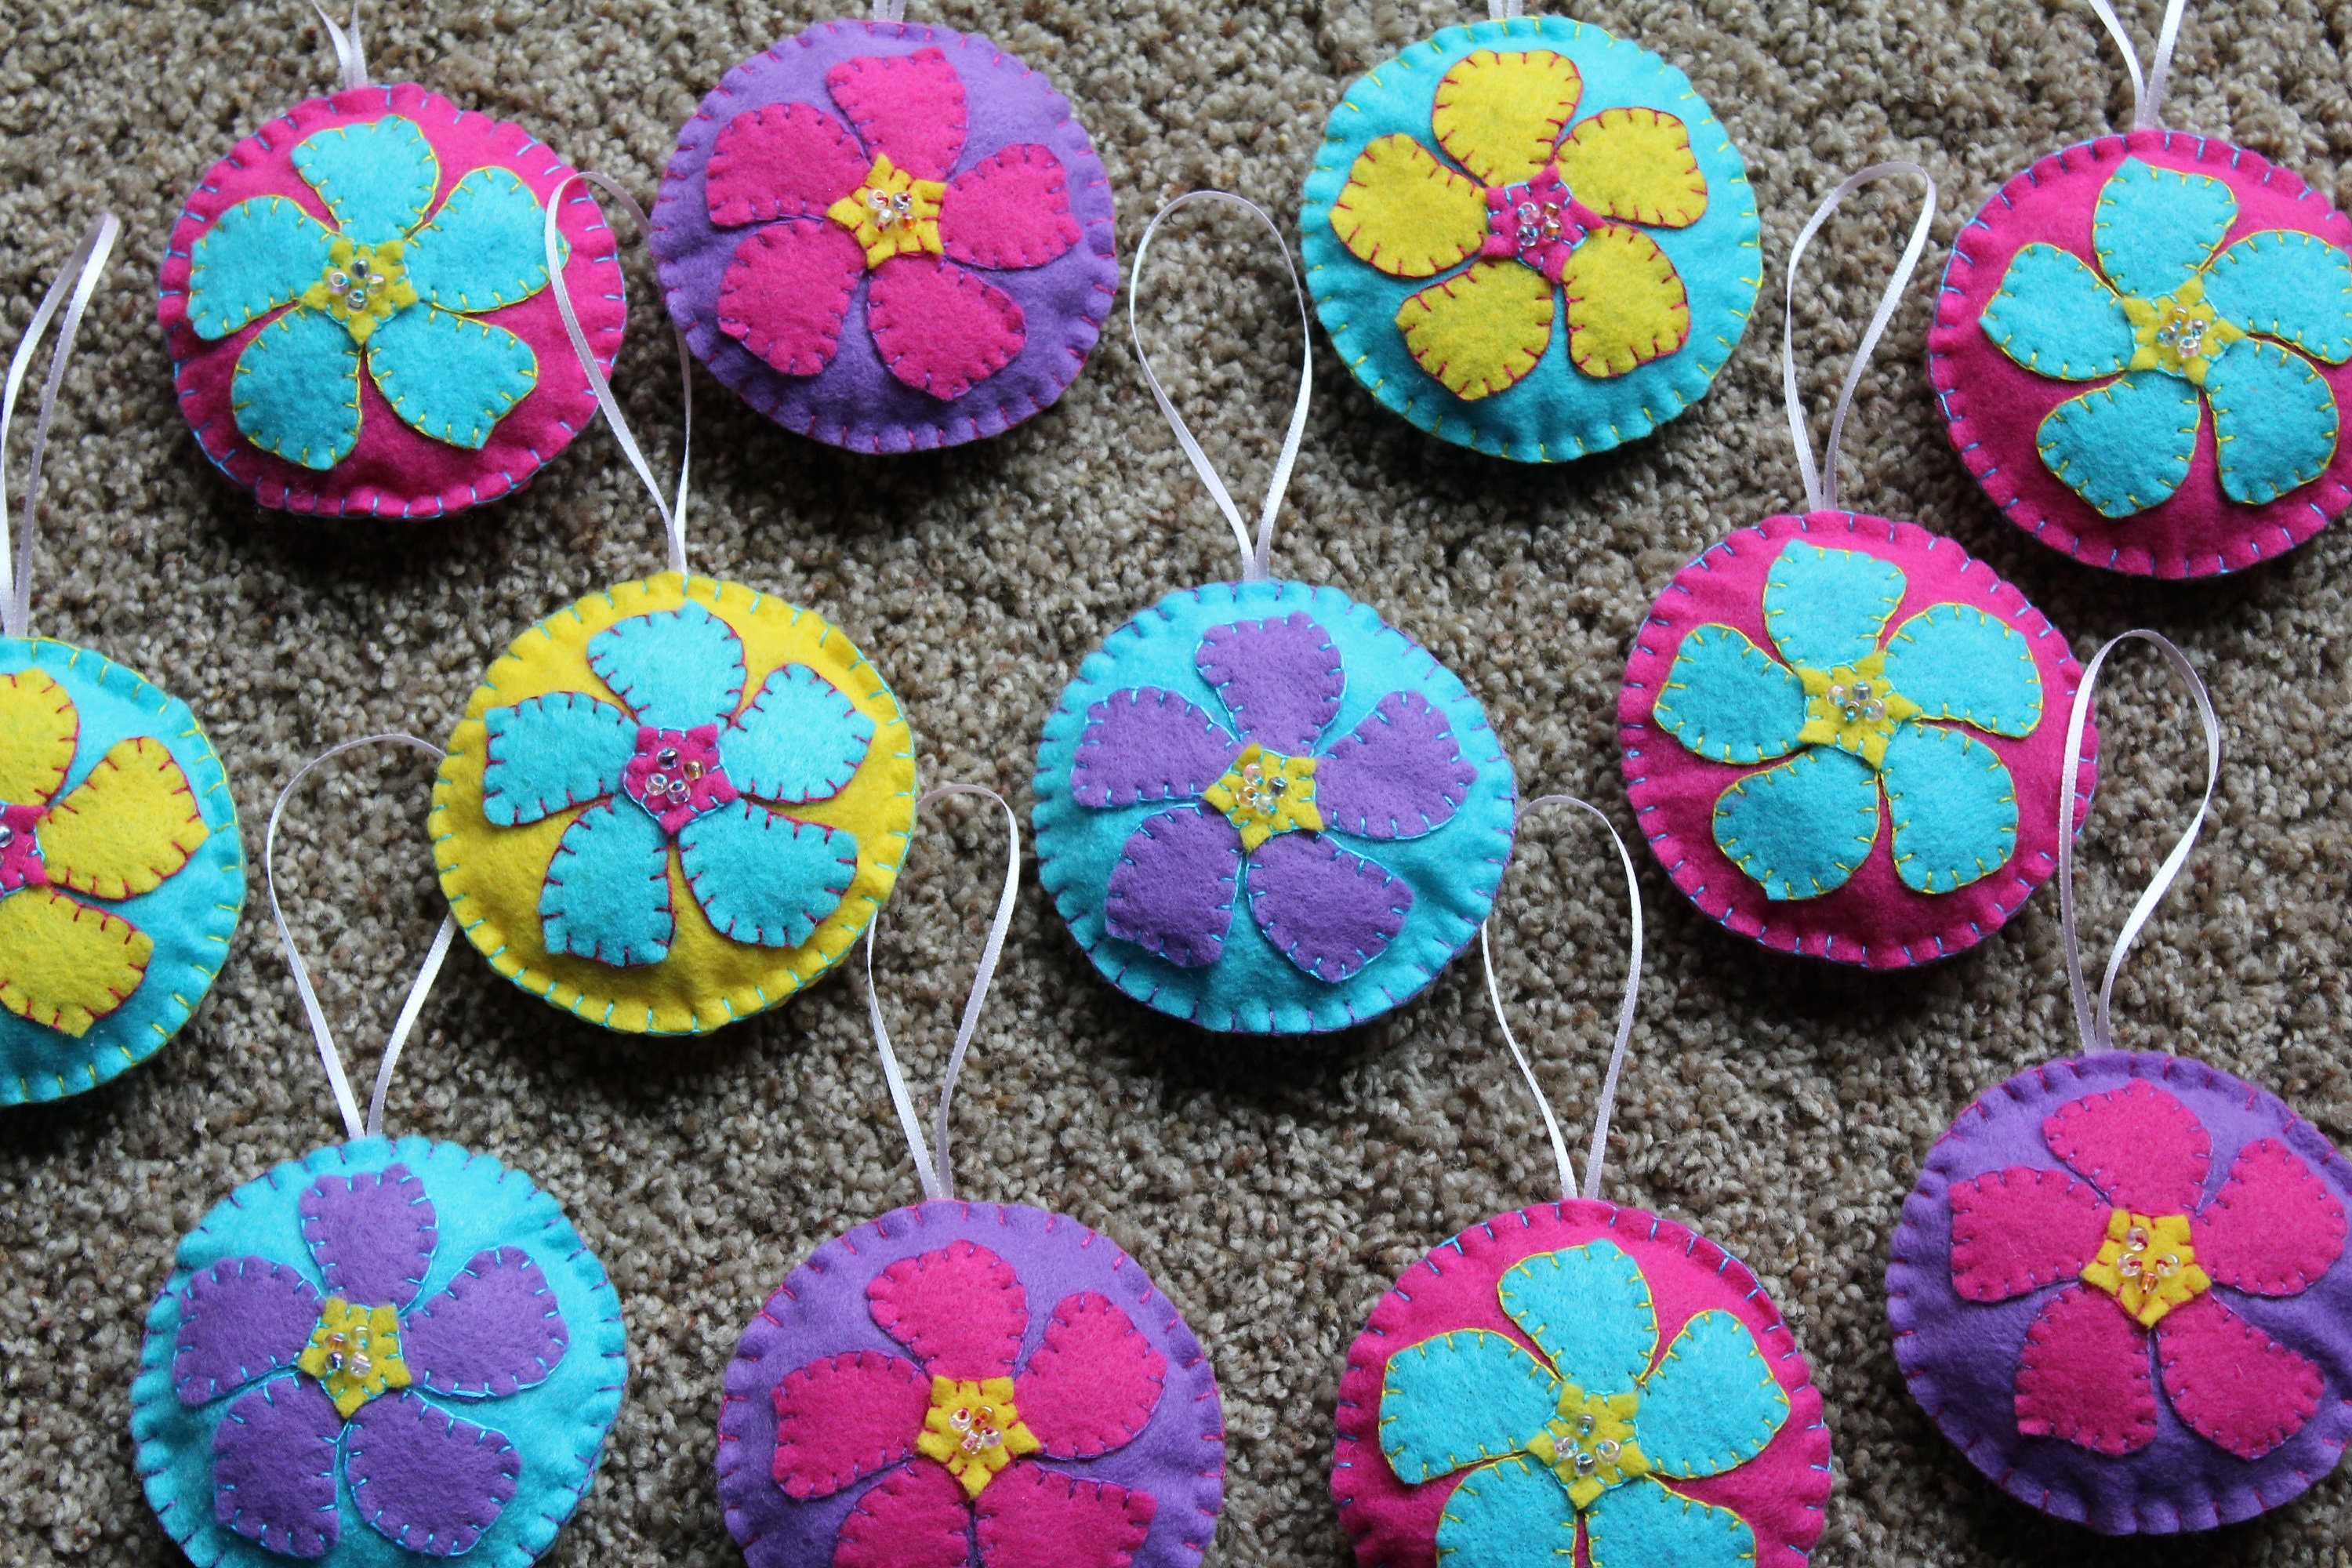
- Decorate the Front: Before sewing the front and back together, embellish the front piece. You can sew on small seed beads, add sequin highlights, or stitch a simple snowflake design using embroidery floss.
- Align the Pieces: Place the front and back felt pieces directly on top of one another, aligning the edges carefully. Pin them together in the center so they do not shift while you stitch.
- Start the Blanket Stitch: Thread your needle with three strands of embroidery floss. Anchor your knot between the two layers of felt to hide it. Bring the needle up through the front piece near the edge, then loop the thread under the needle point to create a neat signature blanket stitch.
- Stuff the Ornament: Continue stitching around the perimeter of the star. When you have about an inch left open before closing the shape, use the back of a paintbrush or a chopstick to gently push small pinches of poly-fill into the points and center of the star. Do not overstuff, or the edges will pull apart.
- Finish and Hang: Complete your blanket stitch around the remaining gap. Secure your thread with a neat knot, push the needle down through the inside of the ornament, and snip the thread close to the felt so the tail disappears. Attach a loop of ribbon, twine, or matching embroidery floss to the top point for hanging.
Tips for Professional-Looking Results
Even simple handmade crafts look polished when you pay attention to a few finishing details. To keep your stitches uniform, use a ruler and a disappearing fabric pen to mark your stitch intervals before you sew. If your felt edges look slightly ragged after cutting, use a tiny drop of fabric glue or trim them very carefully with micro-tip scissors.
By experimenting with different colors, textures, and embroidery techniques, a single basic felt ornament pattern can yield dozens of entirely unique holiday decorations. Grab your supplies, turn on your favorite seasonal playlist, and enjoy the relaxing art of hand-stitching.