Elevate Your Style with a Customizable Group Mural
Transform Your Space Through Collaborative Art

Blank walls present an untapped opportunity to define the character of a room. Whether you are designing a collaborative office space, a community center, or a modern living room, standard paint and generic decor often fall short of creating a truly personal atmosphere. If you want to make a lasting visual statement, you can elevate your style with a customizable group mural that brings together diverse creative visions into a single, cohesive masterpiece.
Group murals are more than just large-scale paintings; they are dynamic installations that reflect the collective identity, values, and aesthetic preferences of the participants. By pooling different artistic talents and perspectives, you produce a layered design that no single person could have imagined alone. This approach ensures your interior design is entirely unique, rich in detail, and deeply engaging to anyone who enters the room.
Why Choose a Group Mural for Your Interior?
Integrating large-scale art into your architecture yields profound aesthetic and psychological benefits. Traditional artwork can sometimes feel disconnected from the room's architecture, but a custom mural is built specifically for the space it occupies. It interacts directly with natural light, architectural angles, and surrounding furniture.
Fostering Connection and Ownership
When a team, family, or community collaborates on a shared visual project, the resulting artwork carries emotional resonance. Every brushstroke represents a collective effort, turning a simple wall into a monument of teamwork. This sense of shared ownership makes the finished piece far more meaningful than any store-bought canvas.
Tailored to Your Exact Aesthetic
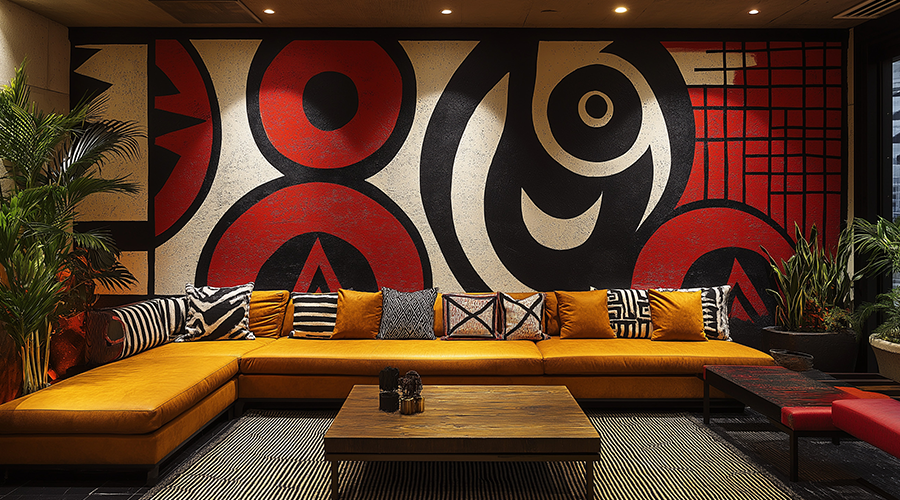
Customization means you are never restricted by market trends or standard sizing. You control the color palette, the thematic elements, and the scale. Whether your design leanings are minimalist and geometric or vibrant and abstract, a group project allows you to tailor every square inch to complement your existing interior design style.
Planning Your Custom Mural Project
Video: In-depth mural process for public murals

A successful wall installation requires careful preparation before anyone picks up a paintbrush. Jumping straight into painting without a roadmap can lead to clashing styles and structural errors. Follow these foundational steps to set your team up for success.
- Define the Vision and Theme: Host an initial brainstorming session. Determine what emotion, story, or visual mood the mural should convey.
- Assess the Wall Surface: Inspect your wall material—drywall, brick, or concrete—and ensure it is clean, primed, and ready for application.
- Establish a Color Palette: Limit your palette to four or five core colors with a few accent shades to maintain visual harmony across different contributors' sections.
- Select Your Medium: Decide whether you will use acrylics, latex house paints, spray paint, or a combination of mediums depending on your skill level and desired texture.
Execution Strategies for Seamless Results
Maintaining visual cohesion when multiple people are painting the same wall can be challenging. To prevent the final piece from looking disjointed, use structured execution methods.
The Grid Method or Color Blocking
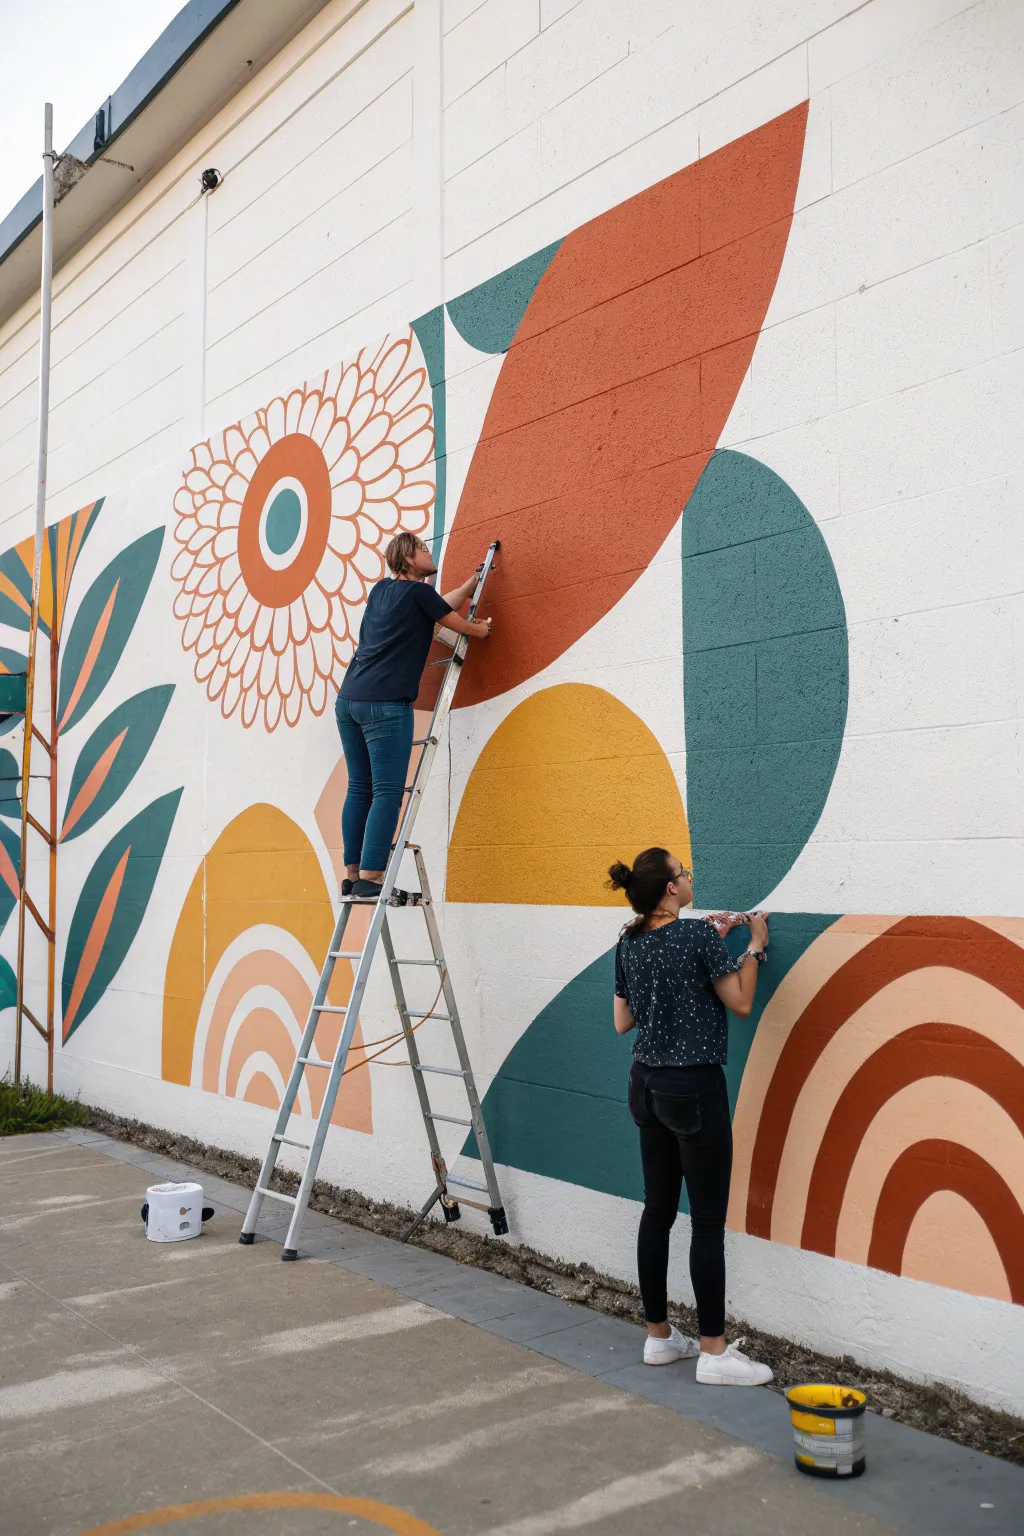
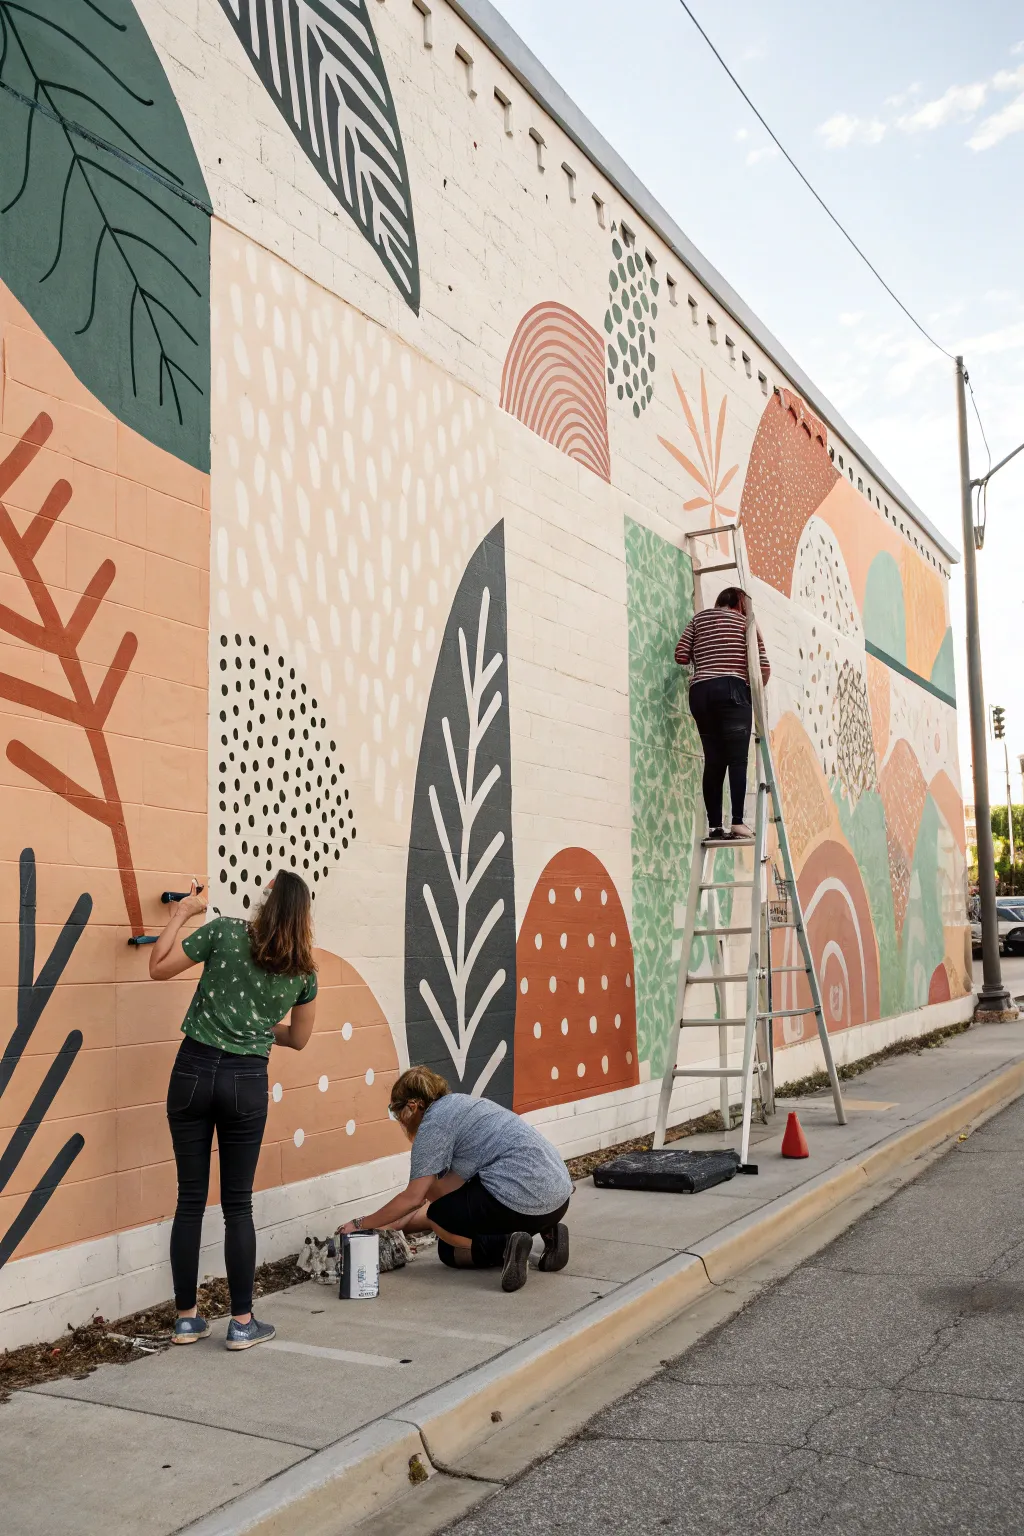
Dividing the wall into a grid or mapping out distinct color-blocked zones helps allocate specific areas to different participants. This ensures that everyone has a clear boundary for their creative expression while contributing to the larger composition. Alternatively, you can designate one lead artist to sketch the primary outline, allowing others to fill in and shade specific sections.
Layering and Detailing
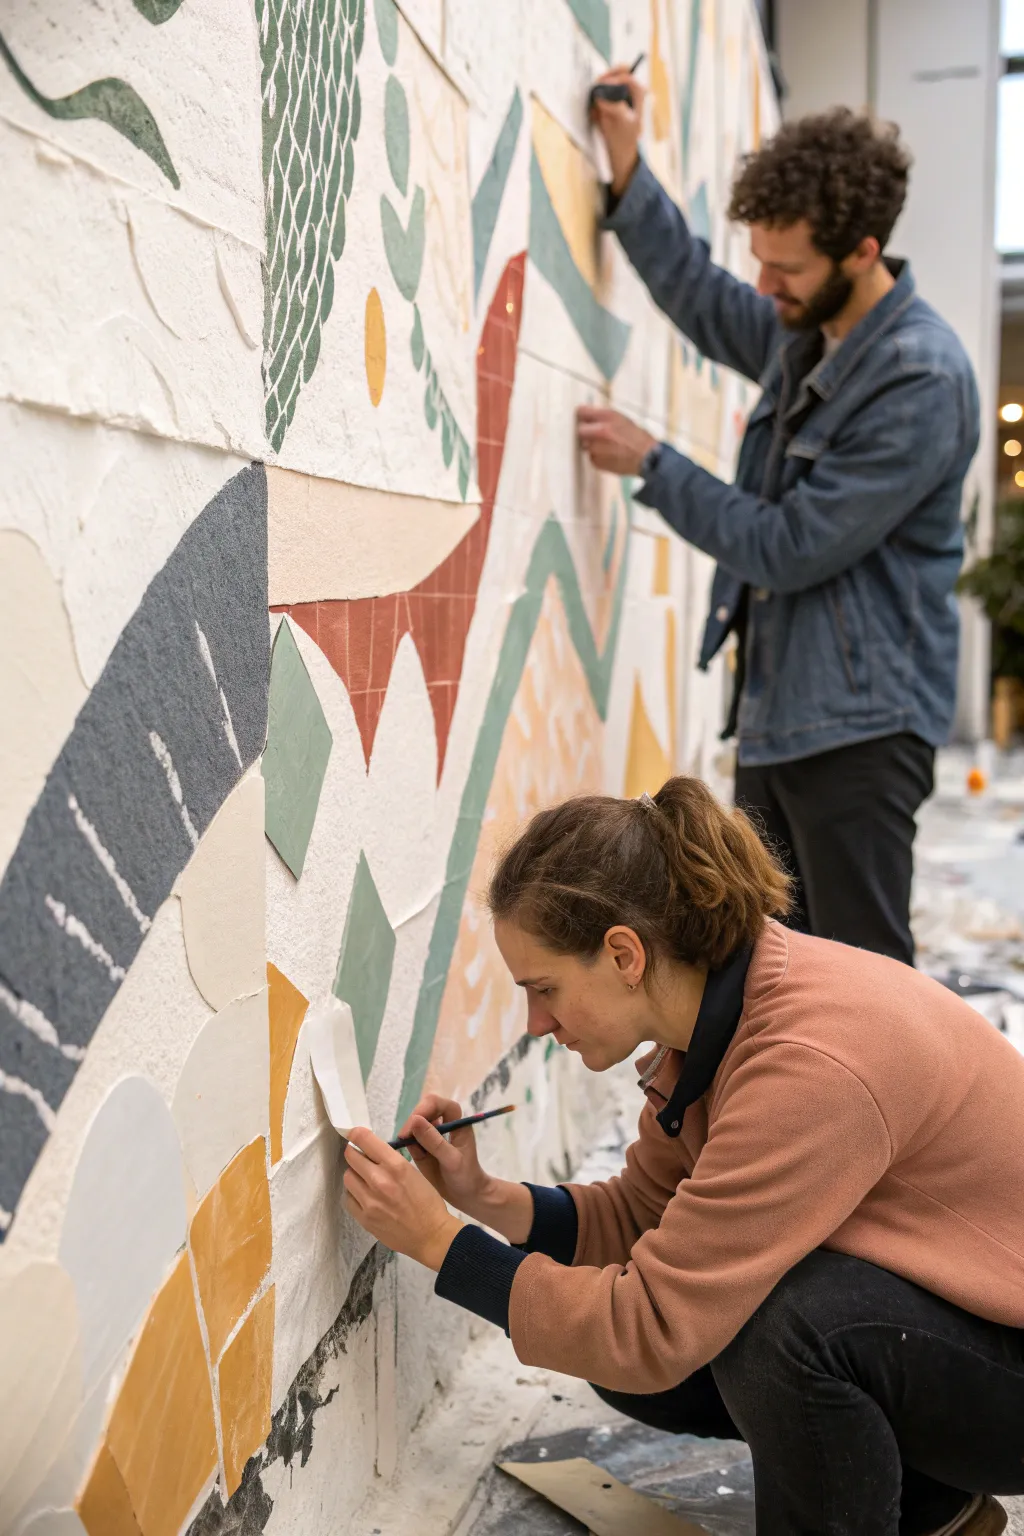
A great mural is built in stages. Start with a flat base coat and large structural shapes. Once the background is established, move on to mid-level details, and finish with fine-line work and highlights. This staged approach allows different skill levels to contribute at the exact phase where they feel most confident.
Maintaining and Showcasing Your Artwork
Once the final brushstroke dries, protect your investment so it remains vibrant for years to come. Apply a clear, non-yellowing polyurethane or UV-resistant varnish, especially if the wall receives direct sunlight or heavy foot traffic. Proper sealing also makes the surface easy to clean, protecting it from dust and accidental scuffs.
Lighting plays a crucial role in showcasing your new centerpiece. Install directional track lighting or wall washers to cast an even glow across the surface, highlighting the rich textures and collaborative details you worked so hard to create. By investing time in a shared artistic vision, you successfully elevate your style with a customizable group mural that redefines your entire interior environment.