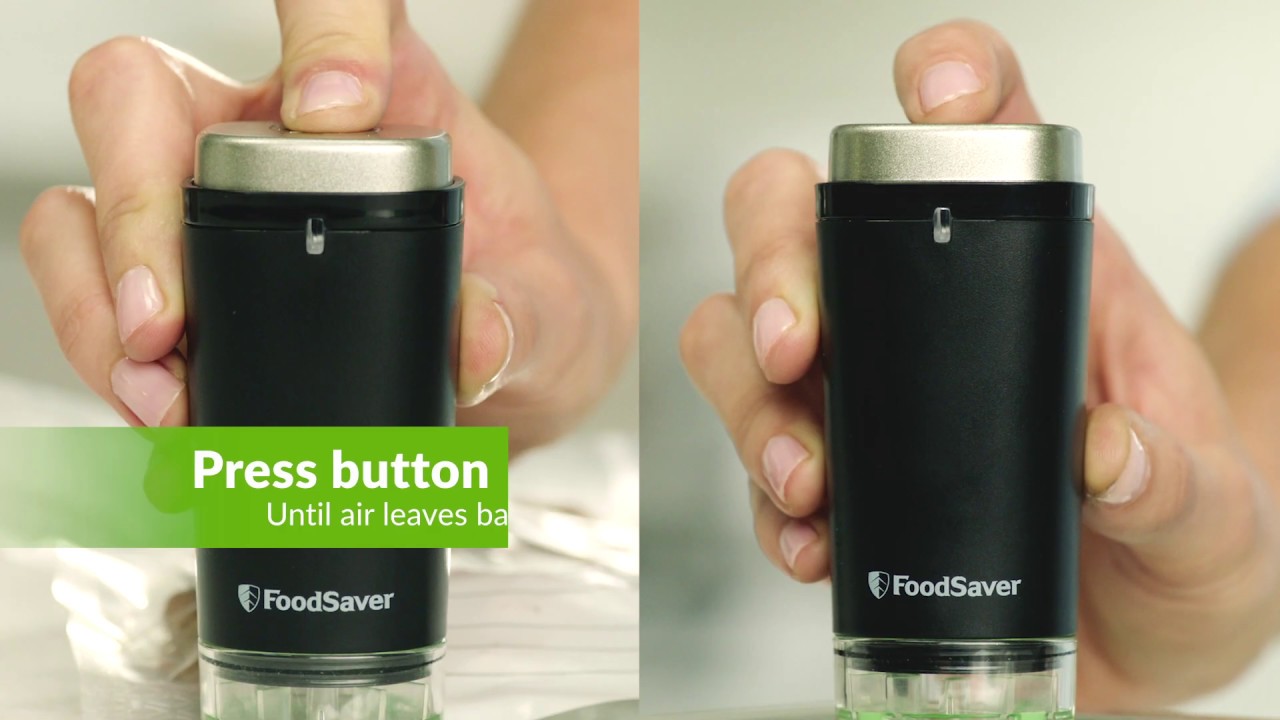
FoodSaver How to Video Guide: Step-by-Step Sealing
Mastering Your Vacuum Sealer with a FoodSaver How to Video

Owning a vacuum sealer can completely transform how you manage groceries, leftovers, and meal prep. However, if you have never used one before, getting the hang of bag-making, edge alignment, and mode selection can feel a bit intimidating. That is where a reliable FoodSaver how to video comes in handy, offering a visual walkthrough of the process. Whether you just unboxed your machine or need a quick refresher on sealing moist items, watching a demonstration makes all the difference.
In this guide, we break down the core steps of vacuum sealing, highlighting the techniques you would typically see in a high-quality instructional clip. By following these steps, you will prevent freezer burn, reduce food waste, and keep your ingredients fresh up to five times longer than traditional storage methods.
Essential Steps Covered in a FoodSaver How to Video
While different models—such as the FoodSaver V2244, FM2000, or higher-end GameSaver units—have slight variations, the fundamental operation remains remarkably consistent. Here is a breakdown of the standard process you should expect to see.
1. Making a Custom-Sized Bag from a Roll
One of the best features of a FoodSaver system is the ability to create custom bags from a continuous roll of material. This eliminates wasted plastic when you are storing unusually shaped items like a rack of ribs or a small block of cheese.
- Pull out the desired length of bag material from the internal roll cutter storage.
- Slide the cutter bar across to sever the plastic cleanly.
- Insert one open end of the material into the sealing strip area of the machine.
- Close and latch the lid, then press the "Seal" button. Wait for the indicator light to turn off.
2. Filling and Positioning the Bag
Properly loading your bag ensures a strong, airtight seal without liquid or dry powder interfering with the heating strip.
- >
- Leave Headroom: Always leave at least 3 inches of space between the contents of the bag and the top edge. This extra room ensures the vacuum channel can grip the plastic effectively.
- Keep the Seal Area Clean: If you are sealing raw meat or marinades, fold the top edges of the bag down before filling. Unfold them before sealing to keep the opening completely dry.
- Insert into the Drip Tray: Place the open end of the bag flat inside the vacuum channel (the removable drip tray area). Do not block the vacuum nozzle.
3. Vacuuming and Sealing
With the bag correctly positioned, you are ready to remove the air and lock in freshness.

Close and latch the lid firmly. Press the "Vacuum & Seal" button. The machine will automatically extract the air from the bag and switch to sealing mode once the optimal vacuum pressure is reached. Listen for the sound of the pump to change, and wait for the red sealing light to turn off before opening the latch.
Advanced Tips for Specific Food Types
A standard tutorial often covers basic dry goods, but real-world cooking involves a wide variety of textures and moisture levels. Mastering these nuances will elevate your preservation skills.
Sealing Moist Foods and Marinating
If you seal liquids or very juicy meats like raw steaks, the vacuum pressure can pull moisture up into the sealing strip, resulting in a weak seal. To prevent this, look for your machine's "Moist" setting, which applies a longer seal time to handle damp edges. Alternatively, freeze juicy items for 1 to 2 hours on a baking sheet before vacuum sealing them.
Protecting Delicate Foods
Crushable items like fresh berries, chips, or baked goods require a gentle touch. If your FoodSaver model features a "Pulse" or "Manual" vacuum button, use it. This allows you to control the exact amount of air removed manually. You can stop the suction the moment you notice the bag tightening around the food, preserving its structure before hitting the "Seal" button.
Troubleshooting Common Issues
Even with a great tutorial video, you might occasionally run into minor hiccups. Here is how to fix them quickly:
- >
- The machine won't vacuum: Check if the bag is pushed too far into the drip tray, blocking the airflow channel. Also, ensure the lid is latched securely on both the left and right sides.
- The seal is melting or bubbling: The sealing strip may be overheating. Wait 20 seconds between consecutive seals to let the heating element cool down.
- Air is leaking back into the bag: Check the opening for wrinkles, creases, or stray food particles. Cut the seal off, wipe the edge clean, and try again with a fresh bag.
Final Thoughts
Watching a FoodSaver how to video is the fastest way to build confidence with your vacuum sealer. By understanding how to make custom bags, position your food correctly, and manage moisture levels, you will extend the shelf life of your favorite ingredients and save money on your grocery bill. Practice these techniques a few times, and vacuum sealing will quickly become a seamless part of your kitchen routine.