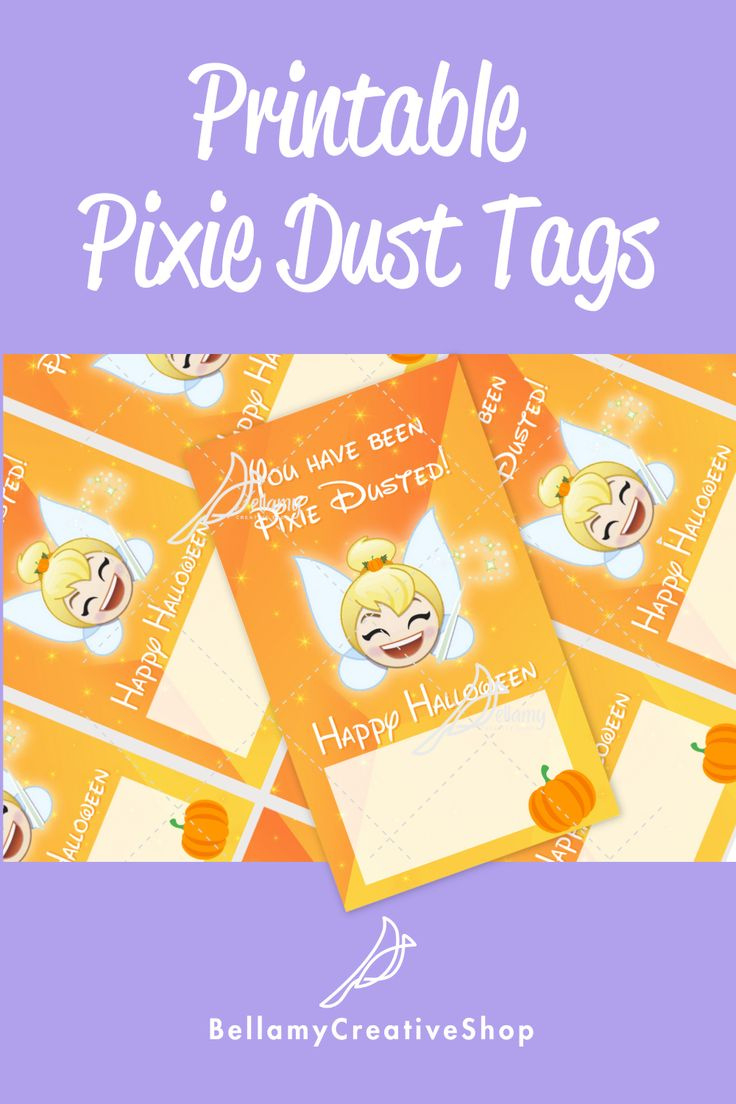
Free Printable Pixie Dust Tags Templates: DIY Guide
Few crafting elements capture the imagination quite like the concept of fairy dust. Whether you are prepping favors for an enchanted forest birthday party, assembling travel surprises for a magical vacation, or leaving a sweet reward from the Tooth Fairy, small details create lasting impressions. When you want to add that whimsical touch without spending hours designing from scratch, you can elevate your DIY game with free printable pixie dust tags templates.

Printable templates bridge the gap between store-bought generic items and high-end artisanal gifts. With the right cardstock, thoughtful typography, and a few finishing flourishes, a simple printed tag transforms an everyday jar of glitter into a cherished keepsake. Below, you will discover how to source, print, assemble, and customize your own magical tags for any occasion.
Elevate Your DIY Game with Free Printable Pixie Dust Tags Templates
Printable templates take the stress out of craft production. Rather than measuring borders, testing fonts, and manually aligning text on individual gift labels, downloading a pre-formatted template sheet allows you to produce uniform, polished tags in minutes. This consistency is especially valuable when you are assembling party favors for thirty guests or preparing dozens of cruise-door gifts.
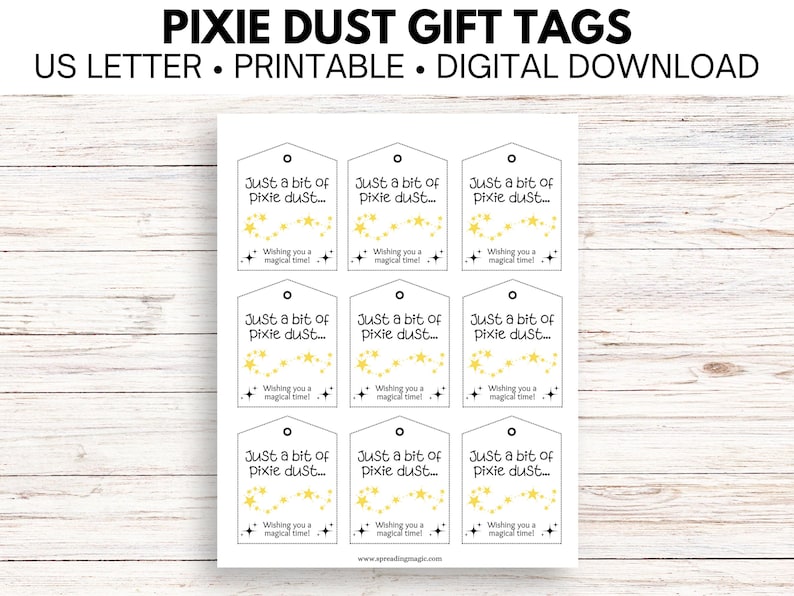
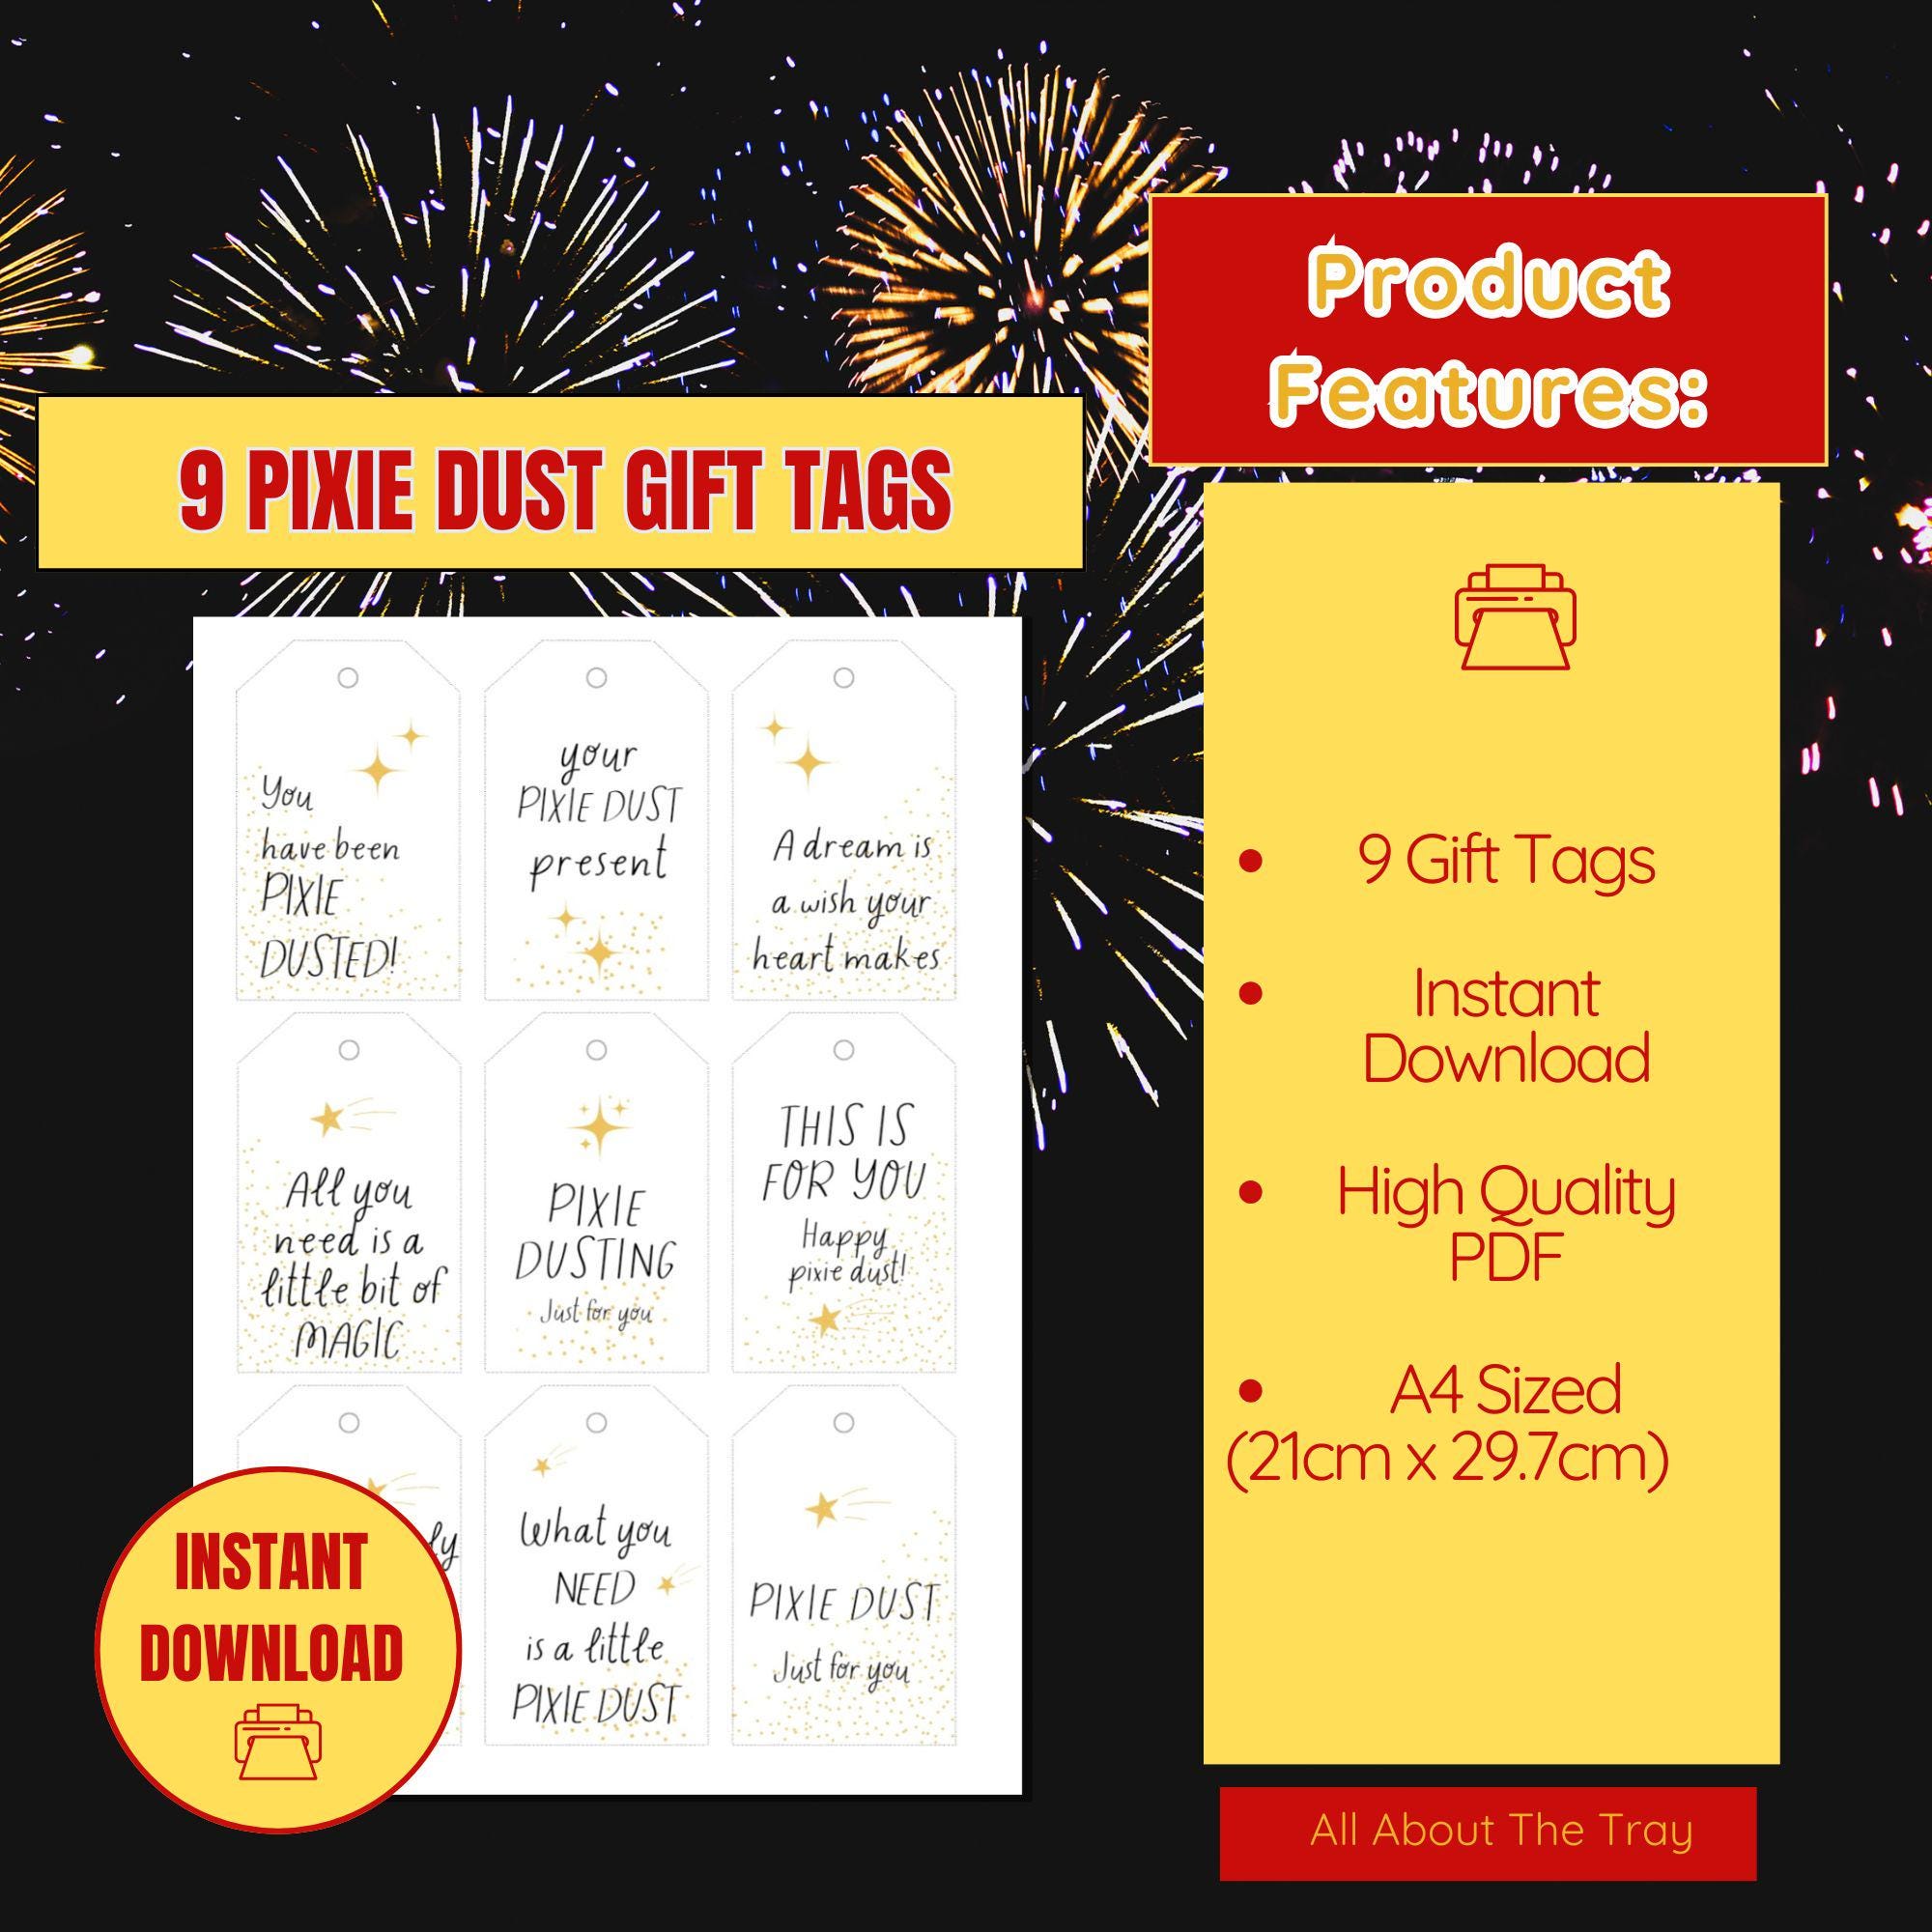
Most quality printable templates come in standard digital formats such as high-resolution PDF or PNG files formatted for standard letter size (8.5 x 11 inches) or A4 paper. Common design styles include:
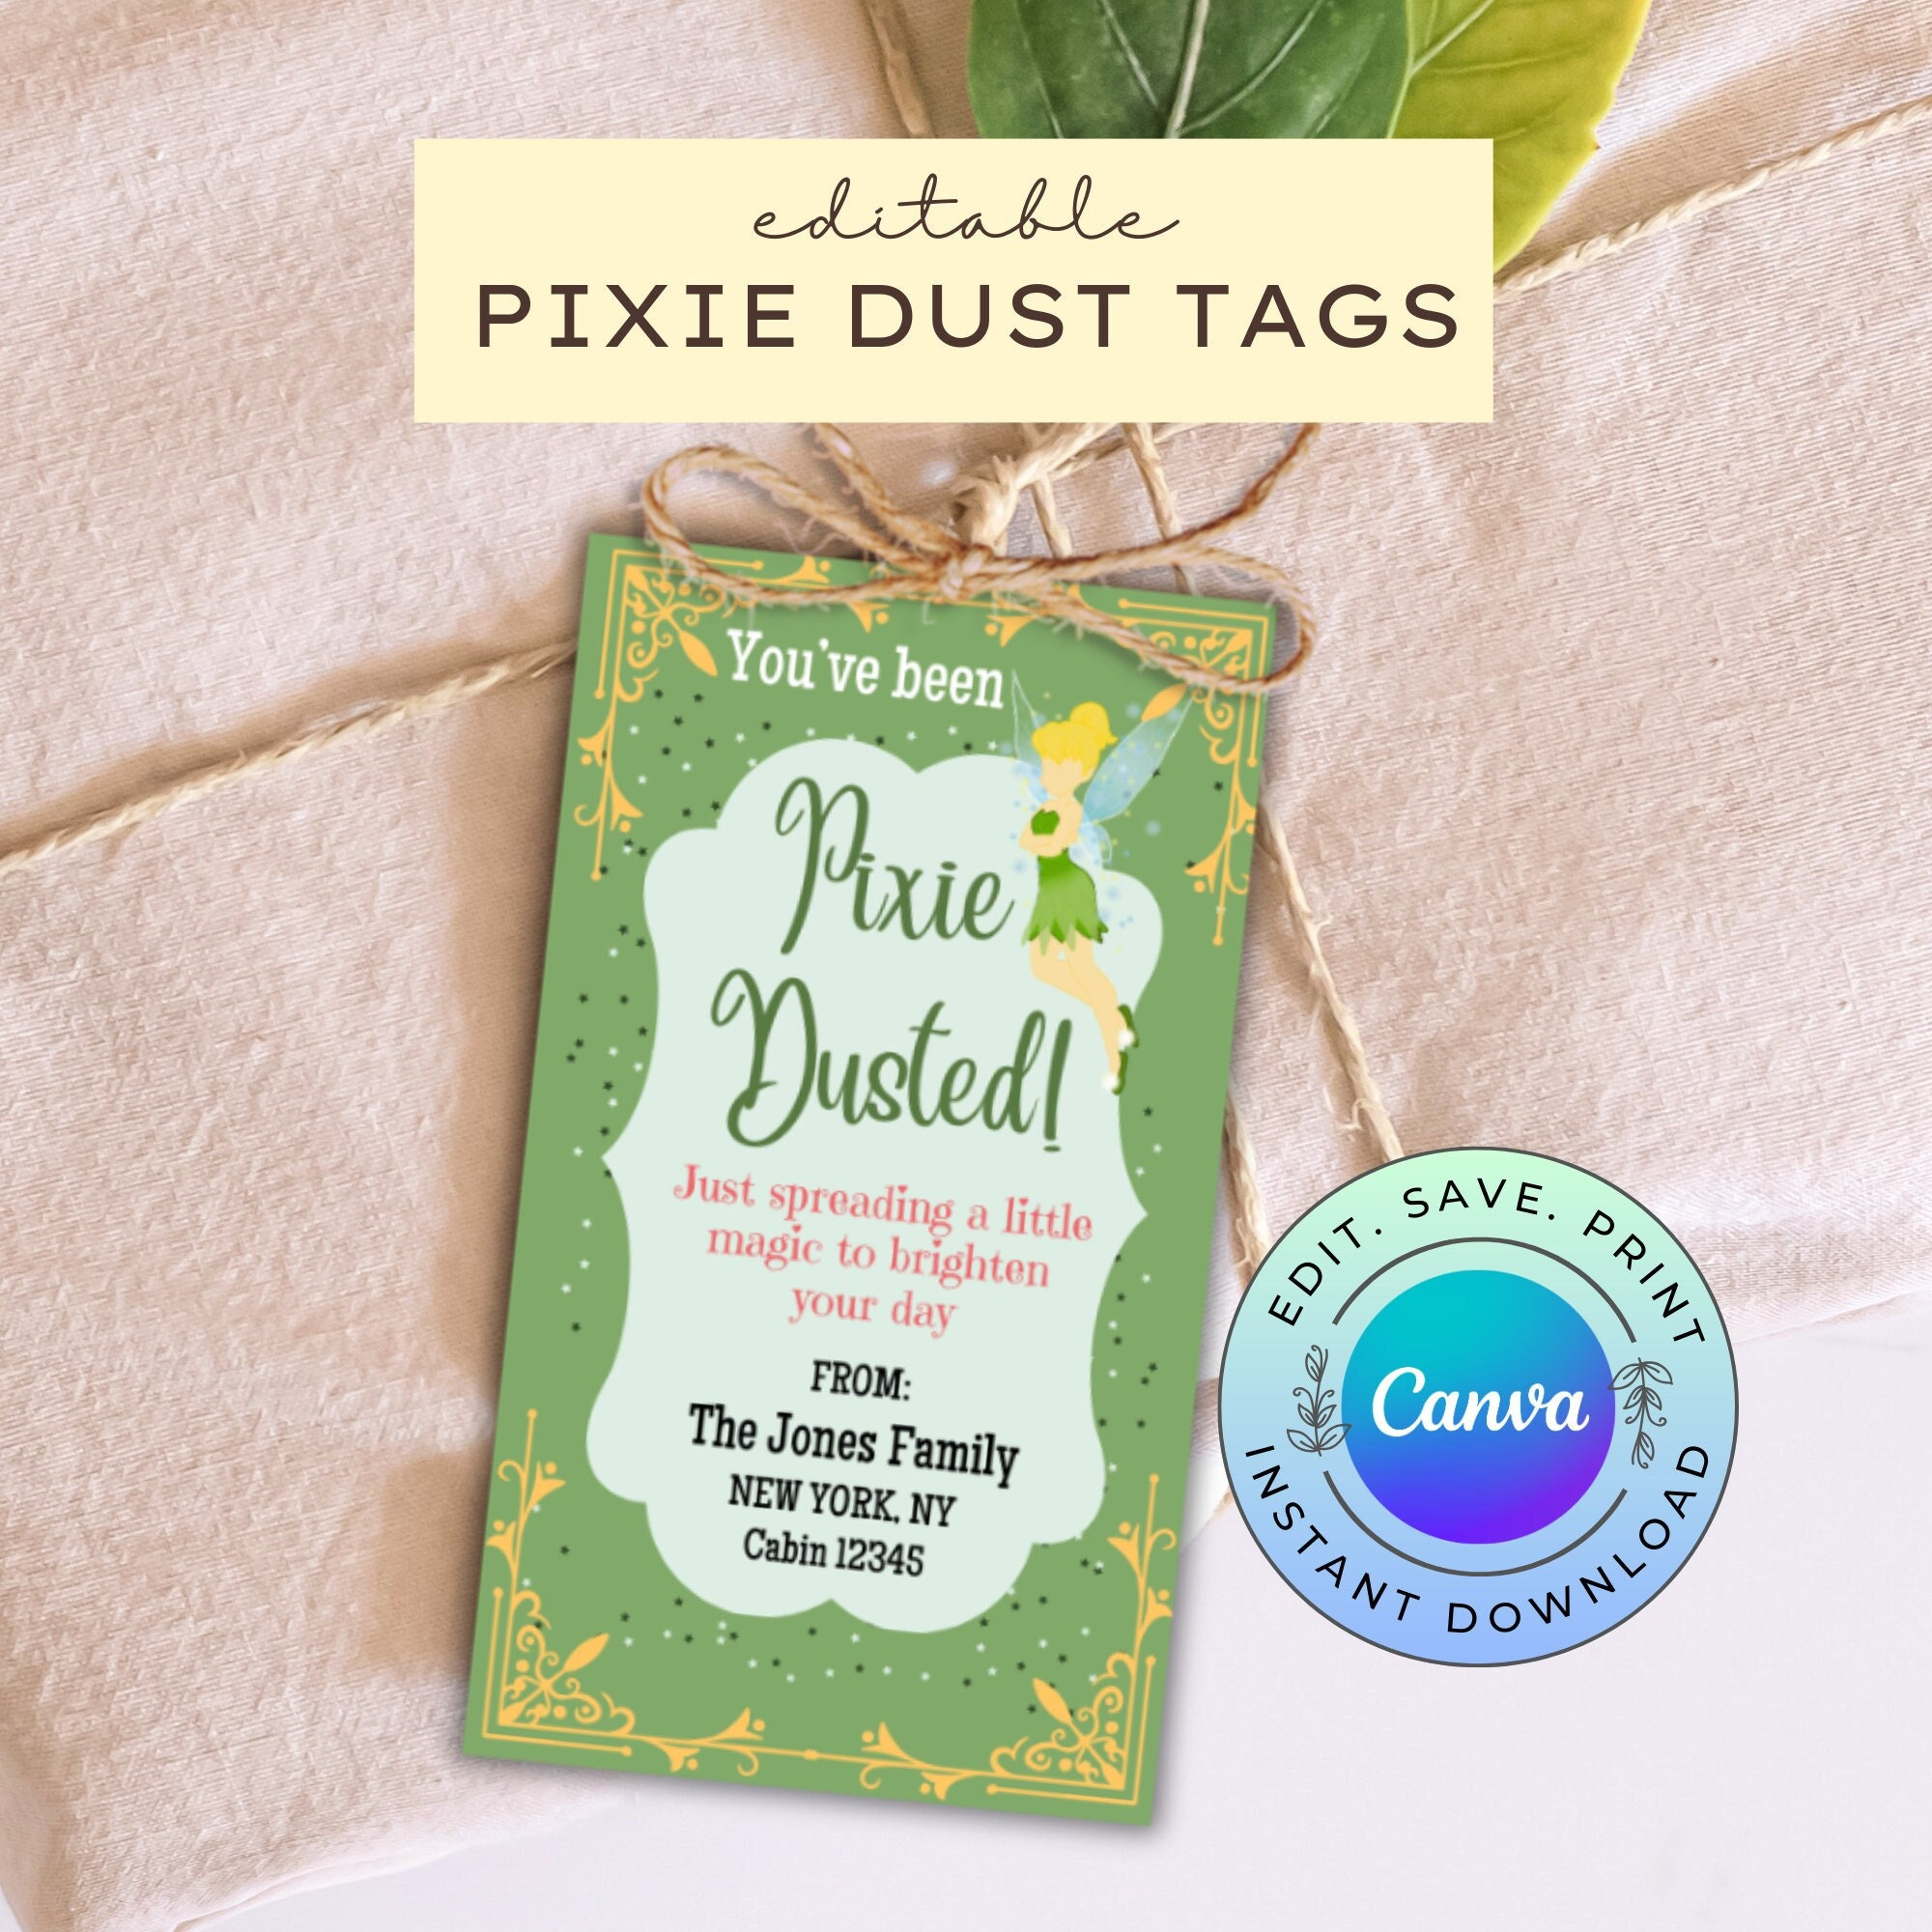
- Vintage Apothecary Labels: Featuring ornate filigree borders, parchment-toned backgrounds, and antique script fonts—ideal for glass corked vials.
- Whimsical Pastel Gift Tags: Soft watercolor washes with stars, fairy silhouettes, and gold-effect typography that suit children's birthday celebrations.
- Fold-Over Bag Toppers: Designed to staple or tape directly across the top of standard 3-inch or 4-inch clear cellophane treat bags filled with shimmering bath salts or confetti.
- Minimalist Clean Lines: Modern typography with clean margins that let colorful glitter and luxe ribbon take center stage.
Essential Materials for Professional-Looking Tags
The difference between a printable that looks homemade and one that looks boutique-made comes down to paper stock and finishing tools. You do not need commercial machinery to achieve crisp results, but a few targeted supplies make an immediate impact.
Choosing the Right Paper Stock
Standard 20 lb copy paper is too thin for functional tags; it wrinkles when handled, absorbs ambient moisture, and tears at the punch hole. Aim for sturdy cardstock instead:
- 65 lb to 80 lb Cover Cardstock: The sweet spot for home inkjet and laser printers. It feeds smoothly through standard printer rollers while providing enough rigidity to hold its shape.
- 100 lb+ Heavyweight Cardstock: Excellent for tags tied onto heavier items like bottles, though you should verify that your printer has a rear-feed tray to avoid paper jams.
- Linen or Shimmer Cardstock: Pearlescent white or champagne paper adds an organic glow beneath your printed design, matching the fairy-tale aesthetic perfectly.
- Kraft Cardstock: If your template features bold black linework or vintage artwork, printing directly onto brown kraft paper delivers an instant rustic charm.
Cutting and Punching Tools
Clean, straight edges elevate printed tags instantly. While household scissors work in a pinch, these tools yield cleaner edges with less effort:
- Rotary Paper Trimmer: Ensures razor-sharp, straight lines across multi-tag sheets in seconds.
- Precision Craft Knife and Metal Ruler: Perfect for intricately shaped tags or delicate curved corners.
- 1/8-Inch Hole Punch: Standard office hole punches measure 1/4 inch, which can overwhelm miniature tags meant for small corked bottles. A 1/8-inch punch leaves a neat, proportional hole for thin baker's twine or embroidery floss.
- Corner Rounder Punch: Running rectangular tags through a corner rounder softens sharp points and gives the final product a manufactured, high-end feel.
Step-by-Step: Printing and Assembling Your Tags
Follow these steps to produce clean, smudge-free tags that hold up during gift-giving and events.
Step 1: Check Printer Settings
Before hitting print, inspect your print dialogue window. Ensure your scaling is set to 100% or Actual Size rather than "Fit to Page," which can distort the template proportions. In your printer properties, change the media setting from "Plain Paper" to "Cardstock" or "Heavyweight Matte Paper." This slows the feed mechanism and applies the correct ink density, preventing smudges and color banding.
Step 2: Cut with Accuracy
Work on a flat cutting mat. If your template includes faint cut lines or crop marks, use a clear grid ruler to align your cuts from edge to edge. Always cut the long horizontal lines first, then slice across the vertical dividers. This sequence keeps the sheet stable on your cutting mat for as long as possible.

Step 3: Reinforce and Punch
If your tags will hang from heavy ribbon or endure handling by excited kids, consider reinforcing the hole. You can apply a tiny piece of clear tape to the backside of the tag before punching, or attach miniature metallic eyelets using a setting tool. This prevents the cord from tearing through the paper fibers.
Step 4: Add Tactile Embellishments
Take your tags one step further by introducing physical texture:
- Glitter Edging: Lightly swipe the outer perimeter of your cut tag across a clear glue stamp pad, then dip the edges into ultra-fine iridescent glitter. Tap off the excess for a sparkling rim.
- Distress Inking: For an antique storybook appearance, dab a mini foam sponge into brown dye ink and gently buff the edges of the tag.
- Wax Seals: Affix a miniature wax seal directly over the ribbon knot to give your pixie dust packaging an authentic magical seal.
Creative Ways to Use Pixie Dust Tags
Pixie dust tags are surprisingly versatile across seasonal holidays, family traditions, and party planning.
1. Vacation Reveal Surprises
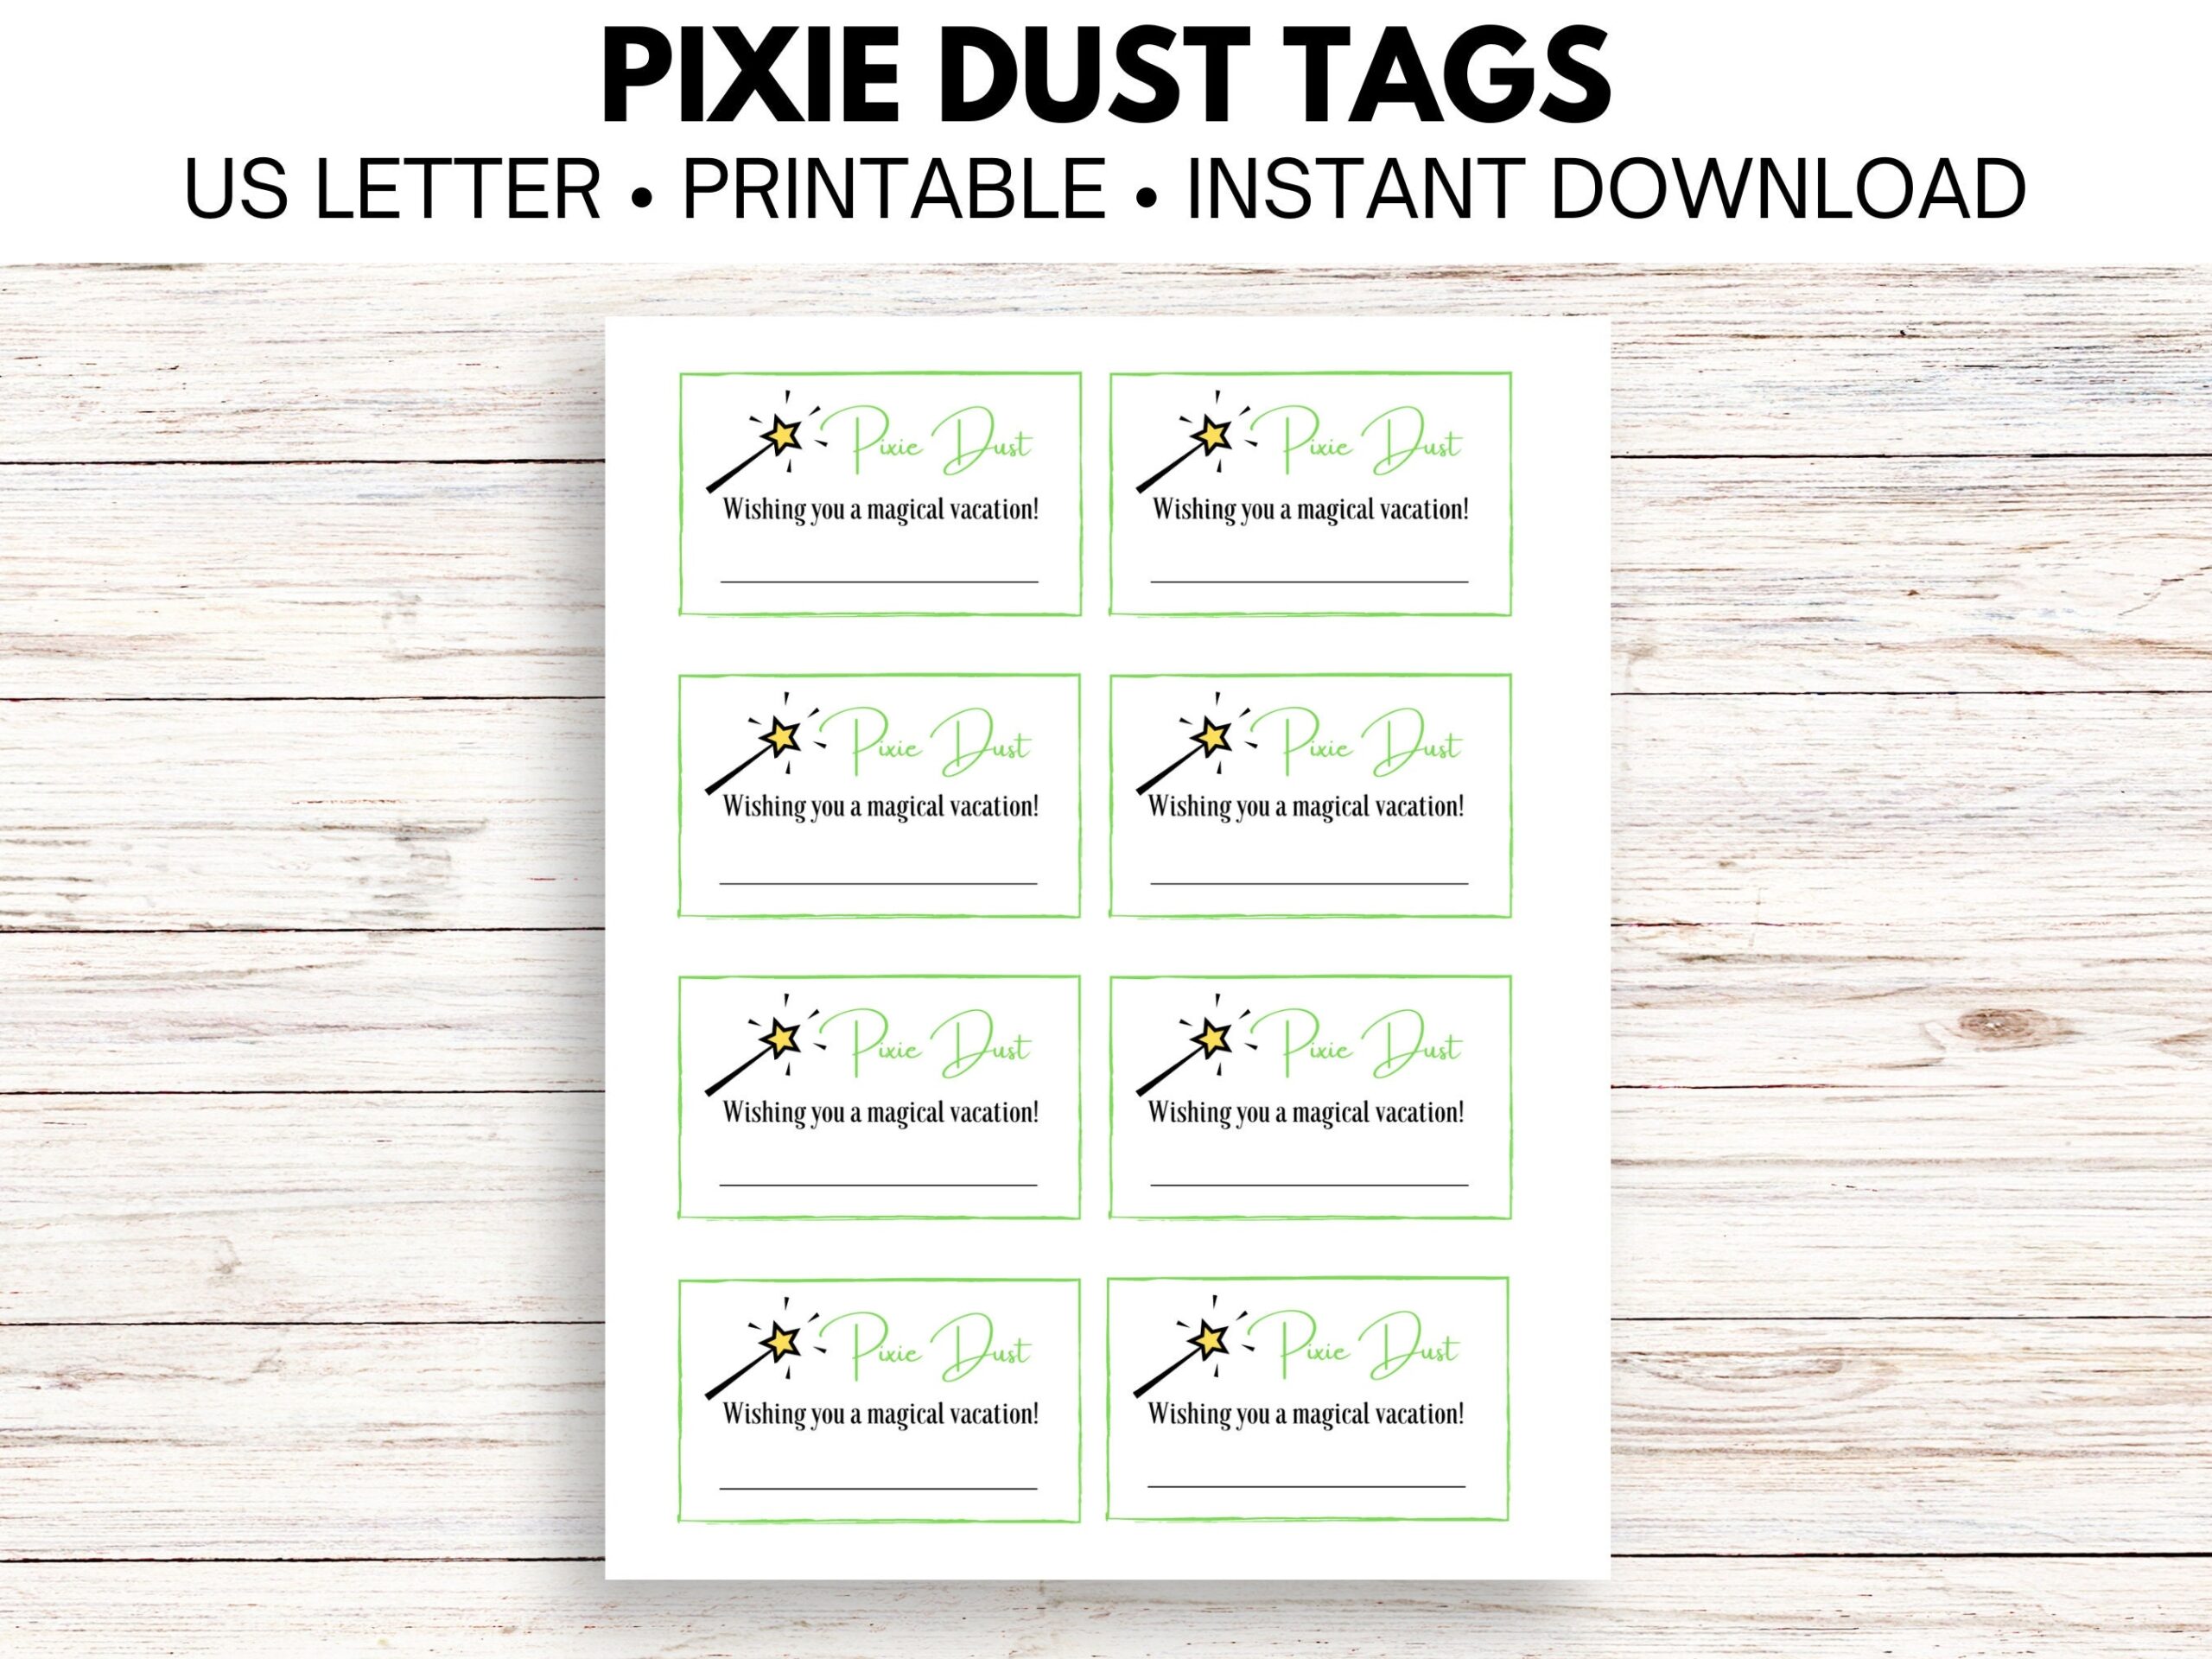
Surprising your family with a trip to a Disney theme park or a cruise? Fill miniature clear baubles or vials with gold micro-glitter, secure them with a customized pixie dust tag, and place them inside a reveal box. Guests on Disney cruises also practice "pixie dusting"—leaving small surprises on fellow travelers' cabin door hooks—and branded tags make your tokens instantly recognizable.
2. Tooth Fairy Milestones
Losing a tooth is a major milestone for young children. Instead of leaving loose coins under a pillow, pair the reward with a miniature vial of "official" Tooth Fairy dust labeled with a tiny tag. It turns a routine dollar bill into an unforgettable piece of childhood wonder.
3. Sensory Bottles and Calm-Down Jars
Parents and educators often make sensory jars using water, clear glue, and glitter. Affixing a laminated pixie dust tag to the neck of the jar gives children a focal point and transforms a behavioral self-regulation tool into a playful, comforting object.
4. Wedding and Bridal Shower Favors
For celestial, woodland, or fairytale-themed weddings, glass test tubes filled with fine bath crystals, shimmering sugar sprinkles, or dried wildflower confetti look striking when paired with minimalist pixie dust tags tied off with silk chiffon ribbon.
Crafting Magic on Any Budget
Great DIY projects do not require complicated machinery or costly design software. By pairing thoughtfully crafted free printable templates with quality cardstock and intentional finishing touches, you can produce tags that feel bespoke, playful, and genuinely magical. Print a test sheet today, gather your supplies, and start adding an extra touch of wonder to your next celebration.