Google Form Quiz Tutorial for Beginners Made Easy
Whether you are a teacher looking to test student comprehension, a trainer wanting to check workplace compliance, or just someone organizing a fun trivia night, creating an online assessment is simpler than you think. This Google Form quiz tutorial for beginners made easy will walk you through everything you need to know to build, grade, and share your very first digital quiz in minutes.
Getting Started: Creating Your Quiz File
Before you can add questions, you need to open Google Forms and set up your document as a quiz rather than a standard survey.
- Head over to forms.google.com and log in with your Google account.
- Click on the Blank form template (the plus sign) to start from scratch, or browse the template gallery if you want a pre-styled layout.
- At the top right of your screen, click on the Settings gear icon.
- Toggle the switch that says Make this a quiz to the "On" position.
Once enabled, you will see several options appear for grade release and respondent settings. For beginners, the default settings—releasing grades immediately after submission and showing missed questions—work wonderfully.
Designing and Adding Your Questions
With your form officially converted into a quiz, it is time to build out your content. Google Forms supports a wide variety of question types, making it flexible for any subject matter.
Choosing the Right Question Types
Click the floating plus icon (+) on the right-hand menu to add a new question. Use the dropdown menu next to the question box to select your preferred format:
- Multiple Choice: Perfect for standard four-option questions where only one answer is correct.
- Checkboxes: Ideal when a question has multiple correct answers that the respondent must select.
- Short Answer / Paragraph: Best for open-ended questions, though these usually require manual grading later.
- Dropdown: Great for saving space when you have long lists of possible answers.
Setting Correct Answers and Point Values
After typing out your question and options, you need to tell Google Forms what the correct answer is so it can grade automatically.
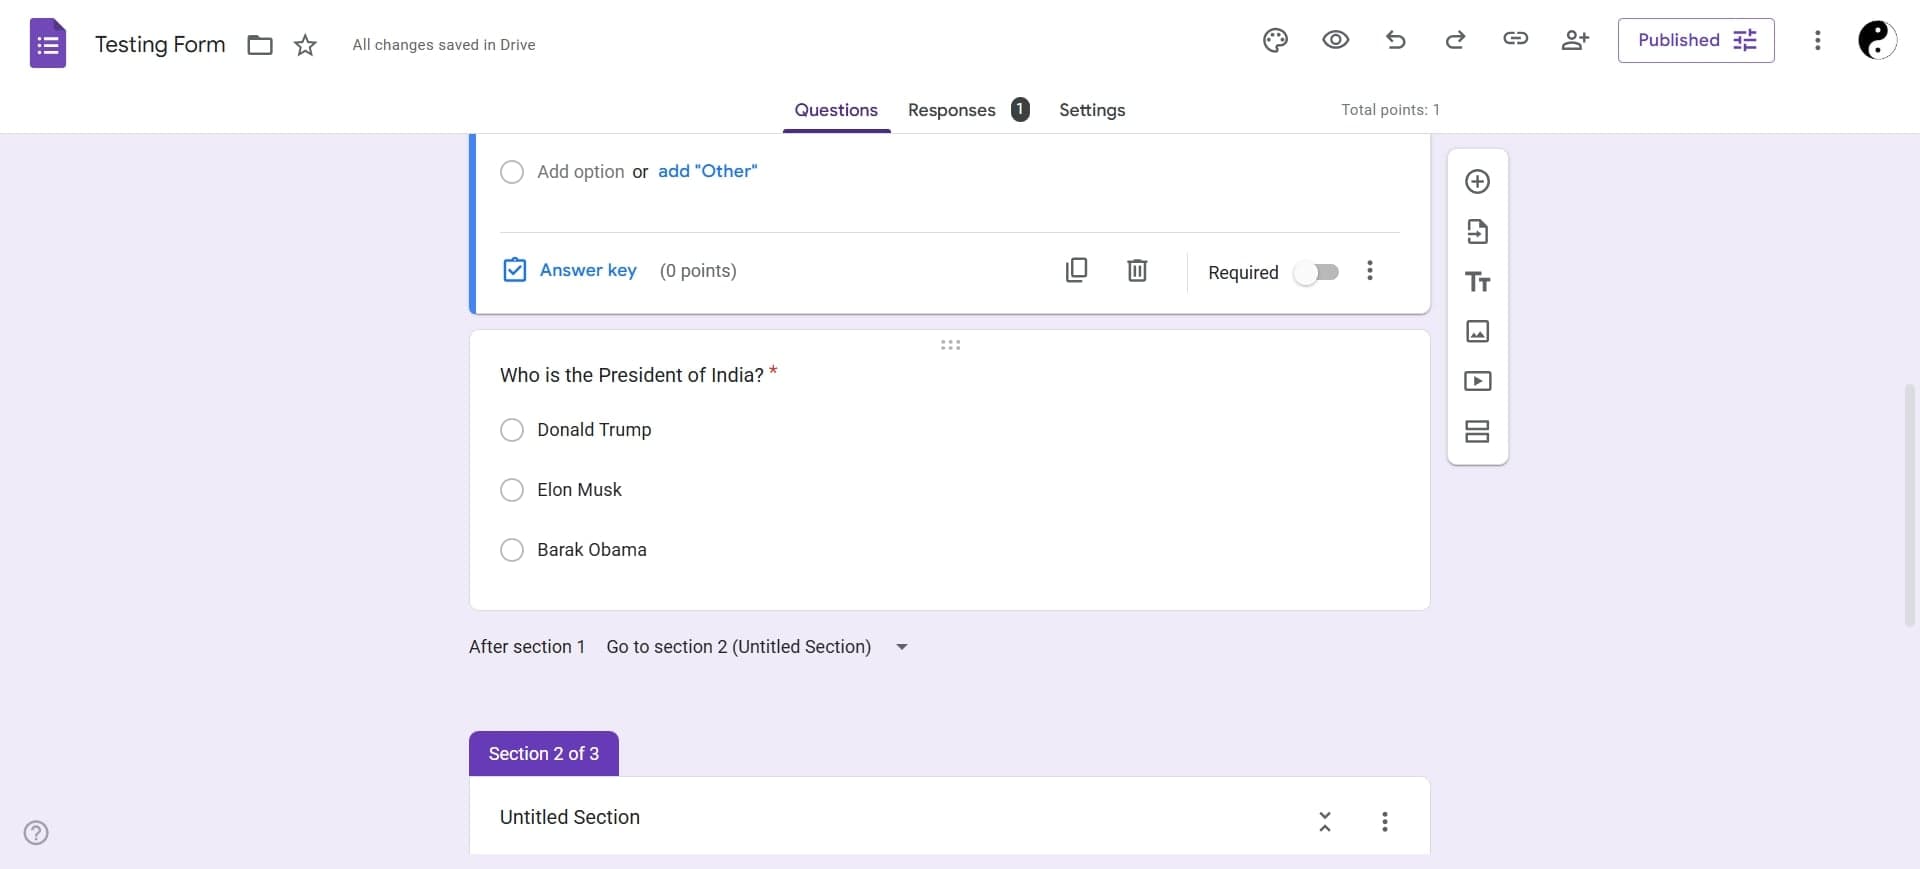
- Click the blue Answer key text located at the bottom left of the question box.
- Click on the correct option(s). A small green checkmark will appear to indicate the right choice.
- In the top right corner of the question box, enter the Points value (e.g., 1 point or 5 points).
- Click Done to save your answer key settings.
Pro Tip: Toggle the Required switch at the bottom of the question box to ensure test-takers cannot accidentally skip vital questions before submitting.
Video: Google Forms - Tutorial 01 - Creating a Simple Quiz
Customizing the Look and Feel of Your Quiz
A bland form can look intimidating. Customizing the design helps keep respondents engaged and adds a professional touch to your assessment.
Click the Customize Theme icon (it looks like a painter's palette) in the top right corner of the screen. From here, you can:
- Choose a custom font style for your headers and body text.
- Adjust the text sizing to improve accessibility.
- Select a primary color scheme that matches your brand or mood.
- Upload a custom header image from your computer or Google Photos to visually introduce the quiz topic.
- Collect email addresses: Turn this on if you need to strictly verify who submitted the quiz.
- Limit to 1 response: Check this box if you want to prevent users from taking the test multiple times.
- Presentation settings: You can add a custom confirmation message (e.g., "Thanks for taking the quiz! Your score will be emailed to you shortly.") and shuffle question order to deter cheating.
- Click the purple Send button in the top right corner.
- Choose your sharing method:
- Email: Type in recipient email addresses directly.
- Link: Generate a URL. Check the Shorten URL box for a cleaner, easier-to-share link.
- Embed HTML: Copy the code to embed the quiz directly into a website or blog post.
- Summary: Visual charts showing average scores, frequently missed questions, and score distributions.
- Question: A breakdown of how people answered each individual question.
- Individual: A view of each specific respondent's paper, allowing you to manually override automated grades or add personalized feedback for open-ended questions.
Configuring Essential Quiz Settings
Before you send your quiz out into the world, take a moment to review the settings tab to ensure data privacy and a smooth user experience.
Sharing Your Quiz with Participants
When you are completely satisfied with your questions and settings, it is time to distribute your assessment.
Viewing and Grading Quiz Responses
As participants complete your assessment, Google Forms automatically compiles and analyzes the data for you.
Click on the Responses tab at the top of your form builder. Here you will find:
To view your data in a familiar spreadsheet format, click the green Link to Sheets icon. This instantly generates a Google Sheet containing timestamps, email addresses, scores, and every answer submitted, making final record-keeping completely effortless.