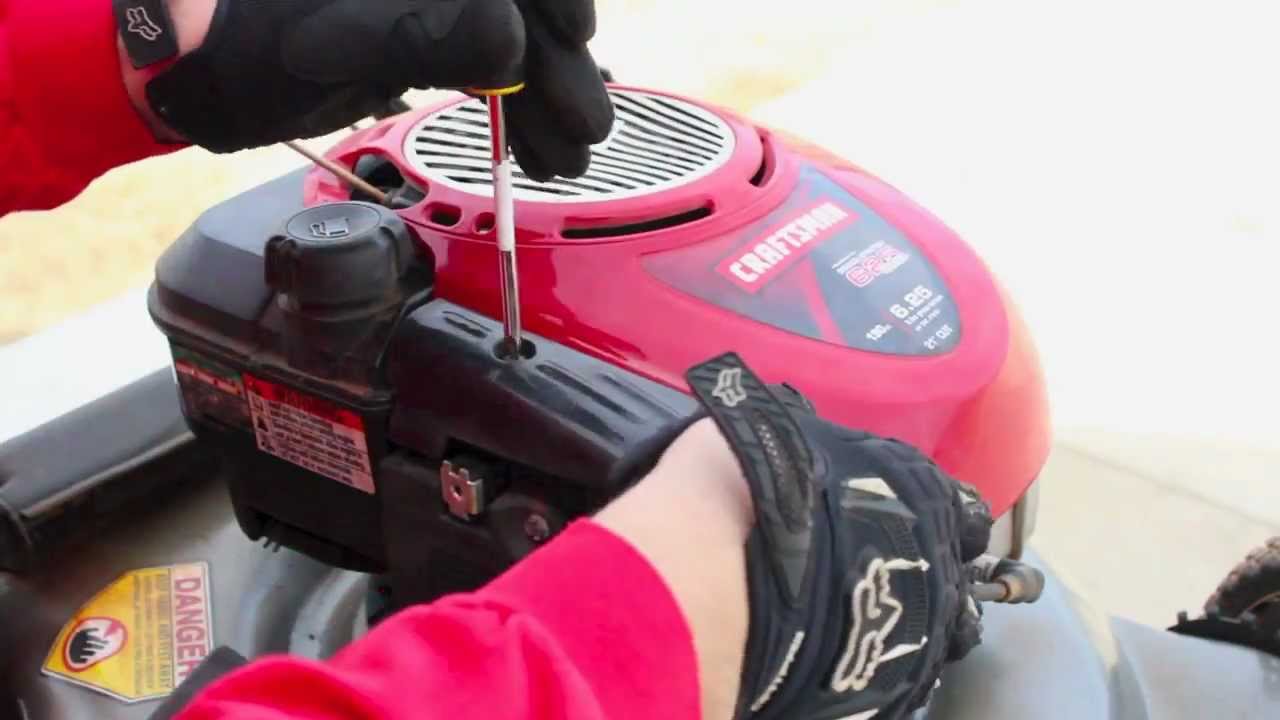
How to Clean Craftsman Lawn Mower Carburetor
If your Craftsman lawn mower is surging, stalling, or refusing to start altogether, a dirty carburetor is usually the culprit. Over time, leftover ethanol in modern gasoline breaks down into a sticky, varnish-like sludge that clogs the tiny jets and ports inside the engine. Fortunately, learning how to clean Craftsman lawn mower carburetor components is a straightforward DIY project that can save you a costly trip to the repair shop.
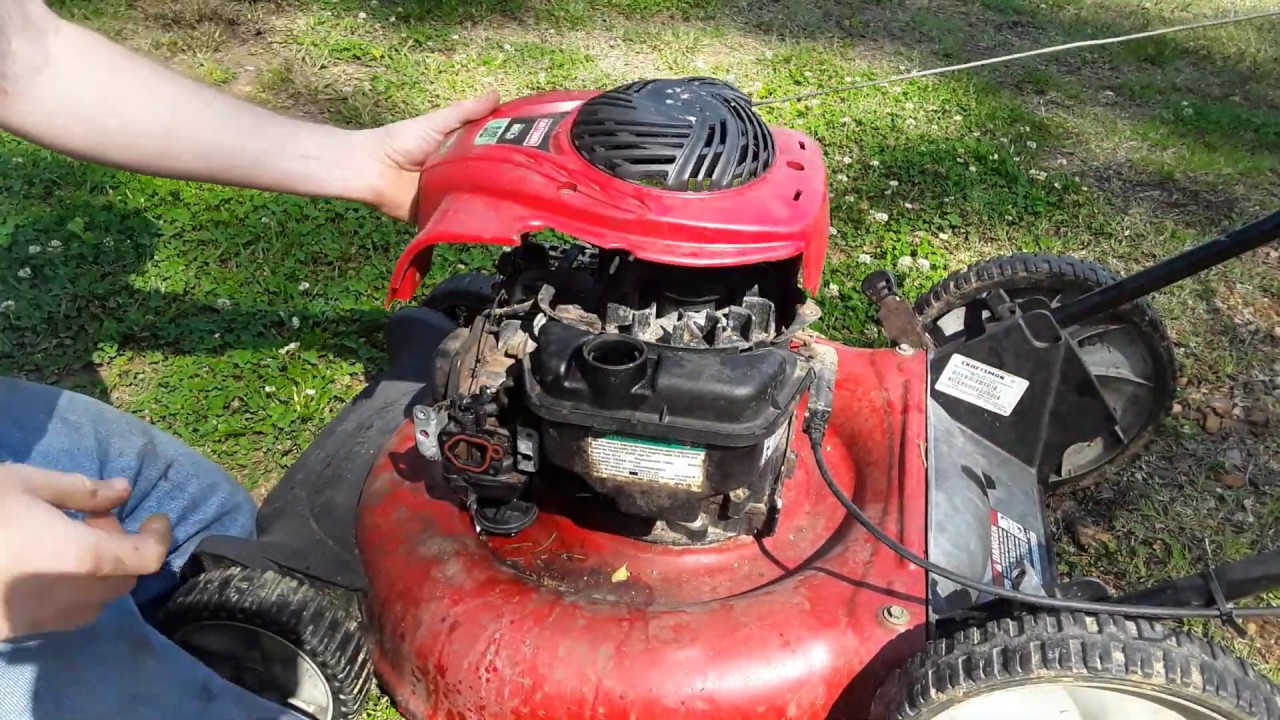
With a few basic hand tools, a can of carb cleaner, and about an hour of your time, you can have your mower running like new. Read on for a complete, step-by-step walkthrough of the cleaning process.
Tools and Supplies Needed
Before you begin, gather the necessary equipment to make the job efficient and mess-free. Having everything on hand prevents interruptions halfway through the disassembly.
- Socket set and ratchet (usually 3/8-inch or 10mm)
- Pliers or nut driver
- Flathead and Phillips screwdrivers
- Aero-Kroil or WD-40 (optional, for stubborn bolts)
- Aerosol carburetor cleaner (with the thin red straw attachment)
- A small piece of copper wire or a sewing needle
- Fresh rags or shop towels
- Replacement carburetor gasket set (recommended, in case old ones tear)
- Safety glasses and rubber gloves
Step-by-Step Guide on How to Clean Craftsman Lawn Mower Carburetor
Take your time during disassembly, and pay close attention to how springs and linkages are connected. Taking photos with your smartphone at each step can serve as a helpful reference guide when it is time to put everything back together.
1. Prepare the Mower and Access the Carburetor
Safety always comes first when working on small engines. Ensure the engine is completely cool before starting.
- Disconnect the spark plug wire and tuck it well away from the plug to prevent accidental starting.
- Drain the remaining gas from the fuel tank using a siphon pump, or run the mower until it runs out of fuel. Alternatively, clamp off the fuel line using hose pinch pliers.
- Remove the air filter cover and take out the paper or foam air filter.
- Unscrew the bolts or nuts holding the air filter housing/bracket in place to reveal the carburetor.
2. Disconnect Linkages and Fuel Lines
With the carburetor exposed, you need to free it from the engine block and surrounding controls.
Video: Cleaning Carburetor on Craftsman Lawn Mower

- Carefully note how the choke and throttle springs attach to the carburetor levers. Take a quick photo.
- Unhook the metal control rods and springs from the carburetor assembly.
- Place a rag underneath the fuel inlet fitting to catch any trapped gasoline. Loosen the spring clamp on the fuel line with pliers, and gently twist and pull the fuel line off the carburetor barb.
- Slide the carburetor off its mounting studs, pulling it forward away from the engine.
3. Remove and Clean the Float Bowl
The float bowl sits at the bottom of the carburetor and is where fuel collects. This is the primary area for varnish and debris accumulation.
- Place a catch pan underneath. Remove the center bolt holding the fuel bowl to the base of the carburetor body.
- Gently pull the metal bowl downward. Be careful not to damage the rubber O-ring seal sitting in the groove around the bowl rim.
- Inspect the inside of the bowl. If you see a crusty white or yellow buildup, spray it liberally with carburetor cleaner and wipe it clean with a rag.
4. Clean the Float, Needle, and Main Jet
Now you will target the internal components that regulate fuel flow.
- The Float and Pin: Push out the small metal hinge pin that holds the plastic float in place. Remove the float and the tiny fuel inlet needle valve attached to it. Set these aside in a safe spot. Inspect the rubber tip of the needle; if it has a groove worn into it, replace it.
- The Main Jet: Using a flathead screwdriver, unscrew the main brass jet located in the center post where the bowl bolt was threaded.
- Clearing the Jets: Spray carburetor cleaner through the main jet hole. If you see stubborn blockage inside the tiny center hole of the jet, carefully push a piece of thin copper wire through it to break up the varnish. Never use steel needles or wire that could scratch and enlarge the precision brass opening.
- Spray out all other visible ports, emulsion tubes, and passages inside the carburetor body using the aerosol cleaner straw. Let the solvent dissolve deposits for a few minutes.
5. Reassemble the Carburetor
Once all parts are spotless and dry, reverse your steps to put the carburetor back together.
- Screw the main jet back into the center post of the carburetor body and snug it down gently (do not over-tighten, as brass strips easily).
- Reinsert the fuel inlet needle into its seat, position the plastic float, and slide the hinge pin back through to secure it.
- Place the float bowl O-ring back into its designated groove. Fit the float bowl onto the bottom of the carburetor and tighten the center retaining bolt securely.
- Slide the fully assembled carburetor back onto the mounting studs on the engine.
- Reattach the fuel line and secure it with the spring clamp. Reconnect all throttle and choke linkages and springs exactly as they were before removal.
- Reinstall the air filter housing, insert a clean air filter, and secure the cover.
Testing Your Work
With the carburetor successfully cleaned and reinstalled, it is time to test your engine.
- Reconnect the spark plug wire firmly.
- Fill the fuel tank with fresh, non-ethanol gasoline if possible, or add a quality fuel stabilizer to standard gas.
- Prime the engine (if your model has a primer bulb) or set the choke to the 'On' position.
- Pull the starter cord. Your Craftsman mower should fire up smoothly within one or two pulls. Let the engine idle for a few minutes to warm up and burn off any remaining cleaner spray.
Tips to Prevent Future Carburetor Clogs
Preventative maintenance goes a long way toward ensuring you do not have to repeat this process next season. Follow these best practices to keep your fuel system pristine:
- Use Fresh Fuel: Gasoline degrades rapidly within 30 days. Never leave old gas sitting in the mower tank over the winter.
- Add Fuel Stabilizer: Always mix a fuel stabilizer into your gas can, especially if you store your mower for more than a few weeks.
- Run the Bowl Dry: At the end of the mowing season, shut off the fuel valve (if equipped) or let the mower run until it stalls out from lack of fuel, emptying the carburetor bowl completely.
- Change the Air Filter: A clean air filter prevents dirt and grass clippings from entering the carburetor throat and mixing with fuel to form sludge.