How To Create Aesthetic Coloring Blankets
Introduction to Mindful Textiles
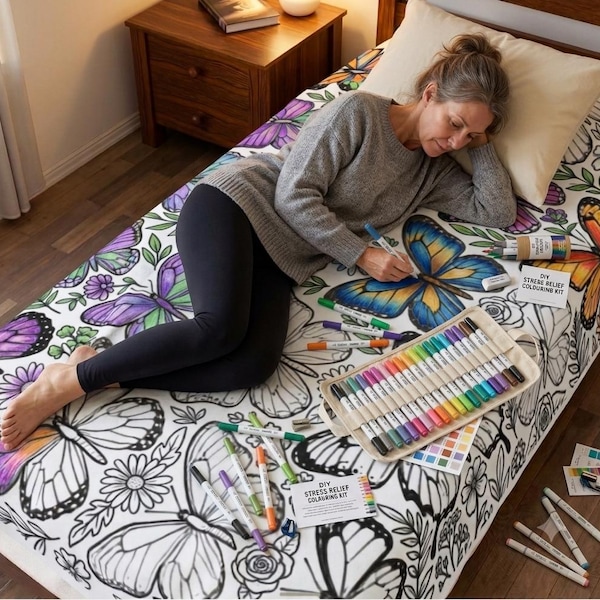
In our fast-paced digital world, finding tactile ways to unwind is essential for mental well-being. Coloring books have long been praised as a powerful tool for anxiety relief, engaging both creativity and focus. But what if you could take that calming practice and wrap yourself in it? Learning how to create aesthetic coloring blankets for stress relief offers a unique intersection of textile craft and mindful art therapy.
By designing your own color-in throw, you produce more than just a decor piece—you build a personalized sanctuary. Every time you pick up a fabric marker to fill in intricate florals, geometric mandalas, or dreamy landscapes, you enter a meditative flow state. This guide will walk you through choosing the right materials, designing your layout, and setting your colors so your stress-free creation lasts a lifetime.
Gathering Your Materials
Success in fabric crafting relies heavily on choosing the correct supplies. Standard paper markers will bleed, fade, and wash right out. To ensure your aesthetic coloring blanket stands up to daily use and laundering, you need specialized tools.
Choosing the Right Blankets
The foundation of your project is the textile itself. You want something smooth, soft, and durable. Avoid heavy, textured materials like chunky knit or high-pile fleece, as markers will snag and ink will not distribute evenly.
- 100% Cotton Canvas or Muslin: Exceptional for absorbing ink smoothly without excessive feathering.
- Lightweight Flannel: Incredibly cozy and provides a soft, matte surface that takes ink well.
- Poly-Cotton Blends: Durable, resists wrinkling, and holds vibrant marker hues effectively.
Selecting Fabric Markers
Not all fabric markers are created equal. Look for dual-tip textile markers featuring a fine point for intricate details and a brush tip for filling larger areas. Ensure the ink is permanent and preferably machine-washable after heat setting.
Designing Your Aesthetic Pattern
The term "aesthetic" often leans toward calming, visually balanced, and harmonious motifs. When sketching your design, keep the purpose of the blanket in mind: stress relief. Avoid overly rigid or frustratingly tiny patterns that might induce anxiety rather than soothe it.
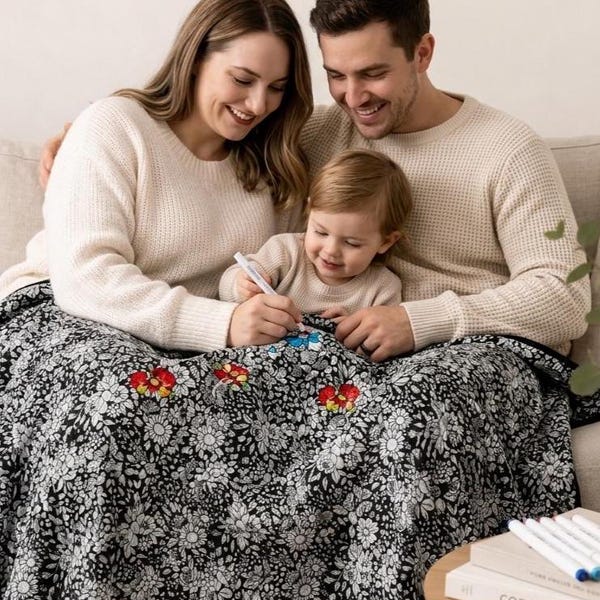
- Botanical Themes: Vine leaves, sprawling wildflowers, and eucalyptus branches offer organic, forgiving lines that look stunning even if your coloring goes slightly outside the boundaries.
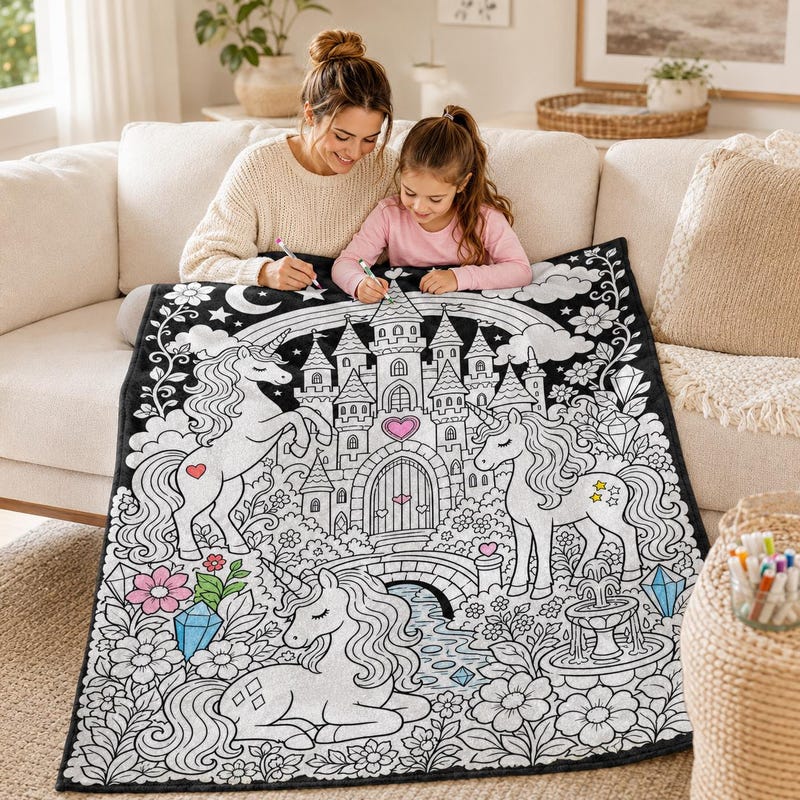
- Celestial Motifs: Moons, stars, sunbursts, and minimalist constellations create a dreamy, cozy vibe ideal for a throw blanket.
- Geometric Mandalas: Symmetrical shapes draw the eye and provide a rhythmic, deeply grounding coloring experience.
Step-by-Step Guide: How To Create Aesthetic Coloring Blankets
Once your supplies are ready, it is time to bring your vision to life. Follow these steps to ensure a clean, long-lasting, and beautiful finished product.
Step 1: Prep and Stabilize the Fabric
Wash and dry your blanket fabric beforehand to shrink it and remove any chemical finishes that might repel ink. Iron the fabric flat. Because fabric is flexible, place a large piece of cardboard or a plastic drop cloth underneath your working area. This prevents the marker ink from bleeding through to your table or the back layer of the blanket.
Step 2: Transfer or Freehand Your Design
If you are confident in your drawing skills, sketch your design directly onto the fabric using a light-colored, water-soluble fabric pencil. If you prefer a guided approach, use a projector to cast an outline onto the fabric, or use a light box underneath a thin cotton sheet to trace pre-made vectors.
Step 3: Outline with Precision
Go over your pencil lines with a fine-tip black or dark grey permanent fabric marker. Take your time here. Crisp, clean outlines make the final colored blanket look professional and intentional rather than messy.
Step 4: Heat-Set the Ink
Let your outlined blanket dry completely for at least 24 hours. To make the ink permanent and washable, heat-setting is usually required. Set an iron to the appropriate cotton or fabric setting (without steam) and press it firmly over the inked lines for 3 to 5 minutes, moving the iron continuously to avoid scorching.
Tips for Using Your Color-In Blanket
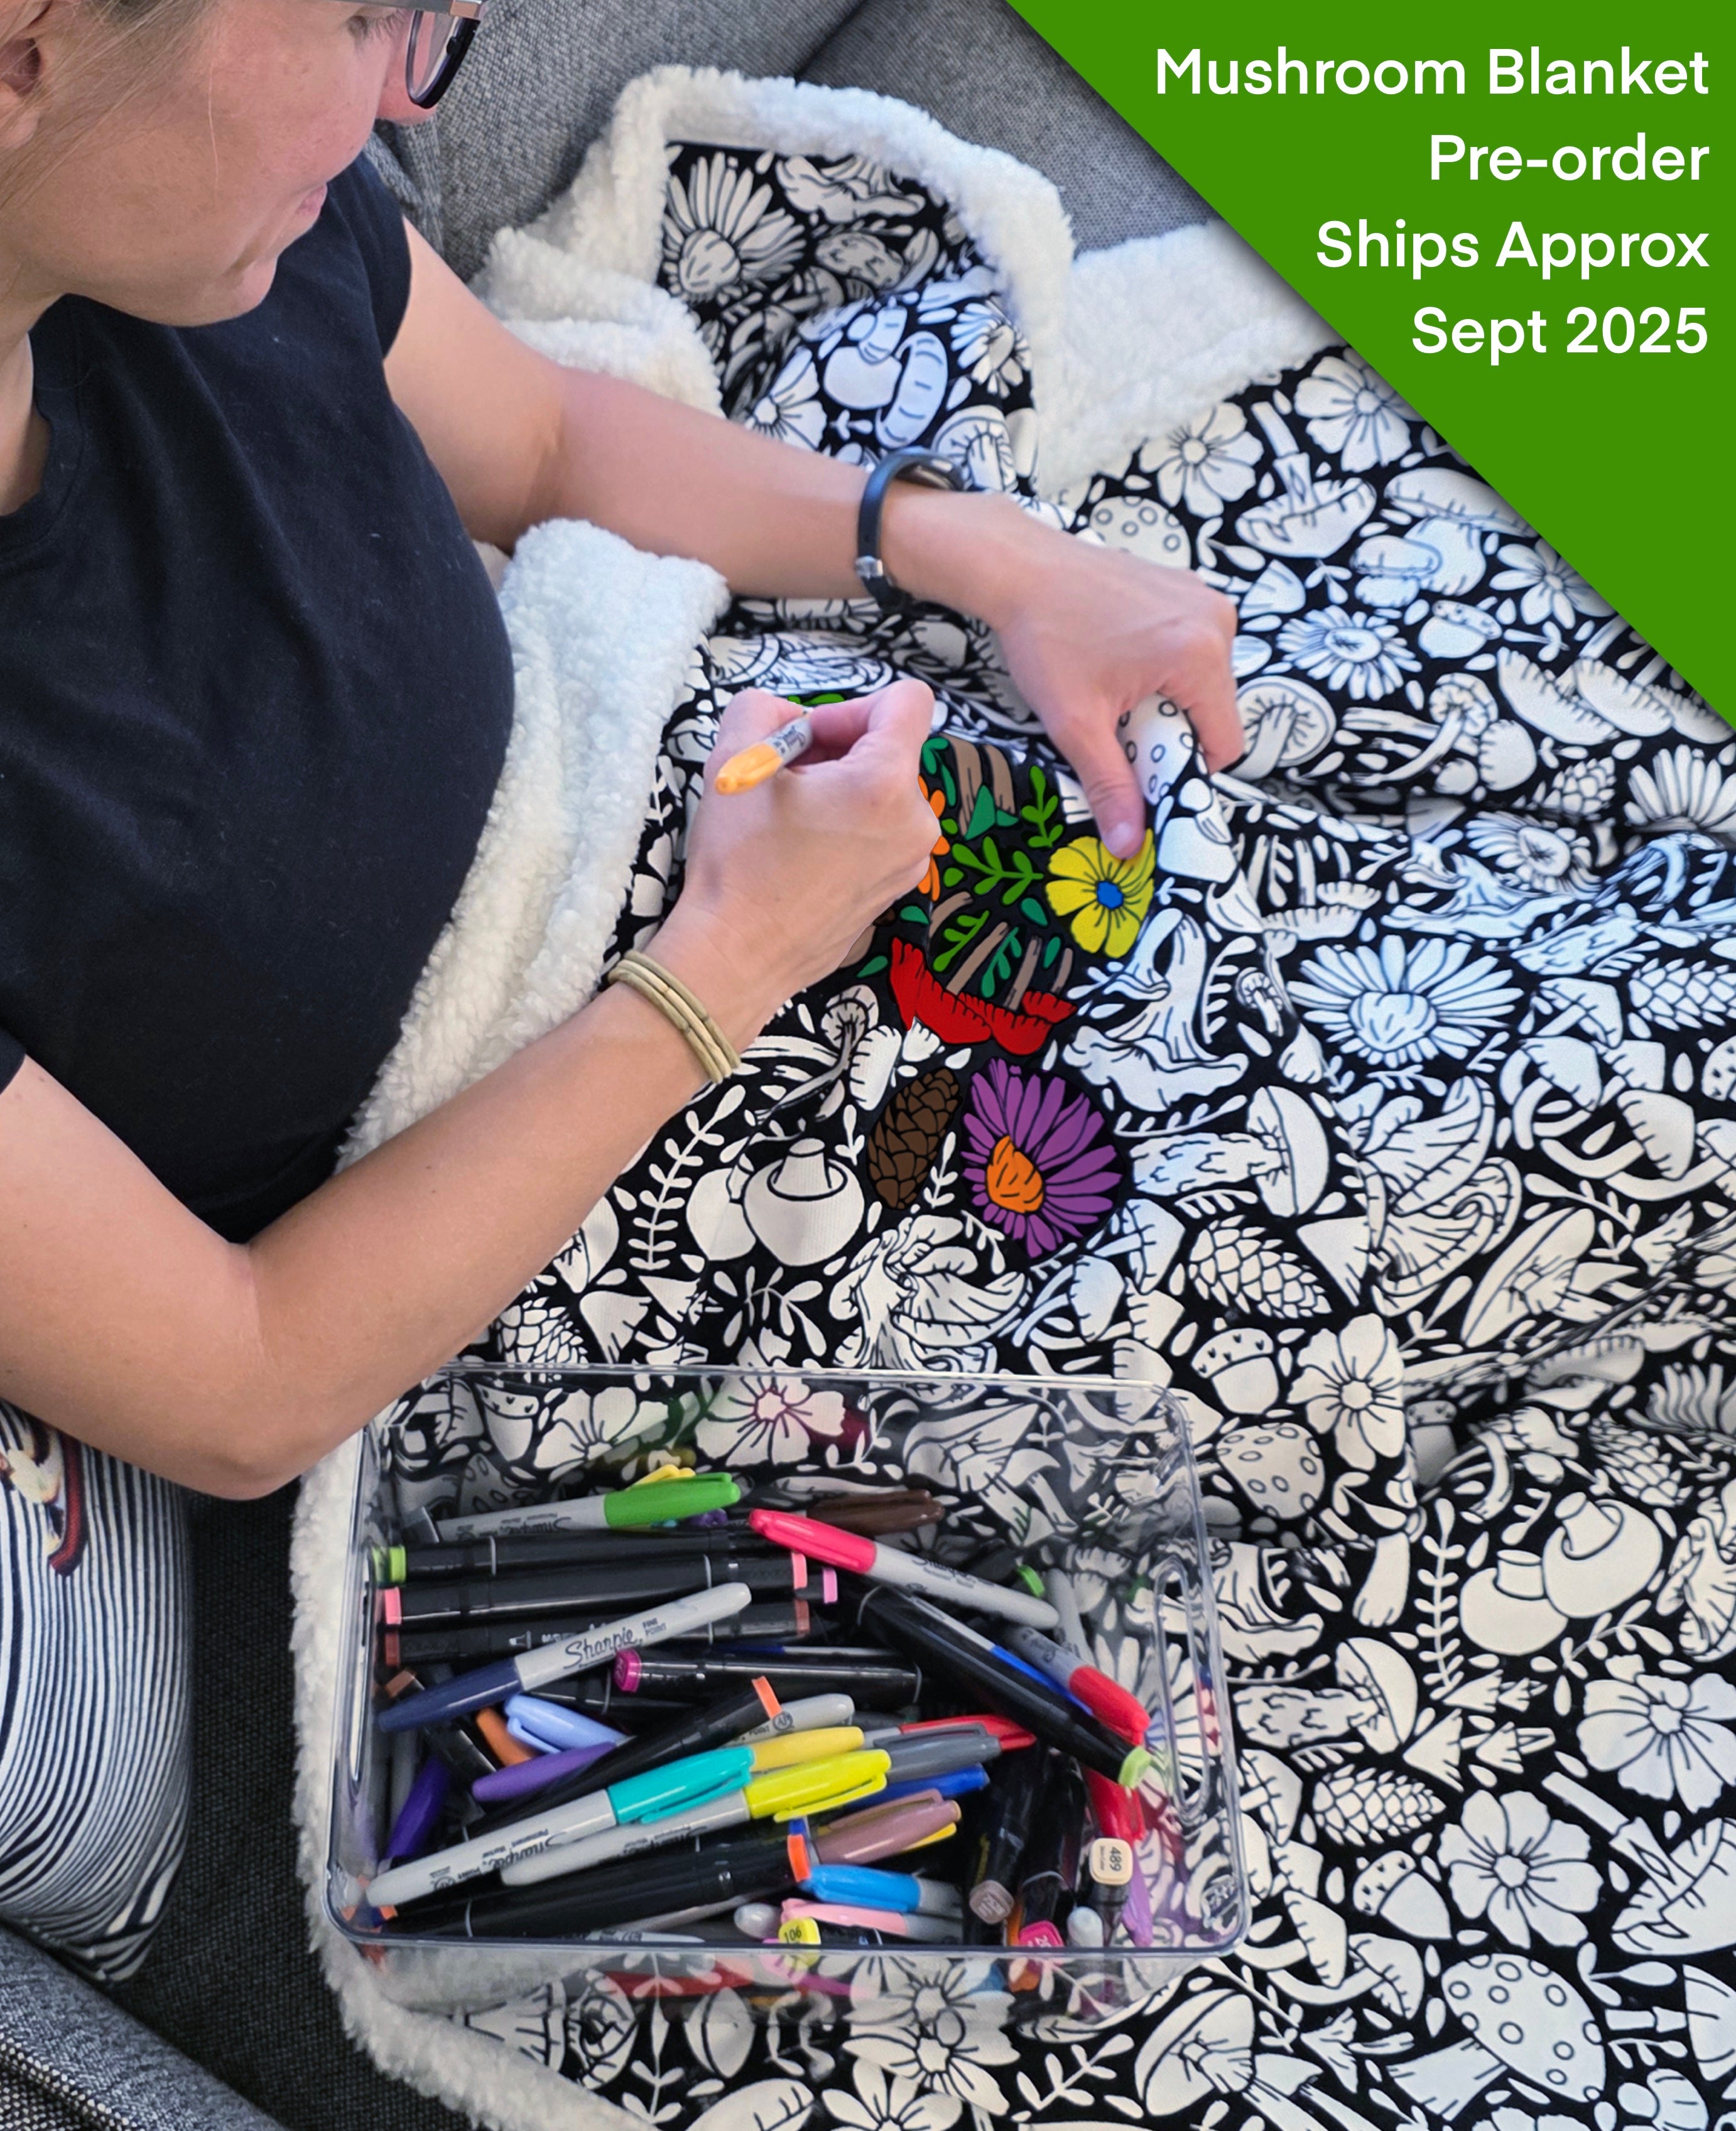
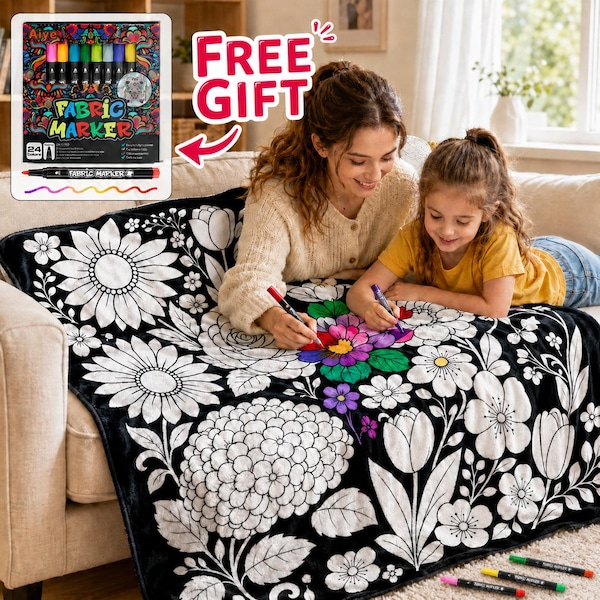
Now that your blanket is crafted, the true relaxation begins. Use textile markers, fabric paint pens, or even specialized permanent fabric crayons to color in the design at your own pace. Keep a clipboard or stiff board handy if you want to color while lounging on the sofa.
When you are ready to wash your blanket, turn it inside out (if double-sided) or wash it on a gentle, cold cycle with mild detergent. Tumble dry on low heat or line dry to preserve the vibrancy of your custom color palette. By combining DIY creativity with mindful art, your new aesthetic blanket will serve as a comforting retreat whenever you need a moment of peace.