How to Import Audio in GarageBand iOS
How to Import Audio in GarageBand iOS
Whether you want to remix a favorite song, add a spoken-word voiceover, or bring in an external instrumental loop, knowing how to import audio in GarageBand iOS is an essential skill for mobile music creators. Apple’s mobile digital audio workstation (DAW) is surprisingly powerful, but navigating its file management system can feel a bit unintuitive if you are transitioning from desktop software.
In this guide, you will learn the exact steps needed to bring audio files from various sources—including the Files app, Voice Memos, and iCloud Drive—straight into your GarageBand project on your iPhone or iPad.
Preparing Your Audio Files
Before you begin the import process, it is important to ensure your audio files are compatible with GarageBand. iOS natively supports a wide range of audio formats, but keeping your files organized will save you time and frustration.
- Supported Formats: WAV, AIFF, CAF, Apple Lossless, MP3, and AAC.
- File Location: For the easiest workflow, make sure your audio files are saved locally on your device or accessible via iCloud Drive in the iOS Files app.
If your audio is trapped inside another app or streaming service, you will generally need to export or save it as an uncompressed or compressed audio file to the Files app before GarageBand can read it.
Method 1: Import Audio from the Files App
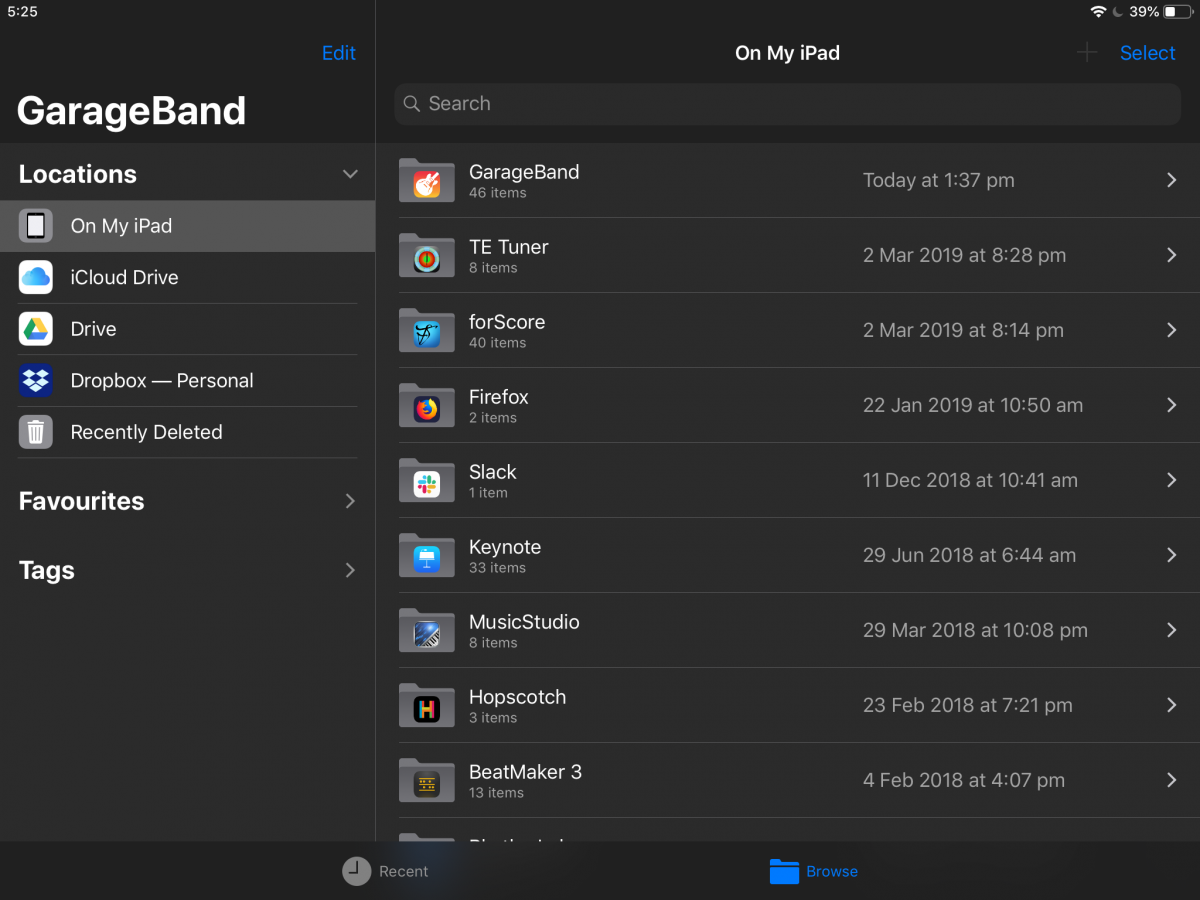
The most common and reliable way to bring external sounds into your project is through the Loop Browser using the iOS Files app. Follow these steps to get your tracks onto the timeline:
- Open your project in GarageBand iOS.
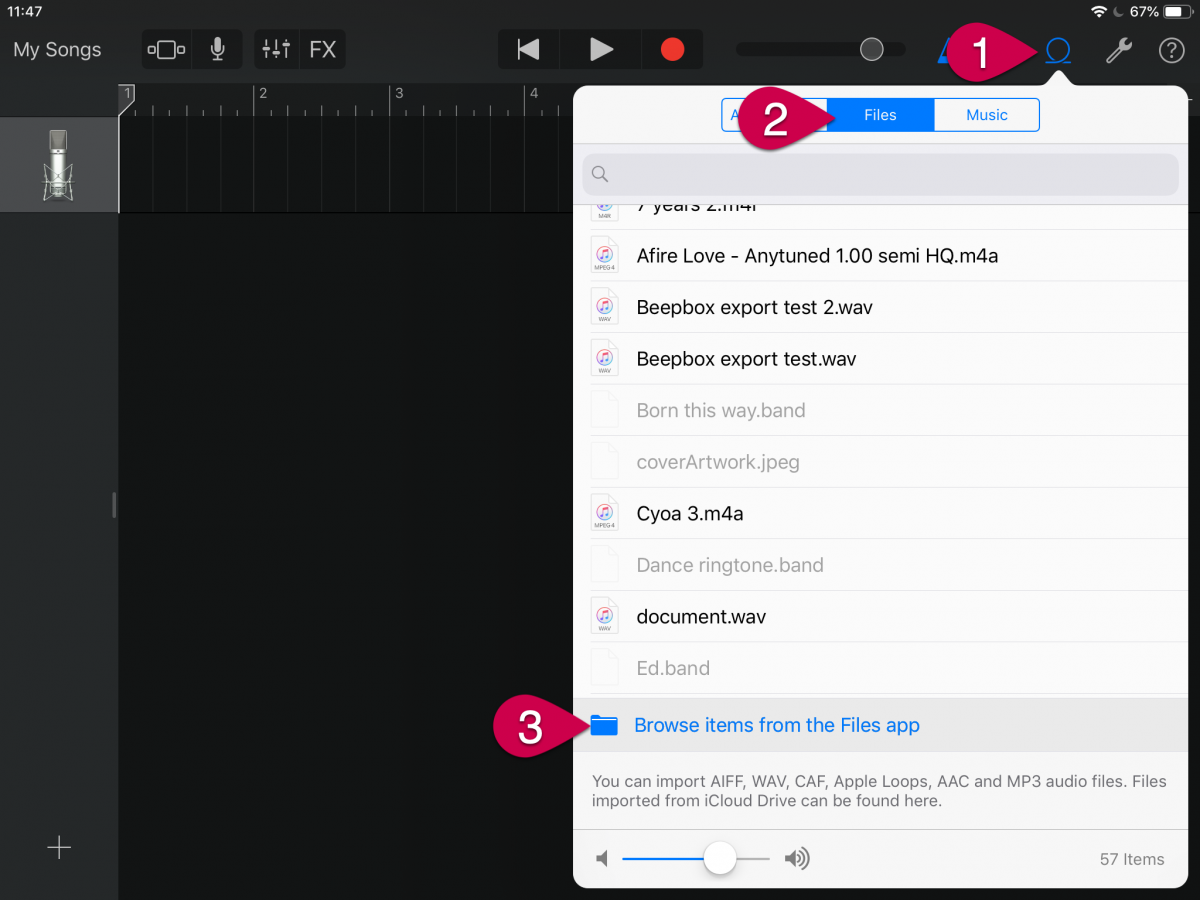
- Tap the Loop Browser icon in the top right corner of the screen (it looks like a small looped rope).
- Select the Files tab at the top of the browser panel.
- Tap Browse items from the Files app at the bottom of the menu.
- Navigate to the folder where your audio file is stored (such as "On My iPhone" or "iCloud Drive").
- Tap the audio file you want to use. It will instantly appear in your Files tab list.
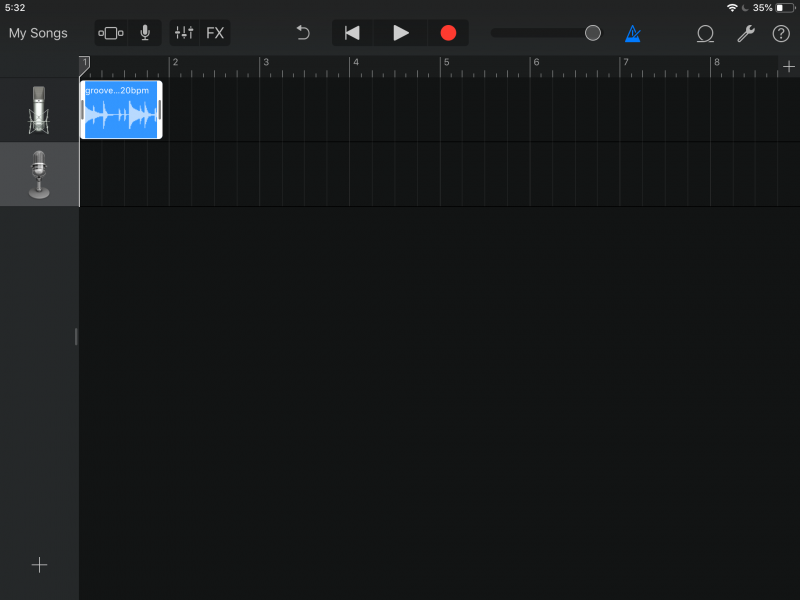
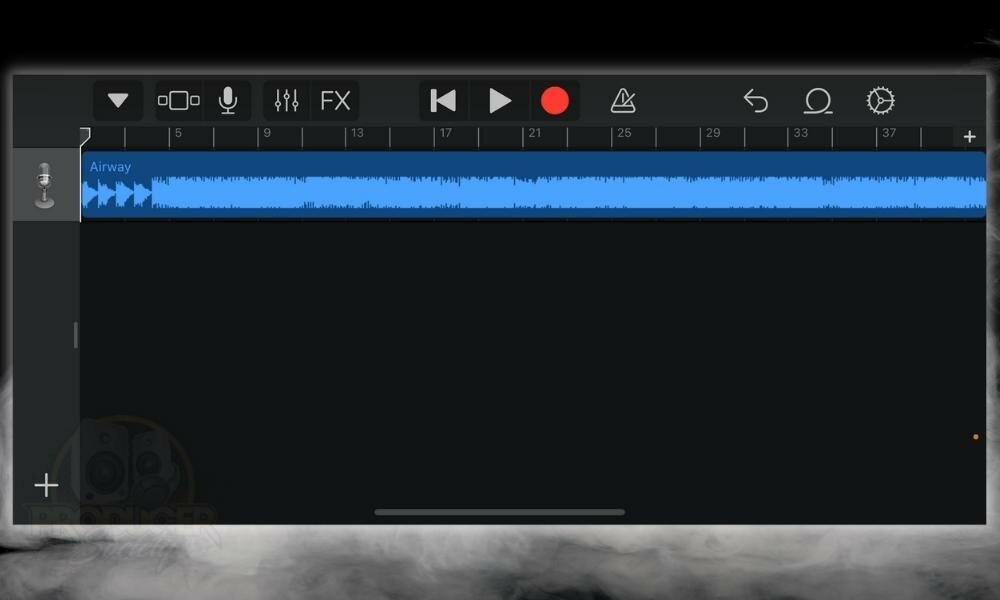
- Press and hold the file name, then drag it directly onto an empty space in your Tracks view. GarageBand will automatically create a new track for the audio region.
Method 2: Use Split-Screen Drag and Drop (iPad and iPhone)
If you are using an iPad or a larger iPhone model, you can take advantage of iOS multitasking to drag and drop audio files directly into GarageBand without opening menus.
- Open GarageBand to your project timeline.
- Swipe up slightly from the bottom of your screen to reveal the Dock, then tap and hold the Files app icon. Drag it to the left or right edge of the screen to enter Split View or Slide Over.
- Open the folder containing your desired audio file within the Files app window.
- Tap and hold the audio file until it lifts up under your finger.
- Drag the file across the screen and drop it directly onto the GarageBand tracks view.
This method is exceptionally fast when you need to audition and import multiple samples or stems in quick succession.
Method 3: Import from Voice Memos
Did you record a quick vocal melody or a cool ambient sound using the stock Apple Voice Memos app? You can easily pull those recordings directly into your GarageBand projects.
Bringing Voice Memos into GarageBand
While you can access Voice Memos through the Files app if you save them there first, you can also share them directly:
- Open the Voice Memos app on your iOS device.
- Tap the recording you want to use, then tap the three dots (...) or the share icon.
- Select Share from the menu options.
- Scroll through the app icons and select GarageBand. (If you don't see it, tap 'More' to find it).
- GarageBand will automatically open, create a new Audio Recorder track, and drop your voice memo right onto the timeline at the playhead position.
Method 4: Importing Songs from the Apple Music Library
Many beginners want to import commercial songs from Apple Music to practice playing along or to create remixes. However, there are strict Digital Rights Management (DRM) protections on streaming catalogs.
You cannot import songs that are protected by Apple Music DRM directly into GarageBand. To use a commercial track, you must own the audio file outright (such as an MP3 or AAC purchased through iTunes or ripped from a CD) and have it stored locally in your Files app.
Troubleshooting Common Import Issues
If you run into trouble while trying to bring your audio into GarageBand, check the following common pitfalls:
- Greyed-Out Files: If an audio file is greyed out in the Files browser, it may be stored in an unsupported format or currently stored entirely in the cloud without local data. Tap the file to download it locally before importing.
- Tempo Mismatches: GarageBand projects have a set tempo and time signature. If your imported audio loop sounds like it is playing too fast or too slow, check the project settings. You may need to enable "Follow Tempo and Pitch" in the region settings for loop-based audio.
- Storage Space: Working with uncompressed WAV files takes up significant storage. If imports fail unexpectedly, check your device settings to ensure you have adequate free storage space.
Conclusion
Learning how to import audio in GarageBand iOS opens up a world of possibilities for mobile production, allowing you to incorporate field recordings, vocal stems, and custom samples anywhere you go. By utilizing the Files app, iCloud Drive, or direct sharing from Voice Memos, you can seamlessly build rich, multi-track arrangements right from your mobile device.