How to Make Your Pumpkin Carvings Haunt Your Neighbors Like a Witch
Every October, front porches across the neighborhood fill up with jack-o'-lanterns. Most of them feature the standard triangle eyes and a jagged, toothy grin. While classic, these basic pumpkins rarely elicit anything more than a polite nod from passersby. If you want your porch to be the talk of the block, you need to elevate your seasonal decor. Learning how to make your pumpkin carvings haunt your neighbors like a witch is all about moving past the basic triangular face and embracing advanced sculpting, optical illusions, and atmospheric lighting.

A truly haunting pumpkin doesn't just sit in the dark; it tells a story, evokes a mood, and perhaps even startles the trick-or-treaters who dare approach your door. Here is your ultimate guide to transforming ordinary gourds into eerie masterpieces that feel genuinely witchy.
Selecting the Right Victims (Your Pumpkins)
You cannot carve a masterpiece out of a mushy, bruised pumpkin. The foundation of any great Halloween display starts in the patch or the grocery store produce aisle.
- Look for stems that are firmly attached: A weak stem means the pumpkin is already starting to rot from the inside out.
- Seek out asymmetry: Perfectly round, orange pumpkins are boring. Look for gnarly, lopsided, scarred, or elongated pumpkins. A stem that curves like a witch's crooked finger adds instant character.
- Check the canvas: Decide what kind of look you want. Tall, ghostly white pumpkins (often called ghost pumpkins) work wonders for eerie, skeletal faces, while deep orange, ribbed varieties look ancient and weathered.
Mastering the Art of Depth Carving
The secret weapon of professional pumpkin carvers is depth. When you cut all the way through the pumpkin wall, light escapes, but you lose all the subtle details of your design.
Instead, try shaving the skin. By using woodcarving tools, clay ribbon tools, or an X-Acto knife, you can peel away the outer orange skin without puncturing the flesh inside. When lit from the inside, these shaved areas glow with a warm, translucent amber light, allowing you to create haunting shadows, hollow eye sockets, and skeletal cheekbones.
- Trace your design onto the pumpkin using a transfer paper or by poking holes along the lines with a pin.
- Carve out the darkest shadows by cutting all the way through.
- Shave the skin off for mid-tones, like sunken cheeks, menacing grins, or skeletal muscle fibers.
- Leave the untouched orange skin for the brightest highlights of the face.
Lighting Tricks for an Eerie Glow
Standard tea lights flicker, but they often lack the otherworldly punch needed to make your pumpkins truly haunting. To make your display look like it was conjured by dark magic, upgrade your lighting strategy.
Use Multi-Colored LEDs
Instead of sticking to standard yellow or orange light, tuck small, waterproof LED puck lights inside your pumpkins. Try using eerie greens or sickly purples. A glowing green witch peering from the dark of your porch casts an unnerving, sickly hue across the entire entryway.
Add a Smoking Effect
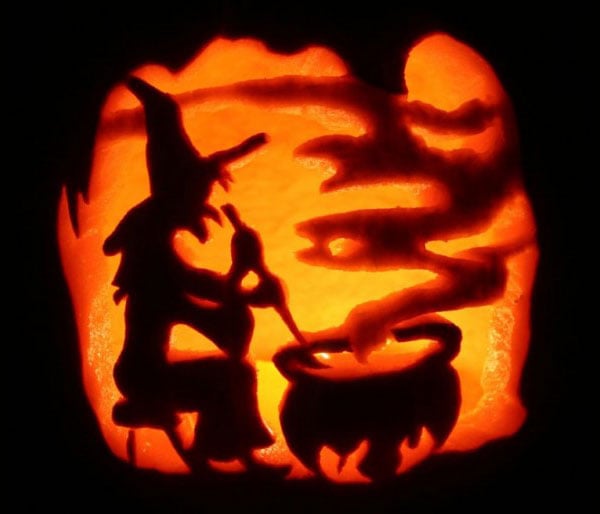
Nothing says haunted cottage quite like a smoking cauldron—or in this case, a smoking jack-o'-lantern. You can place a small, battery-operated mist maker or fog machine nozzle near the base of your display, or use specialized food-safe smoke pellets inside a ventilated pumpkin to make smoke billow from its eyes and mouth.
How to Make Your Pumpkin Carvings Haunt Your Neighbors Like a Witch
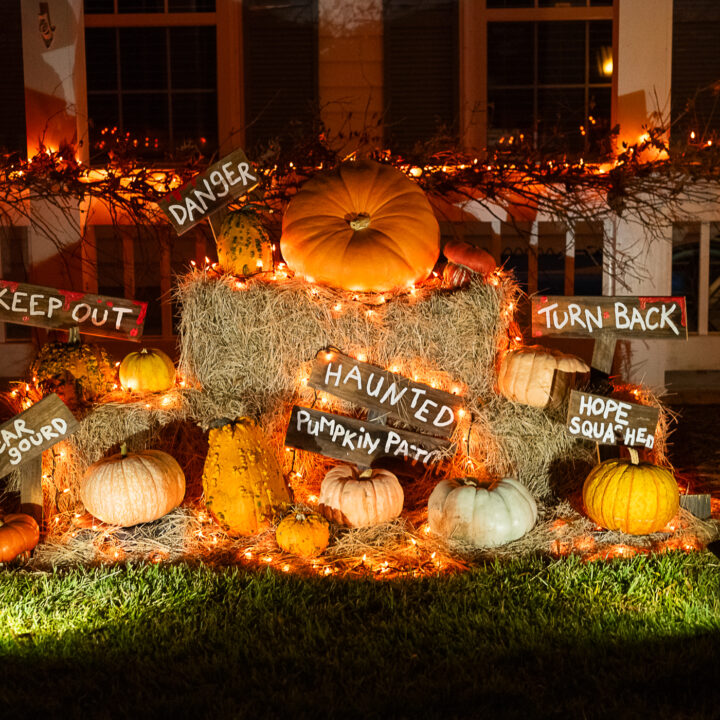
To truly sell the witchy theme, your carved pumpkins need a cohesive display that looks curated rather than randomly tossed on the steps.
Create a Coven Scene
Don't just carve one spooky face; group three very different pumpkins together to look like a coven huddled in whispered conversation. Give one an old crone face with a wart on its nose, another a screaming ghost, and the third a sinister cat familiar.
Incorporate Natural Spookiness
Surround your carved pumpkins with props that enhance the witchy atmosphere:
- Dried corn stalks and tangled vines wrapped around the porch railings.
- Old, leather-bound books stacked beneath the pumpkins.
- Twisted dead branches or driftwood.
- Fake moss spilling out of the carved mouths as if the pumpkins are coughing up forest floor.
Preservation: Keeping the Spell Alive
There is nothing sadder than a magnificent carved pumpkin collapsing into a soggy, moldy mess three days before Halloween. To keep your creations haunting the neighborhood straight through November 1st, preservation is key.
Once you finish carving, submerge the entire pumpkin in a bath of water and a few tablespoons of bleach for about 20 minutes to kill mold spores and bacteria. Pat it dry, then rub petroleum jelly (Vaseline) along all the exposed cut edges. This seals in the moisture and prevents the pumpkin from drying out, shriveling, or sagging into a pitiful grimace.
By combining advanced skin-shaving techniques, strategic multi-colored lighting, and proper preservation, your front porch will transform into a spine-chilling spectacle. This year, your jack-o'-lanterns won't just celebrate the season—they will completely bewitch it.