How to Open Liquid Nails: Quick & Easy Methods
When you are in the middle of a DIY project, the last thing you want to deal with is a stubborn tube of construction adhesive. Whether you are installing baseboards, securing subfloors, or mounting wall panels, getting past the packaging is the first hurdle. If you have ever wondered how to open Liquid Nails quickly and without making a sticky mess, you are not alone. Because this heavy-duty adhesive is designed to form an unbreakable bond, its packaging is equally tough.

The method you use depends entirely on the type of container you purchased. Liquid Nails typically comes in two styles: standard 10-ounce cartridges designed for a caulking gun and smaller squeeze tubes for quick repairs. Here is a complete guide to opening both types safely and efficiently.
How to Open Liquid Nails Cartridges (Caulking Gun Style)
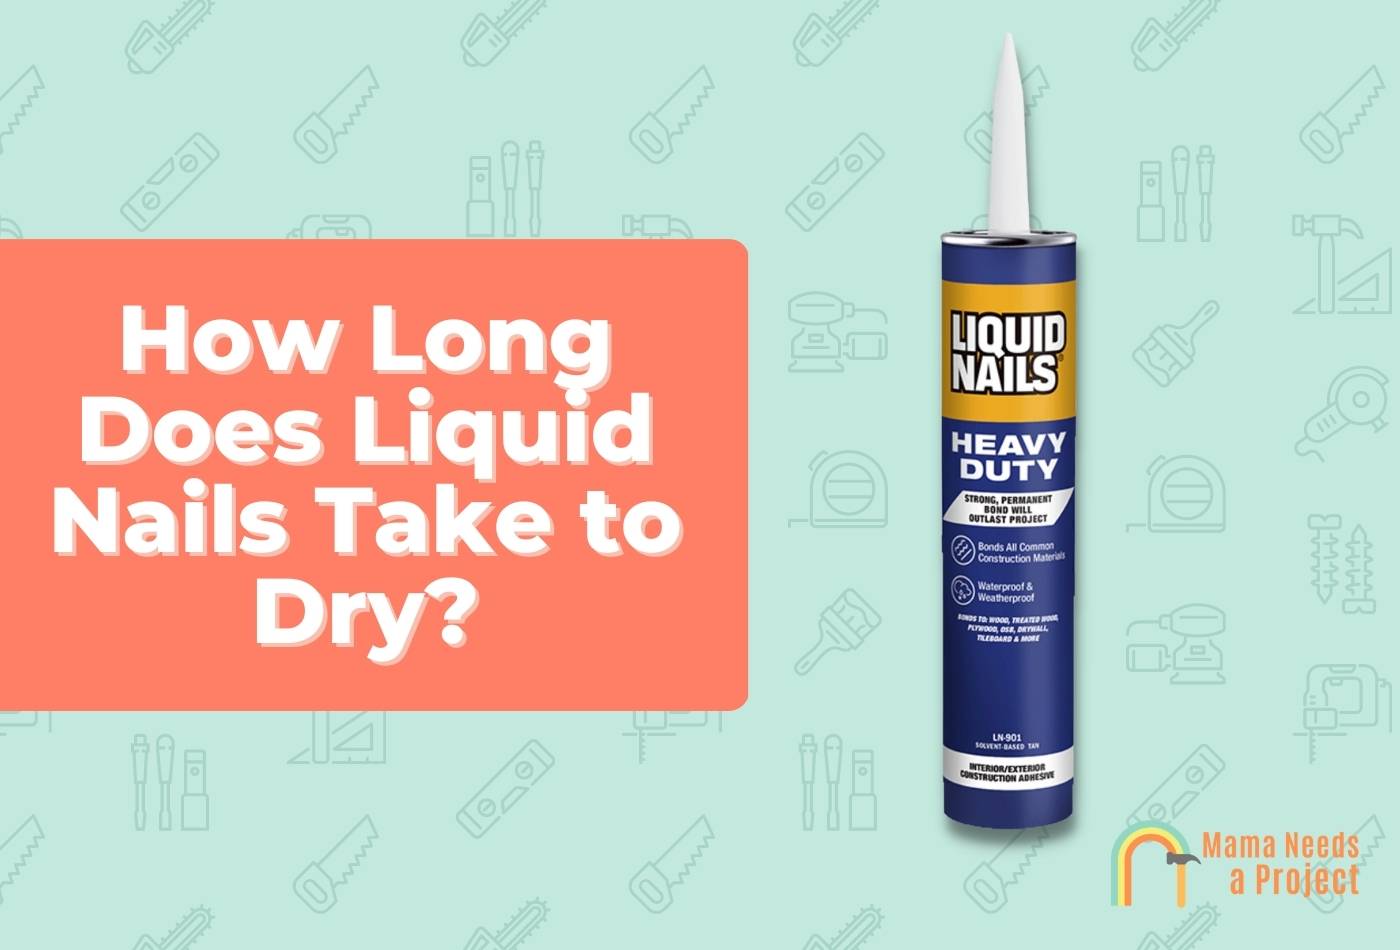
The most common form of Liquid Nails is the standard cartridge that requires a caulking gun. These tubes feature a sealed plastic nozzle and an inner foil seal that prevents the adhesive from drying out on the shelf. To get the product flowing, you need to break both seals.
Tools You Will Need
- Standard caulking gun
- Utility knife or sharp pocket knife
- Long nail, wire coat hanger piece, or a dedicated puncture tool
Step-by-Step Instructions
- Cut the nozzle: Examine the plastic tip of the cartridge. Most nozzles have angled markings or ridges. Using a sharp utility knife, slice off the tip at a 45-degree angle. Start by cutting closer to the tip for a thinner bead of adhesive. You can always cut further down the nozzle later if you need a wider bead.
- Puncture the inner seal: Cutting the plastic tip exposes the inner plastic or foil seal that blocks the adhesive from entering the nozzle. Insert a long nail, a piece of wire, or the puncture wire found on the back of many modern caulking guns straight down through the nozzle until you feel it puncture the seal. Push it in and pull it out a couple of times to clear a wide opening.
- Load the caulking gun: Pull back the metal rod on your caulking gun, insert the base of the Liquid Nails cartridge into the frame, and squeeze the trigger gently until the plunger secures the bottom of the tube.
- Test the flow: Squeeze the trigger lightly over a piece of scrap cardboard to ensure the adhesive flows smoothly before applying it to your project surface.
How to Open Liquid Nails Squeeze Tubes

If you are working on a small craft or quick household repair, you likely bought a squeeze tube of Liquid Nails that does not require a caulking gun. These tubes are much easier to open, but they still require a bit of care to avoid spilling.
Step-by-Step Instructions
- Unscrew the cap: Remove the threaded plastic cap from the top of the tube. Do not discard the cap, as you will need it to reseal the tube later.
- Check for a foil safety seal: Many squeeze tubes feature an aluminum foil safety seal across the opening. If your tube has one, peel it off completely. If the foil is difficult to peel with your fingers, use the tip of a utility knife or a pin to puncture it, then peel away the remaining edges.
- Dispense and cap: Squeeze the desired amount of adhesive onto your material. When finished, wipe the tip clean with a paper towel and screw the cap back on tightly to prevent the remaining product from curing.
Troubleshooting Common Opening Issues
Sometimes, even after following the steps, things do not go as planned. Here is how to handle common setbacks:
- The adhesive is too stiff: Liquid Nails thickens in cold temperatures. If your tube has been sitting in a cold garage or vehicle, bring it inside to room temperature for a few hours before opening it. Warming the tube makes the adhesive much easier to extrude.
- The puncture tool is too short: If your nail or wire isn't long enough to reach the inner seal, the nozzle was likely cut too high up. Cut another half-inch off the nozzle at a 45-degree angle to shorten the distance, then try puncturing the seal again.
- The caulk gun plunger slips: Ensure the cartridge is seated correctly in the metal cradle. If the ratchet mechanism on your caulking gun is worn out, it may fail to push the product forward, making it feel like the tube is blocked.
Tips for Storing Opened Liquid Nails
Once opened, Liquid Nails will eventually cure if exposed to air. To save the rest of the tube for your next project, follow these storage best practices:
Leave the nozzle on the cartridge. Squirt a tiny bit of adhesive past the tip so it forms a small plug. When you are ready to use the tube again, simply pull out that cured plug of adhesive with a pair of pliers, or cut the nozzle down a bit further. Alternatively, wrap the tip tightly in plastic wrap and secure it with a rubber band, or push a galvanized screw into the cut end of the nozzle to block out air.