How to Perform a Lorex Factory Reset
Security cameras and recording systems are essential for home and business safety, but they can occasionally glitch, lose network connectivity, or require a fresh configuration. Whether you are troubleshooting persistent technical errors, selling your equipment, or simply forgot your administrative password, knowing how to execute a Lorex factory reset is invaluable.

Resetting your device wipes all custom settings, returning it to its original out-of-the-box state. Because Lorex manufactures a wide array of devices—including standalone IP cameras, wireless cameras, and wired DVR/NVR systems—the exact reset procedure varies depending on your specific hardware model. This guide covers the most common methods for resetting your Lorex equipment safely and effectively.
Preparation Before You Reset
Before you begin the reset process, take a moment to prepare. Performing a factory reset will erase all custom schedules, motion detection zones, recording preferences, and connected user accounts. If your system is currently operational and you can access the menu, write down any important configurations you might want to replicate later.
Additionally, ensure you have physical access to the device. Many Lorex cameras and recorders require you to press a physical reset button or inspect the chassis for a MAC address and device ID, which may be needed during the re-registration process.
Method 1: Resetting Lorex DVR or NVR Systems
Wired security systems managed by a Digital Video Recorder (DVR) or Network Video Recorder (NVR) usually offer multiple ways to restore factory defaults. Depending on whether you can log into the system interface, choose one of the following approaches.
Using the On-Screen Display (OSD) Menu

If you know your password and can navigate the user interface using a mouse connected to your DVR or NVR, use the software reset option:
- Log into your Lorex recorder using your administrator credentials.
- Right-click anywhere on the screen to open the main menu.
- Navigate to the Setting or Device menu (the exact naming depends on your firmware version).
- Look for a sub-menu labeled System, Maintenance, or Default.
- Select the option for Factory Default or Default Settings.
- Check the boxes for the settings you wish to reset (usually, you will want to select all or choose "All Settings") and click Apply or OK.
- The system will reboot automatically with its original factory settings restored.
Using the Physical Reset Button on the Recorder
If you are locked out of your DVR or NVR due to a forgotten password, software menus will be inaccessible. In this scenario, you will need to locate the physical hardware reset button.
- Unplug the power supply from the back of your DVR or NVR.
- Locate the physical reset button. On many models, this is a small pinhole labeled "R" or "Reset" located on the back panel or inside the casing (which may require removing the top cover). *Note: Newer standalone NVRs may not feature an external button, requiring a password recovery protocol via the Lorex Home app or customer support instead.*
- Press and hold the reset button using a paperclip or small tool.
- While keeping the button pressed, reconnect the power cable.
- Continue holding the button for approximately 10 to 15 seconds until the device boots up or you hear a beep.
Method 2: Resetting Lorex IP and Wi-Fi Cameras
Standalone security cameras—such as Lorex Wi-Fi cameras or Pan-Tilt-Zoom (PTZ) models—typically feature an easily accessible physical reset button.
- Ensure the camera is powered on and plugged in.
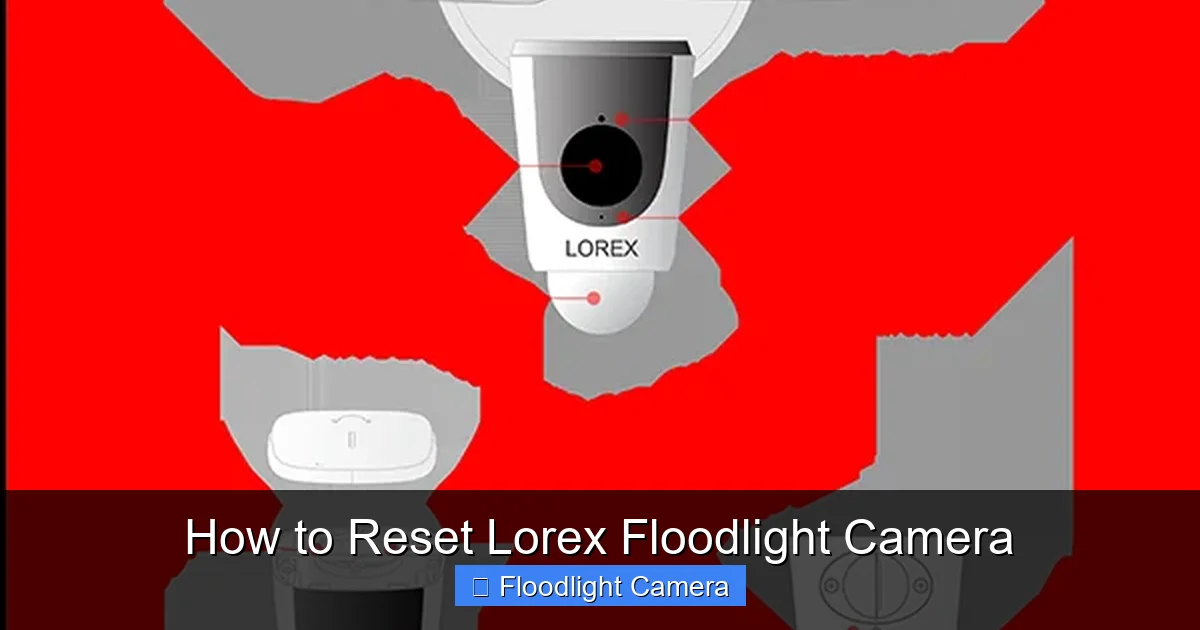
- Locate the reset button. On most Lorex bullet and dome cameras, the button is located underneath a weatherproof rubber flap on the body or directly attached to the wiring harness. On indoor Wi-Fi cameras, it is usually on the back or bottom of the unit.
- Press and hold the reset button firmly for about 10 seconds.
- Release the button when you hear an audible chime, or when the camera's status LED changes color (often turning solid red or flashing green, depending on the model).
- Allow the camera a minute or two to complete its reboot cycle. Once the LED indicates it is ready for setup, you can re-add the camera to your Lorex app or recorder.
What to Do After the Reset
Once your Lorex device has successfully rebooted, it will behave as if it was just unboxed. You will need to complete the initial setup process once again:
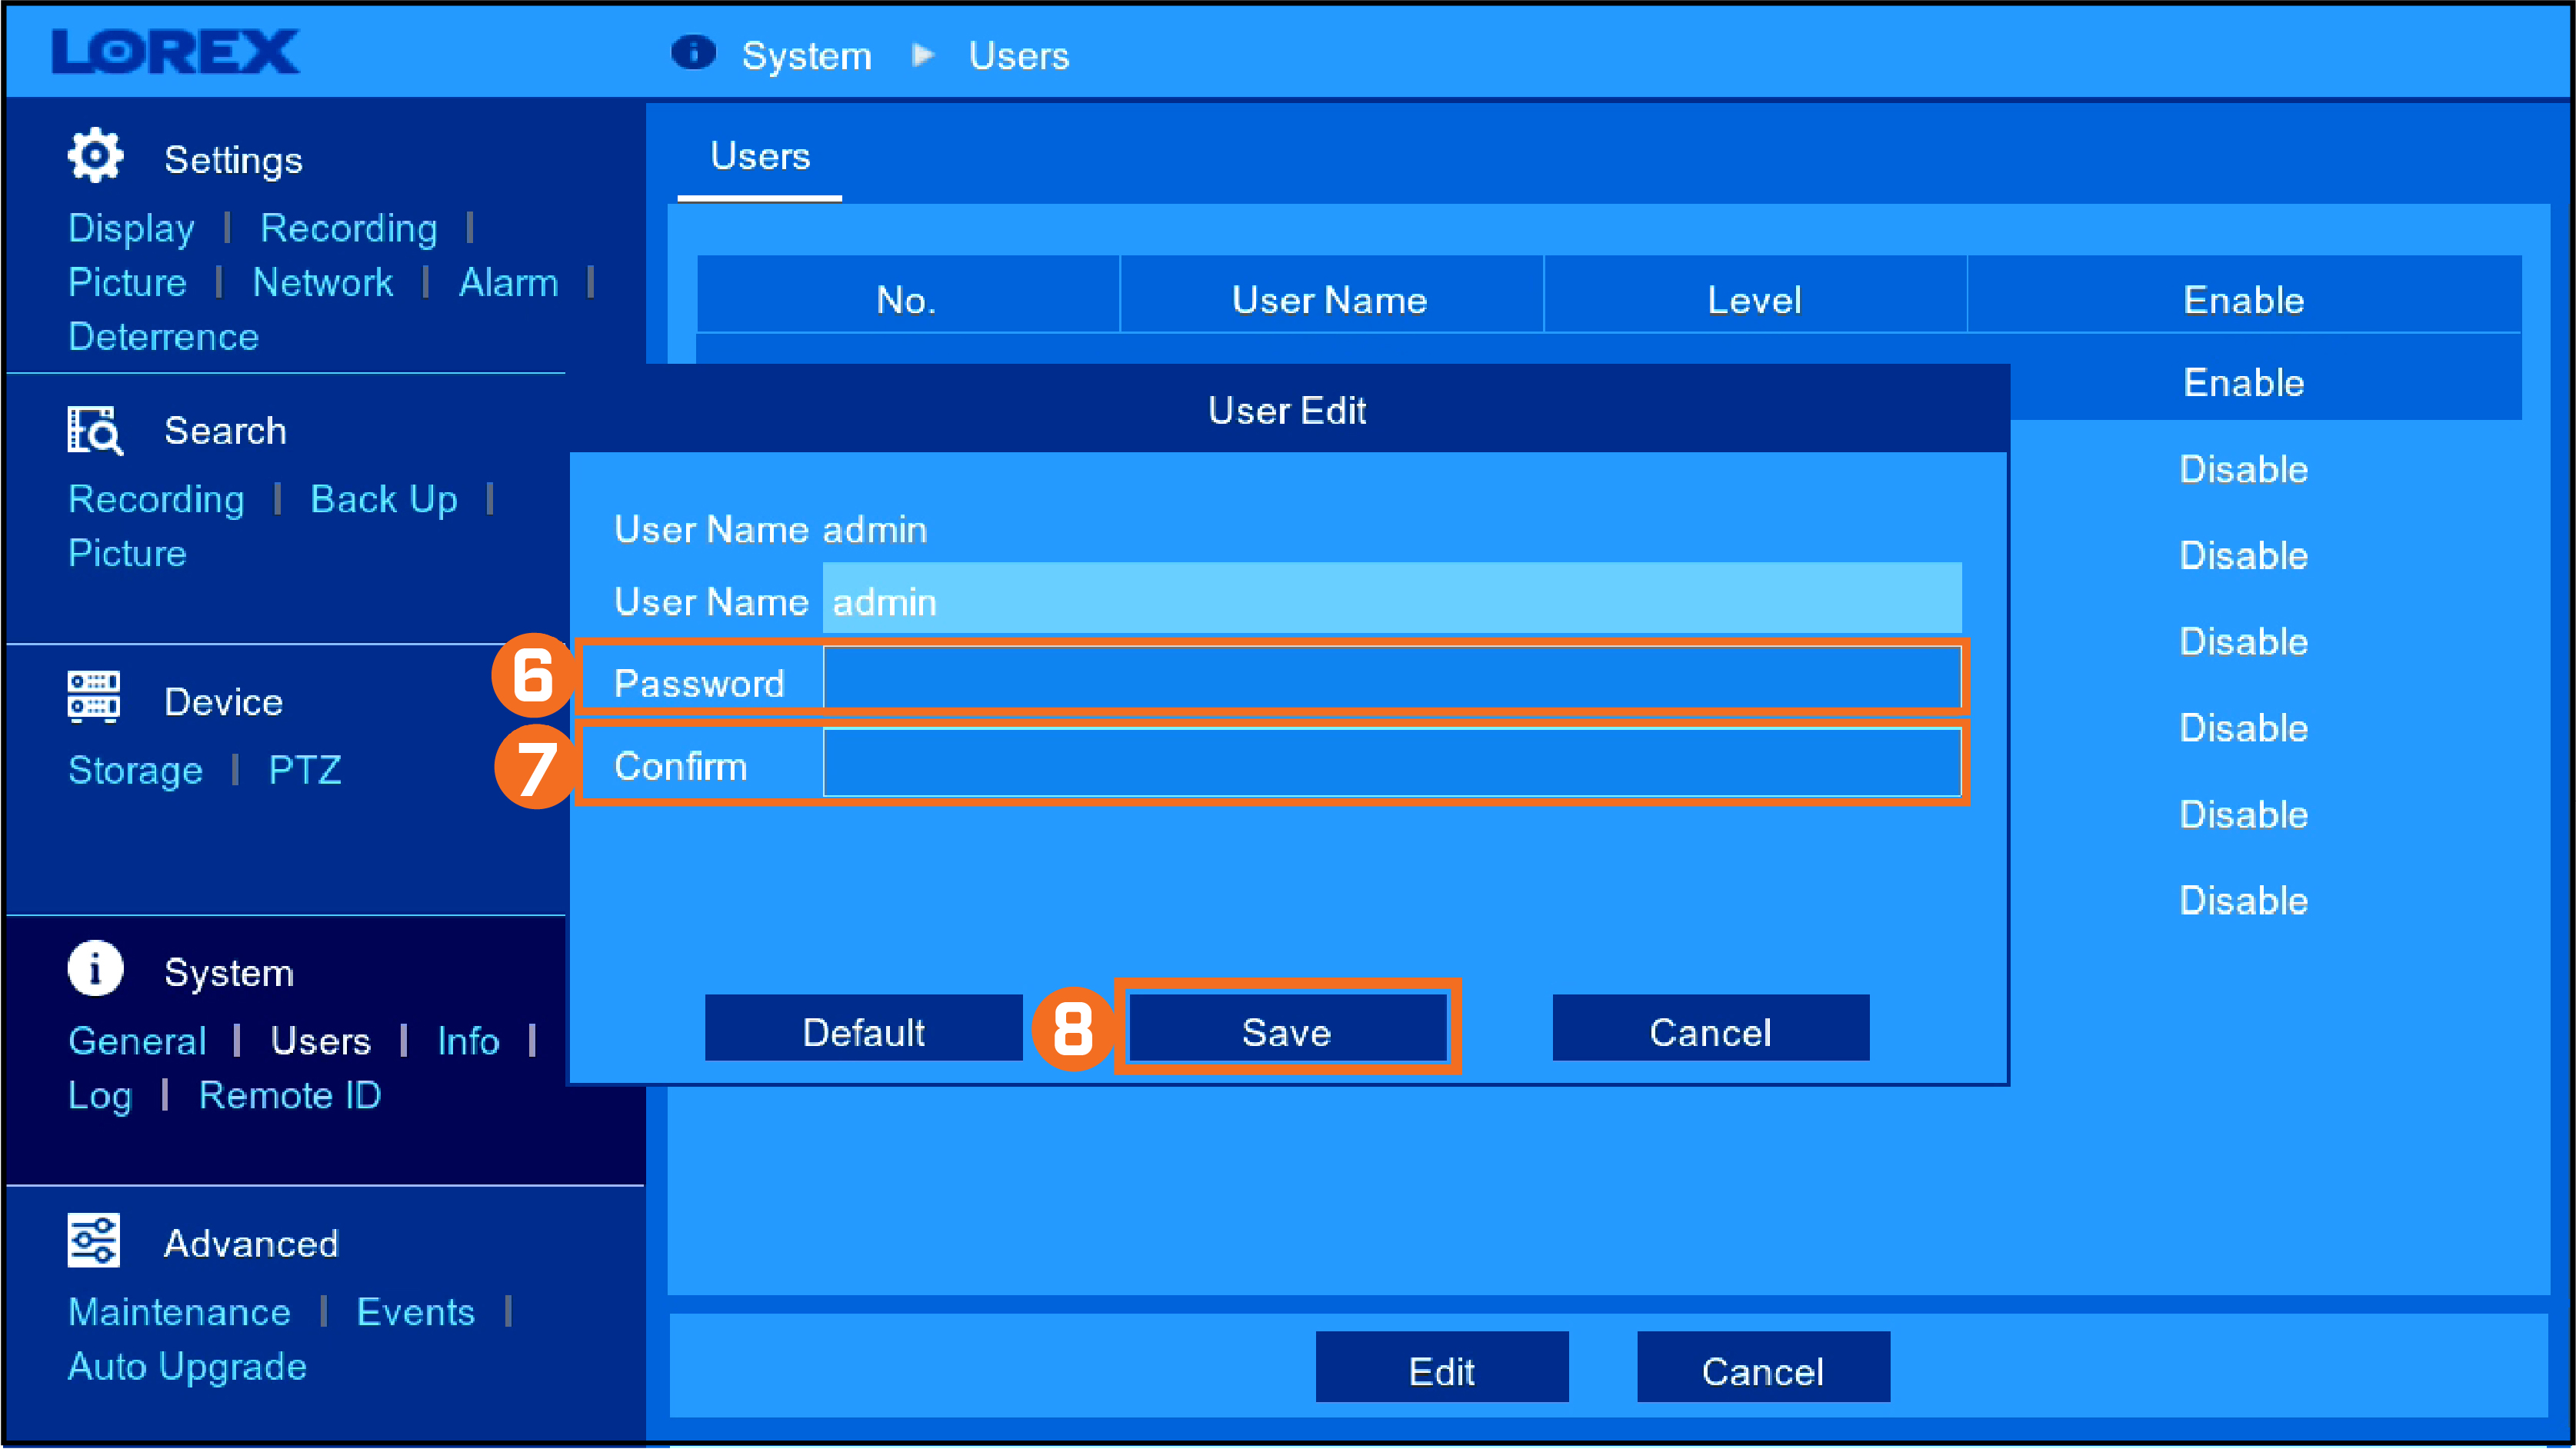
- Create a New Password: For security cameras and recorders, you will be prompted to create a strong administrative password. Make sure to record this in a safe place.
- Reconnect to Network: If you reset a Wi-Fi camera, use the Lorex mobile app to connect the device back to your local wireless network by scanning the QR code on the camera body.
- Adjust Recording Settings: Reconfigure your motion detection zones, push notification preferences, and recording schedules to suit your ongoing security needs.
If you encounter persistent issues after performing a factory reset—such as hardware failure or unresolving software loops—reach out directly to Lorex customer support or consult your specific model's manual for advanced firmware flashing procedures.