How to Replace a Dell XPS 13 Charging Port
Few hardware issues are as disruptive as a laptop that refuses to charge. When your battery drains and wiggling the cable no longer works, it is often time to address hardware failure. If you need to tackle a Dell XPS 13 replace charging port project, the difficulty and method depend almost entirely on the specific generation of laptop you own. While older revisions feature a straightforward, modular DC-in cable harness, newer models rely on USB-C ports soldered directly onto the system board.

This guide explains how to identify your port type, troubleshoot the issue before disassembling your machine, and perform the replacement safely.
Diagnose the Issue Before Opening the Laptop
Before ordering replacement parts or tearing down your chassis, rule out software glitches, worn-out cables, and battery degradation:
- Inspect the port under bright light: Dust, pocket lint, or debris frequently packs into USB-C ports, preventing the charger from seating fully. Use a wooden toothpick or a blast of compressed air to clear it out.
- Test an alternate power supply: Verify your charger works on another USB-C device, or test your XPS 13 with a known-good 45W or 65W Power Delivery (PD) adapter.
- Check the Dell BIOS/UEFI screen: Tap
F2repeatedly while powering on the machine. Navigate to the Battery Information section. Check whether the AC Adapter is recognized as 45W, 65W, or "Unknown." If it shows "Unknown," the data pin in the port or charger may be compromised. - Run ePSA Diagnostics: Hold
Fnwhile powering on the laptop to run Dell's pre-boot diagnostic tool to verify the health of the motherboard and battery cells.
Identify Your Dell XPS 13 Generation and Port Type
Dell has redesigned the XPS 13 chassis several times over the last decade. Look up your exact model number (e.g., 9350, 9360, 9370, 9380, 9300, 9310, 9315, 9320) stamped on the bottom panel or in the BIOS.
1. Barrel-Jack Models (XPS 13 9343, 9350, 9360)
These legacy systems feature a dedicated round barrel DC-in connector on a flexible wiring harness. Even though these laptops also feature a Thunderbolt 3 / USB-C port that can accept charge, their dedicated charging harness is modular, affordable, and requires zero soldering to swap.
2. Daughterboard USB-C Models (Certain Revisions)
A few intermediate models split peripheral ports between the main motherboard and a secondary I/O daughterboard. If the damaged port sits on the secondary board, you can replace the entire small circuit board without replacing the main system board.
3. Soldered USB-C/Thunderbolt Models (XPS 13 9370, 9380, 9300, 9310, Plus 9320)
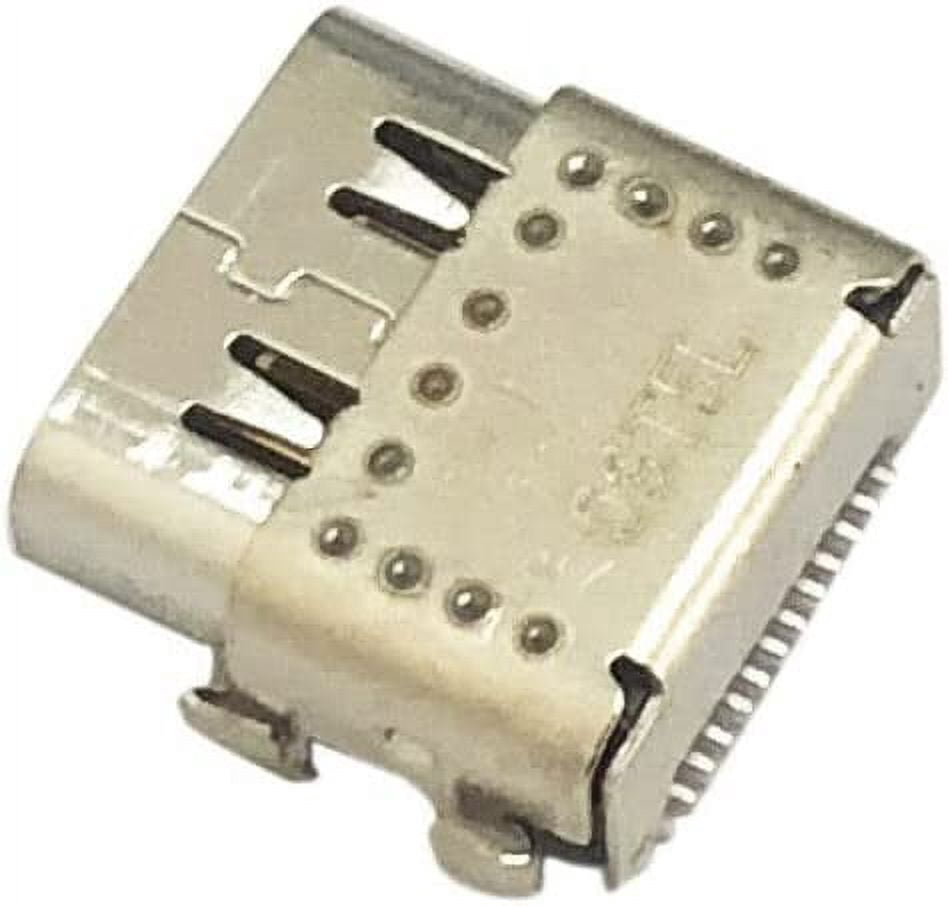
Modern XPS 13 laptops have abandoned separate DC jacks entirely. Charging occurs through Type-C ports soldered directly to the primary motherboard. If a port pin is snapped, burned, or loose from the trace, you have two options: micro-soldering rework using a hot-air station, or replacing the entire motherboard.
Required Tools and Preparation
Ensure you work on a clean, static-safe surface. Prepare the following tools:
- Torx T5 screwdriver (for exterior base cover screws)
- Phillips #00 screwdriver (for internal chassis and bracket screws)
- Plastic pry tool or guitar pick (to release chassis clips without scratching aluminum)
- Anti-static wrist strap or static-dissipative mat
- Replacement part matched to your exact Service Tag or model number
Steps to Replace the Charging Port on a Dell XPS 13 (Modular Harness)
If your XPS 13 uses the modular DC-in harness (common on the 9343, 9350, and 9360 models), follow this procedure:
- Power down completely: Shut down Windows, disconnect the power adapter, and close the lid.
- Remove the bottom cover:
- Remove the perimeter Torx T5 screws securing the aluminum base cover.
- Flip open the central system badge door (on models equipped with one) and remove the single Phillips screw hidden beneath it.
- Use a thin plastic pry tool to gently separate the perimeter clips, starting at the rear hinge area and working around to the front. Lift the cover off.
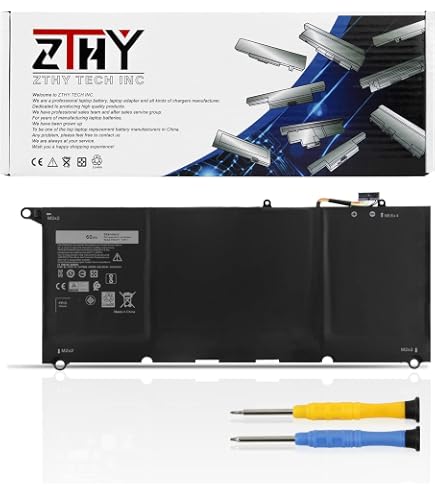
- Disconnect the battery: Locate the battery connector linking the battery pack to the motherboard. Pull the connector straight back toward the battery to cut power to the board. Never work on the board while the battery is connected.
- Locate and free the DC-in jack: The port sits at the top corner of the chassis near the hinge. It is held down by a metal bracket secured by one or two Phillips screws. Remove these screws and set the bracket aside.
- Unplug the wiring harness: Follow the braided wires from the port to where they plug into the motherboard. Carefully grasp the harness connector (not the wires themselves) and disconnect it from the motherboard socket.
- Install the new port:
- Seat the replacement DC-in jack into the chassis groove.
- Route the harness along the interior routing channel so it does not pinch beneath the base plate or hinge.
- Plug the harness firmly into the motherboard connector.
- Reinstall the metal bracket and tighten the Phillips screws to secure the jack firmly in place.
- Reconnect battery and test: Plug the battery back into the motherboard. Carefully lower the base plate onto the chassis without snapping all clips, attach the charger, and verify the charging indicator light turns on. Once verified, secure the base cover screws.
Handling Soldered USB-C Ports on Modern XPS 13 Models
If you own an XPS 13 with integrated USB-C ports (such as the 9370, 9300, or 9310), a simple screwdriver replacement is not an option. Here is how to navigate a damaged port on these models:
Use the Secondary USB-C Port
Virtually all modern Dell XPS 13 models include at least two Thunderbolt/USB-C ports (one on each side, or two on the left). Both ports typically support Power Delivery. If only one port is loose or failed, you can bypass the repair by charging through the opposite port and using a multi-port hub to expand connectivity.
Professional Micro-Soldering
Replacing a surface-mounted USB-C receptacle requires specialized tools: a digital microscope, tacky flux, low-melt solder, a hot-air rework station, and precision tweezers. Attempting this with a standard household soldering iron will tear copper pads off the motherboard, rendering the laptop unrepairable. A dedicated board-level repair technician can desolder the broken port and install a factory-spec receptacle at a fraction of the cost of a new motherboard.
Full Motherboard Replacement
If you prefer an official Dell-style repair without micro-soldering, the standard procedure is replacing the system board. Because the processor, RAM, and often the SSD are soldered directly onto modern XPS motherboards, verify that any replacement board you source matches your desired CPU and memory configurations.
Summary
Diagnosing a charging failure accurately saves money and prevents unnecessary disassembly. If your machine is an earlier XPS 13 generation, swapping the modular DC jack is an approachable 20-minute DIY repair. If you own a modern USB-C-only chassis, utilize an alternate port or seek an experienced micro-soldering technician to restore your charging functionality safely.