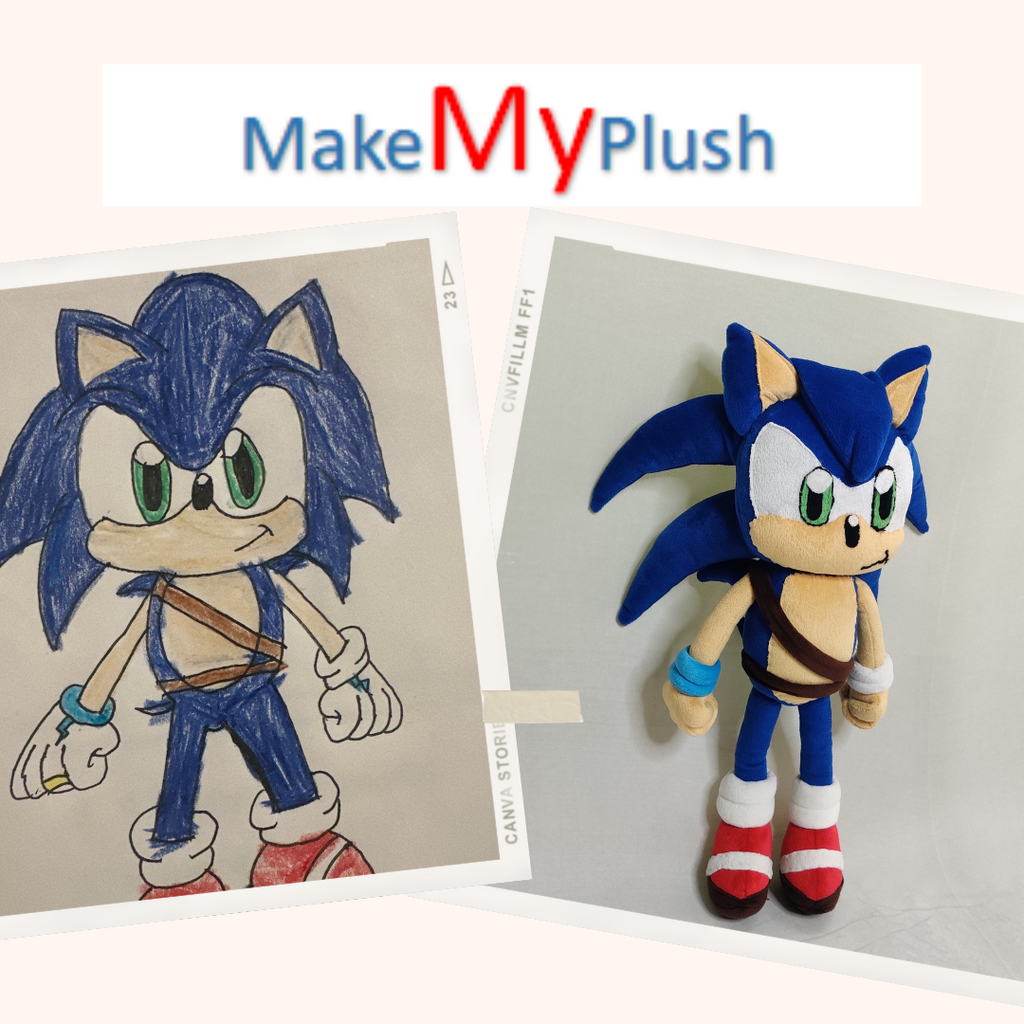
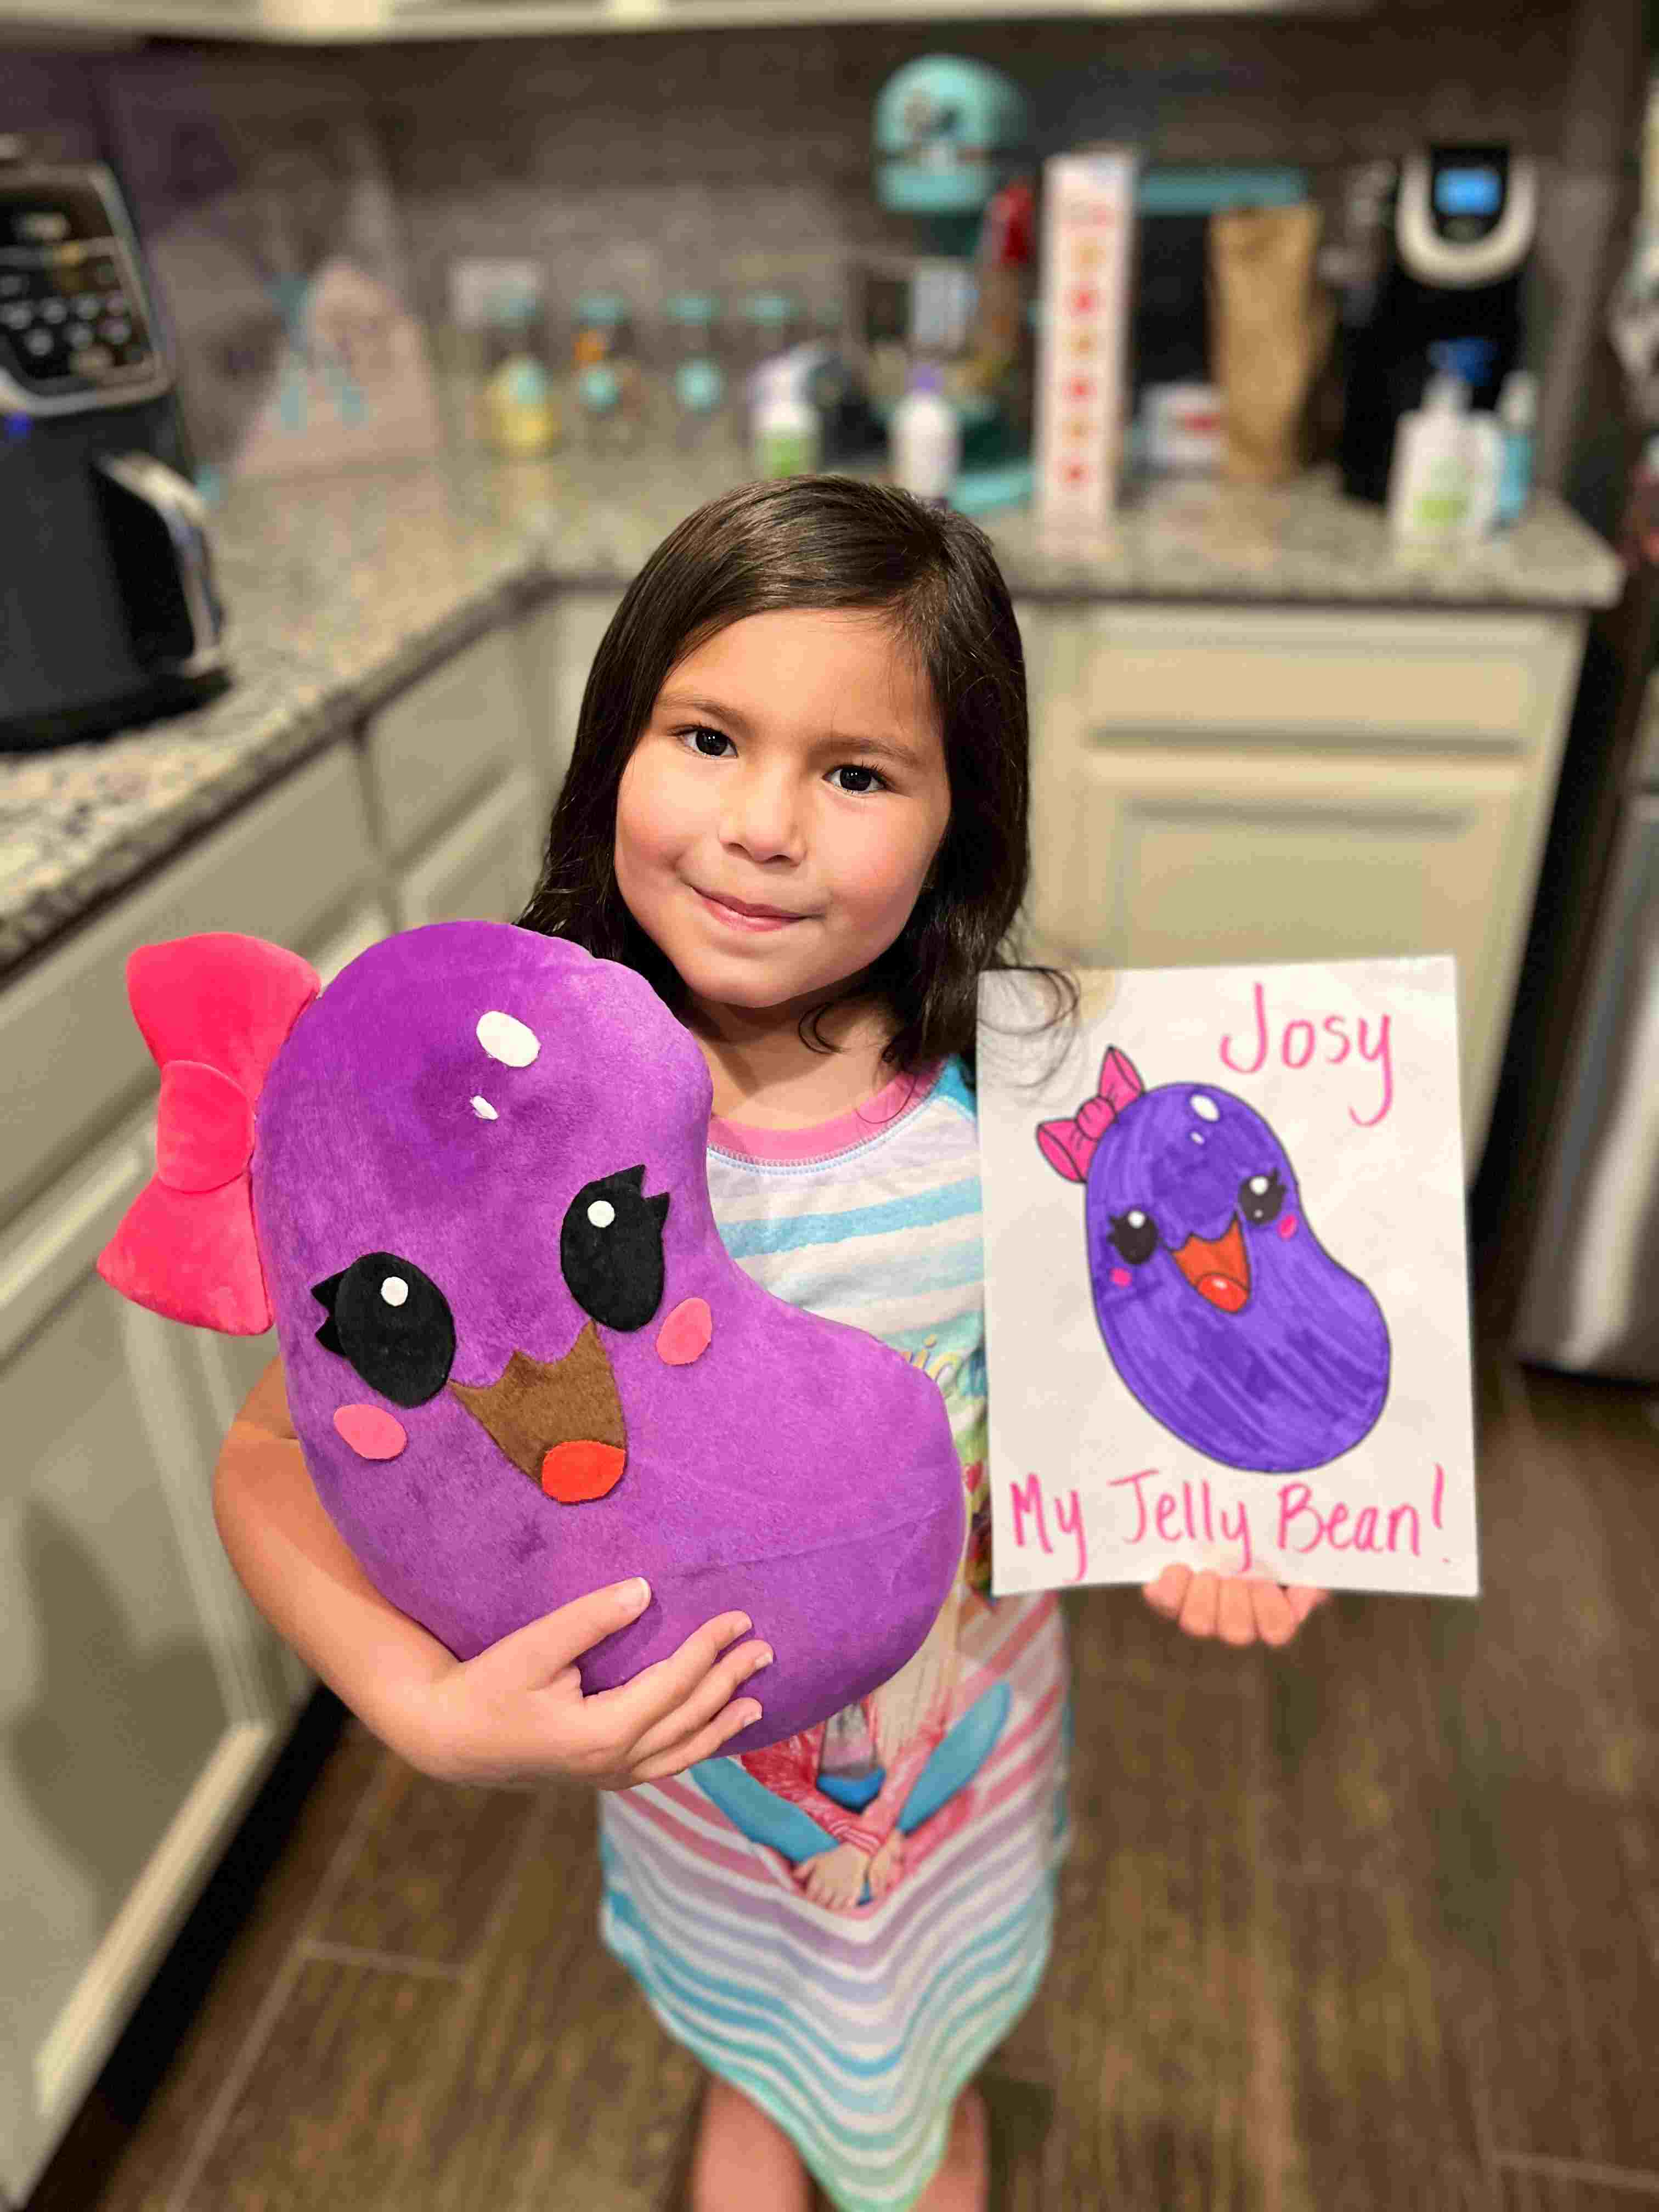
How to Turn a Drawing into Plush: Full Guide
Transforming a two-dimensional sketch into a tangible, huggable object is one of the most rewarding creative projects you can undertake. Whether you want to preserve a child’s imaginative crayon doodle, bring an original character (OC) to life, or manufacture a branded mascot, turning a drawing into plush form requires bridging the gap between flat art and three-dimensional sculpture.

While the transition from paper to fabric involves some spatial problem-solving, the process is accessible to hobbyists and commercial creators alike. This guide breaks down how 2D designs become 3D plushies, how to sew your own from scratch, and how to work with professional fabricators if you prefer not to thread a needle.
How the Process of Turning a Drawing into Plush Works
Every plush toy begins with flat pieces of fabric sewn together around a soft fill. The fundamental challenge of translating a sketch into fabric is determining where the volume lives. On paper, depth is an illusion created with shading and perspective; in a plushie, depth is created through pattern geometry.
The conversion process generally follows four structural phases:
- Deconstruction: Breaking the character design down into primitive geometric shapes (spheres, cylinders, cones, and teardrops).
- Pattern Drafting: Translating those 3D volumes into flat 2D templates using darts, gussets, and panels.
- Material Selection: Matching fabric pile, stretch, and color to the textures implied in the artwork.
- Assembly and Detailing: Sewing the shell, installing structural armatures or safety features, stuffing, and applying facial details via embroidery or applique.
Preparing Artwork for Plushie Production
Not every drawing translates directly to fabric without minor modifications. Taking time to adapt the source artwork makes both DIY crafting and professional commissioning substantially smoother.
1. Create a Multi-Angle Turnaround
A single front-facing drawing leaves half the character to the imagination. To create an accurate plush, draft at least a front view, a side profile, and a back view. Clarifying details like tail placement, back markings, or hair volume prevents guesswork later.
2. Simplify Complex Details
Ultra-thin lines, intricate color gradients, and tiny floating elements are standard in digital illustration but notoriously difficult to replicate cleanly in fabric. Thicken spindly limbs so they can accept stuffing, anchor disconnected floating parts, and decide whether subtle gradients should become solid color blocks or printed fabric panels.
3. Define Scale and Proportion
Decide on the physical height of the finished plush. A design with complex fingers or detailed facial expressions might work beautifully at 16 inches tall, but those same elements will bunch up into an unreadable knot if scaled down to a 4-inch keychain.
The DIY Approach: Sewing Your Own Plush
If you have basic sewing machine experience, building a plush from your own drawing is an exceptional hands-on project. Here is how to tackle the pattern-making and construction step-by-step.
Step 1: Choose Your Construction Style
Video: get a custom plushie now!! shes so cute! @idooodle #customplush #customplushie #art #triplesigma
There are two primary ways to approach a DIY plush:

- The "Pillow" Style (Beginner): Best for simple, flat designs or exact preservation of children’s doodles. You trace the character silhouette onto two sheets of fabric, add a seam allowance, sew them together face-to-face leaving an opening, turn it right-side out, and stuff.
- Sculpted 3D (Intermediate to Advanced): Best for characters intended to sit, stand, or display true anatomical depth. This requires separate pattern pieces for the head, torso, muzzle, limbs, and ears.
Step 2: Prototyping with a "Toile"
Never cut into your final, expensive fabric on the first try. Draft your pattern pieces onto paper, pin them to cheap muslin, scrap cotton, or felt, and sew a quick mock-up (called a toile or prototype). Stuff the prototype to check its posture, symmetry, and proportions. You will quickly see if the head droops, if the neck is too narrow, or if a limb twists unnaturally.
Step 3: Select the Right Fabrics
The choice of fabric dictates the plushie’s tactile feel, durability, and ease of construction:
- Minky (Plush Fabric): The industry standard for modern stuffed animals. It is ultra-soft and has a slight knit stretch, making it forgiving over curved seams.
- Fleece: Inexpensive, widely available, and does not fray when cut. An ideal choice for beginners practicing their first sculpted designs.
- Faux Fur: Excellent for animals or monster designs, but requires careful cutting from the backing to avoid shearing the pile.
- Felt: Holds crisp edges and works well for small accents, horns, teeth, or flat accessories. Choose wool or wool-blend felt over cheap acrylic for better longevity.
Step 4: Executing Facial Details
The face gives your plush its soul. Depending on your toolset, you can finish facial features using:
- Satin Stitch Applique: Cutting fabric shapes and stitching them down using a tight zigzag or satin stitch on a domestic sewing machine.
- Hand Embroidery: Using embroidery floss and stitches like the backstitch and satin stitch for expressive, organic line work.
- Machine Embroidery: The cleanest method, though it requires a specialized embroidery machine and digitizing software.
- Safety Eyes: Plastic washers that snap through the fabric. Note: Always reinforce the fabric with interfacing behind safety eyes to prevent them from pulling through.
Professional Services: When to Outsource
If your design requires complex internal framing, pristine industrial embroidery, or if you simply lack sewing equipment, hiring a professional is the best route. You generally have two paths when outsourcing a drawing:
Bespoke Custom Makers & Artists
Platforms like Etsy, Instagram, and specialized plush forums host independent fiber artists who specialize in one-off custom plushies. Independent makers excel at bringing complex anime, gaming, or fantasy original characters to life. Expect higher prices (typically $150 to $600+ depending on complexity), as you are paying for hours of manual patterning and skilled artisan labor.
Specialized "Artwork-to-Plush" Companies
Services like Budsies cater specifically to converting children’s drawings, pet illustrations, and simple characters into stuffed toys. These companies use standardized manufacturing pipelines to keep costs predictable, making them a popular choice for personalized gifts.
What to Check Before Ordering
Before committing your design to an external maker, verify:
- Portfolio Consistency: Review photos of their finished physical products alongside the original concept drawings to gauge how faithfully they translate 2D proportions.
- Safety Standards: If the plush is meant for an infant or young child, ensure the maker adheres to ASTM F963 (US) or EN71 (Europe) toy safety requirements, avoiding small parts that pose choking hazards.
- Turnaround Time: Custom plushies take time. Prototyping, sourcing matching fabric dyes, and assembly typically take anywhere from 4 to 12 weeks.
Bringing It All Together
Turning a drawing into a plush toy merges the visual storytelling of illustration with the tactile craft of sculpture. Whether you spend an afternoon sewing a felt pillow clone of your child's favorite doodle or partner with a custom manufacturer to produce a collector-grade art doll, seeing a flat sketch sit upright on a shelf is an unmistakably magical moment.