Insider Secrets to Mastering DTF 802 Printing
Direct-to-Film (DTF) technology has revolutionized apparel decoration, and commercial setups like the DTF 802 platform have become workhorses for print shops scaling up production. Yet, shifting from basic desktop conversions to an industrial-grade dual-head system introduces a steep learning curve. Operators often encounter nozzle dropouts, ink puddling, static build-up, and inconsistent powder curing. To help you eliminate costly downtime and achieve flawless garment transfers, we have compiled these insider secrets to mastering DTF 802 hardware, RIP workflows, and post-press finishing.
Insider Secrets to Mastering DTF 802 Printheads and Ink Delivery
The heart of the DTF 802 system lies in its dual printhead configuration—typically utilizing Epson i3200-A1 heads or similar high-speed industrial engines. Because one head handles CMYK and the other manages dense titanium dioxide white ink, fluid dynamics are critical.
1. Perfect the White Ink Circulation Timing
White DTF ink contains heavy titanium dioxide particles that precipitate rapidly when idle. While the DTF 802 includes an automated white ink circulation system, relying solely on factory cycles often leads to starvations during the first print run of the day.
- The 15-Minute Rule: Never run prints immediately after turning on the machine. Trigger an manual ink circulation cycle for at least 15 minutes before executing your first test strip.
- Damper Degassing: Check the integrated dampers weekly. Air pockets inside the damper starve the nozzles during high-speed bidirectional printing, mimicking a clogged head when the real issue is negative pressure imbalance.
2. Calibrate Mechanical Alignment Before Software Offsets
Technicians often jump straight into software adjustments in their RIP when they see color fringing or micro-banding. With the DTF 802, you must verify physical alignment first.
- Check the slant angle and physical verticality of Head 1 relative to Head 2.
- Use a magnifying loupe to confirm that the mechanical gap between the printhead faceplate and the vacuum platen stays uniform at exactly 1.5 mm to 1.8 mm across the entire 80 cm print width.
- Only after physical gap and parallelism are locked should you run your bidirectional and step calibration in your software.
Mastering RIP Configurations and Ink Limits
A well-maintained printer running a poor RIP profile still produces subpar prints. Commercial DTF printing requires a delicate balance: enough white ink to provide opacity on dark polyester, but not so much that the ink pools or rejects the adhesive powder.
Dial In the White Ink Choke
A frequent defect on custom apparel is a visible white outline around fine text and detailed vector paths. To fix this:
- Set your white choke between 2 to 4 pixels (depending on resolution, typically 720x1800 or 720x2400 dpi).
- Enable edge feathering in your RIP. A soft 1-pixel feather smooths the boundary between the white base and the colored layer, preventing harsh color bleeding while maintaining opacity.
Linearization and Ink Limits
Factory profiles frequently lay down excessive CMYK ink. Excess ink slows drying times, causes the powder to stick where it shouldn't, and results in a stiff, plastic-like "hand feel" on the finished shirt. Conduct an ink limit test by printing progressive 5% density patches. Dial down your CMYK maximum limit until you eliminate puddling without sacrificing vibrant black and saturated reds.
Perfecting the Powder, Shaker, and Curing Cycle

The DTF 802 usually runs inline with an automated powder shaker and dryer unit. Print quality is only half the battle; the polymer adhesive application determines wash fastness and elasticity.
Select the Right Powder Grade
Do not treat all TPU (thermoplastic polyurethane) powders the same:
- Medium Powder (80–170 microns): The industry standard for cotton, 50/50 blends, and fleece. It provides an optimal balance between hand feel and high tensile durability.
- Fine Powder (0–80 microns): Essential if your shop produces intricate micro-text, thin line work, or prints on lightweight performance fabrics like spandex and nylon. Fine powder adheres to smaller ink droplets that medium grains miss.
Optimize Tunnel Temperature and Dwell Time
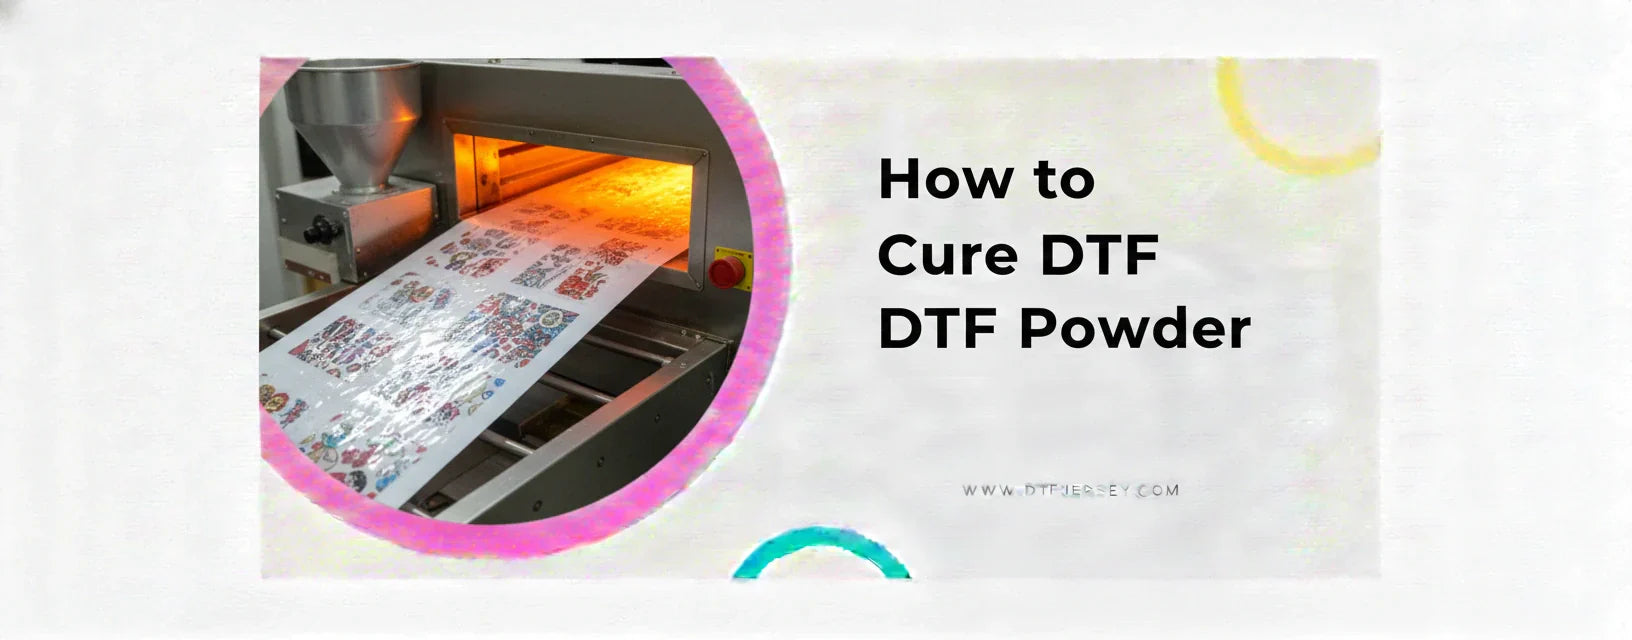
Under-cured powder flakes off in the wash, while over-cured powder absorbs into the film, resulting in weak transfers and bubbling. On the DTF 802 inline tunnel:
- Set the curing temperature between 110°C and 125°C (230°F–257°F), depending on your film thickness.
- Monitor the powder transformation: the powder should melt from a granular, frosted appearance into a smooth, uniform "orange peel" texture.
- If the cured surface is glossy and completely flat, your tunnel is too hot or the belt speed is too slow. The adhesive has melted prematurely and will struggle to bond to textile fibers.
Managing Environmental Factors: Static and Humidity
The DTF 802 uses PET film that builds up substantial static electricity as it unrolls across the platen and through the powder shaker. Static creates two major problems: ink misting (ghosting) and stray powder sticking to unprinted film areas.
- Target Humidity: Maintain your print room at 50% to 65% relative humidity and a temperature of 20°C to 25°C (68°F to 77°F). If humidity drops below 40%, white ink dries on nozzle plates rapidly, and static charges surge.
- Physical Grounding: Ensure the printer chassis and the powder shaker share a dedicated common ground wire. Adding an anti-static copper cord or ionizer bar across the film exit zone will dramatically reduce background powder scatter.
Heat Press Application Secrets
Once your roll is printed, cured, and cut, pressing variables dictate whether the transfer lasts 50 washes or fails on the first cycle.
- Pre-Pressing the Garment: Press the blank garment for 5 to 7 seconds before applying the film. This removes residual moisture and flattens loose fibers that otherwise create micro-voids beneath the adhesive.
- Application Settings: For standard cotton, press at 150°C to 160°C (302°F to 320°F) under medium-to-firm pressure (4 to 5 bar / 50 to 60 PSI) for 12 to 15 seconds.
- Peel Temperature: Check whether your film is true hot-peel or cold-peel. Even "warm-peel" films deliver cleaner edges and better color retention if allowed to cool for 8 to 10 seconds before removing the carrier sheet.
- The Critical Post-Press: Always perform a second press for 5 seconds using a silicone sheet or parchment paper. This embeds the transfer into the garment weave, strips away surface shine, and dramatically enhances wash durability.
Daily Preventative Maintenance Checklist
To keep your DTF 802 running continuously without expensive head replacements, adhere strictly to this maintenance timetable:
- Morning Startup: Inspect the waste bottle, confirm ink levels, cycle white ink, perform a nozzle check, and execute an automated cleaning only if nozzles are missing.
- End of Day: Manually clean the capping station rim and wiper blade using dedicated DTF cleaning solution and lint-free foam swabs. Never use cotton Q-tips, as stray fibers will ruin the printhead face. Apply moisturizing liquid (flushing solution) to the cap top to keep heads hydrated overnight.
- Weekly: Clean the encoder strip with isopropyl alcohol to prevent carriage positioning errors. Flush the peristaltic waste pump tubes to ensure free drainage.
Conclusion
Mastering the DTF 802 requires moving beyond basic presets and treating your setup as an integrated chemical, mechanical, and thermal process. By controlling room humidity, tuning your white ink circulation, dialing in software chokes, and respecting precise curing profiles, you transform the DTF 802 into a dependable, high-profit engine for your garment business.