IntelliJ: Compare 2 Branches (Step-by-Step Guide)
Reviewing differences between Git branches is a daily task for software developers. Whether you are validating a feature before opening a pull request, investigating why staging broke, or preparing for a complex rebase, seeing what changed between two lines of development is critical. In IntelliJ, compare 2 branches workflows are built right into the native Git integration, providing a visual diff that is significantly faster and easier to navigate than running git diff branch1..branch2 in the terminal.

This guide walks you through the primary ways to compare branches in IntelliJ IDEA, how to read the comparison window, and how to perform branch-to-branch operations directly from the diff view.
Method 1: Compare Another Branch with Your Current Branch
The most common scenario is comparing your actively checked-out working branch with a target branch (such as main, master, or a shared release branch).
- Look at the bottom-right corner of the IntelliJ window (in the status bar) or the top-left corner in IntelliJ's New UI to find the Git Branches widget (it displays your current branch name).
- Click the widget to open the branch popup menu. Alternatively, press Ctrl + ` (Windows/Linux) or Cmd + ` (macOS) and select Git, or use Git > Branches... from the main menu.
- Locate the branch you want to compare against under either Local Branches or Remote Branches.
- Click the branch name or hover over it to reveal the context menu, then select Compare with Current.
IntelliJ will immediately open a dedicated Compare Branches tool window docked at the bottom or side of your workspace.
Method 2: How to Compare 2 Branches in IntelliJ When Neither Is Active
You do not need to check out a branch to inspect its relationship to another branch. You can compare any two arbitrary branches—including two remote branches or two inactive local branches—without disturbing your current working directory or uncommitted files.
- Open the Git tool window by pressing Alt + 9 (Windows/Linux) or Cmd + 9 (macOS), or navigate to View > Tool Windows > Git.
- In the left-hand panel, expand the Branches tree.
- Right-click the first branch you want to inspect (Branch A).
- In the context menu, select Compare with...
- A popup list of your remaining local and remote branches will appear. Choose the second branch (Branch B).
This opens the exact same comparison interface without forcing a checkout, preserving your local stashes and index state completely.
Navigating the Branch Comparison Window
The IntelliJ comparison tab is split into two primary views: the Commits tab and the Files tab. Understanding the difference between these two views is key to making sense of large differences.
The Commits Tab
The Commits tab displays individual commits that exist in one branch but not the other. It is typically divided into two sub-panes:
- Commits present in Branch A but missing in Branch B: These represent work done on the source branch that has not yet been merged into the reference branch.
- Commits present in Branch B but missing in Branch A: These represent upstream changes that you would pull in if you merged or rebased.
Clicking on any single commit in these lists updates the file list below it, allowing you to trace changes down to the exact commit message, author, and timestamp.
The Files Tab
Video: Compare Anything in IntelliJ IDEA

If you want a cumulative overview of the code differences regardless of commit history, switch to the Files tab. This view computes the overall tree difference between the tips (HEADs) of both branches.
- Tree vs. Flat View: You can toggle between a directory tree view and a flat file list using the layout icon in the comparison toolbar. The tree view is usually best for understanding structural architecture shifts, while the flat view allows quick scanning of total files modified.
- Filter by Status: You can filter the file list to show only modified, added, or deleted files using the toggle buttons at the top of the pane.
Using the Built-in Diff Viewer
To inspect the code-level differences of any file shown in the comparison window:
- Double-click the file, or select it and press F4 (or Cmd + Down on macOS).
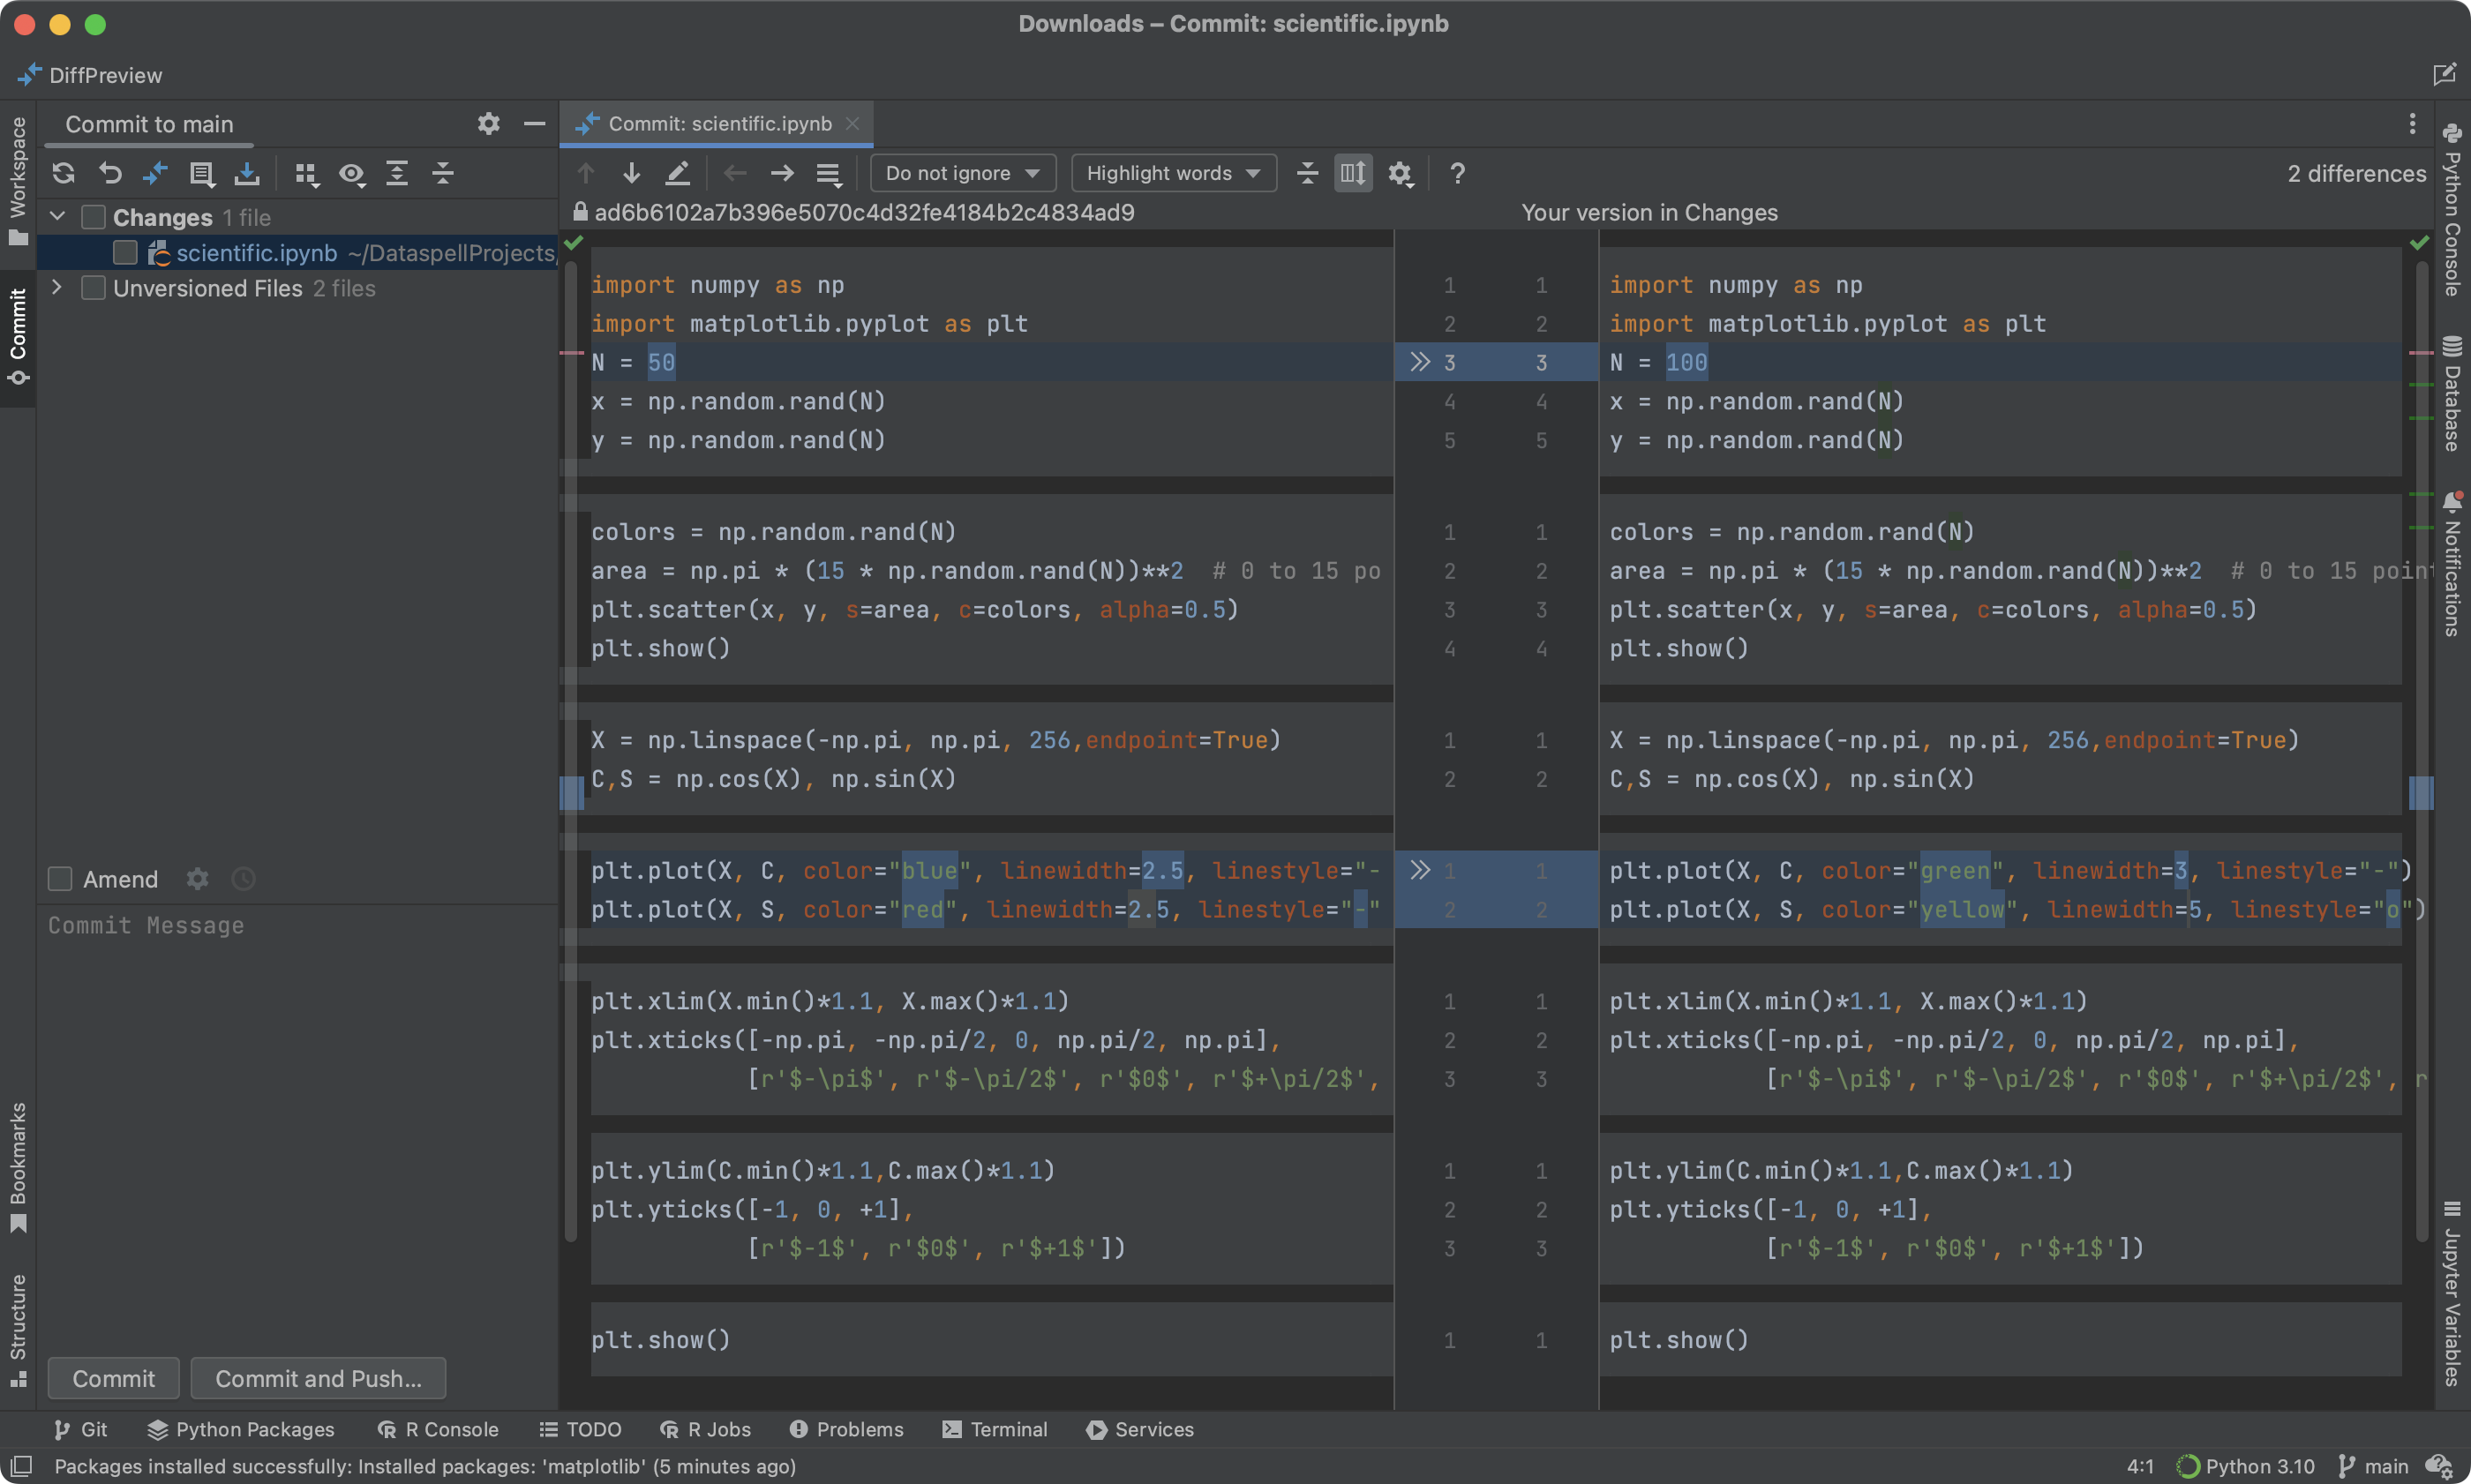
- IntelliJ opens the two-way visual diff viewer.
The diff viewer displays the version from Branch A on the left and Branch B on the right. Key features to utilize include:
- Ignore Whitespace: Click the gear icon on the diff toolbar to ignore inner whitespace or carriage-return differences (useful when comparing branches across different operating systems).
- Unified vs. Side-by-Side: You can switch from side-by-side view to a unified diff view if you prefer a single-column scrolling experience.
- Jump to Source: Press F4 while viewing any line to jump straight to that line in your active editor.
Actionable Operations from the Compare Window
The comparison screen in IntelliJ is not read-only. You can execute several Git actions directly from the interface:
- Cherry-pick commits: From the Commits tab, right-click any commit that exists in the other branch and choose Cherry-Pick to apply it to your current branch immediately.
- Get File from Branch: If you notice an individual file in the other branch that you want to copy into your current working tree, right-click the file in the Files tab and select Get from Branch. This checks out that single file without touching the rest of your project.
- Swap Sides: Use the Swap Sides button in the toolbar to reverse the comparison direction instantly, changing incoming changes to outgoing changes.
Comparing Local Branches with Remote Tracking Branches
A frequent blind spot during development is divergence between your local branch and its remote counterpart (e.g., your local main vs. origin/main). This often happens when teammates push commits directly to the tracking branch or when CI bots create tags and version bumps.
To verify alignment:
- Run a quick fetch by navigating to Git > Fetch to make sure your remote tracking references are up to date.
- Open the Git Branches widget.
- Expand Remote Branches, locate
origin/<your-branch-name>, and choose Compare with Current.
If the comparison shows zero commits and zero files, your local branch is fully aligned with the remote server. If commits appear under the remote column, you know you need to update or rebase before pushing your work.
Troubleshooting Common Comparison Issues
If the branch comparison does not show what you expect, consider the following fixes:
- Branch does not appear in the list: If a newly created remote branch is missing, run Git > Fetch from the top menu. IntelliJ caches branch references and does not always poll the remote repository every second.
- Too many irrelevant files listed: Verify whether build artifacts, dependency directories (like
node_modulesortarget/), or IDE configuration folders (like.idea) were committed on one of the branches. Make sure your.gitignoreis consistent across both branches. - Three-way merge conflicts anticipated: Remember that a two-branch comparison compares the branch heads. If you want to see the common ancestor (merge base), you can select both branches in the Git log tab and review where their paths originally diverged.
Summary
IntelliJ IDEA's branch comparison tooling eliminates the friction of command-line diffing. By leveraging the Compare with Current and Compare with... options, you can audit commits, inspect file-level changes side-by-side, cherry-pick individual updates, and verify remote alignment with minimal keystrokes.