Mastering Protractor Tips and Tricks for Precision
Whether you are drafting blueprints, cutting timber in a workshop, or solving a complex geometry problem, precision matters. A fraction of a degree off can ruin a woodworking joint or throw off an entire engineering design. While using a standard protractor seems straightforward, parallax errors, worn edges, and misaligned baselines frequently cause mistakes. Mastering a few essential protractor tips and tricks for error-free measurements will transform your accuracy and build your confidence.

Understanding Your Protractor Type
Before diving into measurement techniques, it helps to know which tool suits your project best. Not all protractors are created equal, and using the wrong style for the job naturally invites human error.
Standard 180-Degree Semi-Circular Protractors
Typically made of clear plastic or metal, these are the most common tools found in geometry sets. They are lightweight and portable, ideal for paper-based drafting and quick classroom tasks. However, their small scale makes them prone to minor sighting errors.
360-Degree Full-Circle Protractors
Full-circle tools eliminate the need to calculate supplementary angles when measuring past 180 degrees. They are favored in advanced drafting, cartography, and machining where continuous circular measurements are necessary.
Bevel Protractors and Digital Protractors
For woodworkers, metalworkers, and contractors, standard plastic protractors lack durability. Bevel protractors feature a pivoting blade that locks against physical workpieces. Digital protractors take this a step further, providing an LCD readout accurate to a tenth of a degree, removing guesswork entirely.
Preparation: Setting Up for Success
Accuracy begins long before you align the tool with your angle. Preparing your workspace and your instrument sets the foundation for a flawless reading.
- Inspect the origin: Check the center point of your protractor. If it is worn, cracked, or obscured by a thick plastic tab, your base reference is already compromised.
- Clean your lens or surface: Smudges on clear plastic protractors distort the lines underneath, leading to misaligned vertex placements.
- Use a sharp drafting pencil: Thick graphite lines add unwanted width to your target, easily masking a half-degree discrepancy.
Step-by-Step Techniques for Error-Free Readings
Video: How to Measure Angles Using a Protractor

Executing the measurement correctly requires disciplined alignment techniques. Follow these core practices every time you pick up the tool.
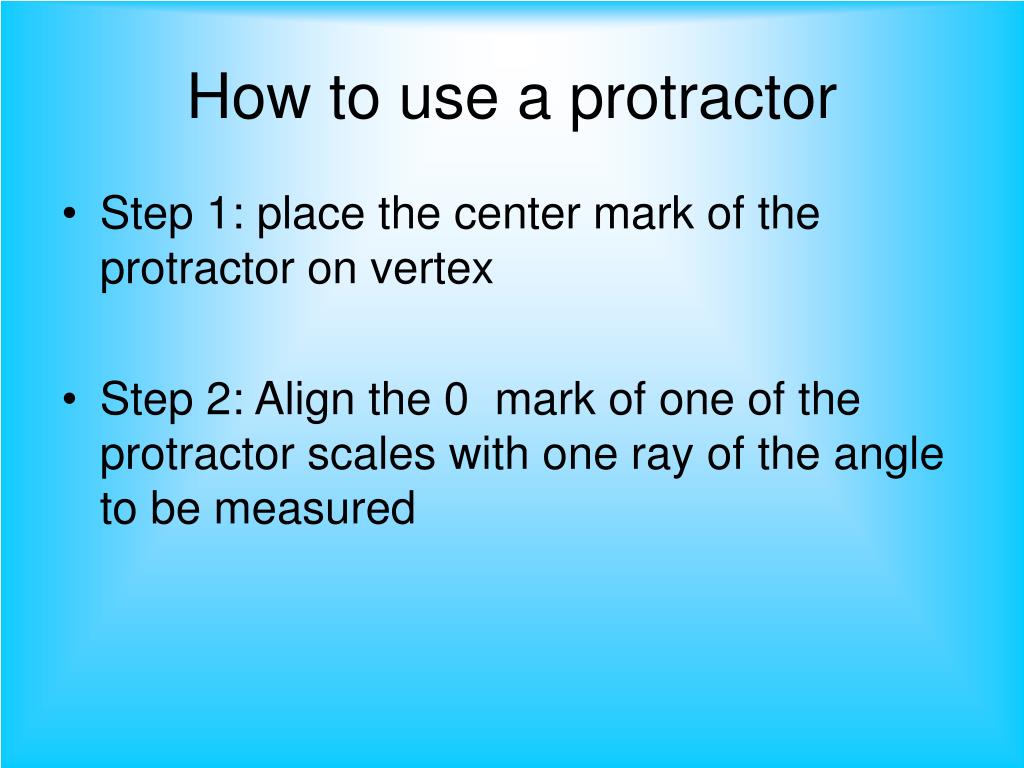
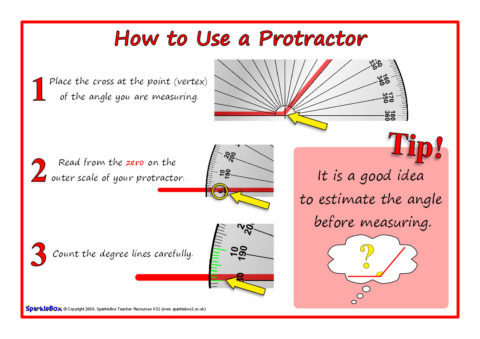
- Locate the vertex precisely: Place the origin point (the crosshairs or small hole at the baseline center) directly over the vertex—the exact point where the two lines of the angle meet.
- Align the baseline: Ensure the 0-degree line of the protractor rests completely flat and flush against one arm of the angle. Do not guess; look closely to ensure the line runs parallel to the edge.
- Follow the correct scale: Most semi-circular protractors feature dual scales running in opposite directions (0 to 180 and 180 to 0). Identify which scale starts at zero on your baseline arm before tracking the second arm upward.
Advanced Tips and Tricks to Eliminate Common Mistakes
Even experienced makers fall victim to optical illusions and minor handling errors. Incorporate these pro strategies to ensure absolute precision.
Overcoming the Parallax Error
Parallax error occurs when your eyes are not directly perpendicular to the scale. If you view a protractor from an angle, the printed tick mark will appear to line up with a different measurement than it actually does. To fix this, always position your head directly above the reading point. If your protractor is transparent, press it completely flat against the paper or material to minimize the height gap between the scale and the target line.
Extending Short Angle Lines
Often, the lines forming an angle are too short to reach the outer graduation marks of your protractor, making it difficult to read the exact degree. Never eyeball the trajectory. Instead, take a straightedge and extend the rays of the angle outward before measuring. This simple step guarantees your sightlines cross the measurement gradations accurately.
The Paper Technique for Woodworking Transfers
Transferring an awkward angle from a wall or furniture piece to a saw can be frustrating. If you do not have a digital angle finder, press a piece of thick paper or cardstock into the corner, crease it, and trace it. Bring that paper template to your workbench, lay your flat protractor over the crease, and read the angle with zero physical obstruction from bulky tools.
Maintaining Your Tools for Longevity
A damaged measuring tool cannot deliver accurate results. Protect your investment with proper maintenance.
- Store flat: Keep plastic and metal protractors stored flat in a drawer or case. Tossing them into a crowded toolbox causes warped edges and scratched surfaces.
- Avoid chemical cleaners: Harsh solvents can cloud clear plastic or rub off printed graduation lines. Use mild soap and water when cleaning.
- Calibrate digital models: If you use a digital protractor, regularly check it against a known 90-degree square or zero it out on a certified flat surface according to the manufacturer's instructions.
Achieving error-free measurements is a blend of using the right equipment, preparing your workspace, and practicing mindful alignment habits. By applying these protractor tips and tricks, you will eliminate guesswork, reduce wasted material, and bring professional-grade accuracy to every project you tackle.