Mastering the Proper Wrist Hinge in Golf
Every golfer is searching for more distance and consistency, yet many overlook one of the most critical fundamentals in the golf swing: the wrist hinge. Without the correct movement in your wrists, your swing loses its primary source of leverage, leading to an arm-dominated motion that robs you of power and control. Developing a proper wrist hinge in golf is the secret to creating lag, storing energy, and delivering the clubface squarely to the ball at impact.

Unfortunately, wrist action is also one of the most misunderstood parts of the swing. Golfers either break their wrists too early, ruining their swing plane, or they keep them entirely rigid, resulting in a weak, push-slice. This guide breaks down the mechanics of the wrist hinge, explains how to perform it correctly, and provides actionable drills to fix your swing.
Understanding the Mechanics of Golf Wrists
To understand the proper wrist hinge, you first need to look at how the human wrist moves in the context of the golf swing. The wrist is capable of two distinct movements that matter to golfers:
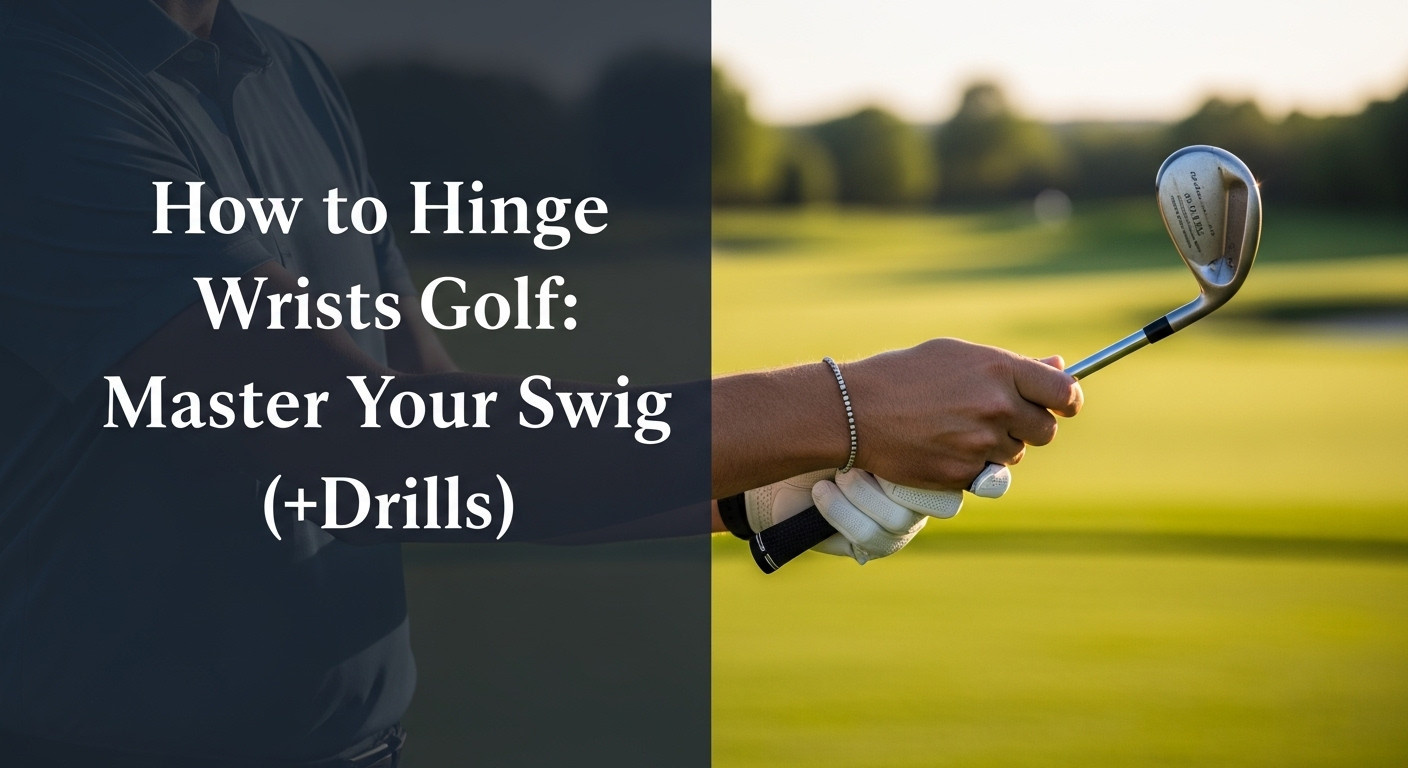
- Ulnar Deviation (The Hinge): This is the upward cocking of the wrists toward your forearms, much like hammering a nail with a hammer. This is the primary movement required for a proper golf hinge.
- Palmar and Dorsal Flexion (Bow and Cupped): This involves bending the wrist downward toward your palm (bowing, common in modern professional swings) or upward toward the back of your hand (cupping).
A common misconception is that the wrist hinge is a twisting motion. It is not. Your forearms do rotate during the backswing, but the actual hinge is an upward vertical break relative to your arms.
When and How to Execute a Proper Wrist Hinge in Golf
Timing is everything. If you hinge your wrists the moment you start your takeaway, you will pick the club up too steeply and lose your swing arc. If you wait too long, your arms and body will get out of sync.
The Correct Sequence
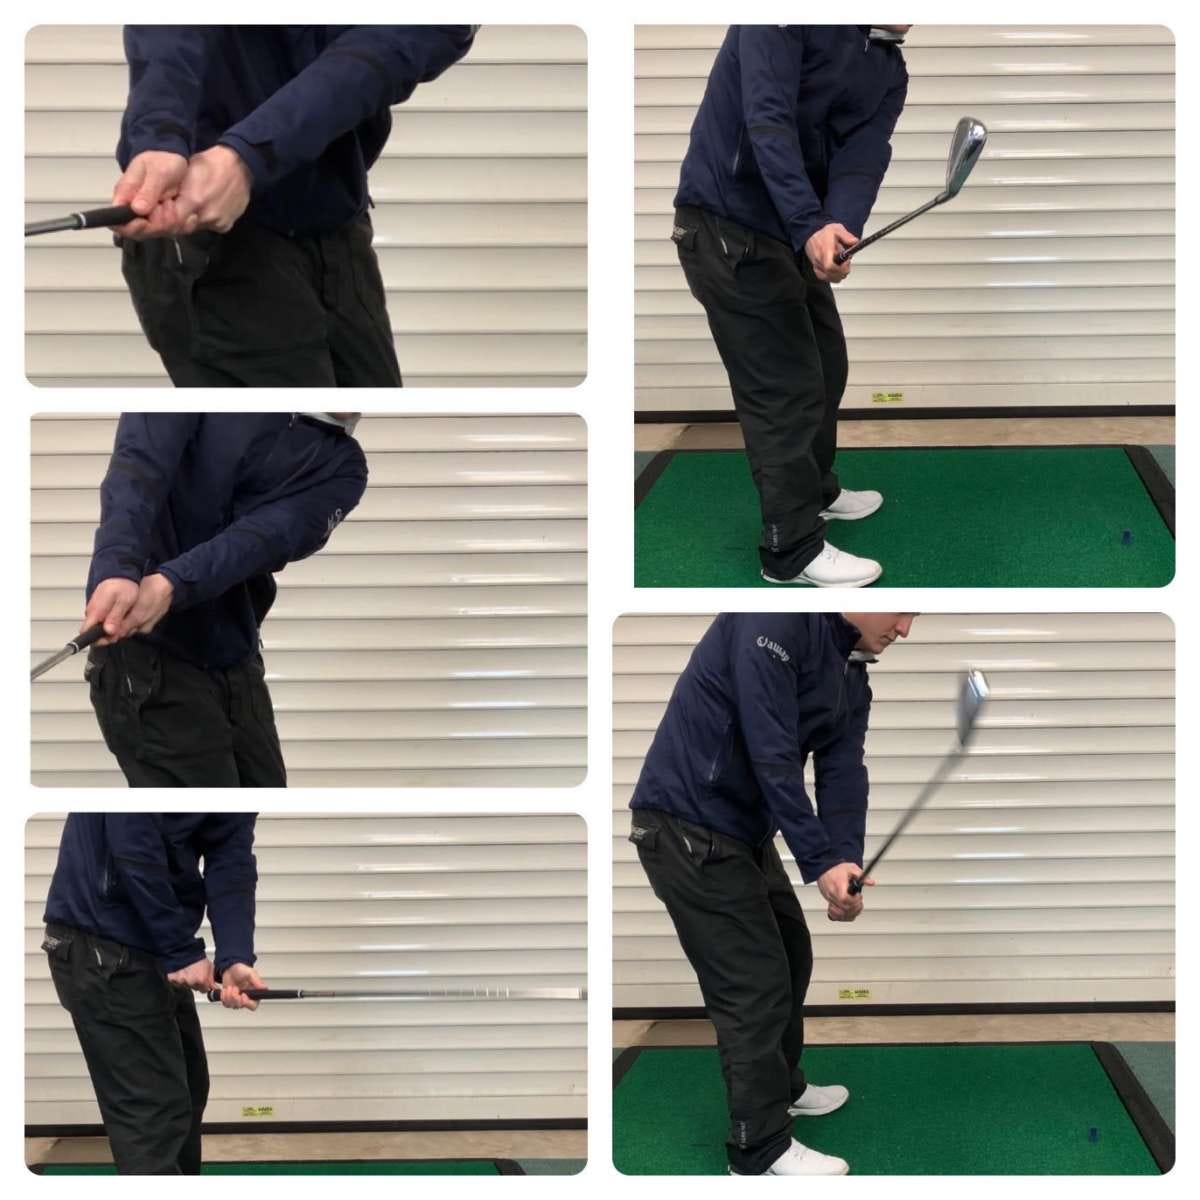
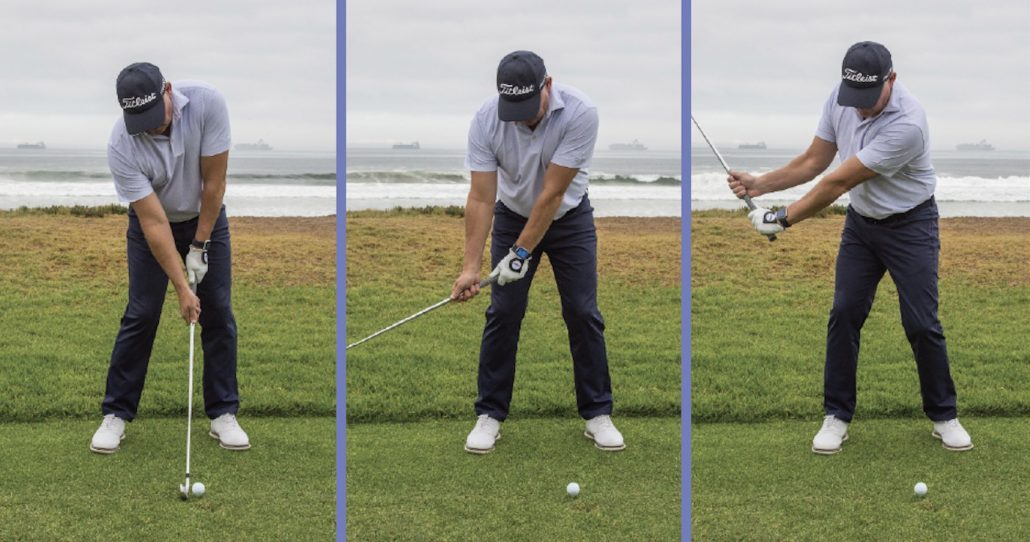
- The Takeaway: Begin your backswing with your big muscles—your shoulders, chest, and core. Keep your arms and wrists relatively quiet as the club moves back until your hands reach roughly hip height.
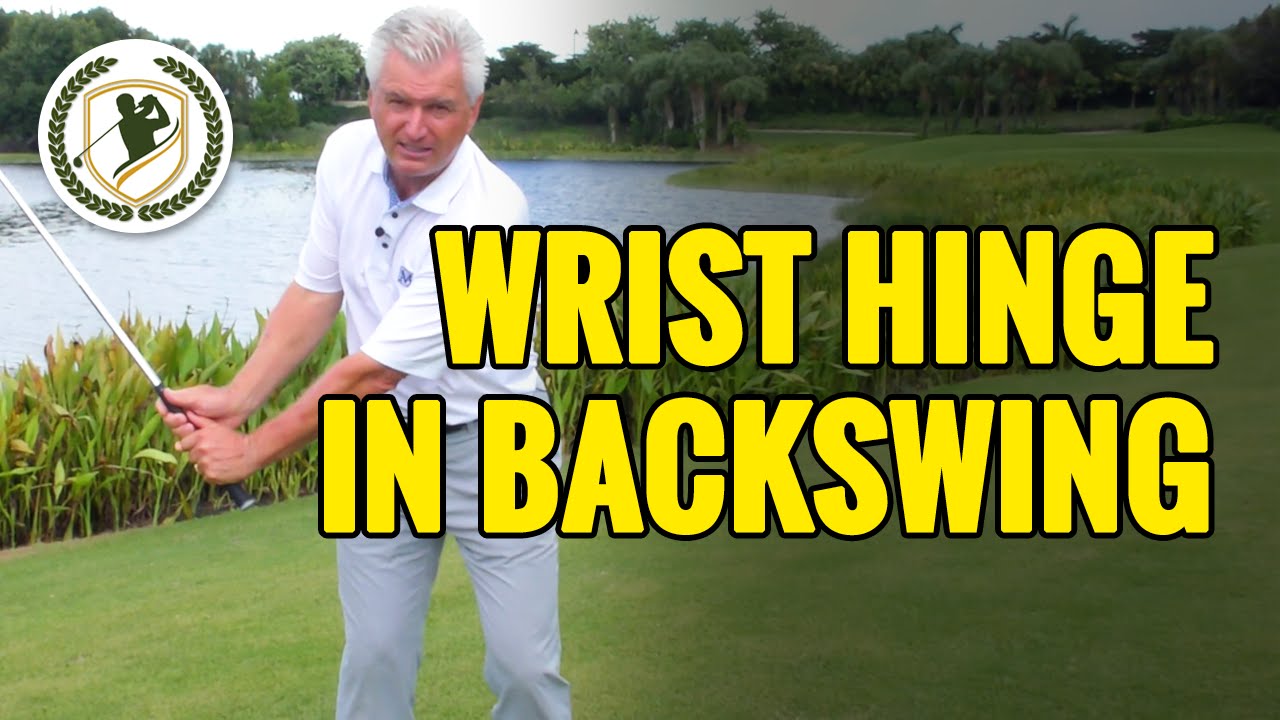
- The Hinge Point: As your hands pass your right thigh (for a right-handed golfer), your wrists should naturally begin to cock upward. By the time your lead arm is parallel to the ground, your wrists should be fully hinged, setting the shaft at roughly a 90-degree angle to your lead arm.
- The Top of the Backswing: From the hip-height hinge position, your body rotation continues to take the club to the top. Your wrists do not need to hinge any further; they simply maintain that angle established earlier in the swing.
Why the Right Wrist Angle Matters
Getting your wrist angles right impacts almost every phase of your swing. When you execute a proper hinge, you create what instructors call "lag." Lag is the retention of the wrist angle during the downswing, which acts like a coiled spring. As you approach the ball, that spring releases explosively, maximizing clubhead speed right at the point of impact.
Furthermore, a correct hinge keeps the clubface square. When golfers lack a proper hinge, the clubface often rotates open or shut prematurely, forcing them to manipulate their hands at impact just to make contact. Mastering this move allows for a more repeatable, athletic swing.
Common Wrist Hinge Mistakes to Avoid
Even experienced players sometimes fall into bad habits regarding their wrist action. Watch out for these three frequent errors:
- The Dead-Wrist Takeaway: Keeping the wrists completely locked throughout the swing. This prevents the club from setting properly, forcing you to lift the club with your arms and shoulders at the top.
- The Early Set: Flicking or lifting the wrists upward immediately at address. This creates a steep, outside-in swing path that often results in ugly slices or heavy shots.
- Rolling the Forearms: Twisting the forearms open inside the target line early in the takeaway. This points the toe of the club toward the sky too soon and destroys your swing plane.
Drills to Perfect Your Wrist Hinge
Feel is a major component of the golf swing. Use these simple drills on the driving range to train your brain and hands to find the correct position automatically.
1. The Hip-High Pause Drill
This drill teaches you the exact moment the hinge should occur.
- Take your normal address position with a mid-iron.
- Slowly take the club back until your hands are at hip height (shaft parallel to the ground).
- Pause completely. Check your position: the shaft should form a 90-degree angle with your lead forearm, and the toe of the club should be pointing slightly forward or up (matching your spine angle).
- From this paused position, complete your swing and hit the ball.
2. The Hammer Drill
To understand the physical sensation of the correct wrist movement, grab a hammer or even your golf club held upside down by the shaft.
- Hold the object out in front of you with your arms extended, simulating your address posture.
- Cock your wrists upward as if you were going to drive a nail into a wall directly to the side of you.
- Notice how the movement is strictly up and down, not a circular twist. Replicate this exact vertical cocking motion during your golf takeaway.
Final Thoughts
Fixing your wrist mechanics takes patience. Because a proper wrist hinge alters your timing and rhythm, your shots might feel a bit unusual at first. Spend a few range sessions focusing exclusively on the hip-high checkpoint and the 90-degree angle between your arm and the club shaft. Once this movement becomes second nature, you will notice higher ball flights, crisper compression, and a noticeable increase in distance without swinging any harder.