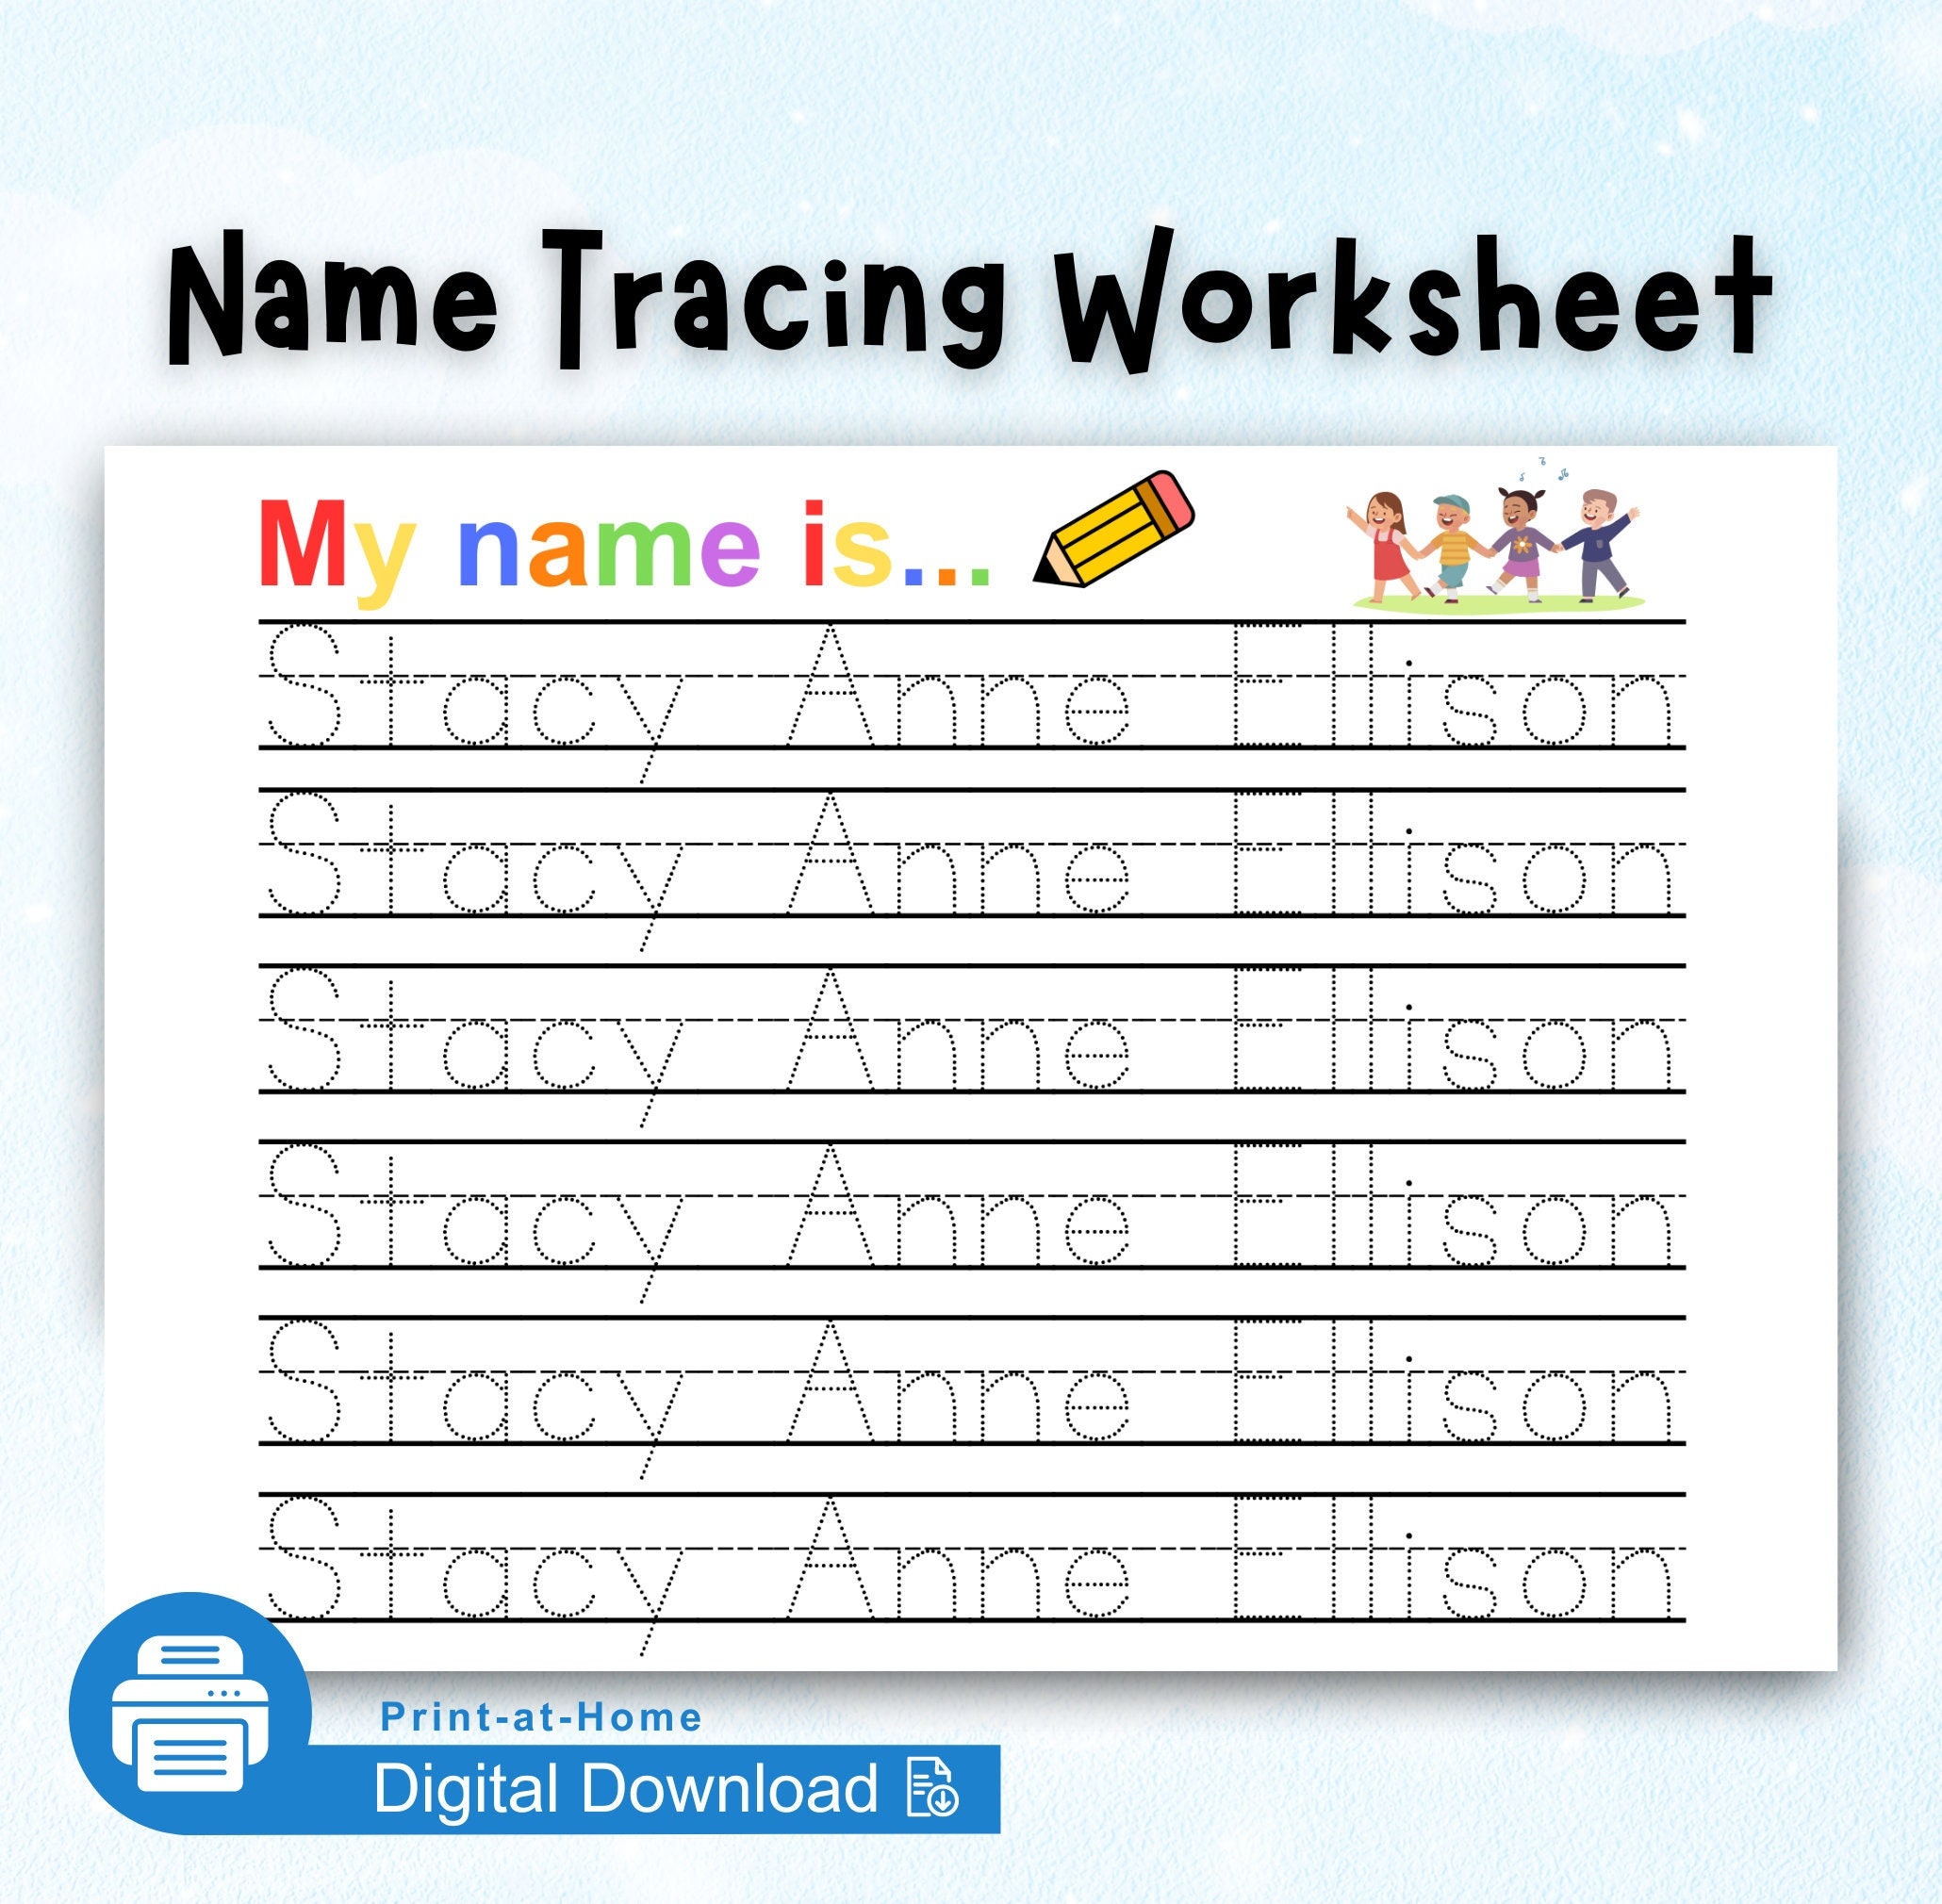
Mastering Trace Your Name Worksheets for Learning
Teaching a child to write their own name is a major milestone in early childhood education. It bridges the gap between abstract squiggles and meaningful literacy, giving kids a powerful sense of identity and accomplishment. Among the many tools available to educators and parents, trace your name worksheets stand out as one of the most effective, accessible, and adaptable resources for building early writing confidence.

Whether you are a kindergarten teacher preparing a classroom or a parent supporting remote learning at the kitchen table, understanding how to maximize these worksheets makes all the difference. This guide explores the developmental benefits, best practices, and creative ways to integrate name tracing into daily routines without causing frustration.
Why Name Tracing is a Crucial Milestone
A child's name is usually the very first word they learn to recognize, spell, and write. It holds personal significance, which naturally drives engagement. Unlike random lists of spelling words, a child's name matters to them.
From a developmental standpoint, working with name tracing sheets offers several distinct advantages:
- Fine Motor Development: Holding a writing utensil and following a specific line requires precise control of the small muscles in the fingers, hands, and wrists.
- Letter Recognition and Sequencing: Children learn the specific shapes, names, and correct order of the letters that make up their unique identity.
- Hand-Eye Coordination: Tracing requires visual input to guide physical output, training the brain to connect what the eyes see with how the hand moves.
- Pencil Grip and Control: Regular practice helps children transition from a crude fist grasp to a more mature tripod grip.
How to Choose or Create the Best Worksheets
Not all tracing sheets are created equal. When selecting or generating practice materials, you need to match the layout to the child's current developmental stage. A sheet that is too advanced can cause burnout, while one that is too simple may lead to boredom.
Font Style and Size
For absolute beginners, look for clean, sans-serif fonts with clear starting dots and directional arrows. The font size should be large—typically taking up a significant portion of a landscape-oriented page. Large letters allow children to use larger arm and shoulder movements before transitioning to smaller finger movements.
Progression from Solid to Dotted Lines
A well-designed worksheet should feature a gradual release of support. Look for templates that follow this progression:
- Top row: Solid letters for visual reference.
- Second row: Thick, highly visible dotted lines for initial tracing.
- Third row: Faint dashed lines that require more independent control.
- Bottom row: Blank primary lines where the child writes their name entirely from memory.
Step-by-Step Guide to Using Trace Your Name Worksheets
Handwriting practice should be a positive experience rather than a chore. Rushing a child through a stack of papers often backfires. Follow this structured approach to get the best results.
1. Establish Proper Ergonomics
Before putting pencil to paper, check the child's posture. Their feet should be flat on the floor, and the table should sit at roughly elbow height. Ensure the paper is slightly tilted at a natural angle depending on whether the child is left- or right-handed.

2. Model the Strokes First
Never hand a worksheet to a child without demonstrating how to complete it. Sit beside them and write their name slowly on a separate piece of paper. Verbalize your movements: "Start at the top, pull straight down, jump back up to the top, and make a curve."
3. Focus on Quality Over Quantity
Limit practice sessions to 5 to 10 minutes maximum. Young children experience hand fatigue quickly. It is far better for a child to complete two lines of careful, focused tracing than an entire page of rushed, sloppy scribbles.
Creative Ways to Keep Practice Engaging
If your child resists traditional pencil-and-paper tasks, you can easily gamify the tracing process to maintain their interest. Sensory integration and colorful tools can transform a mundane exercise into a fun activity.
- Laminate for Dry-Erase Fun: Slide the worksheet into a plastic dry-erase sleeve. Kids love using colorful markers, and the ability to wipe away mistakes removes the fear of failure.
- Finger Tracing in Sensory Trays: Before using a pencil, have the child trace the letters of their name with their index finger in a tray filled with salt, sand, or colored rice.
- Q-Tip Painting: Give the child a cotton swab and washable paint. Have them dot along the tracing lines to form the letters of their name.
- Sticker Tracking: Let the child place small star stickers along the dotted lines of their name to build hand strength and precision.
Troubleshooting Common Handwriting Challenges
Every child develops at their own pace, but you may encounter a few common hurdles along the way. Knowing how to address them keeps progress moving forward.
Reversed Letters
Letter reversals (such as writing 'J' or 'S' backward) are entirely normal in preschool and early kindergarten. Do not scold or over-correct. Instead, gently point out the starting dot and use directional cues like "left" and "right" to reinforce muscle memory.
Hand Fatigue and Gripping Issues
If the child complains of hand pain or grips the pencil too tightly, check their writing tool. Standard pencils can be heavy and difficult for small fingers. Try switching to shorter golf pencils, triangular crayons, or adding a soft pencil grip to encourage relaxed finger placement.
Final Thoughts
Mastering handwriting is a journey that requires patience, consistency, and the right tools. By incorporating well-designed trace your name worksheets into your daily routine, you provide children with a sturdy foundation for future academic success. Keep sessions short, celebrate small victories, and watch their confidence grow one letter at a time.