Menards Snow Fence Guide: Types, Uses & Installation
Menards Snow Fence Guide: Types, Uses & Installation

Winter brings beautiful scenery, but it also brings heavy snowfall and frustrating winds that create massive snowdrifts. If you are tired of spending hours shoveling or snowblowing packed drifts off your driveway, a reliable barrier is essential. When shopping for winter storm preparedness products, a menards snow fence is a popular choice for homeowners, contractors, and farmers looking for durability and value.
Installing a properly placed barrier can dramatically change how wind and snow interact with your property. By capturing blowing snow before it reaches your driveway, walkways, or livestock areas, you save time, fuel, and physical labor. Here is a complete look at the options available at Menards, how to choose the right materials, and best practices for setting up your winter defense system.
Understanding the Purpose of a Snow Fence
Many people assume a snow barrier acts like a solid wall, physically blocking the snow from moving forward. In reality, modern fencing works by changing wind aerodynamics.
When strong winter winds carry loose snow across an open field or yard, hitting a semi-permeable barrier slows the wind speed down. As the wind decelerates, it loses its kinetic energy and drops the suspended snow particles on the leeward (downwind) side of the fence. This creates a neat snowdrift right where you want it—safely away from your garage, livestock pens, or pathways.
Types of Snow Fencing Available at Menards
Depending on your budget, aesthetic preferences, and the severity of your local winters, Menards carries several types of fencing materials suitable for winter management.
1. Plastic Polyethylene Snow Fences
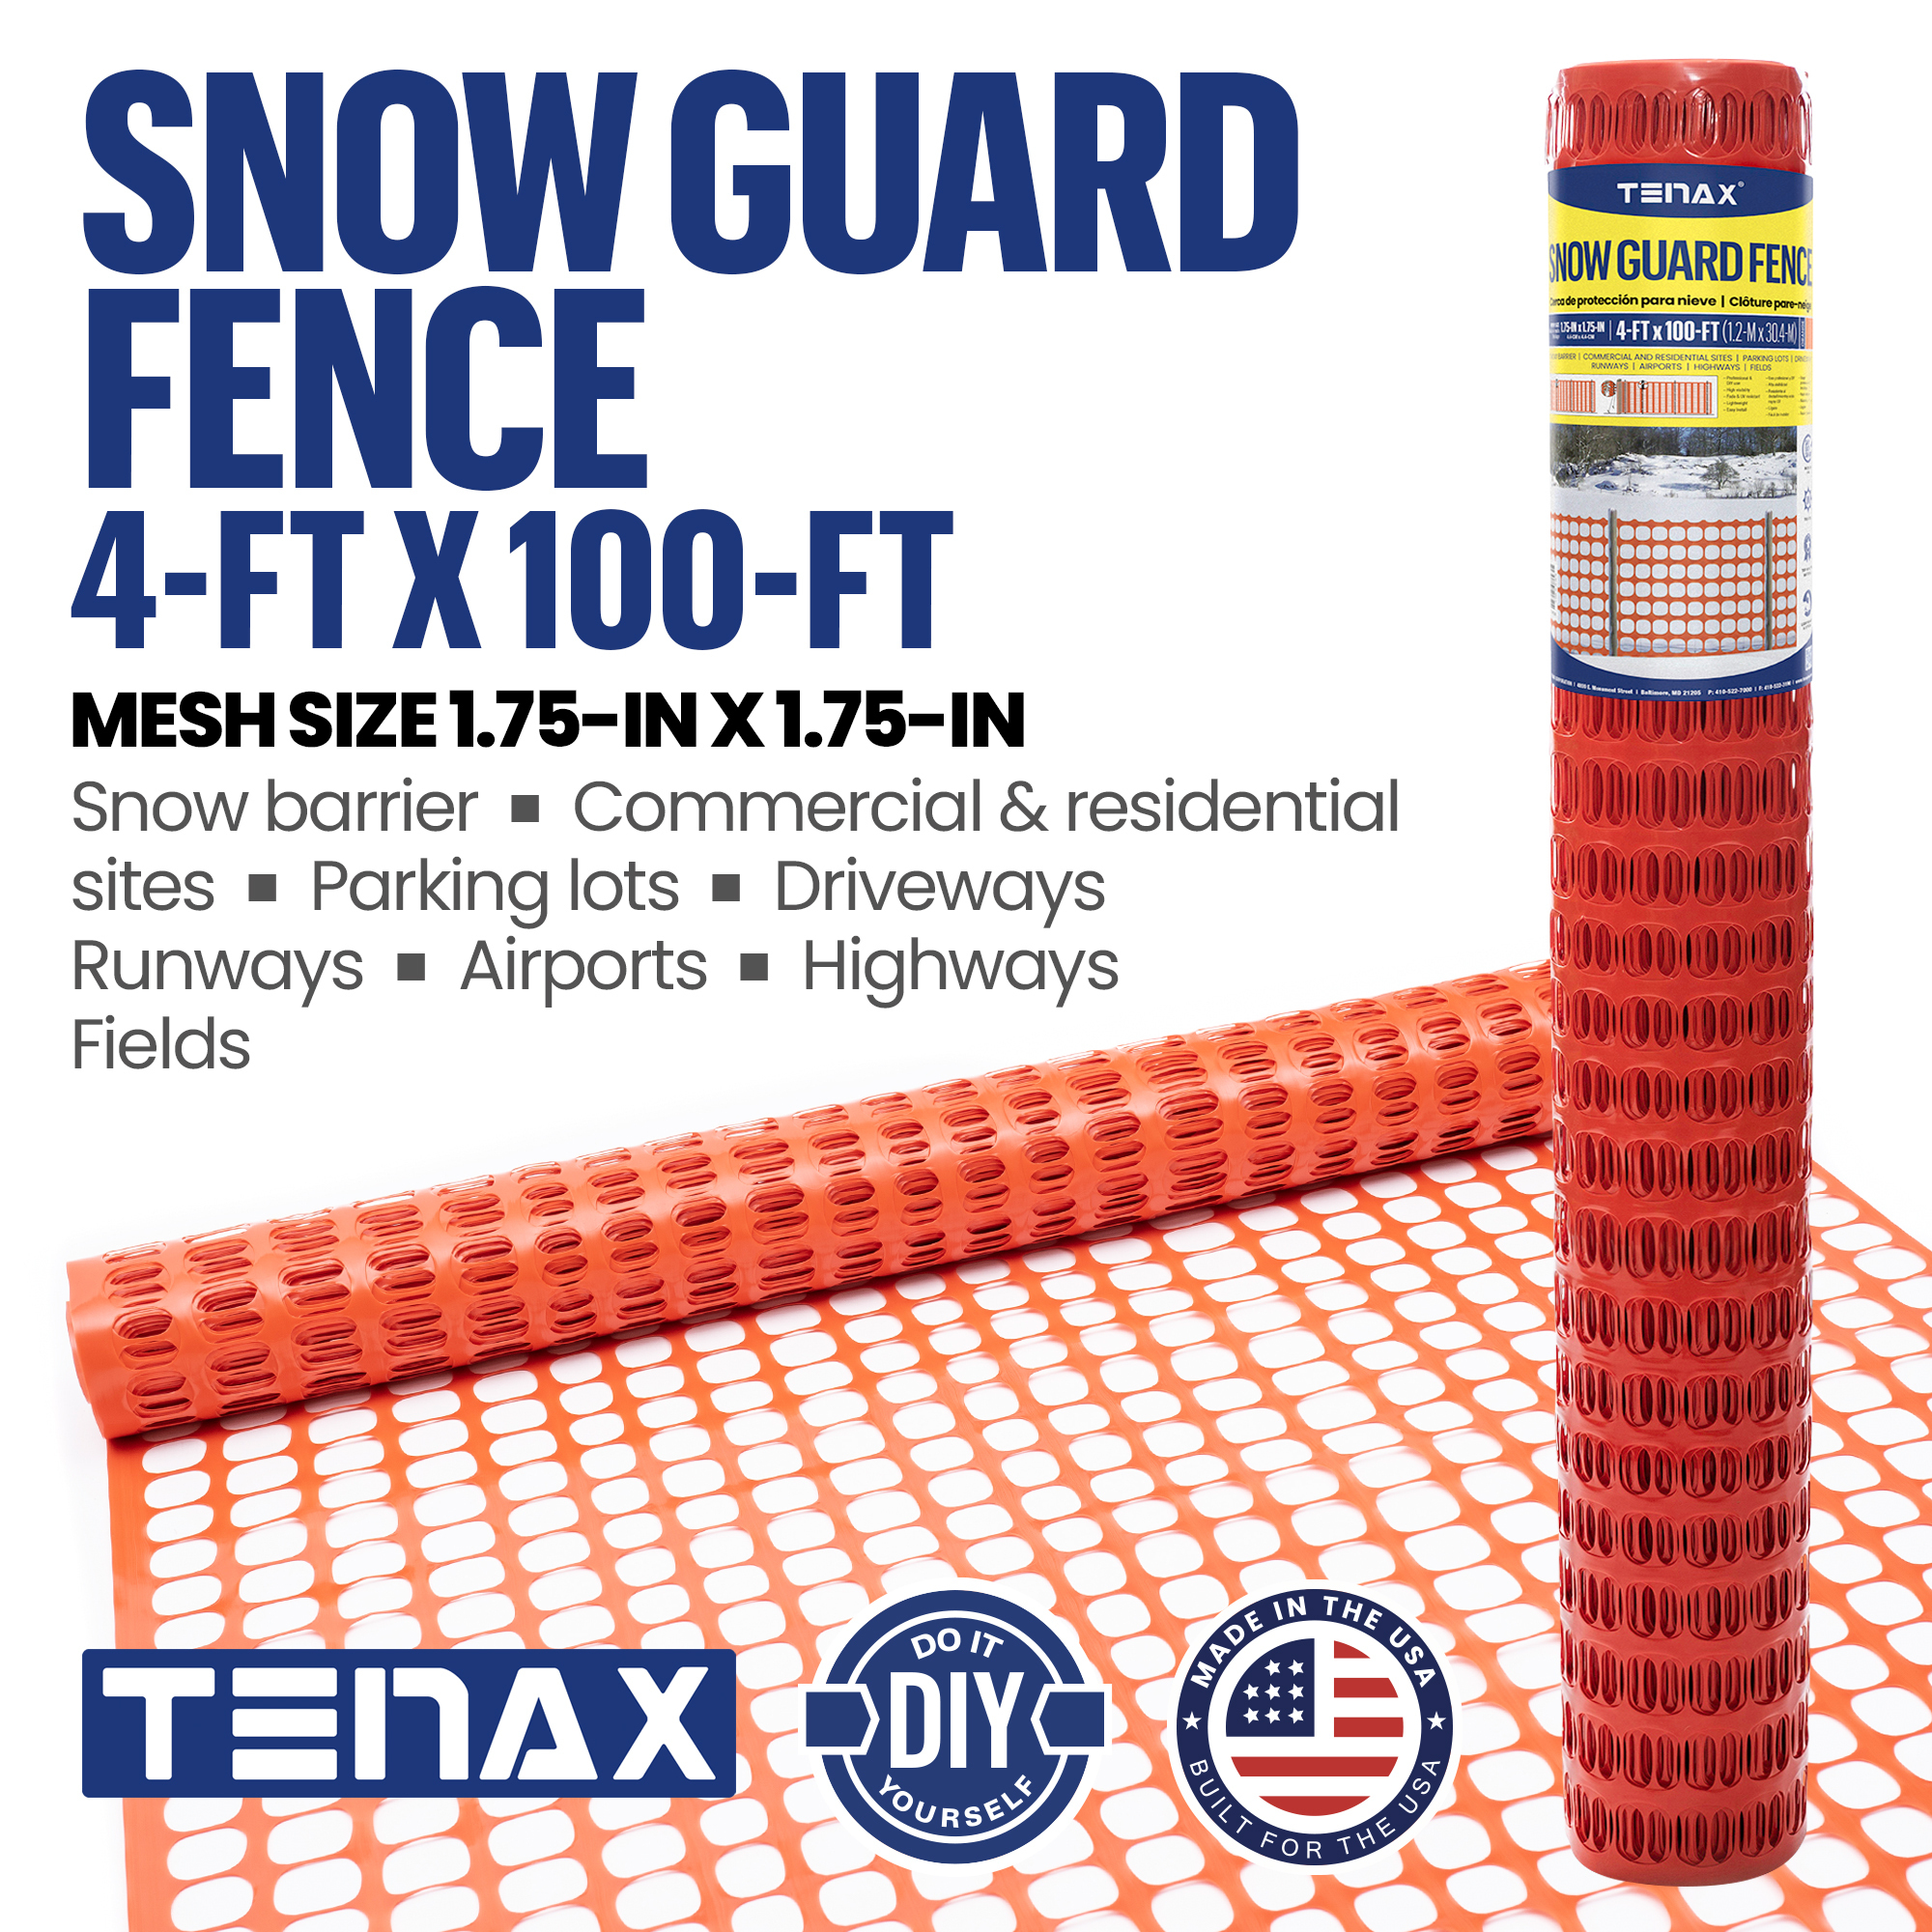
Polyethylene is the most common material found at home improvement centers. These fences are lightweight, brightly colored (usually orange or black), and incredibly easy to handle.
- Durability: High-density polyethylene (HDPE) resists UV rays, moisture, and freezing temperatures without cracking.
- Portability: They can be rolled up at the end of winter and stored compactly in a shed or garage.
- Multi-Use: Aside from controlling winter drifts, bright orange plastic variants double as construction safety fences or hazard warnings.
2. Wood Slat and Wire Fences
For a more traditional approach, many property owners opt for wood slat snow fencing, often made from interwoven wooden pickets held together by galvanized wire strands.
- Aesthetics: Wood blends into rural environments much better than bright orange plastic.
- Weight: These rolls are considerably heavier and require sturdier support posts.
- Longevity: While treated wood lasts several seasons, it can eventually rot or break if left exposed to damp ground conditions year-round.
Key Features to Evaluate Before Buying

Before heading to your local store or ordering online, consider these important product specifications:
- Height: Standard rolls usually measure 4 feet tall, which is the industry standard for managing typical residential snowfall. Taller options may be available for heavy-drift regions.
- Length: Rolls typically come in 50-foot or 100-foot increments. Measure your perimeter beforehand to calculate how many rolls you need.
- Mesh Design: Look for oval or rectangular mesh openings. The spacing is specifically engineered to provide the ideal 50% porosity ratio needed to drop snow effectively.
Step-by-Step Installation Guide
Putting up a seasonal barrier is a straightforward DIY project that requires basic tools and a bit of planning. Follow these steps to ensure your setup withstands heavy winter gusts.
Step 1: Strategic Placement
Placement is everything. Do not install the barrier right next to the area you want to protect.
- Position the fence upwind from the driveway or structure, typically from the direction of your prevailing winter winds (often northwest in North America).
- Place the barrier a distance equal to roughly 10 to 15 times the height of the fence away from the area you want to keep clear. For a 4-foot fence, this means setting it 40 to 60 feet upwind.
Step 2: Setting the Posts
You will need sturdy support posts to keep the material taut against howling winds.
- Use heavy-duty U-channel steel T-posts or wooden stakes.
- Drive the posts into the ground every 8 to 10 feet along your planned line. Ensure they go at least 1 to 2 feet deep so they do not pull out under pressure.
Step 3: Mounting the Fence
Unroll the material along the outside of the posts (the side facing the wind, so the wind pushes the fence against the posts rather than pulling it away).
- Secure the top, middle, and bottom of the fence to each post using heavy-duty zip ties, wire ties, or specialized clips.
- Keep the bottom edge of the fence roughly 2 to 6 inches off the ground. If it sits flat on the dirt, ground-level drifting can bury it instantly, reducing its overall effectiveness.
Maintenance and Storage Tips
To get multiple seasons of use out of your investment, take proper care of your materials when winter ends.
- Inspect for Damage: Check for tears in plastic mesh or snapped wires on wood slat rolls before taking them down.
- Clean and Dry: Brush off dirt, mud, and ice. If you live in an area with high road salt usage, a quick rinse with a garden hose can prevent premature hardware corrosion.
- Proper Storage: Roll the fencing tightly and store it indoors out of direct sunlight. Extended exposure to summer UV rays can degrade plastic polymers over time, making them brittle for the following year.
Conclusion
Investing in a winter barrier is one of the smartest ways to reduce cold-weather chores and protect your property from hazardous snowdrifts. By selecting the right materials from Menards and installing them with proper spacing and technique, you can keep your driveways clear and your winter manageable. Plan ahead, measure your space, and set up your perimeter before the first major blizzard strikes.