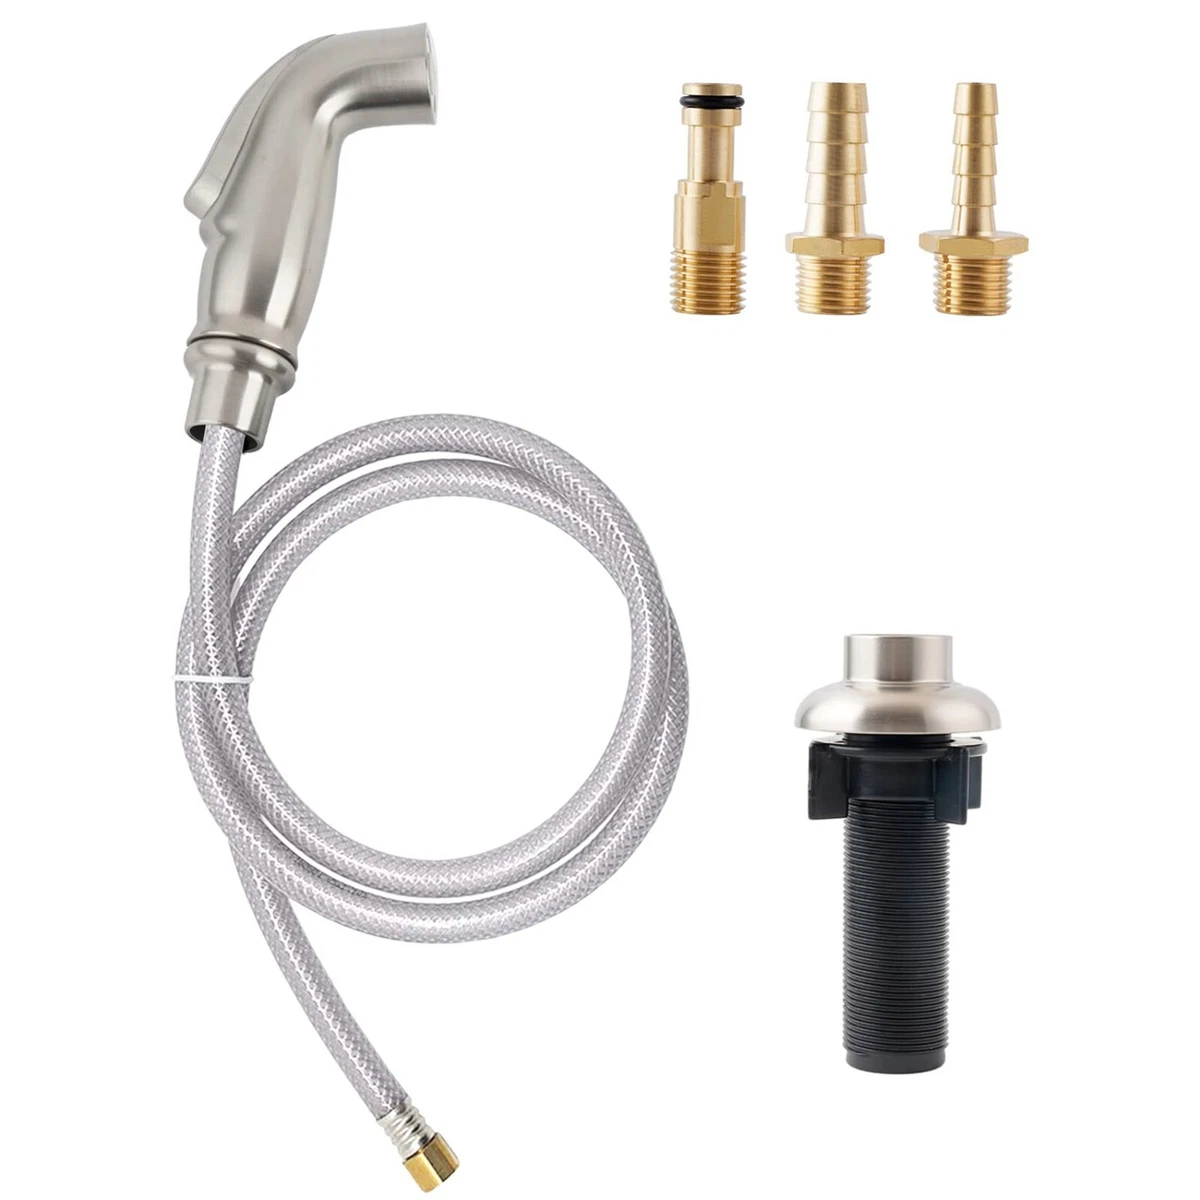
Moen Sprayer Hose Replacement: Step-by-Step Guide
A leaking kitchen faucet hose can quietly cause hundreds of dollars in water damage before you even realize there is a problem. If you notice water pooling under your sink, damp supply lines, or reduced water pressure at the spray head, a worn-out hose is almost always the culprit. Fortunately, completing a moen sprayer hose replacement is one of the easiest plumbing repairs a homeowner can tackle, usually requiring less than 30 minutes and only a few basic tools.

Moen faucets are designed with modular fittings that make hose swapping fast and tool-free at the connection point. This guide covers how to identify your connection type, select the right part, and replace the hose safely from start to finish.
Identifying Your Moen Hose Connection Type
Before purchasing a replacement hose, you need to determine which generation of Moen connector your faucet uses. Moen has used three primary connection systems over the years:
- Duralock Quick-Connect (Current Standard): Found on most Moen faucets manufactured after 2012. It features a black plastic housing with a white release button. You simply depress the button to release the hose.
- Hydrolock Quick-Connect (Older Generation): Used widely between 2001 and 2011. It features a black plastic clip with white tabs or wings on either side that must be spread or squeezed to release.
- Threaded Brass Connection: Found on vintage Moen models. The hose screws directly into a brass receiver under the sink and requires an adjustable wrench to loosen.
In addition to the connection mechanism, note whether you have a pull-down faucet (the spout arches high and points downward), a pull-out faucet (the spout pulls forward horizontally), or a dedicated side sprayer. Pull-down models generally use part #150259, while pull-out faucets typically use part #159560. Check your faucet model number or take a quick photo of the underside connector before ordering.
Tools and Materials Needed
Gather the following supplies before beginning the repair:
- Genuine Moen replacement hose kit (includes O-rings and washers)
- Adjustable wrench or channel-lock pliers
- Small bucket or shallow basin
- Old towels or rags
- Flashlight or headlamp
- Phillips-head screwdriver (if your hose weight uses screws)
Step-by-Step Moen Sprayer Hose Replacement
1. Clear the Cabinet and Shut Off the Water
Empty the cabinet under the sink to give yourself plenty of working room. Locate the hot and cold water shutoff valves against the back wall and turn both clockwise until hand-tight. Turn on the faucet handle above the sink to relieve residual pressure and confirm the water supply is fully isolated.
2. Detach the Hose Weight
Crawl under the sink and locate the lead or cast-iron weight clamped around the hose loop. This weight counterbalances the spray head so it retracts cleanly into the faucet spout.
Depending on your model, the weight will either have a snap-together plastic latch or two screws securing it together. Unclip the latch or remove the screws, detach the weight from the hose, and set it aside.
3. Disconnect the Quick-Connect Fitting
Place your small bucket directly beneath the connection point to catch any water trapped inside the hose line.
- For Duralock connectors: Press and hold the white button firmly with your thumb and pull the hose end downward out of the faucet output tube.
- For Hydrolock connectors: Squeeze or unclip the white tabs on the collar while pulling down on the hose fitting.
- For threaded fittings: Hold the faucet body pipe with one wrench to prevent twisting, then use a second wrench to turn the hose nut counterclockwise.
4. Remove the Spray Wand
Go above the sink, pull the wand out from the spout neck, and unscrew the spray head from the hose fitting by turning it counterclockwise. Check the screen washer inside the wand for sediment or mineral build-up; rinse it clean under a separate faucet if necessary. Keep the spray wand safe on the countertop.

5. Pull the Old Hose Out
Return to the underside of the sink and guide the disconnected quick-connect end upward past the cabinet plumbing. Go back above the sink and gently pull the entire hose up through the faucet spout. If it snags, check beneath the sink to ensure the connector isn't catching on supply lines or shutoff valve stems.
6. Route and Connect the New Hose
Take your new Moen replacement hose and feed the small quick-connect end down through the faucet spout opening until it extends underneath the sink. Move beneath the cabinet to complete the connection.
If your kit includes a protective plastic shipping cap over the quick-connect plug, remove it. Push the hose terminal directly into the Moen output receiver until you hear an audible click. Gently tug downward on the connection to confirm it has locked securely in place.
7. Reattach the Spray Head
Above the sink, place the rubber washer into the threaded end of the spray head. Thread the spray head onto the hose collar hand-tight. Avoid using heavy pliers here, as overtightening can crack plastic threads or distort the seal.
8. Reinstall the Hose Weight
Attach the counterweight onto the hose loop under the sink. Position the weight on the "up-leg" of the loop—the section that travels up to the spray head—approximately 2 to 3 inches above the bottom curve of the loop. This positioning gives the hose maximum travel without letting the weight hit the cabinet floor.
9. Flush the Line and Check for Leaks
Before putting everything away, test the system:
- Turn both water shutoff valves back on counterclockwise.
- Inspect the quick-connect fitting beneath the sink with a flashlight while the line is pressurized.
- Turn on the faucet handle and activate both the stream and spray modes on the wand.
- Check under the sink again while water is running through the hose. Run a dry paper towel along the length of the connection; any moisture will show up immediately.
Troubleshooting Common Issues
The hose won't retract smoothly: The hose is likely catching on shutoff valves, drain pipes, or stored items inside the cabinet. Recheck the weight placement. If the weight rests on the bottom of the cabinet when the wand is seated, move it higher up the line.
Low water pressure after installation: Turn off the water, unscrew the spray wand, and inspect the inlet screen. Loose debris or mineral flakes dislodged during installation often collect at this screen. Rinse it thoroughly and reattach.
Dripping from the quick-connect joint: Detach the connector and check the internal rubber O-ring. A pinched, nicked, or unseated O-ring will prevent a watertight seal. Ensure the connector clicks fully into place upon reinsertion.
A Note on Moen's Lifetime Warranty
Before purchasing an aftermarket replacement online, keep in mind that Moen offers a Limited Lifetime Warranty to the original homeowner. If your hose is leaking due to normal wear and tear, you can contact Moen customer support directly at 1-800-BUY-MOEN or through their website. In many cases, they will ship you an OEM replacement hose free of charge, ensuring you receive the exact connector design your specific faucet requires.