Peloton Seat Slider Replacement: Step-by-Step Guide
Over time, the repetitive motion and weight shifts during high-intensity rides can take a toll on your indoor exercise bike. If your saddle feels loose, wobbles from side to side, or refuses to adjust smoothly along the horizontal axis, you may need a peloton seat slider replacement. Addressing this issue promptly ensures safety, prevents further damage to the frame, and restores the comfortable riding posture you need to crush your fitness goals.
Whether your bike is out of warranty or you prefer handling repairs yourself, replacing the seat slider is a straightforward mechanical fix. This guide walks you through diagnosing the issue, gathering the right tools, and executing the replacement safely.
Signs You Need a New Peloton Seat Slider
Before ordering replacement parts, it helps to confirm that the slider itself is the root cause of the problem. A faulty mechanism usually exhibits a few distinct symptoms:
- Excessive Wobble: Even when the adjustment knob is tightened securely, the seat rocks horizontally or vertically.
- Stuck Adjustment: The saddle refuses to slide forward or backward, or the pin fails to lock into the pre-drilled adjustment holes.
- Visible Damage: Inspection reveals cracks in the plastic housing, stripped threading inside the adjustment channel, or severe scoring on the metal rail.
If simple tightening of the hardware does not resolve these symptoms, ordering an official Peloton seat slider replacement part is your best course of action.
Tools Needed for the Repair
Having the correct equipment on hand makes the repair process efficient and prevents stripping bolts. Gather the following items before you begin:
- Replacement Peloton seat slider assembly (ensure you order the correct version for either the original Peloton Bike or Bike+)
- Metric Allen wrench (hex key) set
- Socket wrench set (if applicable to your specific bike model's hardware)
- Clean microfiber towel
- Light multi-purpose grease or bicycle lubricant
Step-by-Step Peloton Seat Slider Replacement Guide
Work in a clean, well-lit space. Take your time, and keep track of all removed washers and bolts so reassembly goes smoothly.
Step 1: Remove the Saddle
To access the slider and reduce weight overhead, take off the saddle first.
- Loosen the nuts underneath the saddle using your wrench or hex key.
- Tilt the saddle slightly to release the tension from the clamp.
- Lift the saddle off the top of the slider post and set it aside in a safe spot.
Step 2: Remove the Old Seat Slider

Now that the saddle is out of the way, you can focus on the horizontal rail mechanism.
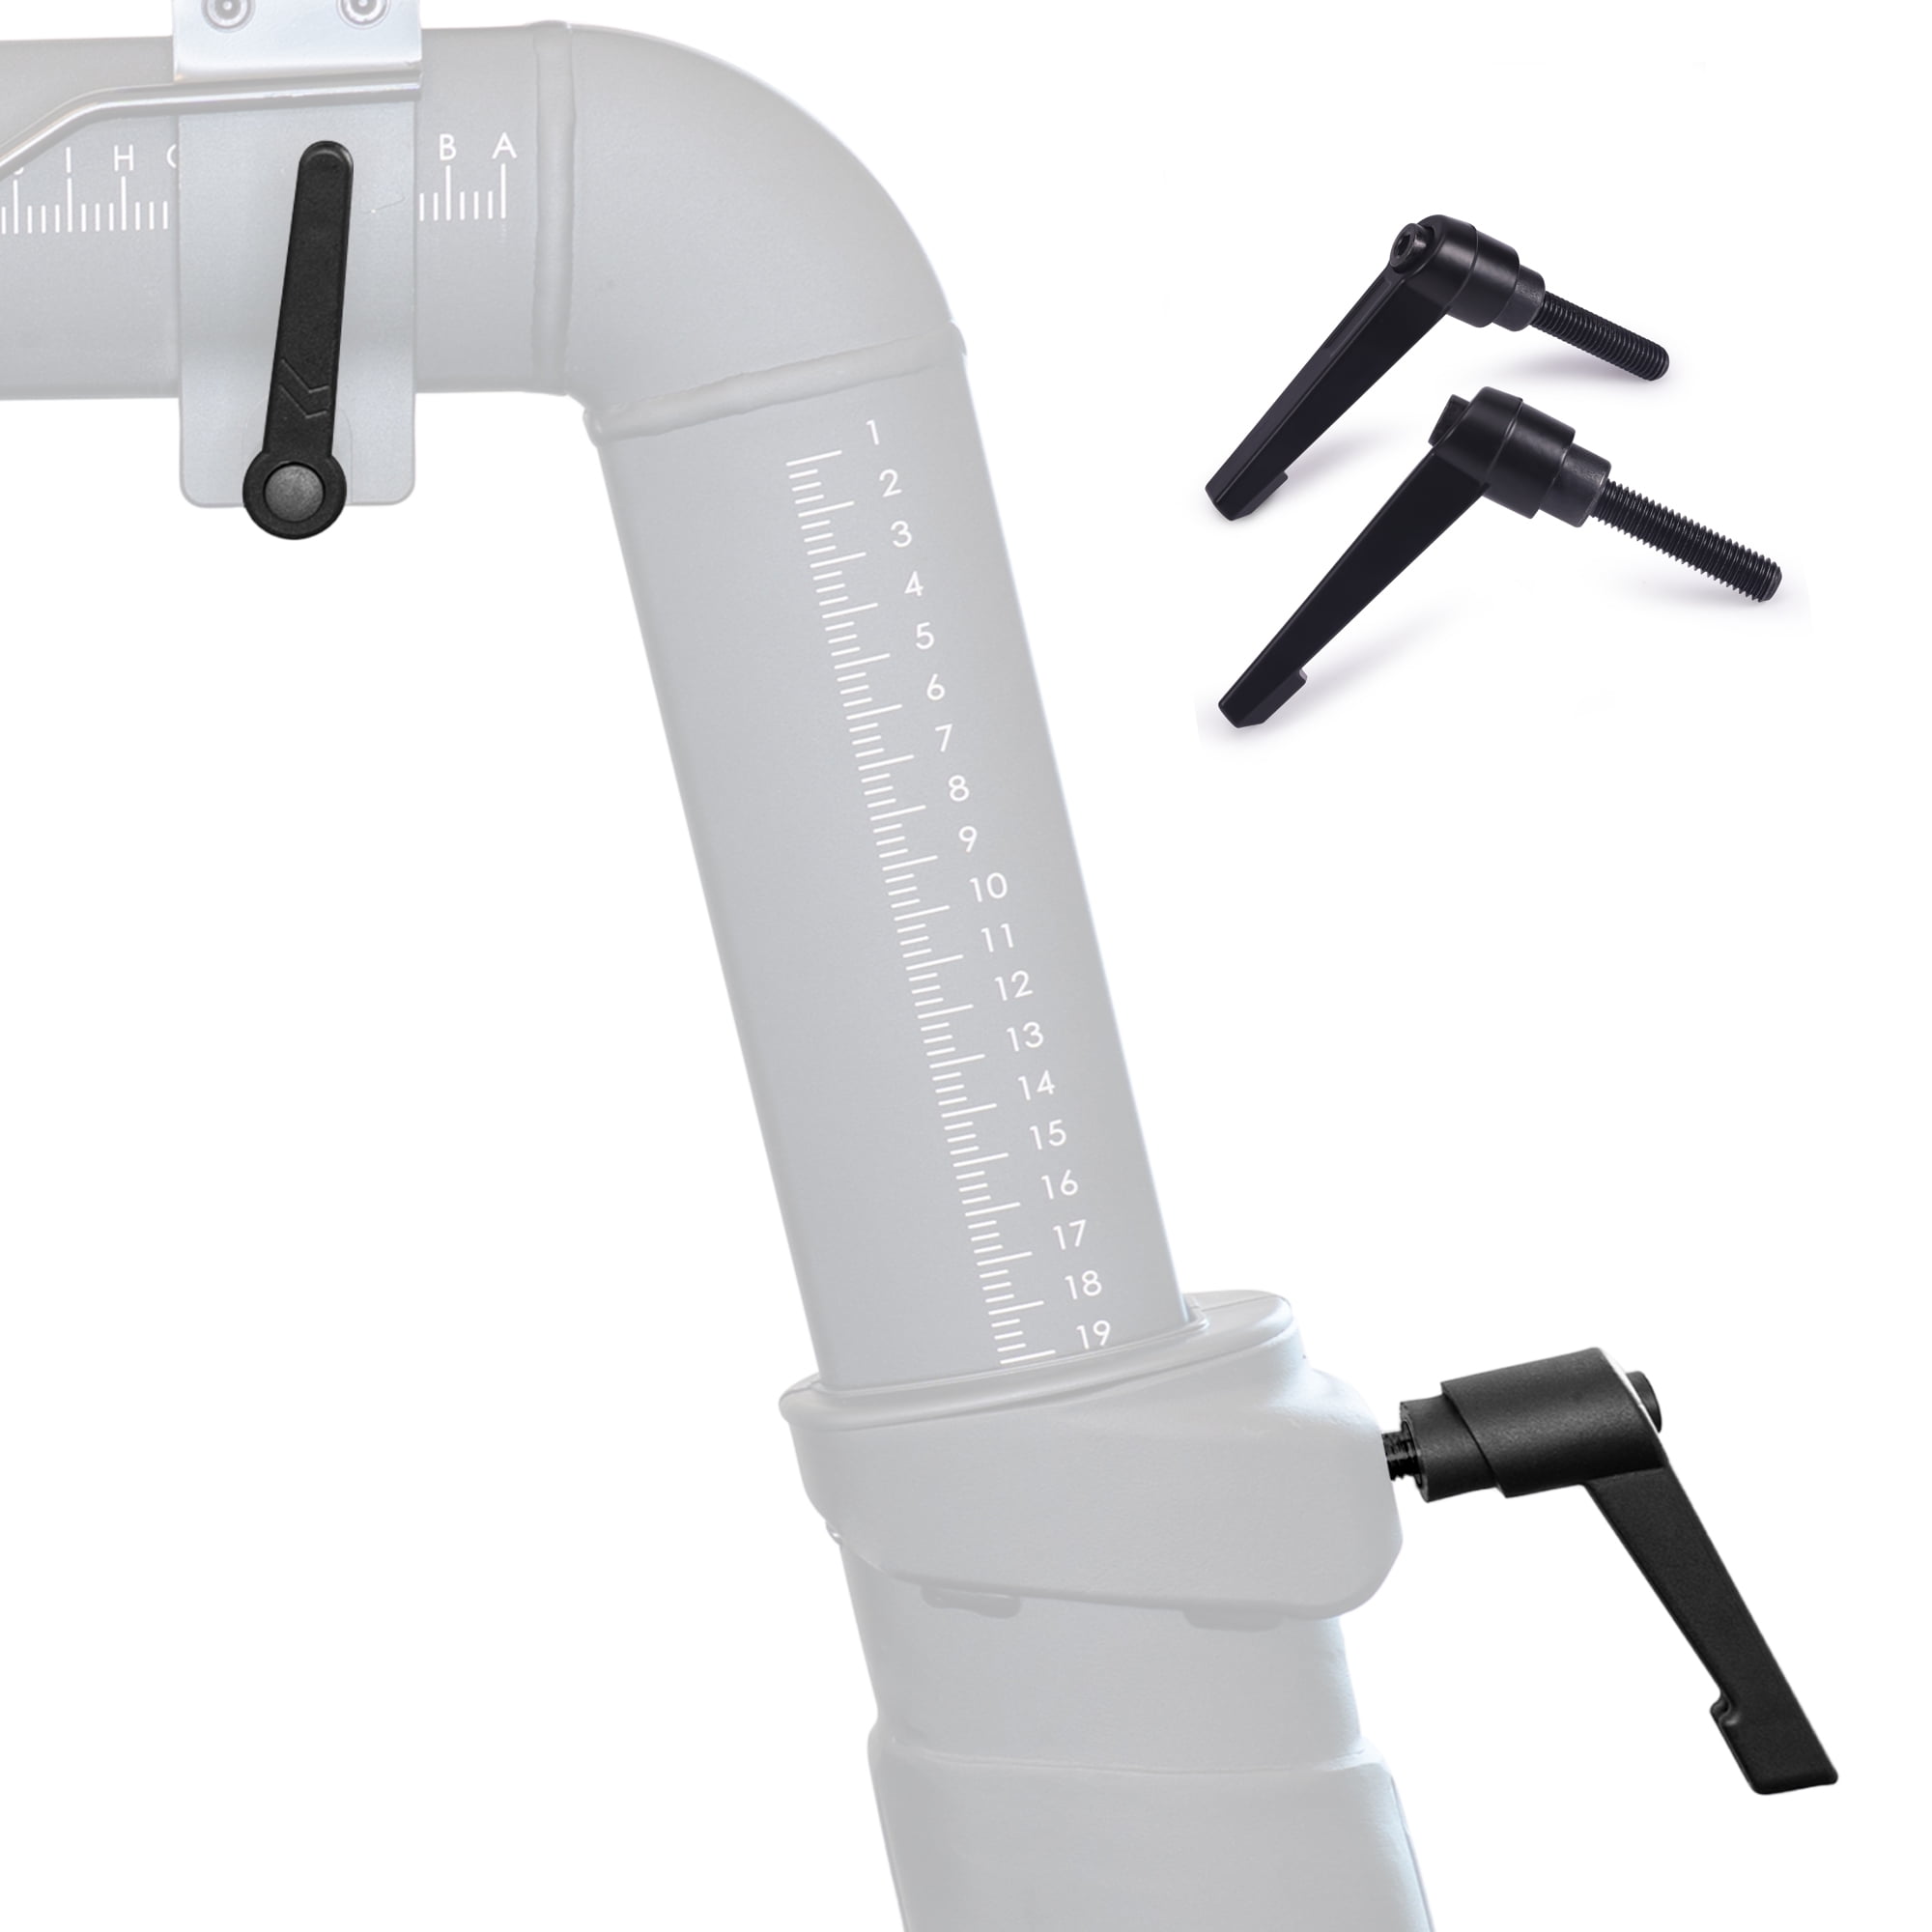
- Locate the pop-pin adjustment knob on the side of the seat post. Unscrew it completely and pull it out to disengage the locking mechanism.
- Slide the old slider assembly all the way forward until it reaches the end of the track.
- Depending on your bike model, locate the end-stop screw or safety bumper at the end of the rail. Remove this screw using an Allen wrench.
- Carefully slide the old seat slider completely off the main vertical seat post assembly.
Step 3: Clean and Inspect the Track
With the old part removed, take a moment to clean the internal channel of the vertical post assembly.
Use your microfiber cloth to wipe away any accumulated dust, old grease, or metal debris. Inspect the metal track for any deep scratches or burrs that might obstruct the new slider. A clean track ensures smooth adjustments and extends the lifespan of your replacement part.
Step 4: Install the New Seat Slider
Preparing the new part correctly will ensure a secure fit and quiet operation during your next climb or interval ride.
- Apply a thin layer of bicycle grease or multi-purpose lubricant along the metal contact points of the new slider. This prevents squeaking and reduces friction.
- Align the new slider with the top track of the vertical seat post.
- Slide the assembly carefully onto the rail, ensuring it moves evenly without binding.
- Reinstall the end-stop screw or safety bumper at the end of the track and tighten it securely.
- Reinsert and tighten the pop-pin adjustment knob, testing that it clicks securely into the adjustment holes along the slider.
Step 5: Reattach the Saddle
The final mechanical step is mounting your seat back onto the new hardware.
- Place the saddle rails onto the top clamp of the new slider.
- Adjust the tilt of the saddle so it sits completely level (or to your preferred riding angle).
- Tighten the clamp nuts evenly to lock the saddle in place. Give the nose of the saddle a firm push to ensure it does not tilt or slip under pressure.
Testing Your Work
Before clipping into your pedals for a live or on-demand class, perform a thorough safety check:
- Attempt to slide the seat forward and backward while the knob is pulled, verifying smooth travel.
- Release the knob and try to push the seat without pulling the pin to confirm it locks firmly into place.
- Grip the saddle firmly and attempt to twist or rock it. There should be no play or excessive movement.
Taking care of a peloton seat slider replacement at home saves you time and service fees while keeping your home gym fully operational.