Protect Your Home From Carpenter Bees With A Trap
If you have ever noticed perfectly round, dime-sized holes drilled neatly into your wooden siding, deck, or porch eaves, you likely have a carpenter bee infestation. Unlike termites, these large, buzzing insects do not actually eat wood. Instead, female carpenter bees tunnel into unpainted, weathered timber to create safe galleries for their eggs. Over time, this repetitive boring compromises the structural integrity of your home and attracts hungry woodpeckers.

While chemical sprays and insecticides offer temporary relief, they require constant reapplication and pose risks to beneficial pollinators. Fortunately, homeowners have a much smarter, passive solution at their disposal. The most reliable and eco-friendly way to solve this issue is to protect your home from carpenter bees with a trap.
Understanding the Enemy: Carpenter Bee Behavior
To use traps effectively, you first need to understand the habits of these solitary bees. Unlike honeybees or yellowjackets, carpenter bees do not live in massive colonies with a queen. Instead, they nest individually or in small family units. Spring is when activity peaks. Emerging adults seek out untreated wood to mate and excavate new tunnels or expand old ones.
Male carpenter bees are famously aggressive, buzzing around your head if you get too close to their nesting sites. However, males are completely harmless because they lack stingers. Females do possess stingers, but they are docile and rarely sting unless directly handled. Your primary concern isn't personal safety; it is the structural damage they inflict on your property.
How Carpenter Bee Traps Work
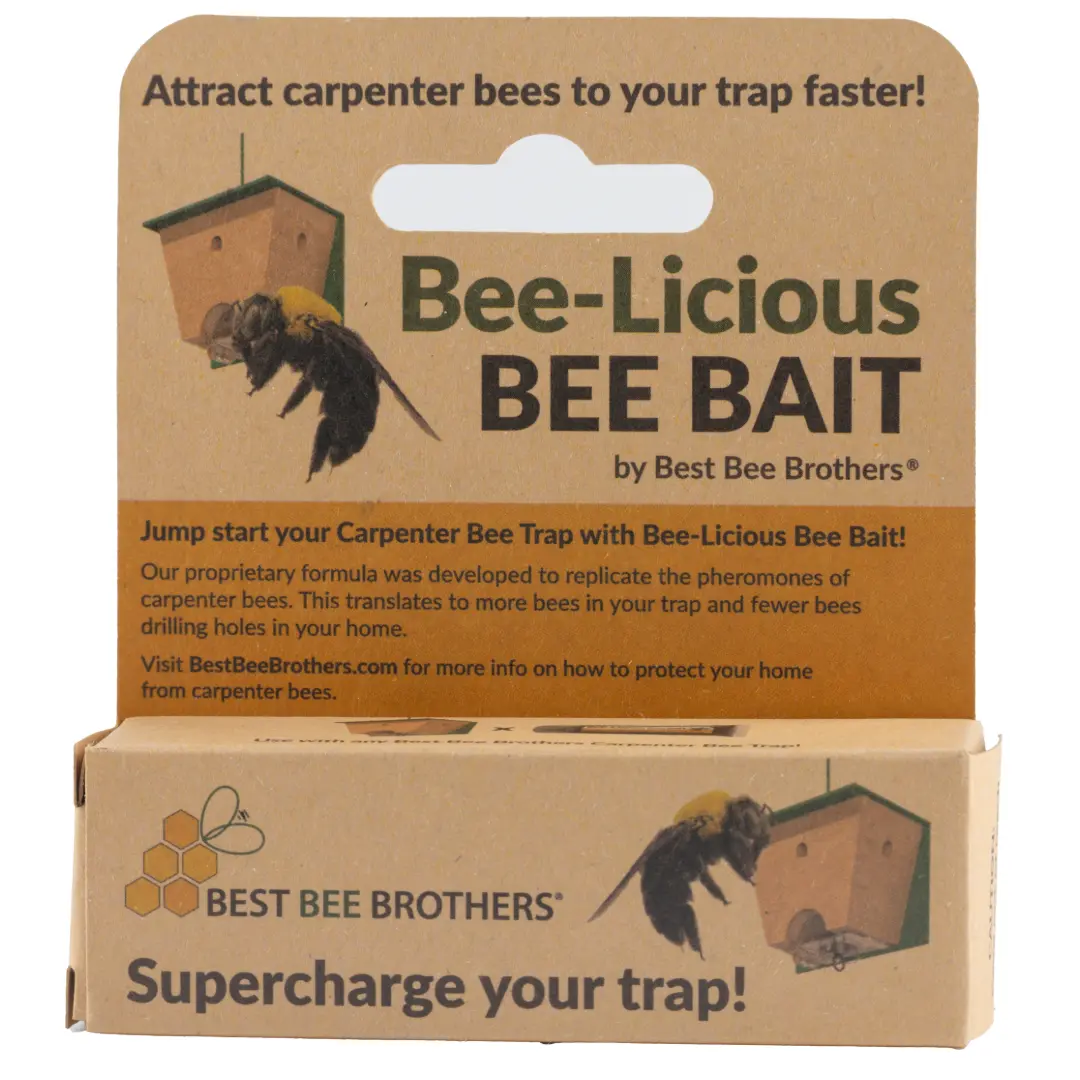
Carpenter bee traps exploit a specific biological quirk of the insect: their natural instinct to seek out dark, enclosed cavities that mimic pre-existing tunnels. Commercial and DIY traps typically consist of a wooden block with upward-angled drilled holes leading into a clear plastic jar or collection chamber at the bottom.
When a carpenter bee explores the drilled holes in the wooden block, it crawls upward or inward looking for a safe nesting space. Once inside, the bee follows the light filtering up from the clear collection container below. Because insects naturally fly toward light, the bee drops into the jar, unable to figure out how to fly back out. Within days, the trap captures the pests without relying on toxic chemicals or sticky adhesives.
Step-by-Step Guide to Making a DIY Trap
You do not need to spend a fortune at the hardware store to secure your property. Making your own trap is a straightforward weekend woodworking project.
Materials Needed
- A scrap piece of untreated softwood (pine, cedar, or fir), roughly 4x4 inches and 6 to 8 inches long.
- A clear plastic mason jar or a small plastic water bottle.
- A jar mounting ring or a funnel.
- Drill and drill bits (specifically a 1/2-inch spade bit).
- Eye protection and a pencil.
Construction Steps
- Drill the Entrance Holes: On the front face of your wooden block, drill two or three holes about an inch apart. Angle your drill bit upward at a 45-degree angle about halfway through the block. This mimics natural nesting angles.
- Drill the Exit Hole: From the bottom center of the wooden block, drill straight up until your drill bit intersects with the angled holes you just created. This downward shaft is the chute through which the bees will fall.
- Attach the Catch Basin: Secure the mason jar ring or plastic funnel to the bottom of the wooden block, centered directly over the vertical exit hole. Screw your clear jar into the ring.
- Hang the Trap: Install a small eye-hook on the top of the wooden block so you can hang it near vulnerable wooden structures.
Strategic Placement for Maximum Effectiveness

Even the best trap will fail if you hang it in the wrong spot. Carpenter bees prefer warm, sunlit wood, particularly areas protected from heavy wind and rain. The best locations to hang your traps include:
- Underneath porch eaves and overhangs
- Along exposed deck joists and railings
- Near fascia boards and window trim
- On the south- or west-facing sides of your home where sunlight hits first
Hang your traps early in the spring, typically around April, before the females begin boring into your home. If you wait until summer, the bees may have already established active nests inside your walls, making traps less effective until the new generation emerges.
Alternative and Supplementary Prevention Methods
Traps work exceptionally well for reducing local populations, but a comprehensive property protection plan requires a multi-layered approach.
Paint and Seal Exposed Wood
Carpenter bees intensely dislike treated, painted, or heavily varnished wood. They prefer raw, weathered timber because it is easier to bore through. Painting your trim, staining your deck, or applying a thick polyurethane finish is one of the most effective deterrents available.
Plug Existing Holes
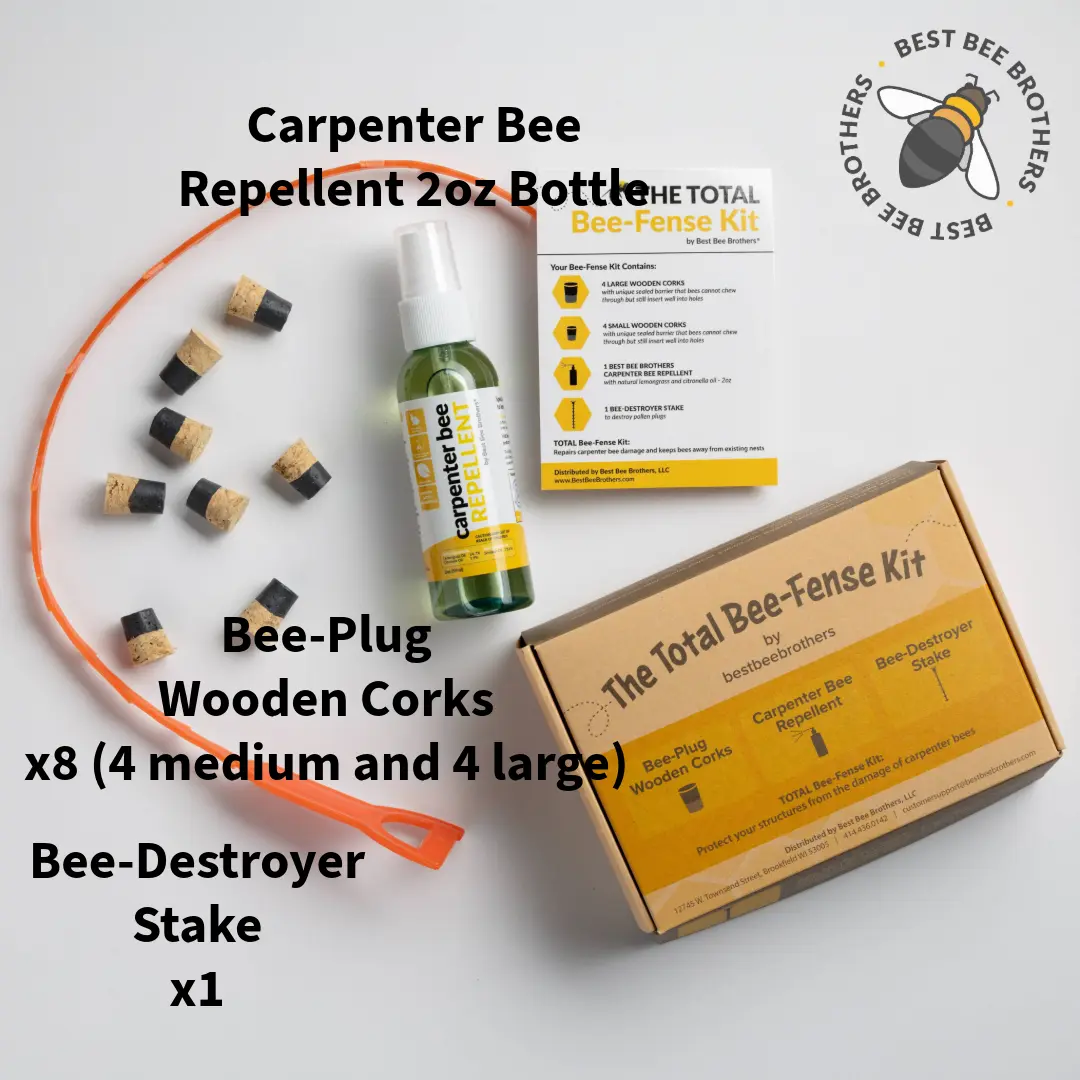
If you already have holes in your wood, do not simply paint over them. Wait until late autumn or winter when the bees are dormant, or spray a specialized dust insecticide into the hole. Once you are certain the nest is empty, fill the hole with wood putty, a wooden dowel, or exterior caulk, and paint over the patch.
Use Natural Repellents
Certain scents repel carpenter bees. Spraying vulnerable areas with essential oils like citrus, almond oil, or a mixture of water and concentrated peppermint oil can discourage scouts from choosing your home as their nesting ground.
Conclusion
Dealing with wood-boring insects can be frustrating, but protecting your investment doesn't require toxic pest control services or expensive contractors. By taking a proactive approach and choosing to protect your home from carpenter bees with a trap, you intercept these pests safely and sustainably. Hang your traps early in the spring, maintain your wooden surfaces with paint or sealant, and enjoy a pest-free home all season long.