Replacing a Wall Clock Mechanism: A Step-by-Step Guide
Few things are more frustrating than a beloved wall clock that stops keeping accurate time, especially when the exterior frame and face hold sentimental or aesthetic value. Fortunately, buying a brand-new timepiece isn't your only option. Replacing a wall clock mechanism is an inexpensive, straightforward DIY project that takes less than thirty minutes and requires only basic tools.

Most battery-operated quartz wall clocks fail not because the clock itself is broken, but because the internal plastic movement wearing out. By swapping out this inexpensive interior motor, you can restore your clock to perfect working order for just a few dollars. Here is everything you need to know to choose the right part and complete the fix successfully.
Tools and Materials Needed
Before you begin the repair process, gather the necessary supplies. Having everything on hand will prevent frustration and keep your workspace organized.
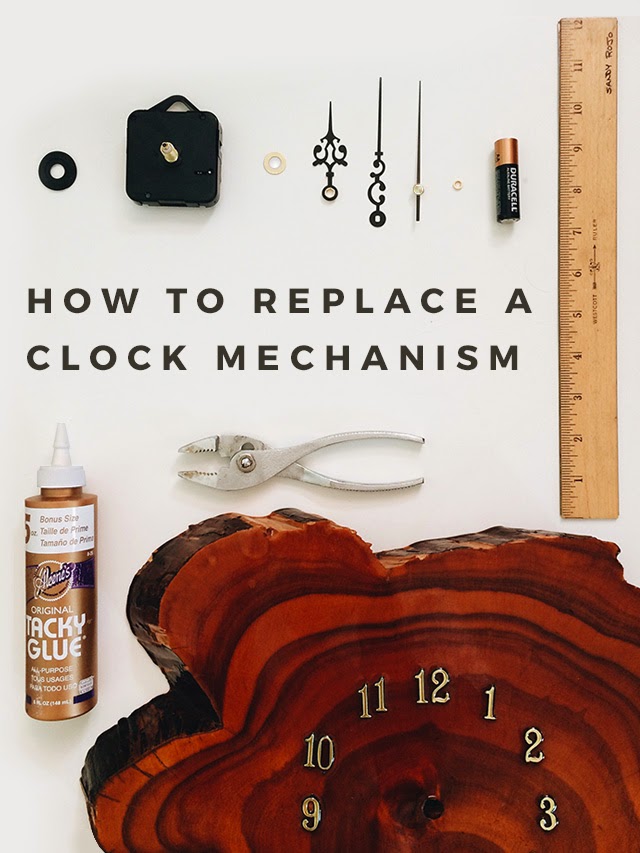
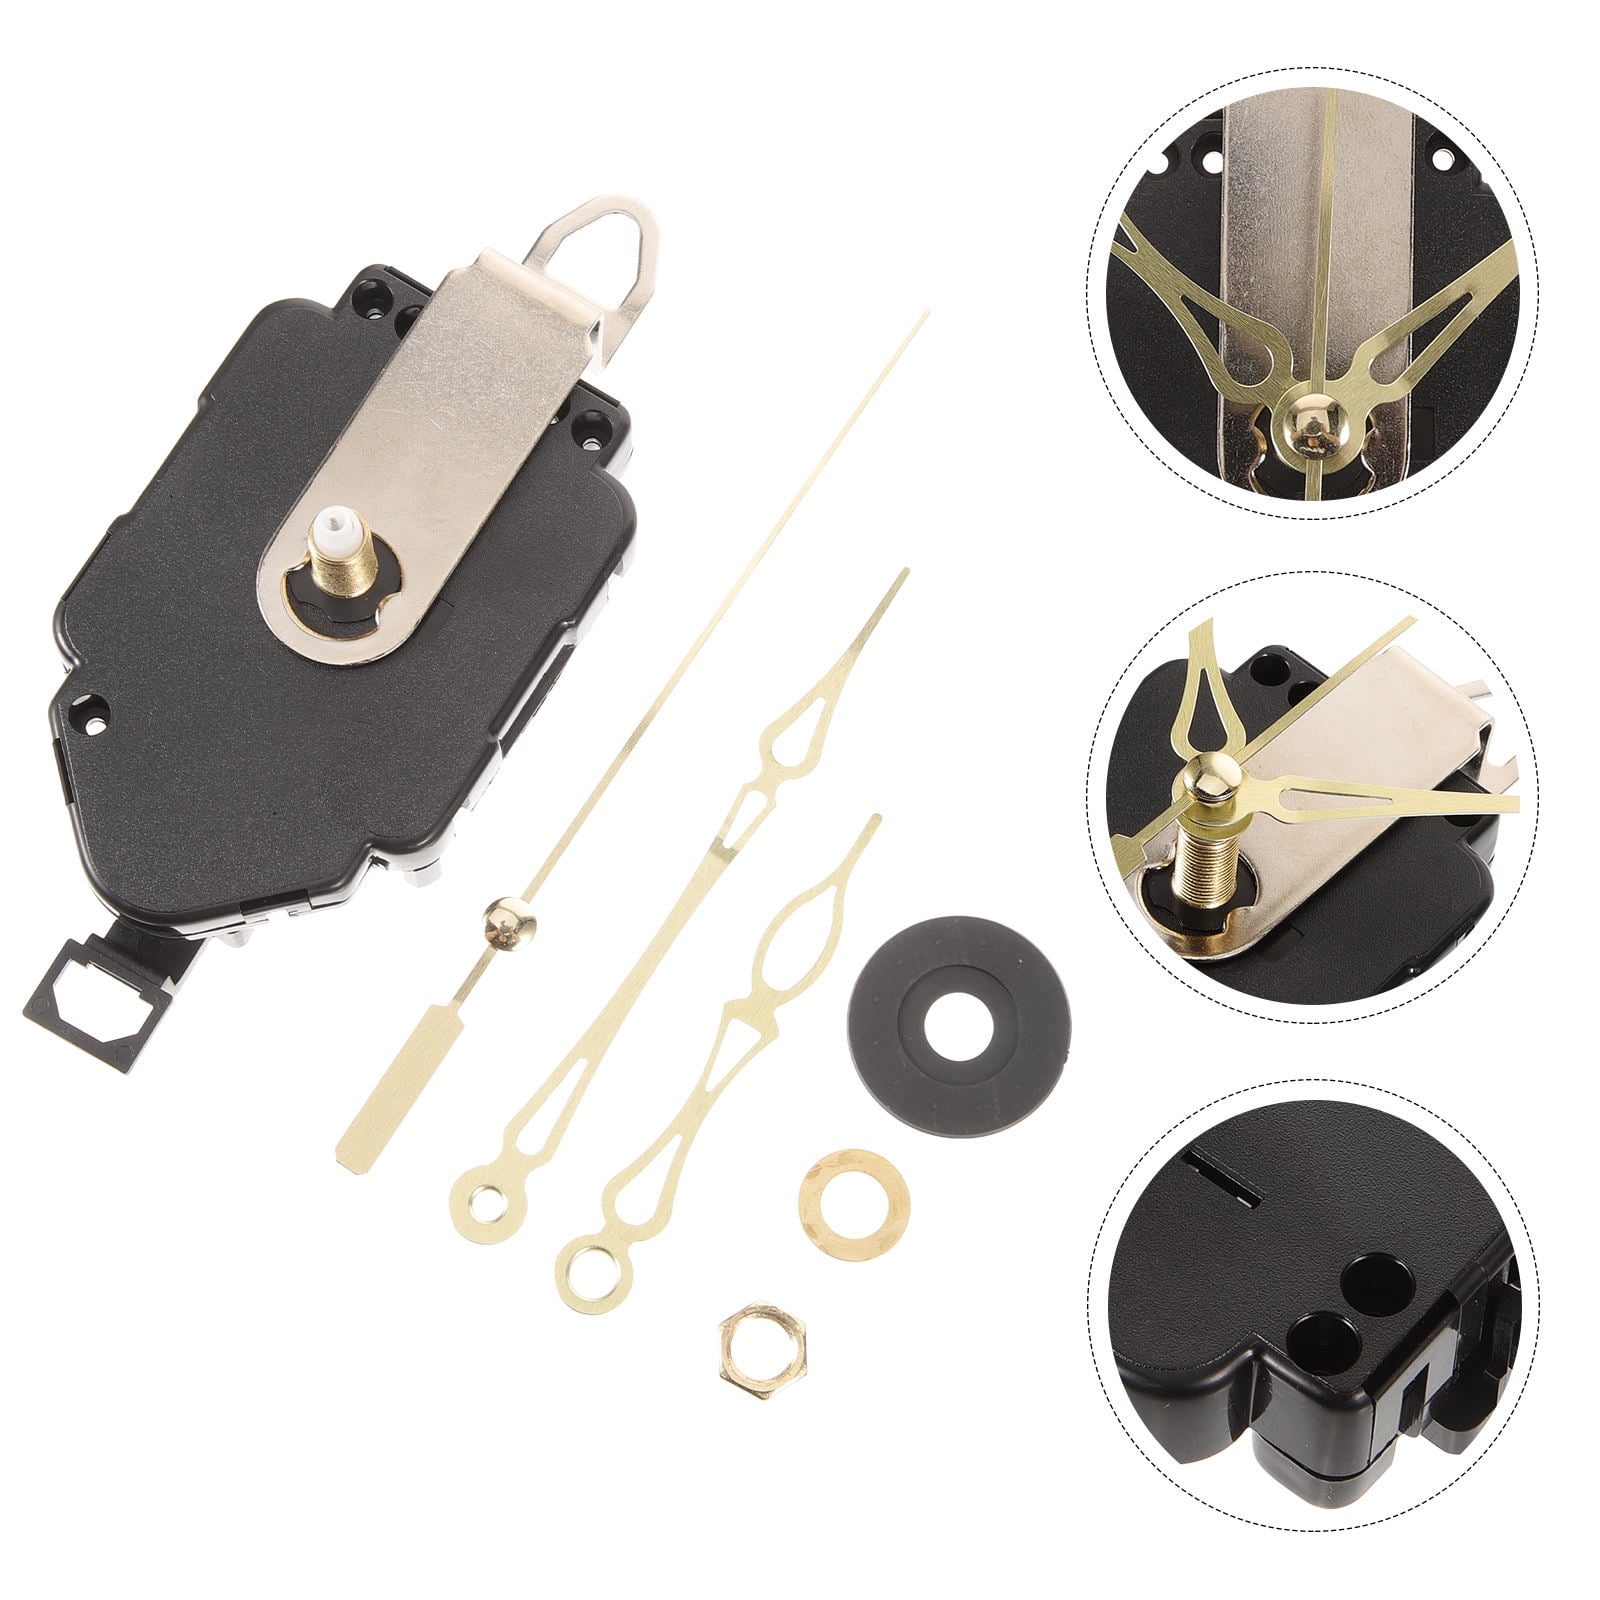
- A replacement quartz clock movement mechanism (ordered online or from a craft store)
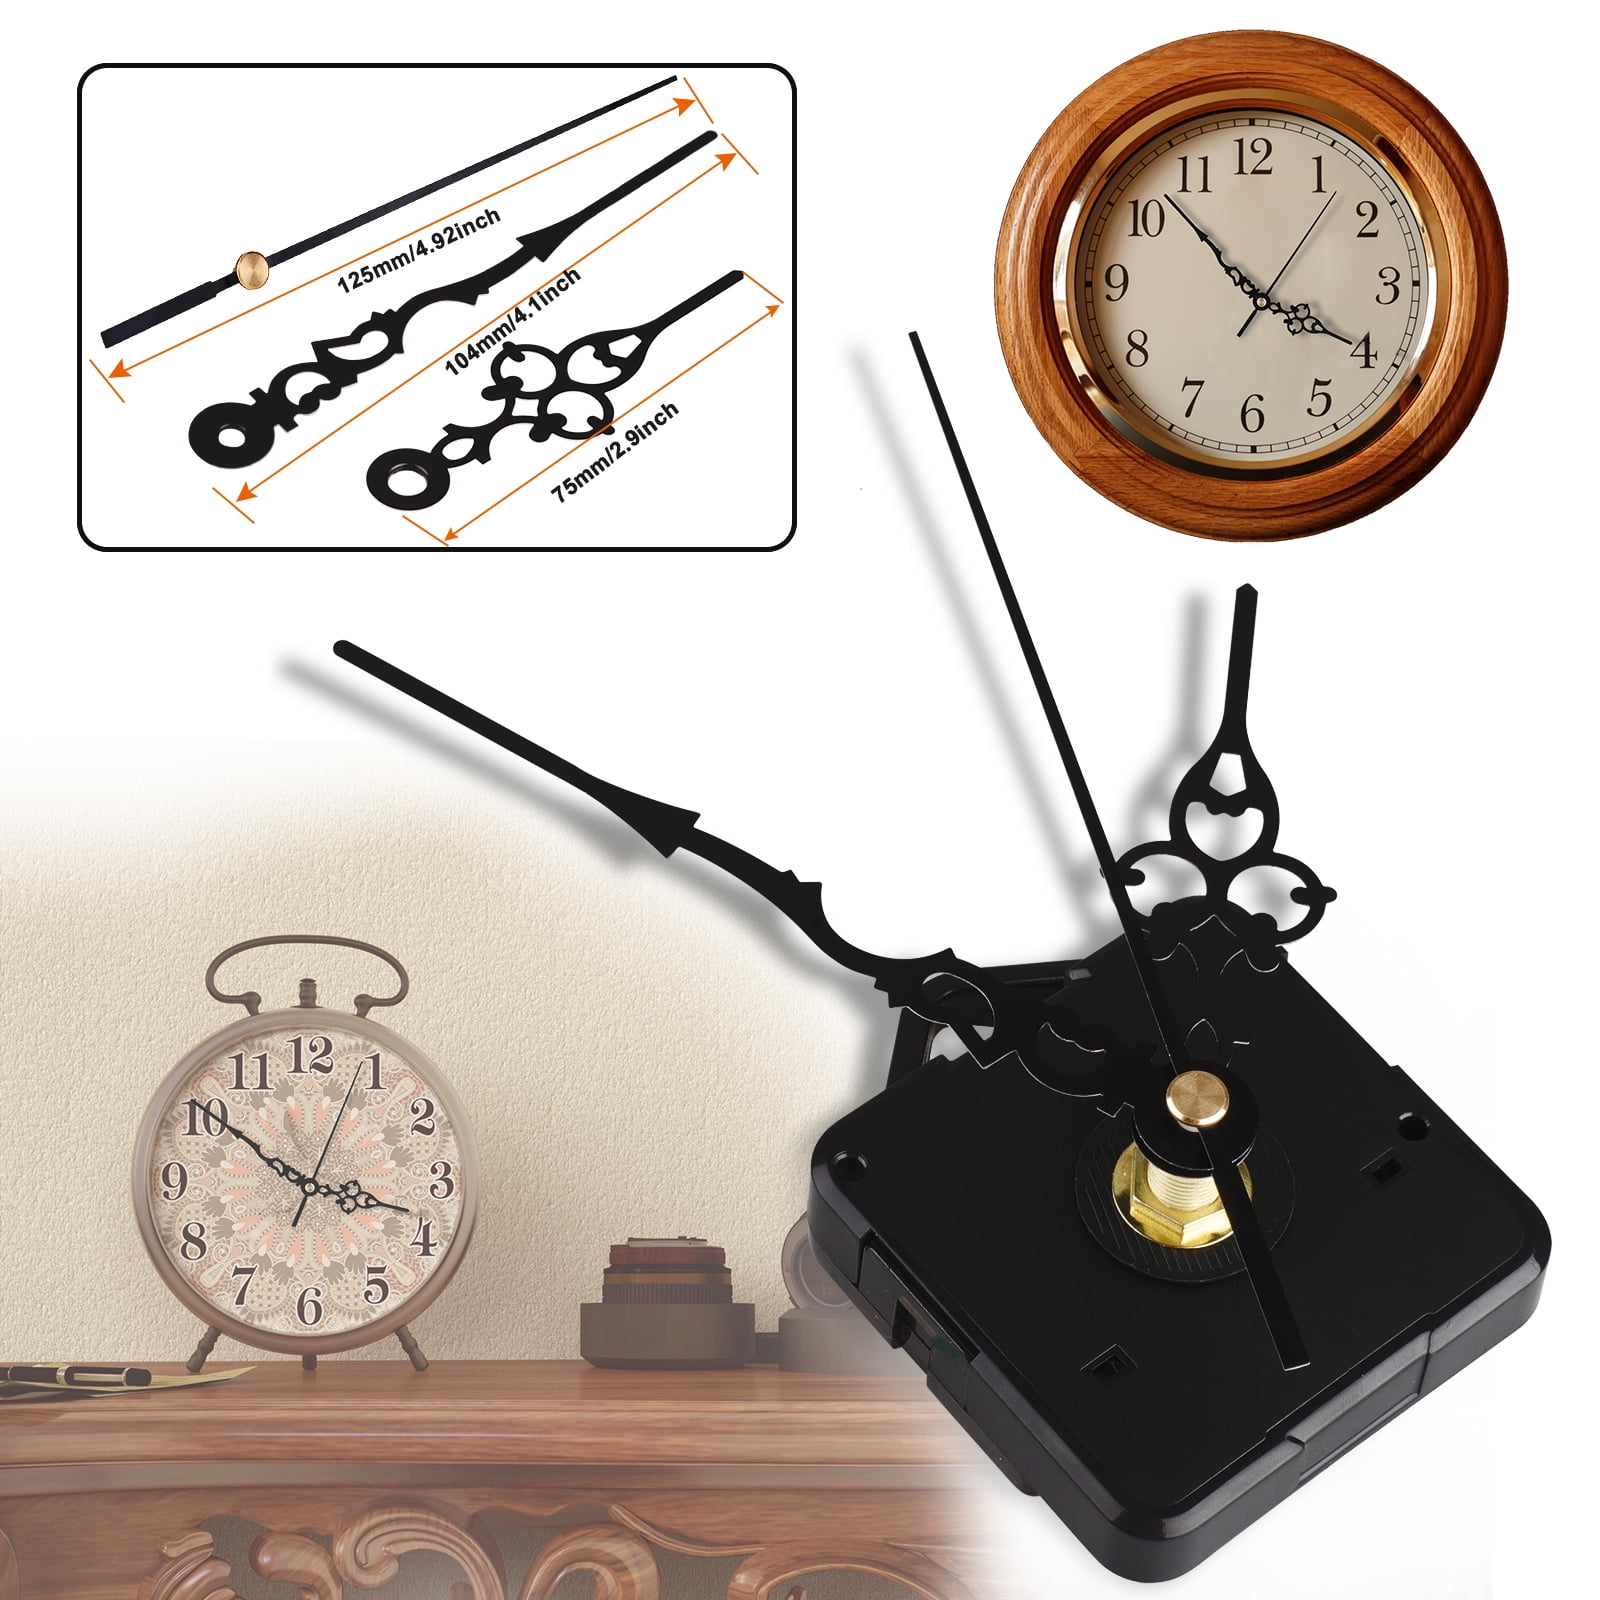
- A new set of compatible clock hands (often bundled with the movement)
- Small pliers or a nut driver
- Wire cutters or snips (if your new hands need trimming)
- A soft cloth or towel to protect the clock face
- AA or AAA battery (depending on the new movement)
Step 1: Removing the Old Clock Hands
Lay your clock face down on a soft, flat surface like a towel or a piece of foam to protect the glass and the frame from scratches.
Carefully remove any protective glass cover or bezel if your clock has one. Locate the tiny nut or cap holding the clock hands to the central shaft. Hold the minute hand gently in place with one hand while loosening the center nut counter-clockwise using your fingers or a pair of small pliers. Once the nut is removed, gently pull the minute hand and the hour hand straight off the shaft. If there is a second hand, pull it straight up and out. Set all old parts aside.
Step 2: Removing the Old Mechanism
Turn to the back of the clock. You will typically see a central mounting nut holding the plastic clock movement against the clock face or backing board.
Unscrew this central mounting nut by hand or with pliers. You may also need to remove a small hanging bracket or stabilization screw if the manufacturer used one. Once the nut is free, gently push the old mechanism backward through the center hole from the front, or lift it away from the back. Note how the old movement was oriented so you can position the new one correctly.
Step 3: Sourcing and Selecting the Correct Replacement Movement
Not all clock movements are identical. To ensure your new part fits, you need to measure a few key dimensions before purchasing.
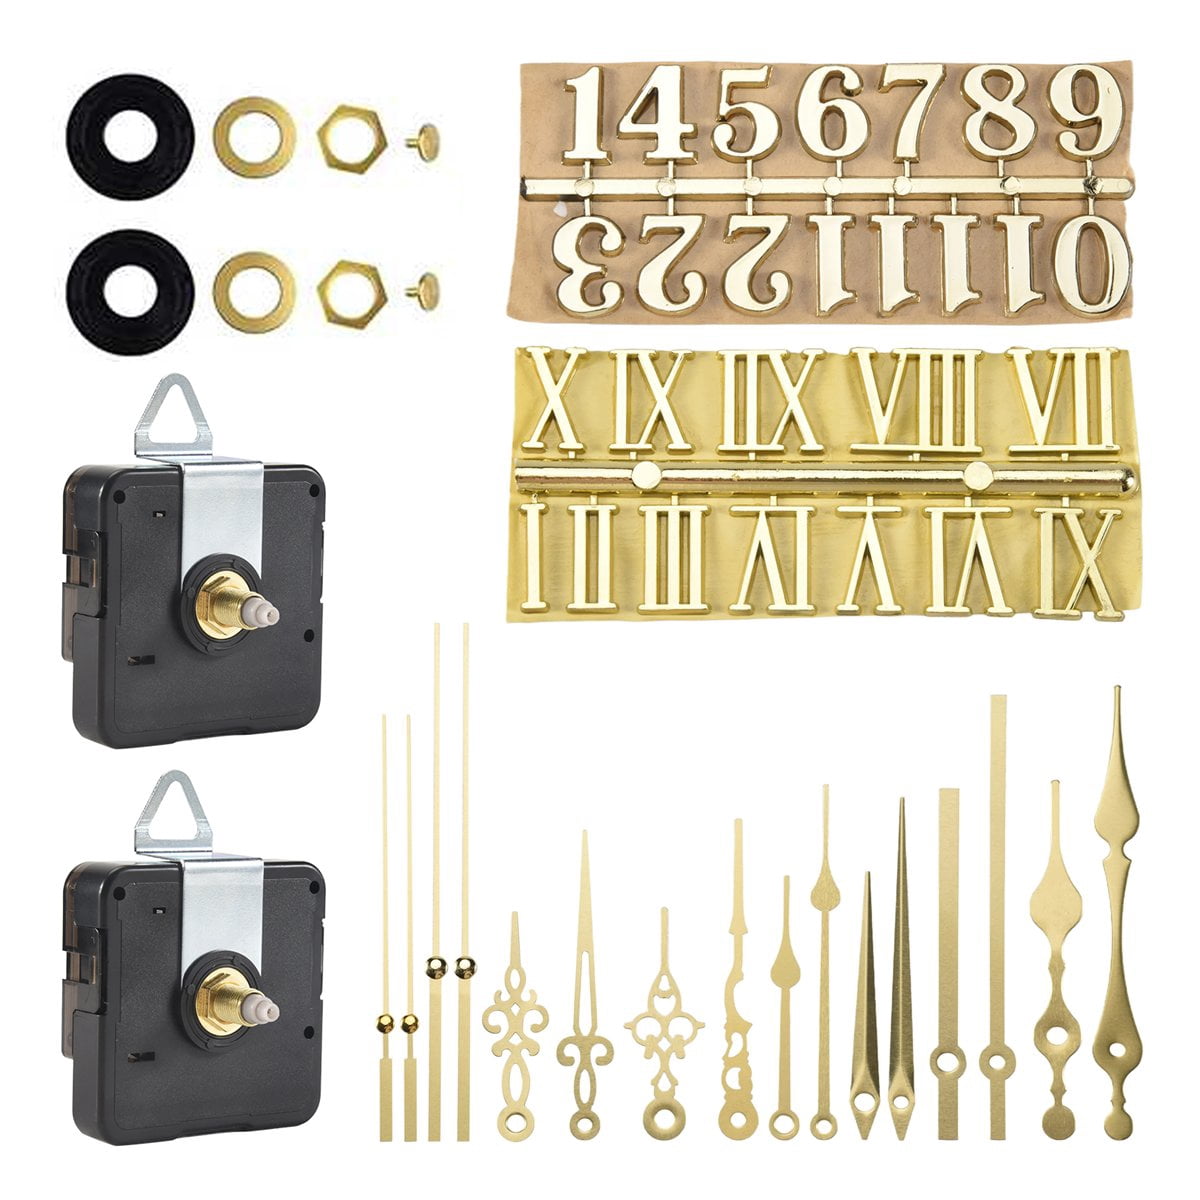
Shaft Length and Thread Size
The most critical measurement is the shaft length—the distance from the flat body of the mechanism to the tip of the hand-bearing shaft. If your clock face is thick (like wood, stone, or glass), you will need a longer shaft with extended threading. If the face is thin (like cardboard or thin plastic), a standard shaft will suffice.
Measure the thickness of your clock face, then add the thickness of any washers or front frame. Match this total measurement to the shaft length specifications provided by online clock parts retailers.
Step 4: Installing the New Wall Clock Mechanism
Once your replacement movement arrives, installation is essentially the reverse of removal.
- Place any rubber or brass washers provided with the new kit over the threaded shaft on the front of the mechanism.
- Insert the threaded shaft through the center hole of the clock face from behind.
- Place the front washer and the hexagonal mounting nut onto the shaft from the front side of the clock face.
- Tighten the nut securely using your fingers or pliers. Do not overtighten, as this can crack delicate clock faces or strip the plastic threads.
Step 5: Attaching the New Clock Hands
Attaching the hands requires a gentle touch to ensure they do not bind against each other, the clock face, or the glass cover.
- Hour Hand: Point the mechanism to the 12:00 position using the adjustment wheel on the back. Push the new hour hand firmly straight down onto the lower shaft pointing directly at the 12.
- Minute Hand: Place the minute hand onto the center shaft, also pointing at the 12. Press it down securely. Ensure there is a small gap between the hour hand and the minute hand so they can pass each other freely without friction.
- Second Hand: If your movement includes a second hand, push the small pin into the central hole of the movement shaft until it snaps into place.
Use the time-setting wheel on the back of the movement to rotate the hands through a full 12-hour cycle. Watch closely to verify that the hour and minute hands never touch one another or brush against the clock face numerals.
Step 6: Testing and Final Adjustments
Insert a fresh battery into the battery compartment of the new mechanism. Listen closely for a faint ticking sound (or enjoy a silent sweep movement if you purchased a continuous second-hand model).
Set the correct time using the rear adjustment wheel. Wait 15 to 30 minutes to confirm that the minute hand advances properly and that the clock is keeping time. Once verified, reattach the glass cover or bezel, hang your refurbished timepiece back on the wall, and enjoy your restored decor.