Replacing Bath Faucet: A Step-by-Step DIY Guide
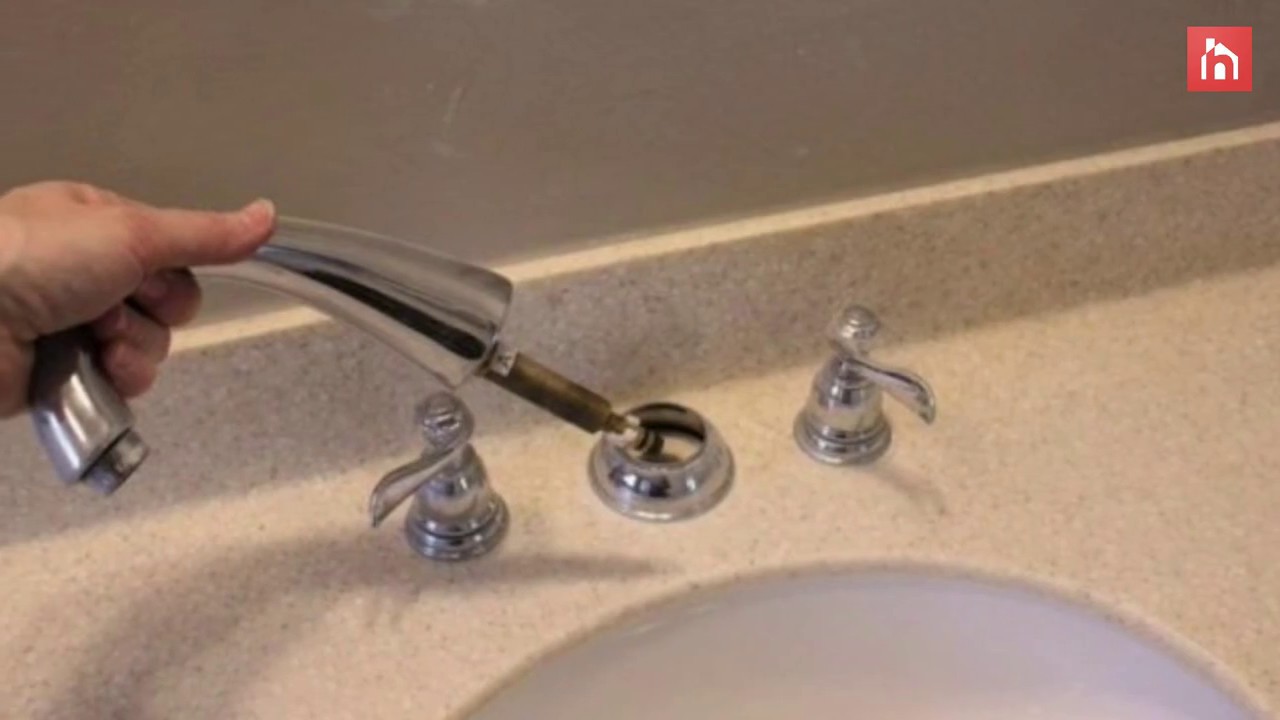
A worn-out, dripping, or outdated tub spout can drag down the appearance of your entire bathroom. Fortunately, replacing bath faucet hardware is one of the most rewarding and accessible home improvement projects you can tackle yourself. With basic hand tools and an afternoon of focused work, you can eliminate irritating drips, restore proper water diverter pressure, and give your tub an immediate visual upgrade.
Understanding Your Tub Faucet Type
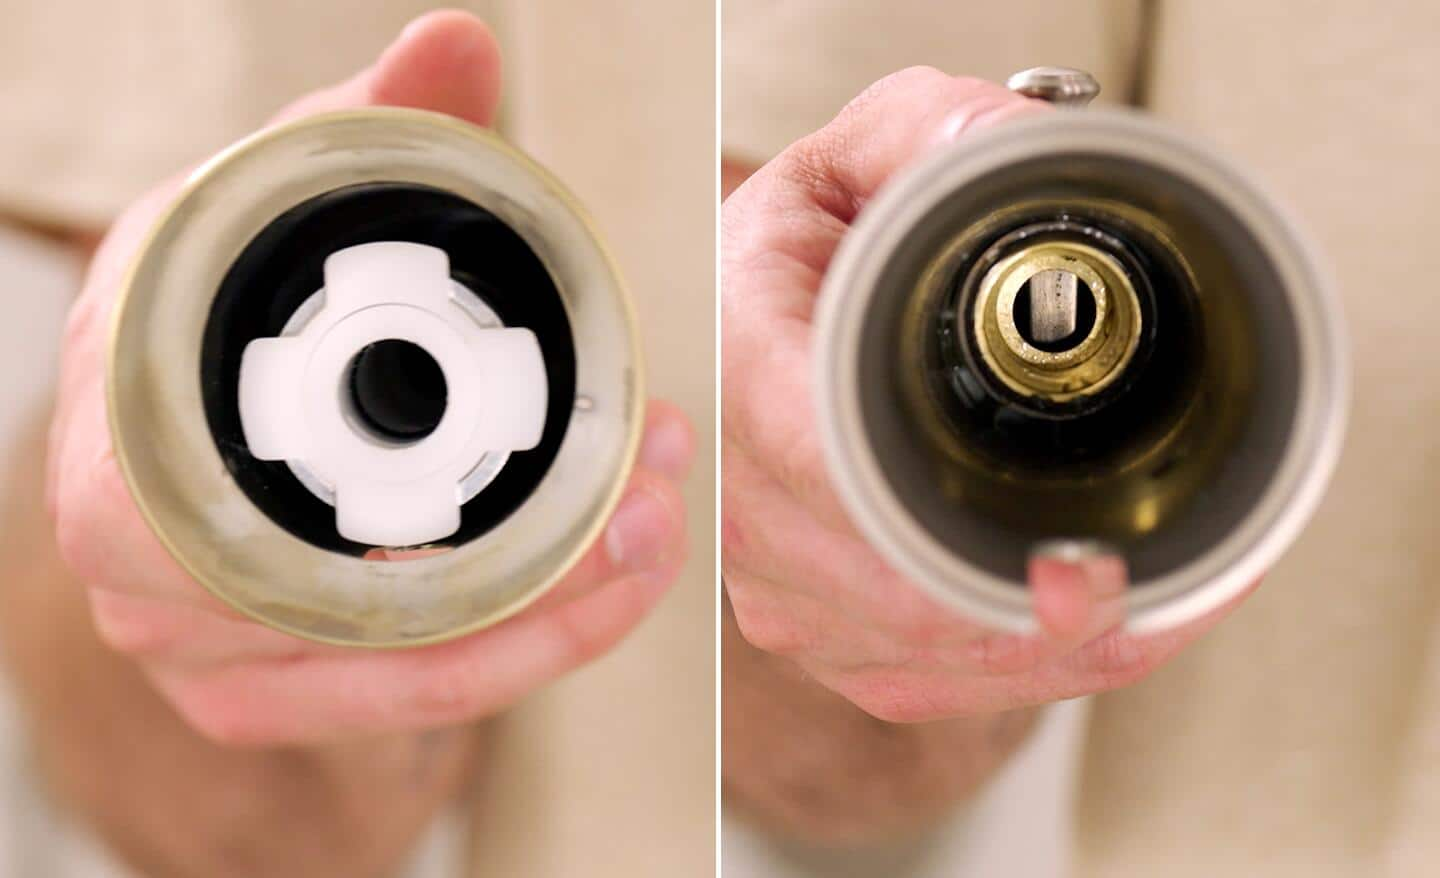
Before buying a replacement, you must know how your existing tub spout connects to your plumbing. Bathtub spouts typically fall into two categories based on how they attach to the water supply pipe emerging from the wall:
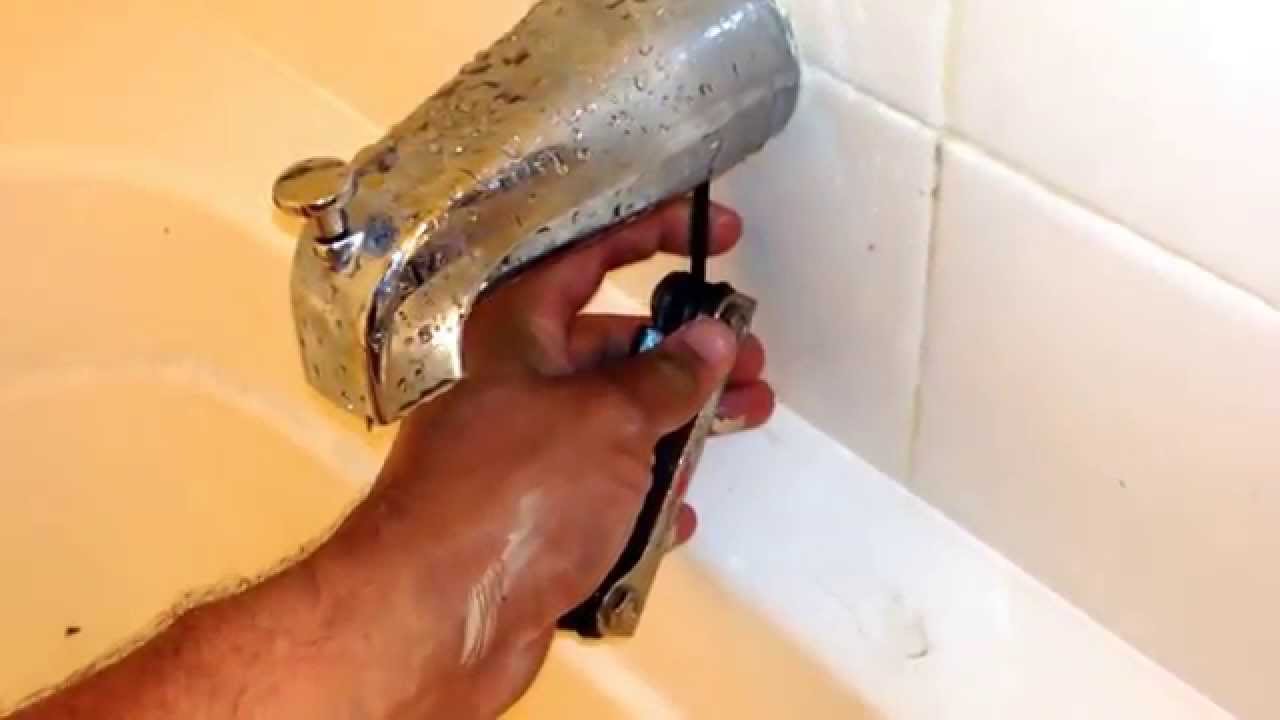
- Slip-on spouts: These slide directly over a smooth, unthreaded 1/2-inch copper pipe. They are secured in place by tightening a small hex (Allen) set screw located on the underside of the spout near the wall.
- Threaded spouts: These screw directly onto a threaded pipe nipple protruding from the wall. The threads may be located at the base of the spout (near the wall) or recessed inside the nose of the spout (front-threaded).
Inspect the underside of your current tub spout where it meets the wall. If you see a small notch or cutout with a set screw recessed inside, you have a slip-on spout. If the underside is completely smooth with no screw, your spout is threaded.
Tools and Materials Required
Gather your supplies before starting so you avoid mid-project trips to the hardware store:
- Replacement tub spout (and matching handle trim kit, if updating both)
- Hex key set (Allen wrenches, typically 5/32-inch)
- Adjustable pipe wrench or large slip-joint pliers
- Plumber's tape (PTFE thread-seal tape)
- Clear or color-matched 100% silicone bathroom caulk
- Emery cloth or fine sandpaper
- Soft clean rags and painter's tape
- Tub and tile cleaner to remove mineral scale from the wall
Step-by-Step Guide to Replacing Bath Faucet Hardware
1. Turn Off the Water Supply
Even though replacing only the tub spout does not always require turning off the main supply, it is standard plumbing safety to do so. If you bump the shower valve or plan to replace the faucet handles and cartridge at the same time, open water lines will quickly flood your bathroom. Turn off the fixture isolation valves in your access panel or shut off your home's main water shutoff valve. Open a low faucet in the house to relieve residual pressure and drain the line.
2. Remove the Old Spout
For a slip-on spout: Locate the set screw underneath the spout. Use the correct size hex wrench to turn the screw counterclockwise until it is loose. You do not need to remove the screw completely. Gently twist the spout back and forth while pulling it straight away from the wall until it slides off the copper stub-out pipe.
For a threaded spout: Grip the body of the spout with your hands and turn it counterclockwise. If mineral deposits have locked it in place, wrap the spout with an old rag to protect the finish, clamp an adjustable wrench over it, and apply steady counterclockwise leverage. Unscrew the spout completely from the pipe nipple.
3. Inspect and Prep the Pipe

Once the old spout is removed, examine the protruding pipe:
- Length check: Measure how far the pipe extends from the finished wall surface. Check your new faucet manufacturer instructions to ensure your existing pipe length matches their requirements. Most slip-on spouts require between 1-1/2 and 2-1/2 inches of clean copper pipe, while threaded connections require exact depth matches.
- Surface cleaning: Scrape away any old caulk or limescale on the tile or surround using a plastic scraper. For slip-on installations, use fine emery cloth to polish the bare copper pipe until it is clean, smooth, and free of burrs.
- Thread prep: If using a threaded spout, wipe old sealant and tape off the pipe threads with a stiff brush. Wrap the male threads with 3 to 4 clockwise wraps of PTFE plumber's tape.
4. Install the New Tub Spout
Installing a slip-on spout: Ensure the internal rubber O-ring inside the new spout is seated correctly. Lightly moisten the copper pipe with water or a dab of silicone plumber's grease to help the O-ring glide easily. Push the spout onto the copper pipe, sliding it firmly until the base rests flush against the finished wall. Hold the spout perfectly upright and tighten the hex screw on the underside using your Allen wrench until it is snug. Do not over-tighten, which can dent the copper pipe.
Installing a threaded spout: Carefully align the spout with the threaded pipe nipple. Turn the spout clockwise by hand, taking care not to cross-thread the connection. Continue rotating until the spout feels snug and ends up facing directly downward. If the spout is still loose when upright, wrap an extra layer of PTFE tape and tighten it one full rotation further.
5. Upgrade the Handles and Trim (Optional)
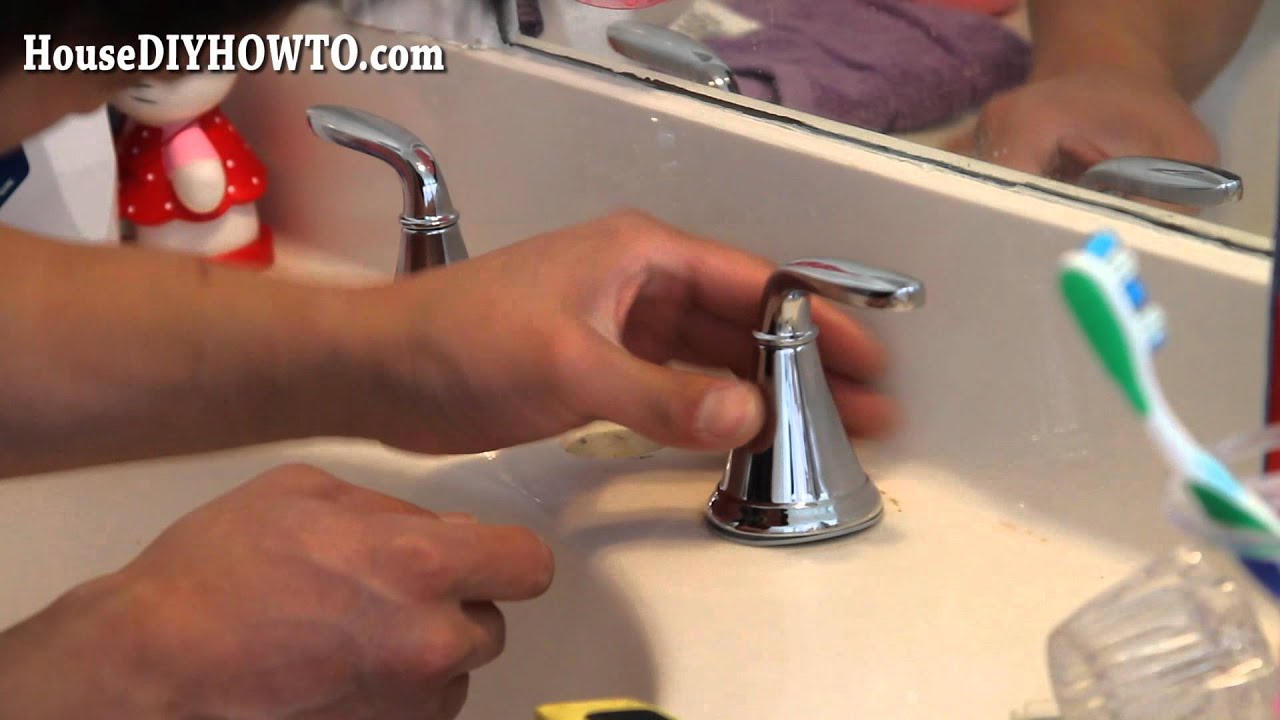
If you purchased a full trim set, you will also replace the handle(s) and escutcheon plate. Remove the index cap on the handle, back out the retention screw, and pull the handle off the valve stem. Unscrew the decorative sleeve and the large faceplate on the wall. Install the new backplate with fresh foam gasket or silicone backing, thread on the new sleeve, mount the handle, and reinsert the retention screw.
6. Test and Seal the Installation
Turn your water supply back on. Run the bathtub faucet on full blast for two minutes, checking carefully around the wall joint and under the spout for any dripping water. Pull up the diverter gate to direct water to the showerhead. Verify that water diverts crisply without leaking out the back of the spout.
Once you confirm there are no leaks, run a thin bead of 100% silicone bath caulk around the perimeter of the spout where it meets the wall to prevent shower spray from entering the wall cavity. Important: Leave a small 1/4-inch gap uncaulked at the very bottom center. This weep hole allows any water that might accidentally get behind the spout to drain safely into the tub rather than rotting the wall framing.
Troubleshooting Common Complications
Bathtub plumbing rarely goes entirely according to script. Here are practical fixes for the most common roadblocks:
- The existing pipe is too long: If your new slip-on spout bottoms out before reaching the wall, mark the excess length according to the product template, cut the pipe with a mini tube cutter, and deburr the inside and outside edges before sliding the spout on.
- The existing pipe is too short: If a threaded pipe nipple sits too deep inside the wall cavity, unscrew the nipple using internal pipe wrenches and replace it with a slightly longer brass nipple from your local plumbing aisle.
- Water still dribbles from the spout during a shower: This indicates an issue with the internal diverter gate. Make sure the diverter lift-rod isn't binding. If it is a new spout, verify that your water pressure meets the minimum operating pressure (usually around 20 PSI) required to keep the internal gate closed.
When to Call a Licensed Plumber
While changing a spout is manageable for most DIYers, certain scenarios warrant a licensed professional. If your existing pipe nipple snaps off inside the wall fitting during removal, or if you discover severe corrosion on the mixing valve body behind the tile, stop work immediately. A professional plumber can sweat on new copper lines, extract broken threads, or replace deep-wall valve assemblies without destroying your tile work.