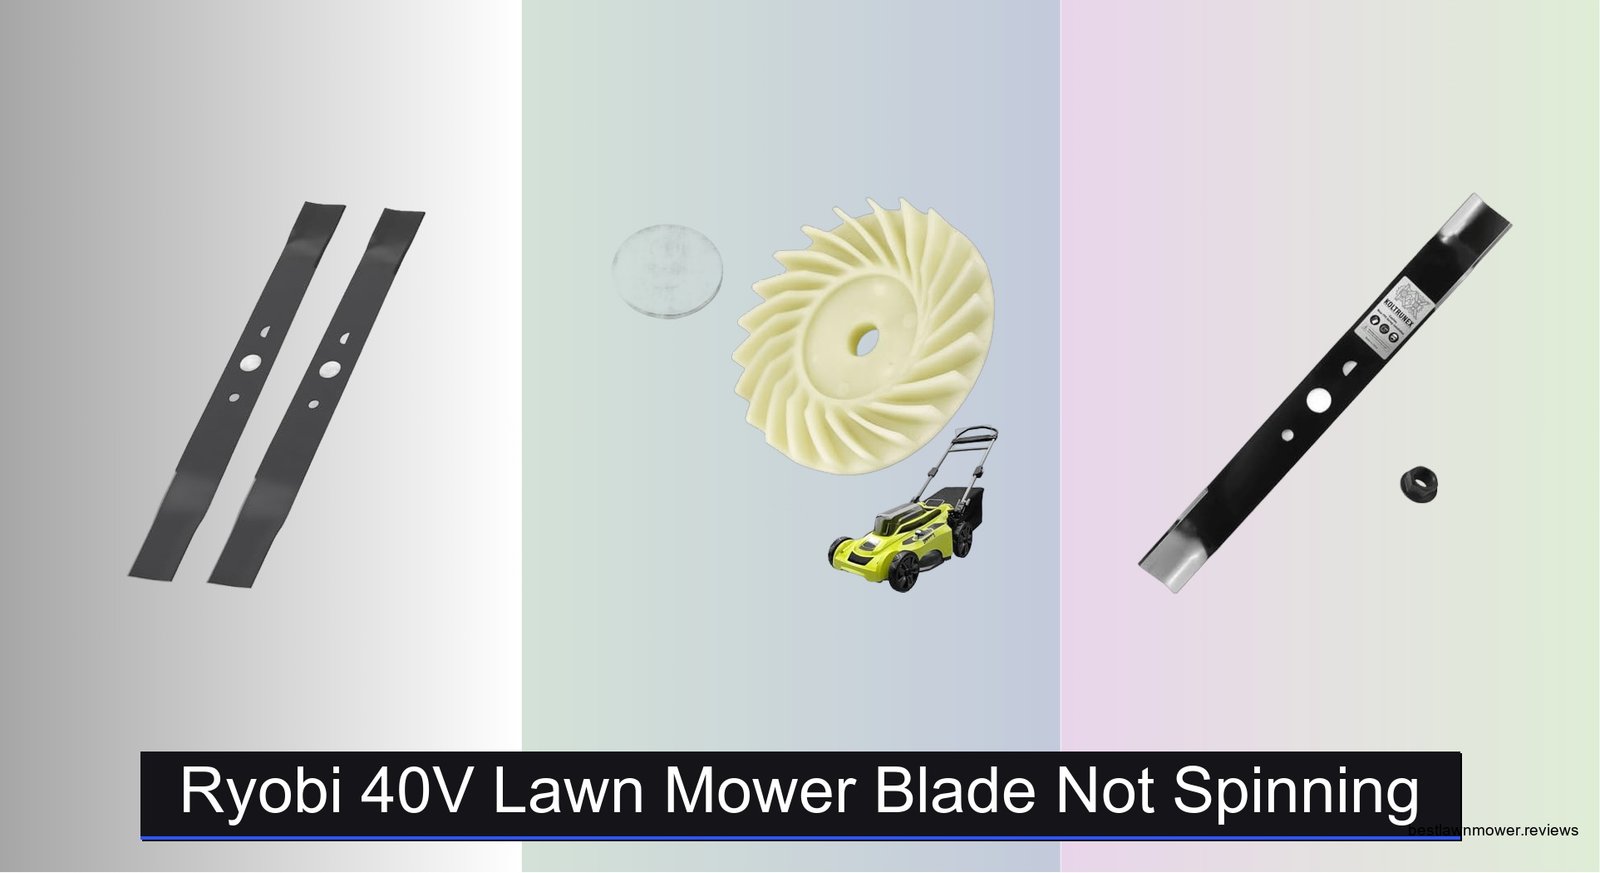
Ryobi Lawn Mower Blade Guide: Replace & Maintain
A dull or damaged cutting edge does more than leave ragged brown tips across your turf—it forces your electric motor to work harder, significantly draining your battery. Choosing and maintaining the correct ryobi lawn mower blade ensures a crisp, manicured cut while maximizing runtime per charge. Whether you run a compact 18V ONE+ walk-behind, a powerful 40V HP Whisper Series, or an 80V zero-turn rider, keeping your cutting system in peak condition is the single most effective maintenance task you can perform.

Understanding Ryobi Lawn Mower Blade Types
Ryobi manufactures a wide variety of cordless mowers, and the blades are not one-size-fits-all. Using the wrong replacement blade can cause severe vibration, motor strain, and uneven cutting. Before buying a replacement, identify the specific deck configuration of your mower.
Standard Single Blades
Most entry-level and mid-range Ryobi mowers—ranging from 13-inch to 20-inch decks—utilize a single rotating blade. These blades are designed for standard 3-in-1 functionality (mulching, bagging, and side discharge). Common replacement lengths include:
- 13-inch to 16-inch: Typically found on compact 18V ONE+ push mowers.
- 18-inch and 20-inch: Common on standard 40V walk-behind models.
- 21-inch: Standard on larger 40V push and self-propelled units.
The CrossCut Dual-Blade System
Many premium Ryobi 21-inch 40V mowers feature the proprietary CrossCut Multi-Blade System. Instead of a single piece of steel, these models use two stacked blades working in tandem:
- Upper Blade (Mulching Blade): Chops grass clippings into micro-fine particles before they drop into the turf or enter the bag.
- Lower Blade (Standard Cutting Blade): Slices the standing grass blades cleanly at deck height.
If you have a CrossCut mower, replace both blades simultaneously to maintain proper deck balance and ensure the dual-action mulching performs as engineered.
Signs It Is Time to Replace or Sharpen Your Blade
Electric mowers produce instant torque, which means you might not hear the motor struggle until the cut quality has severely deteriorated. Inspect your blade if you notice any of the following symptoms:
- Frayed, yellowing grass tips: A dull blade tears grass rather than slicing it, causing dehydration and opening the plant to fungal diseases.
- Noticeable battery drain: If a battery that usually cuts your entire lawn suddenly dies with 20% of the yard left, blunt blade resistance is often the culprit.
- Unusual vibration: An unbalanced blade or one bent by an unseen rock or root will cause mechanical vibration that can damage the motor shaft over time.
- Visible damage: Nicks larger than 1/8 inch, deep gouges, or a rounded cutting edge indicate that sharpening or outright replacement is necessary.
Step-by-Step: Replacing Your Ryobi Lawn Mower Blade
Because Ryobi mowers run on battery power, you do not have to worry about spilling engine oil or gas when tipping the deck. However, electrical safety and sharp metal require careful preparation.
Tools You Will Need
- Heavy leather work gloves
- A socket wrench (typically 14mm or 15mm, depending on your model)
- A small scrap block of wood (2x4) to jam the blade
- A torque wrench (recommended)
- Replacement OEM Ryobi blade(s)
Step 1: Disconnect All Power
Safety is critical. Remove the battery pack from the battery bay. If your mower features a safety key, pull it out and set it aside. Never reach beneath the deck while a power source remains connected.
Step 2: Position the Mower
Fold the handles down if your model supports vertical storage, or tilt the mower backward so it rests securely on its rear wheels and handle frame. This provides clear, unobstructed access to the underside of the deck.
Step 3: Lock the Blade
Wedge a block of wood between the blade and the inner deck wall. This prevents the cutting edge from spinning when you apply leverage to the blade bolt.
Step 4: Remove the Blade Bolt
Using the appropriate socket, turn the blade bolt counter-clockwise (standard thread) to loosen it. Remove the bolt, the outer curved washer (sometimes called a Belleville washer), and the blade itself. On CrossCut models, note the exact orientation of the upper and lower blades and any spacer hardware between them.
Step 5: Clean the Underside of the Deck
With the blade removed, take a stiff plastic scraper or brush to remove built-up clippings and debris around the motor spindle. Built-up debris adds weight and reduces airflow, diminishing cut efficiency.
Step 6: Mount the New Blade
Fit the new blade onto the drive hub. Ryobi blades feature specific stamped text, typically reading "GRASS SIDE" or "THIS SIDE TOWARD GRASS." Ensure that side faces downward (toward the lawn, away from the motor). Reinstall the washer with the curved or cupped side facing the bolt head, not the blade.
Step 7: Tighten to Specification
Hand-thread the bolt to prevent cross-threading, then wedge your wooden block on the opposite side to block rotation. Use your socket or torque wrench to tighten the bolt securely. Most Ryobi walk-behind mowers call for approximately 35 to 40 ft-lbs (47 to 54 Nm) of torque. Check your specific user manual for exact specifications.
Sharpening vs. Replacing: Which Should You Choose?
You do not necessarily need to purchase a brand-new blade every season. Ryobi blades can typically be sharpened 3 to 4 times before requiring total replacement.
- Sharpen if: The blade only has minor dulling, light surface scratches, or tiny burrs. You can restore the factory 30-degree bevel using an angle grinder, bench grinder, or a simple hand mill file. Always balance the blade on a conical balancer or a nail driven horizontally into a wall after sharpening; an unbalanced blade will quickly ruin motor bearings.
- Replace if: The metal is warped, bent, cracked, or excessively thin along the trailing edge (sail). If a strike against a rock or pipe has removed large chunks of steel, grinding it down will remove too much mass, making it unsafe to spin at high RPMs.
Best Practices for Maximizing Performance
To get the most out of your mower and its battery system, integrate these simple habits into your routine:
- Keep a spare blade on hand: Having a pre-sharpened replacement blade ready allows you to swap out a dull one in five minutes without delaying your weekend mowing.
- Never mow wet grass: Wet clippings stick to the underside of the deck, weighing down the blade and drastically lowering your Ryobi battery runtime.
- Check the bolt tension periodically: Cordless mowers produce rapid start-stop cycles that can occasionally cause blade hardware to shift over an entire mowing season. Check firmness once every couple of months.
By pairing a sharp, properly installed cutting blade with an unobstructed deck, your Ryobi mower will deliver a clean cut, preserve battery health, and keep your lawn looking vibrant all season long.