Sally Beauty Dye Exposed: Are You Making These Critical Errors?
Walking into Sally Beauty feels like stepping into a professional playground. With rows of professional-grade developer, endless color tubes, and knowledgeable staff, it is easy to feel like a licensed cosmetologist ready to transform your hair. However, buying professional products does not automatically mean you will get professional results. When **Sally Beauty dye is exposed** to common, everyday application errors, the outcome can range from patchy brassiness to severe structural hair damage.

If your at-home hair coloring sessions have been yielding disappointing results, you might be making a few hidden mistakes. Let us break down the critical errors people make when using Sally Beauty products and how you can correct them for salon-quality hair at home.
Understanding Professional Products vs. Box Dye
Before diving into specific mistakes, it is vital to understand why Sally Beauty products behave differently than standard drugstore box dye. Box dyes are formulated as "one size fits all." They use very high levels of ammonia and metallic salts to guarantee that anyone, regardless of their starting hair history, can lift or deposit color. They also typically package permanent color with a standard 20-volume developer.
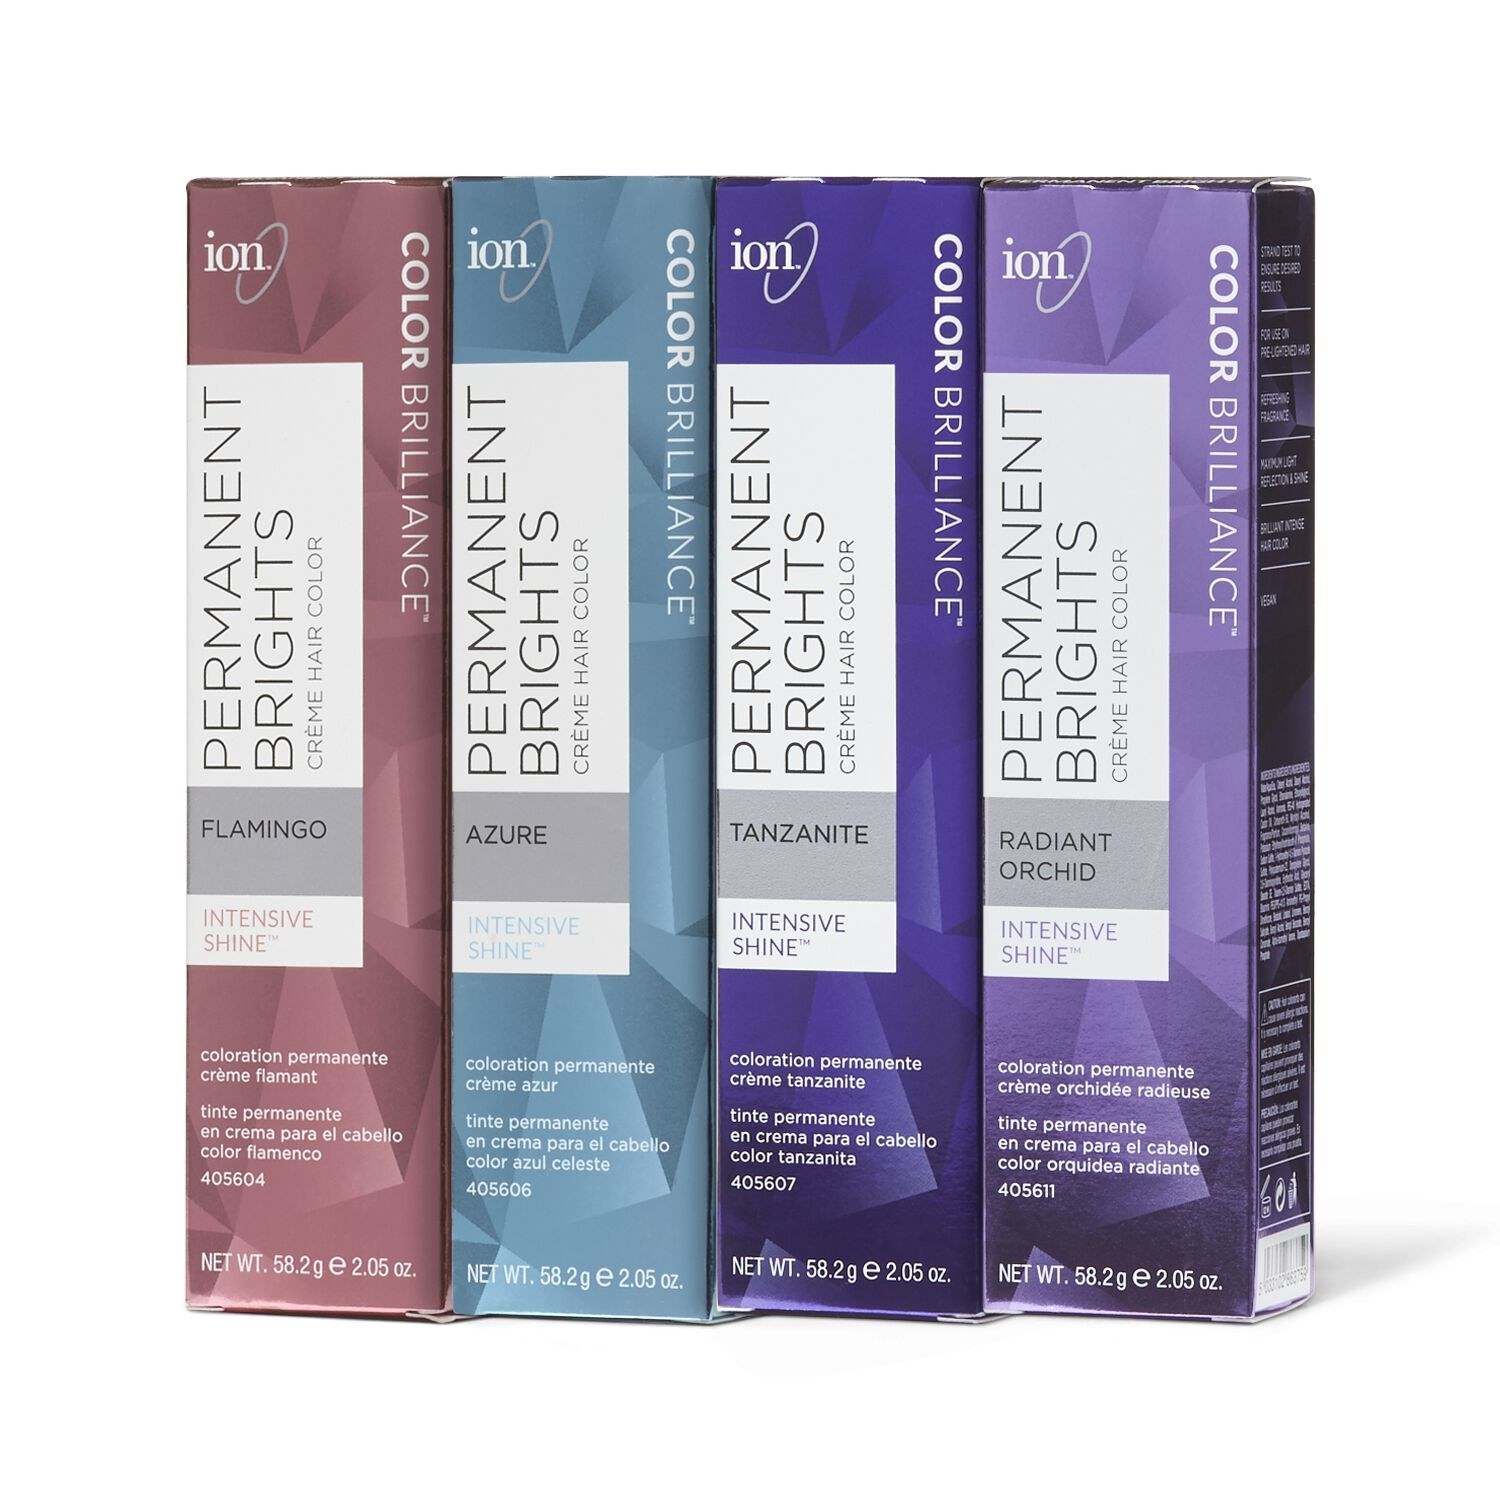
Sally Beauty sells products usually reserved for salons—brands like Ion Color Brilliance, Wella Color Charm, or Schwarzkopf. These brands require you to mix the color tube with a separate developer. This gives you control, but it also places the burden of chemistry entirely on your shoulders. Choose the wrong developer or miscalculate your processing time, and your hair will pay the price.
Sally Beauty Dye Exposed: Are You Making These Critical Errors?
1. Guessing Your Developer Volume
One of the most common errors when buying hair color from Sally Beauty is grabbing a 30-volume or 40-volume developer just because you want a drastic change. Developer is the activation engine of permanent hair color. It lifts the cuticle so color can deposit or lighten the natural pigment.
- 10-Volume: Used for depositing color, toning pre-lightened hair, or going darker with no lift needed.
- 20-Volume: The standard for covering gray and lifting hair by one to two levels.
- 30-Volume: Lifts hair three levels, but causes significantly more damage.
- 40-Volume: Lifts hair up to four levels. It is intensely harsh and should rarely, if ever, be used at home.
Using a 40-volume developer on fine or previously chemically treated hair can literally melt your strands. Always match your developer to your specific color goal and your hair's current integrity.
2. Ignoring the Underlying Pigment Chart
When you bleach or lift hair, it goes through a predictable staging process: black to red, red to orange, orange to yellow, and finally pale yellow. Many DIY colorists pick a toner or a blonde dye off the Sally Beauty shelf, apply it to dark orange hair, and wonder why their hair looks brassy.
You must look at the color wheel. If your hair lifts to a yellow-orange, an ash blonde toner might not be enough to neutralize it. You need a toner with a blue or violet base to counteract those warm undertones. Ignoring the underlying pigment stage is the number one reason home hair dye jobs look muddy or orange.

3. Over-Processing the Ends
When applying permanent hair color or bleach, a major mistake is pulling the mixture from roots to ends every single time you touch up your hair. Permanent color deposits new pigment while also lifting natural pigment. If you overlap permanent color on already-dyed ends, you cause unnecessary buildup and damage.
Instead, use the "virgin application" rule:
- Apply the color to your mid-lengths and ends first if you are going darker.
- If you are doing a root touch-up, apply the color only to the new growth (remedial roots).
- Wait until the last 5 to 10 minutes of processing time before pulling the color through your ends just to refresh the tone.
4. Skipping the Strand Test
In our fast-paced world, nobody wants to wait an extra day to do a test strand. However, skipping this step can ruin your entire head of hair. Hair that has previous box dye, henna, or protein treatments can react unpredictably to professional hair color.
Mix a dime-sized amount of your Sally Beauty formula and apply it to an inconspicuous section of hair at the nape of your neck. Check for two things: unexpected color reactions (like green hair turning from hard water minerals reacting with ammonia) and structural integrity (does the hair feel gummy or stretchy?).
5. Miscalculating Mixing Ratios
Box dye is pre-mixed for you in a bottle, but professional color requires precision. Brands sold at Sally Beauty usually operate on specific mixing ratios, such as 1:1 or 1:2 (one part color to two parts developer).
Eyeballing the measurements or using kitchen measuring cups that have residue on them can completely throw off the chemical reaction. Always use a digital kitchen scale measured in grams to ensure your color-to-developer ratio is exact. An incorrect ratio can lead to under-processed color that fades in a week or hot roots that glow brighter than the rest of your head.
How to Rescue Damaged or Mismatched Hair
If you have already fallen victim to these common errors, do not panic. Avoid throwing another harsh chemical dye over your hair immediately, as this can lead to breakage. Instead, focus on bond-building treatments available at beauty supply stores, deep conditioning masks, and color-depositing glosses to neutralize unwanted tones safely. When in doubt, consult a licensed stylist to help correct your color safely.