Sally Beauty Hair Dye: The One Mistake Everyone Makes
Walking into Sally Beauty feels like unlocking a secret salon portal. Instead of the limited, one-size-fits-all options found in the supermarket aisle, you are greeted by floor-to-ceiling shelves of professional-grade brands like Wella Color Charm, Ion Color Brilliance, and L'Oréal Technique. But that freedom comes with responsibility. When shoppers transition from drugstore kits to Sally Beauty hair dye: the one mistake everyone makes (don't do it!) is treating professional color products like standard boxed dye and completely botching the developer selection.

At a supermarket, everything you need sits in one box: a tube of color, a pre-measured bottle of developer, cheap gloves, and an instruction leaflet. Sally Beauty doesn't work that way. The hair color tubes and the developer bottles are sold completely separately for a reason—and misunderstanding that dynamic is what leads to fried cuticles, hot roots, or muddy, patchy color.
Sally Beauty Hair Dye: The One Mistake Everyone Makes (Don't Do It!)
The single most destructive blunder DIY colorists make at Sally Beauty is either grabbing the wrong volume of developer or guessing the mixing ratio. Because drugstore kits conceal the chemistry behind pre-packaged bottles, many consumers assume developer is simply an "activator liquid" where any bottle will produce identical results.
In reality, developer is stabilized hydrogen peroxide. Its concentration dictates how much your hair cuticle opens, how much natural melanin is lifted, and how deeply the artificial pigment deposits. Choosing a developer off the shelf on a whim—or worse, grabbing a 40-volume jug because you think "stronger means better"—is the fastest route to chemical breakage and unintentional brassiness.
The Perils of Over-Lifting (The 30 and 40 Volume Trap)
Many first-time Sally shoppers assume that a higher number ensures the dye will "take" better. This is completely false. If you are depositing a dark brunette or vibrant copper over lighter or natural hair, using a 30 or 40-volume developer blasts open the hair cuticle unnecessarily, strips your natural pigment, and generates extreme warmth (orange and yellow undertones). The artificial dye molecules will then rinse out within two weeks because the blown-open cuticle can no longer trap the color.
The Under-Lifting Mistake
Conversely, some shoppers grab a 10-volume developer or a semi-permanent processing lotion when attempting to lift their natural shade two levels lighter with permanent dye. The result? Barely visible color, wasted product, and disappointment. Permanent hair dye requires sufficient oxygen release to lift and deposit simultaneously.
How to Choose the Right Developer for Your Sally Beauty Color
Before you check out, pair your chosen tube of color with the correct developer volume based on your specific hair goal:
- 10-Volume Developer (3% Peroxide): Used strictly for deposit-only coloring. Ideal for toners (like Wella Color Charm T18), demi-permanent dyes, darkening already lightened hair, or refreshing faded mid-lengths and ends without causing lift or damage.
- 20-Volume Developer (6% Peroxide): The universal standard. It provides 1 to 2 levels of lift on virgin hair and offers 100% gray coverage. If you are covering stubborn silver roots with permanent dye, 20 volume is almost always the correct companion.
- 30-Volume Developer (9% Peroxide): Offers 2 to 3 levels of lift. Use this only when lifting virgin hair significantly lighter using permanent color, or when mixing with powdered bleach for thick, dark hair. Never use 30 volume for standard toning.
- 40-Volume Developer (12% Peroxide): Reserved almost exclusively for high-lift blonde series on coarse, dark virgin hair. It should virtually never be applied directly to the scalp or used with standard permanent or demi-permanent shades.
The Secondary Error: Eyeballing the Mixing Ratios
Once you purchase the right developer, the second half of this common pitfall happens in the bathroom: eyeballing the mixture into a bowl. Drugstore color is pre-measured, but professional products rely on precise chemical formulations.
Video: Hair Color Fails & How to Avoid Them | DIY University by Sally Beauty
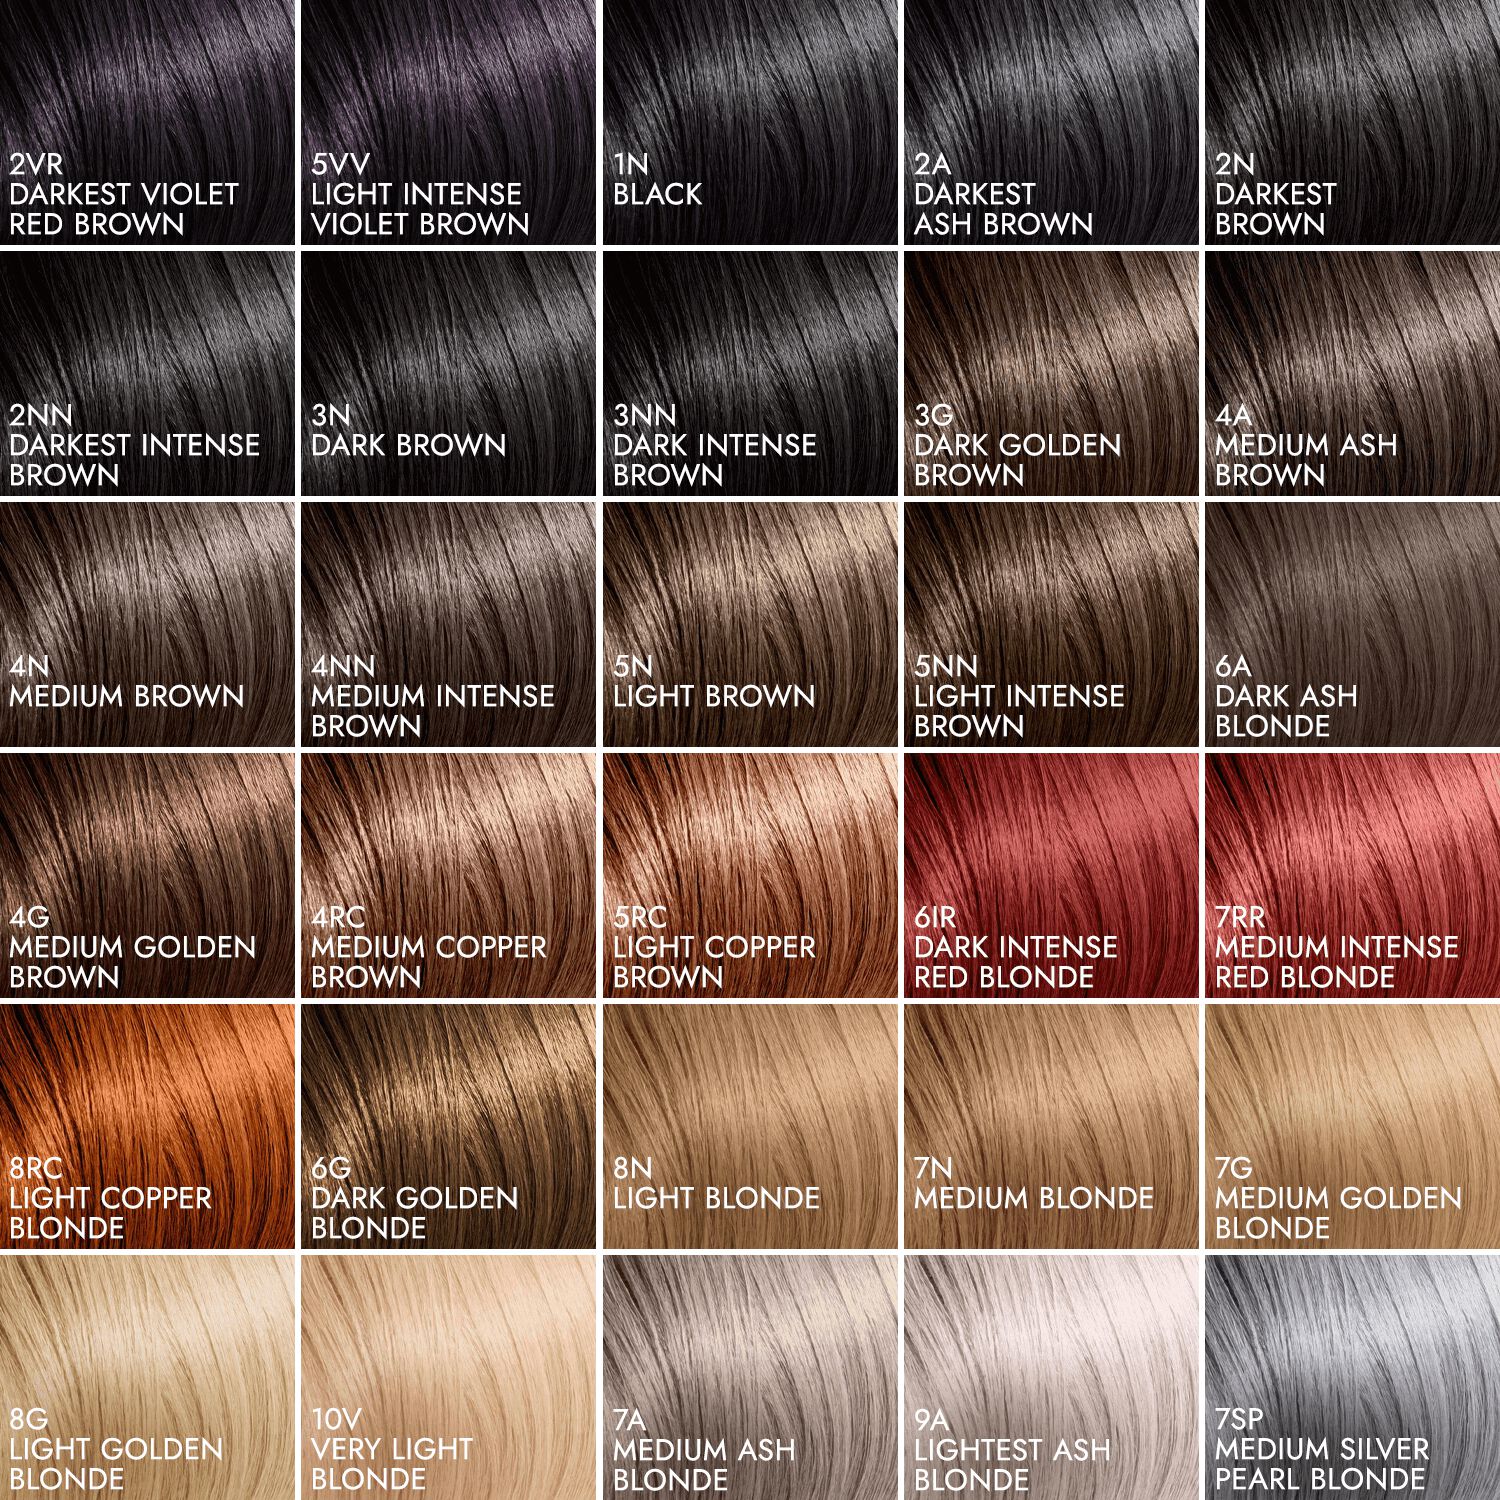
Most Sally Beauty permanent crème colors (such as Ion Color Brilliance) follow a 1:1 ratio—meaning equal parts color and developer. However, brands like Wella Color Charm liquid colors frequently use a 1:2 ratio (one part color to two parts developer). High-lift blondes often require a 1:2 ratio as well.
- If you add too much developer: The formula becomes diluted. It will run down your neck, fail to deposit rich pigment, and lift natural hair more than desired, leaving you with translucent, brassy results.
- If you add too little developer: The dye will not fully oxidize. The color will appear overly dark, muddy, and will fade quickly because the chemical reaction was cut short.
The Fix: Leave the measuring spoons in the kitchen. Pick up an inexpensive plastic applicator bottle with measurement markings or a small digital kitchen scale from Sally Beauty. Measuring your product in grams or fluid ounces guarantees uniform, predictable color every time.
Three More Sally Beauty Traps to Steer Clear Of
While the developer dilemma is the primary culprit behind home hair dye disasters, several other easy-to-avoid mistakes ruin DIY salon days:
1. Overlapping Permanent Color on Previously Dyed Ends
Permanent color is formulated to shift natural hair; it does not lift existing artificial dye. If your hair is already dyed medium brown and your roots have grown in, apply permanent color only to the new growth. Pulling permanent dye through your ends every month creates "color buildup," turning ends nearly black, brittle, and incapable of reflecting light. Use a matching demi-permanent gloss on the ends during the last 10 minutes of processing instead.
2. Mixing in Metal Bowls
Never grab a kitchen mixing bowl or metal whisk. The hydrogen peroxide in developer reacts chemically with metal, which can compromise your dye formulation, turn hair strange tones (including greenish casts), and cause rapid heat build-up that damages strands. Stick to non-metallic plastic, silicone, or glass bowls and tint brushes.
3. Skipping Porosity Equalizers and Bond Builders
Salon colorists always account for hair damage before applying tint. Highly porous hair (hair that has been heat-styled, bleached, or previously colored) absorbs dye unevenly, often resulting in drab, over-toned ends. Picking up an inexpensive porosity equalizer spray or a bond-building additive (like the Ion Absolute Perfection Booster) at Sally Beauty ensures the color applies evenly across all sections of your hair.
Your Foolproof Sally Beauty Color Checklist
Next time you head down the color aisle, make sure these items are in your basket before you head to the cash register:
- Your chosen tube(s) of professional hair dye or toner.
- The correct volume of dedicated developer (stick to the same brand as the color whenever possible for predictable consistency).
- A plastic tint bowl and application brush.
- A clear applicator bottle with ounce/milliliter indicators (or a digital scale).
- Non-metallic sectioning clips to work cleanly.
- A processing cap to trap body heat and keep the formula moist while it works.
Switching to professional-grade color from Sally Beauty allows you to customize your formula, save money, and get superior shine and longevity. Just remember: respect the chemistry. Read the packaging for the exact mixing ratio, select the correct developer volume for your baseline, and leave the guessing game behind.