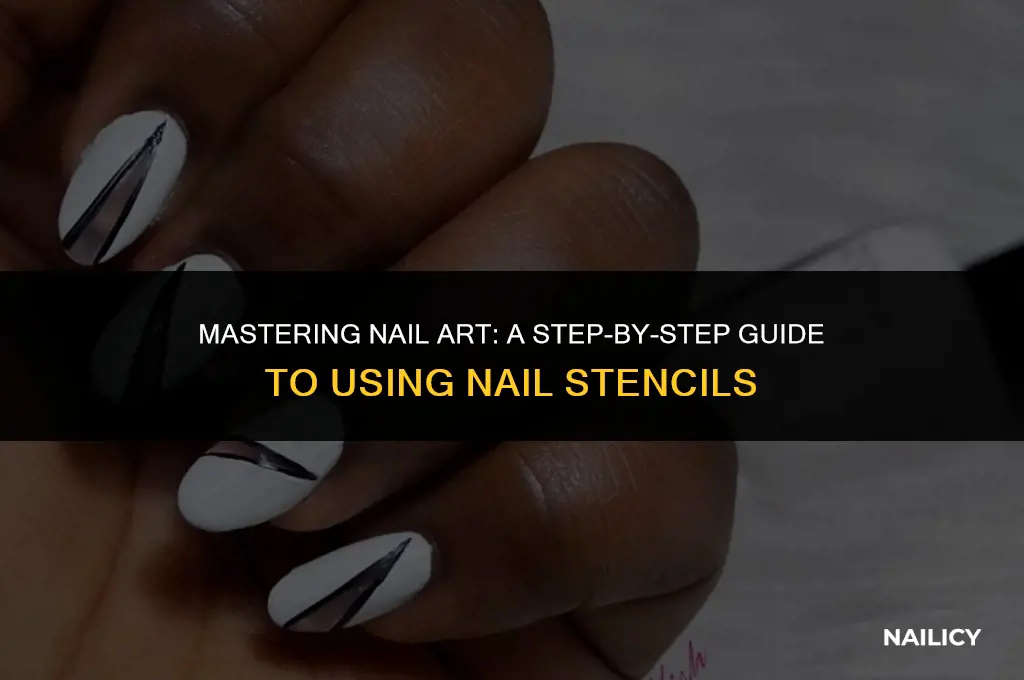
Salon-Quality Nails in Minutes: Fingernail Stenciling
Intricate nail art has historically demanded hours of patient freehand painting or an expensive appointment with a boutique nail technician. For anyone who has ever tried painting clean geometric lines, delicate lace, or symmetrical chevron patterns on their non-dominant hand, the frustration is familiar. Fortunately, you can create salon-quality nails in minutes with fingernail stenciling, eliminating the guesswork and delivering crisp, professional patterns right at your kitchen table.

Fingernail stenciling bridges the gap between basic single-color polishes and complex salon designs. Whether you work with conventional lacquer or LED-cured gel, mastering this straightforward technique unlocks endless creative possibilities with minimal time investment.
What Is Fingernail Stenciling?
Fingernail stenciling uses ultra-thin, adhesive vinyl templates or flexible silicone masks applied directly to the nail plate. These stencils act as a physical barrier, allowing polish to reach only designated areas while protecting the base color underneath.
Nail stencils generally fall into two categories:
- Positive Stencils: The cutout design is where the polish goes, leaving a defined graphic—such as a star, heart, or silhouette—in a new color over your base.
- Negative Space Stencils: The vinyl covers the main portion of your nail, leaving narrow cutouts exposed to create stripes, grids, or geometric patterns.
- Adhesive Nail Vinyls: Single-use stickers made from flexible medical-grade or crafting vinyl that grip the nail curvature securely to prevent paint from seeping underneath.
Essential Tools and Supplies
To achieve clean, razor-sharp lines without bleeding or smudging, assembling the right workstation makes all the difference. You do not need commercial salon equipment, but you do need the following essentials:
- High-Quality Nail Stencils/Vinyls: Choose flexible vinyls designed specifically for nails rather than standard paper craft tape, which lacks the pliable adhesion needed for curved nail surfaces.
- Base and Accent Polishes: Highly pigmented, one-coat polishes work best. Cream lacquers and specialized stamping polishes yield sharper results than sheer or watery formulas.
- Quick-Dry Base and Top Coats: A robust quick-dry top coat protects your base layer from peeling when the stencil is removed.
- Makeup Sponge Wedge (Latex-Free): Using a sponge to dab polish over the stencil deposits pigment evenly without flooding the edges.
- Fine-Tipped Tweezers: Essential for peeling vinyls off backing sheets and removing them cleanly from your nails.
- Liquid Latex or Cuticle Barrier: Applying a peelable barrier around your nail fold minimizes skin cleanup.
- Cleanup Brush and Pure Acetone: A small, angled brush cleans up stray lines around the eponychium and sidewalls.
Create Salon-Quality Nails in Minutes with Fingernail Stenciling
Executing pristine stencil art comes down to timing, adhesion, and controlled application. Follow this six-step method to ensure flawless execution every time.
Step 1: Prep and Lay the Foundation
Start with clean, dehydrated nail beds wiped down with isopropyl alcohol. Apply your preferred base coat, followed by one to two coats of your chosen base color. Allow this layer to dry completely. If you are using traditional lacquer, apply a quick-dry top coat and wait at least 15 to 20 minutes. If the base polish remains even slightly soft, the adhesive stencil will lift it right off the nail.
Step 2: Position the Stencil with Precision
Using tweezers, peel the stencil carefully from its backing sheet. Place it deliberately onto your nail. Once positioned, press the stencil firmly against the nail plate, paying special attention to the lateral sidewalls and the cuticle curve. Use a silicone cuticle pusher or the pad of your finger to smooth down any microscopic air bubbles or lifted edges where wet polish could seep.
Step 3: Protect Surrounding Skin
Paint a thin layer of liquid latex or peel-off tape around the skin surrounding the nail. While optional, this step saves minutes of meticulous acetone cleanup later, especially when using dabbing techniques.
Step 4: Apply the Accent Polish
Instead of brushing heavy polish directly from the bottle over the stencil—which often pools and bleeds underneath—use the sponge method. Paint a stripe of your contrasting polish onto the corner of a cosmetic wedge sponge, then gently tap the sponge over the stencil cutouts. Sponge application deposits dense pigment while soaking up excess solvent, creating crisp edges and eliminating brush strokes.

Step 5: Remove the Stencil Immediately
Do not wait for the accent polish to dry. As soon as you finish dabbing the color, grab the corner of the stencil with your tweezers and pull it away in a smooth, continuous motion at a low 45-degree angle. Removing the stencil while the polish is still wet ensures sharp, clean separation rather than ragged edges caused by dried film.
Step 6: Seal and Protect
Allow the fresh stencil design to set for two to three minutes. To prevent smearing the crisp edges, apply your top coat with a "floating" technique: load a generous bead of top coat onto the brush and guide it across the nail without allowing the bristles to directly drag against the design. Cap the free edge to prevent premature chipping.
Advanced Stenciling Techniques to Try
Once you are comfortable with basic single-color stenciling, explore these creative variations to expand your nail art repertoire:
- Multicolor Ombré Stencils: Apply two or three harmonious colors side-by-side on your makeup sponge, then dab across the stencil to create a seamless gradient within the patterned cutouts.
- Chrome and Metallic Accents: If using gel polish, apply a no-wipe gel top coat over your stencil, cure it partially for 30 seconds, and burnish chrome pigment powder over the exposed areas before peeling away the stencil.
- Layered Stencil Collages: Build depth by stenciling a background layer in a muted tone, sealing it with a fast-dry coat, and applying a second stencil with a bolder, metallic shade over top.
Troubleshooting Common Stenciling Problems
Even seasoned manicurists occasionally encounter stenciling hiccups. Here is how to diagnose and resolve the most common issues:
Bleeding Edges
If lines appear fuzzy or colors bleed under the stencil, the vinyl was either not adhered fully along the curves, or the polish was applied too wet. Always press the edges down thoroughly right before painting, and switch to a sponge applicator to control liquid volume.
Base Coat Peeling Off
If the stencil pulls up your base color, the underlying polish had not cured or dried thoroughly. Ensure your base is set rock-hard—ideally reinforced with a quick-dry top coat—before placing any adhesive stencil on the surface.
Torn or Stringy Designs
Ragged edges happen when the accent polish dries partially before the stencil is removed. The drying polish forms a continuous skin that tears as the stencil lifts. Work one nail at a time, removing the stencil immediately after dabbing the polish.
The Fast Track to Professional Manicures
Fingernail stenciling delivers high-impact, symmetrical nail designs without requiring steady-handed artistic talent or hours of free time. By keeping your base thoroughly dry, pressing down stencil edges, and removing templates while the accent color is wet, you can consistently produce crisp, salon-grade nail art right from home in just minutes.