Salon-Worthy Coffin Acrylic Nail Design Tutorials
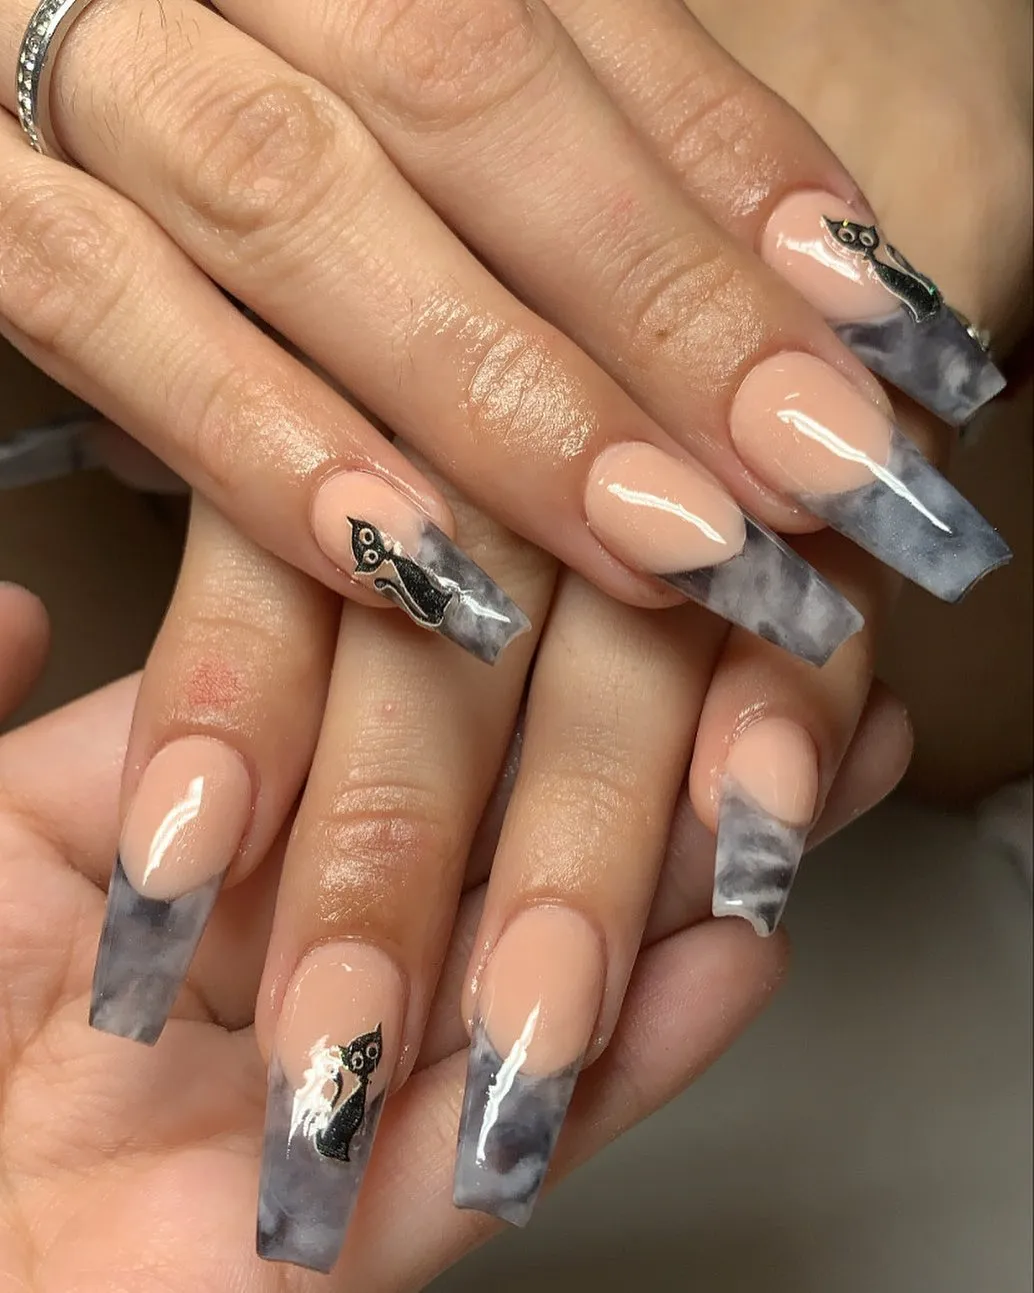
Coffin nails—also known as ballerina nails—remain one of the most requested shapes in professional nail salons worldwide. Characterized by long, straight sidewalls that taper gently inward toward a clean, flat-topped square tip, this silhouette elongates the fingers while offering a broad canvas for creative artwork. While high-end salon sets can easily cost upward of eighty to one hundred dollars, mastering this look at home is entirely within reach. You can achieve salon-worthy nails with these coffin acrylic nail design tutorials by focusing on proper nail prep, accurate acrylic bead control, and structured filing.
The Anatomy and Preparation of a Perfect Coffin Shape
Before diving into individual designs, you must master the structural foundation. A weak structure or poorly prepped natural nail will lead to premature lifting, snapping, or misshapen edges regardless of how beautiful the nail art looks on top.
Essential Tools and Chemistry
- 100/180-grit hand files and a 240-grit buffer: For shaping sidewalls and smoothing the acrylic surface.
- Pure acetone and lint-free wipes: For surface cleaning and tool maintenance.
- Nail dehydrator and acid-free primer: Essential chemical agents to strip natural oils and create a double-sided adhesive bond between keratin and acrylic.
- High-quality EMA liquid monomer: Always use ethyl methacrylate (EMA), never harmful dental-grade MMA (methyl methacrylate).
- Size 8 or 10 Kolinsky acrylic brush: Natural hair brushes retain the right balance of monomer to pick up consistent powder beads.
- Clear, nude, and colored acrylic powders: Finely milled polymers ensure smooth, bubble-free application.
Prepping and Tipping
Begin by gently pushing back the eponychium (cuticle area) using a stainless steel cuticle pusher. Remove the non-living tissue from the nail plate, then lightly buff away the natural shine using a 240-grit buffer in one direction. Apply dehydrator followed by two coats of acid-free primer.
When applying full-cover or half-cover tips, select a tip that matches the exact width of your natural nail bed from sidewall to sidewall. If using tapered square tips, use a tip cutter to establish your desired length, then use a 100-grit hand file held at a 45-degree inward angle to file the outer edges into a uniform taper before applying product.
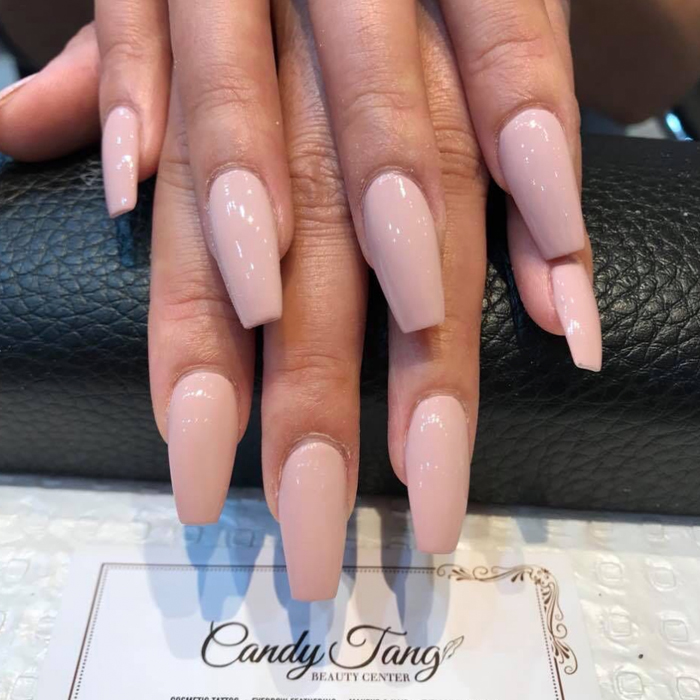
Tutorial 1: The Classic Nude Coffin with High-Gloss Apex
This timeless style focuses on clean architecture, seamless cuticle blending, and glass-like clarity. It serves as the baseline for every acrylic set you will ever create.
Step-by-Step Application
Video: [Part 2: Design] 🇵🇷Puerto Rico Long Coffin Nails Design Inspo |ACRYLIC NAILS Tutorial REAL TIME
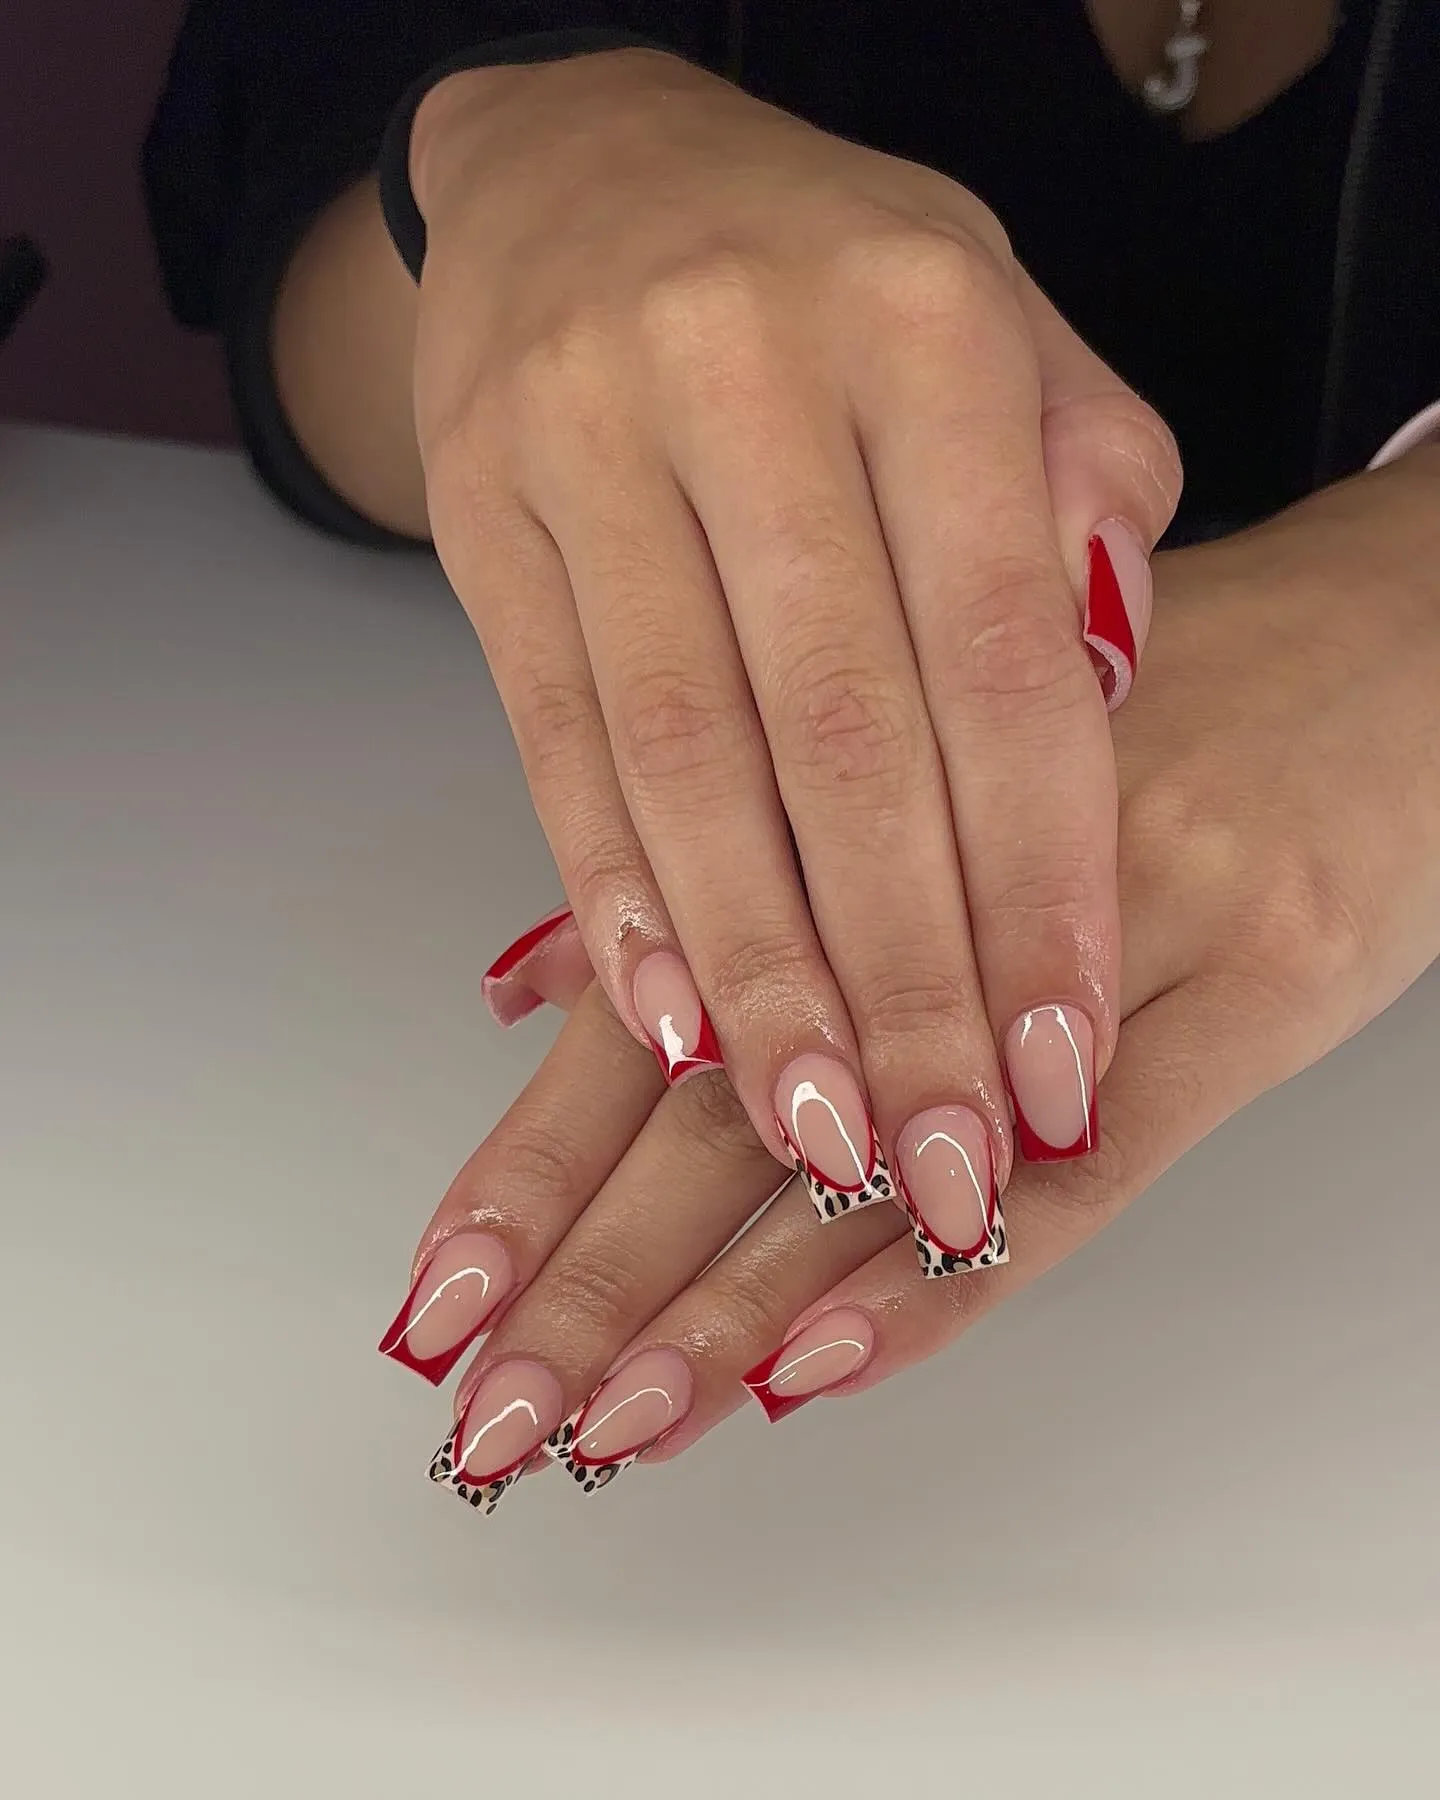
- Create your foundation bead: Dip your brush into the monomer, wipe one side against the rim of your dappen dish to control saturation, and dip the tip into a cover nude powder for two seconds. You want a medium-wet bead that looks like a smooth pearl.
- Build the stress zone (apex): Place the bead directly in the center of the nail (zone 2), where the natural free edge meets the plastic tip. Gently press and guide the acrylic toward the sidewalls, then stroke down toward the free edge. This creates the structural apex needed to keep long coffin nails from breaking.
- Blend the cuticle zone: Pick up a smaller, wetter bead. Place it 1 millimeter away from the cuticle line. Feather the edges flat against the natural nail plate so there is no ridge. A flush cuticle prevents snagging and lifting as the nail grows out.
- Square the tip: Place a third small bead at the free edge to reinforce the flat tip. Keep the thickness uniform—roughly the thickness of a credit card at the free edge.
- Filing and finishing: Once the acrylic makes a distinct clicking sound when tapped with your brush handle (typically 3 to 4 minutes), begin filing. Hold your file parallel to the side of the finger to keep the taper straight. File the top edge at an exact 90-degree angle to create the crisp, flat coffin top. Finish with a non-wipe gel top coat and cure under an LED lamp for 60 seconds.
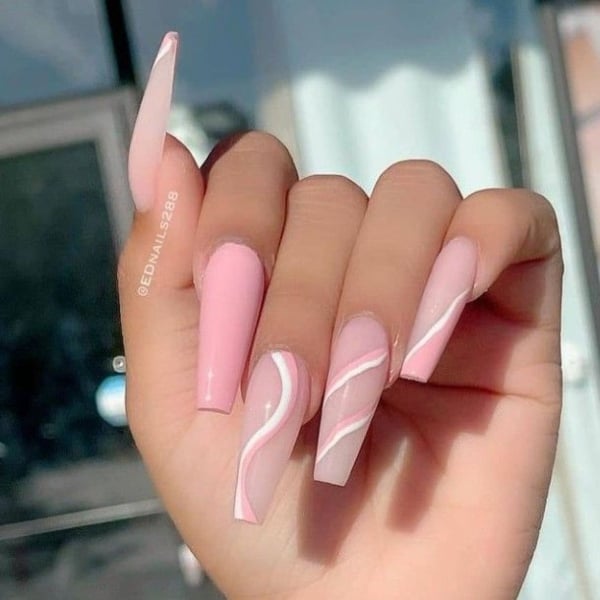
Tutorial 2: The French Ombré (Baby Boomer) Coffin
The baby boomer combines soft, milky white tips with a translucent pink nail bed, eliminating the harsh line of a traditional French manicure. The coffin shape elevates this subtle gradient into an elegant statement look.
Step-by-Step Application
- Tip application: Place a firm, medium bead of bright or soft white acrylic at the free edge of the tip. Work the bead across the width, keeping the flat square tip sharp.
- Fade the white: Using the belly of your brush, lightly feather the upper edge of the white acrylic backward toward the middle of the nail bed, thinning it out as you move upward.
- Apply the cover pink: Pick up a wet bead of semi-translucent blush or cover pink acrylic. Place it just below the cuticle line and sweep it downward over the feathered white area. The overlap creates an effortless, airbrushed ombré transition.
- Cap in clear acrylic: Because filing an uncapped ombré can buff away the gradient, apply a thin layer of clear acrylic powder over the entire nail from cuticle to tip. This protects the color blend during the final shaping phase.
- Contour file: Buff the clear cap smooth, refine your tapered coffin sidewalls, and seal with a high-shine gel top coat.
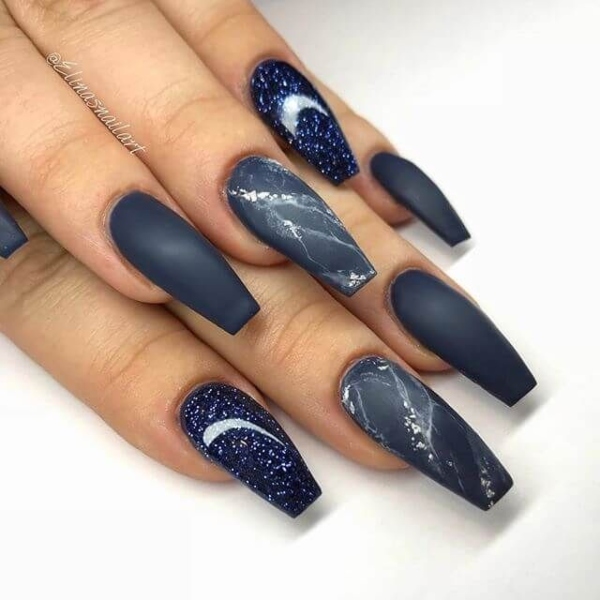
Tutorial 3: Smoky Quartz Marble with Gold Foil Accents
Marble nails look intricate and expensive, but the technique relies entirely on working wet-on-wet with acrylic and gel polish.
Step-by-Step Application
- Build the base: Lay down a sheer nude or semi-opaque milky white acrylic base across the coffin structure and let it cure completely.
- Lay down blooming gel: Brush an even layer of clear blooming gel (or wet clear gel base coat) over the nail without curing it in the lamp.
- Vein the stone: Dip a fine detail striper brush into deep charcoal gray or black gel polish. Draw soft, organic zigzag lines diagonally across the nail. Watch as the wet base disperses the pigment into smoky, translucent veins. Flash-cure for 15 seconds.
- Add depth and foil: Deepen select intersections of the veins with a second, thinner pass of dark gel polish. Using tweezers, press small flecks of gold leaf foil into the sticky dispersion layer along the sides of the veins.
- Final seal: Cure completely for 60 seconds, then cap with a thick layer of builder gel or clear top coat to smooth the surface and seal the foil edges securely inside the coffin profile.
Achieve Salon-Worthy Nails with These Coffin Acrylic Nail Design Tutorials: Pro Tips for Longevity
Even the most striking design will lose its impact if structural mistakes occur during application. Use these professional salon guidelines to ensure your manicures last three to four weeks without chipping or peeling.
- Master the 45-degree angle: When filing the tapered sidewalls of a coffin nail, never file inward past the natural sidewall groove. Over-filing this point creates a structural pinch that causes the nail to snap under everyday pressure.
- Monitor room temperature: Acrylic polymers set faster in warm environments and slower in cold rooms. If your product is running into your cuticles, lower your workspace temperature or use a slightly drier bead.
- Keep the free edge sharp: A true coffin nail requires an uncompromising horizontal edge. Keep your file strictly perpendicular to the finger length when finishing the tip; rounding the corners turns the shape into an unintentional ballerina or squoval hybrid.
- Hydrate the matrix: Daily application of pure jojoba oil around the cuticles preserves flexibility in both the natural nail and the cured acrylic, preventing brittle fractures when the hands endure accidental impacts.
Creating beautiful acrylic extensions takes practice and patience. Work slowly through one hand at a time, concentrate on bead wetness and symmetry, and apply these step-by-step methods to produce resilient, pristine coffin nails from your home setup.