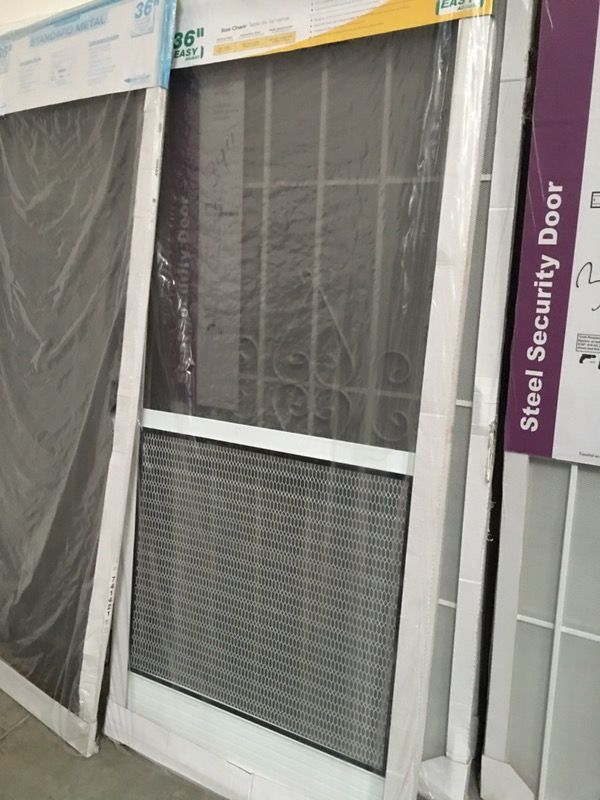
Screen Door 35x80: Stop Throwing Money Away!
If you just pulled out a tape measure and realized you need a screen door 35x80, your first instinct was probably to check the local home improvement store. You likely hit a brick wall immediately. Retail shelves are packed with standard 32x80 and 36x80 models, but a true 35-inch width is nowhere to be found in the stock aisle. At that point, a sales associate might have offered to place a custom order—often quoting between $350 and $800 for what should be a simple barrier against flies.

Before you hand over your credit card, take a step back. That non-standard measurement is one of the most common stumbling blocks in residential exterior repairs, but paying a custom manufacturer is rarely the right move.
Why a 35x80 Screen Door Measurement Is a Trap
Understanding why your doorway measures 35 inches wide by 80 inches tall will save you hundreds of dollars. Exterior doors in North America follow standard sizing conventions. The most common front and rear entry door is nominally 36 inches wide by 80 inches tall.
However, when builders finish an exterior door frame, the interior face of the brick mould or exterior casing often reduces the visible opening. Depending on how the trim was installed, how the siding overlaps the jamb, or how an older home has settled, a nominal 36-inch rough opening frequently measures exactly 35 to 35-1/2 inches between the mounting surfaces.
Homeowners make two expensive mistakes when they see this number:
- They order a custom 35x80 aluminum door: Custom builds carry heavy fabrication and freight premiums, yet offer no functional advantage over standard doors.
- They force a 36-inch aluminum door to fit: Buying a standard 36x80 metal door and trying to bend, crush, or force the mounting flanges into a 35-inch gap results in binding latches, twisted hinges, and ruined frames.
Screen Door 35x80: Stop Throwing Money Away – Do This Instead
Rather than pouring money into a custom order, choose one of these proven, budget-friendly alternatives designed specifically to handle off-standard openings.
1. Use a Trimmable Wood Screen Door
Traditional wood screen doors are the most flexible and affordable solution for a 35-inch opening. You can purchase a standard 36x80 wood screen door for roughly $40 to $120. Most quality solid-wood doors feature side stiles that are 3 to 4 inches wide, leaving plenty of meat for modification.
Using a circular saw with a fine-finish blade or a hand planer, you can easily remove 1/2 inch from each side of the door. This narrows the door to 35 inches while keeping the visual proportions balanced and structural joints intact. A coat of exterior paint or spar urethane seals the cut edges, giving you a custom fit for a fraction of the price.
2. Install a Surface-Mount Retractable Screen
If you want a modern, low-profile look, a retractable screen door is an ideal alternative. Unlike rigid hinged doors that sit inside the door stop, retractable screens mount directly to the face of the exterior trim or brick mould.
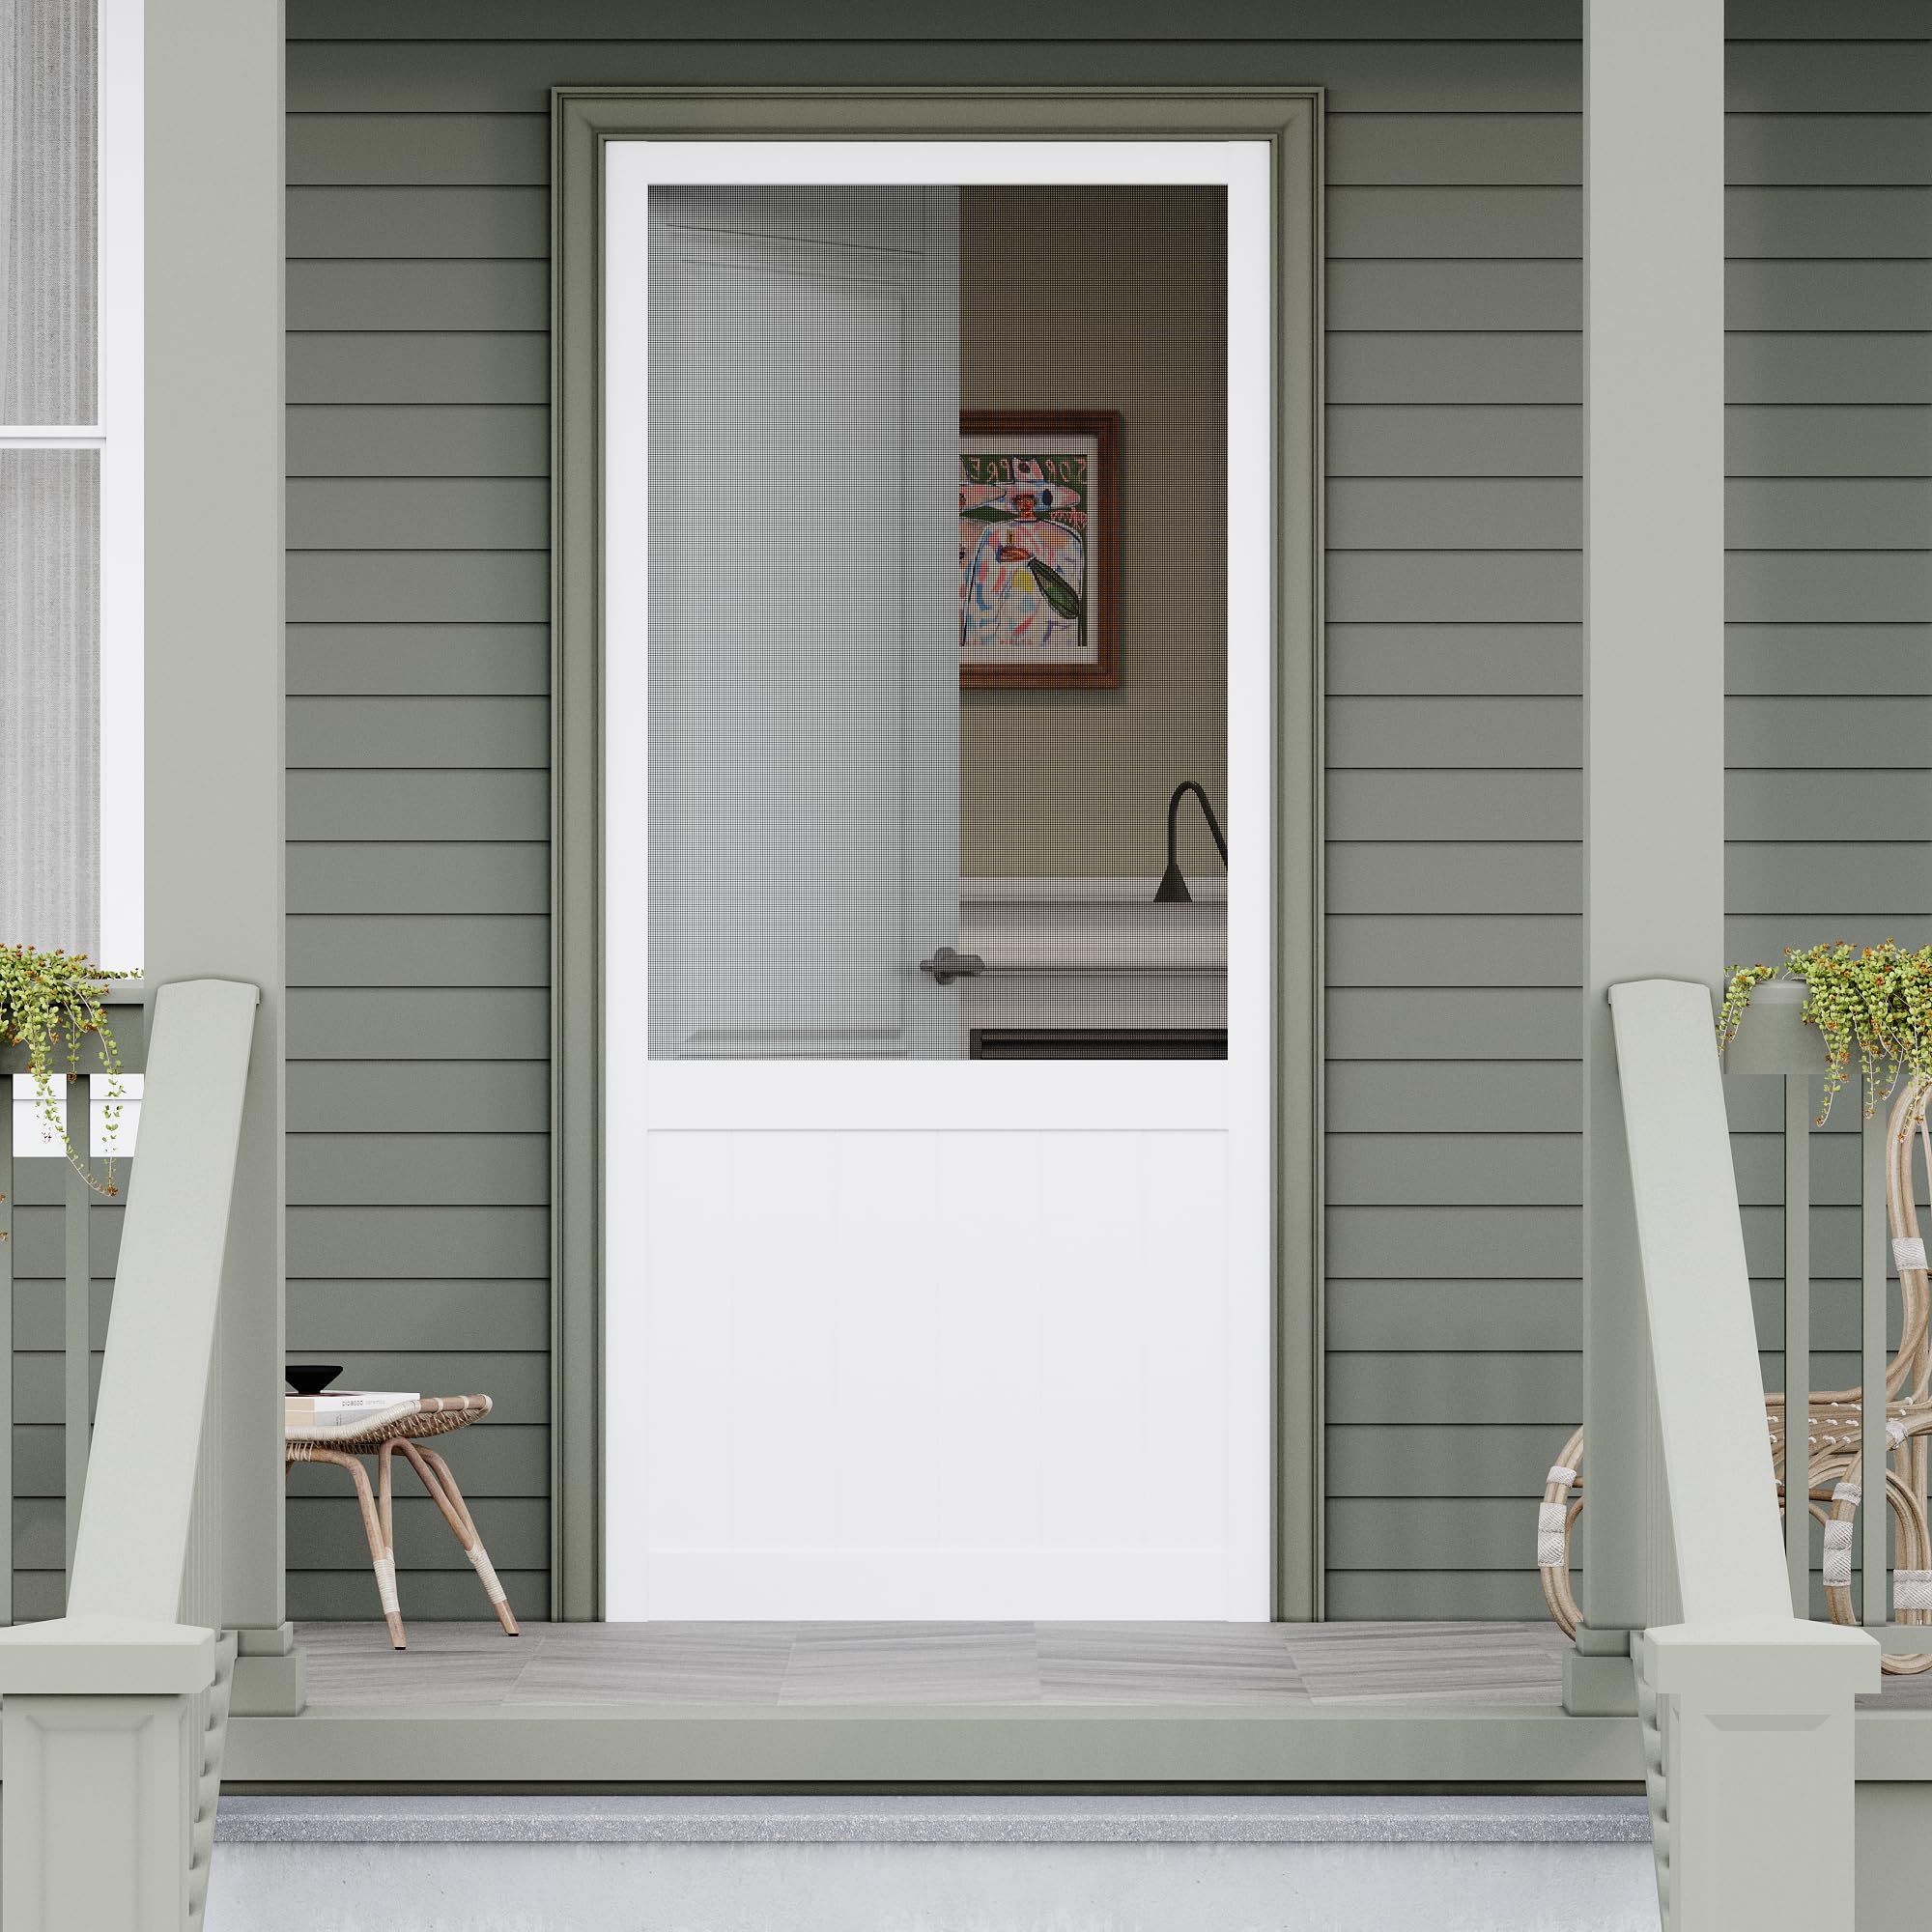
Many modern retractable screen cassettes are engineered with adjustable telescoping tracks or aluminum housings that you can cut down with a standard hacksaw. A single kit typically accommodates openings from 32 inches to 36 inches wide without requiring special ordering fees.
3. Take Advantage of Aluminum Expander Channels
Many standard 34-inch or 36-inch aluminum screen doors come equipped with side and bottom expanders—U-shaped aluminum channels fitted over the edges of the door slab. If your opening is 35 inches:
- A standard 34-inch door equipped with wide side expander Z-bars can bridge gaps up to 35-1/4 inches.
- Some 36-inch storm and screen door kits are designed for openings measuring 35-7/8 to 36-3/8 inches. By removing extra shims or trimming the mounting Z-bar flange slightly, standard units can often fit an opening that initially looked too tight.
4. Re-Screen Your Existing Frame
If you are trying to replace an older 35x80 screen door simply because the mesh is torn, the spline is brittle, or the latch is loose, stop looking for a replacement door entirely. A full rebuild of the existing screen components costs under $30 in materials:
- Remove the door from its hinges and lay it flat across two sawhorses.
- Pull out the old rubber spline using an awl or small flathead screwdriver.
- Roll out new fiberglass or pet-resistant mesh over the frame.
- Press new spline into the groove using a dual-wheel spline roller tool, keeping even tension.
- Trim the excess mesh with a utility knife and replace worn surface-mount hardware.
How to Measure Accurately Before You Buy
Before purchasing any materials or tools, verify your measurements using the three-point method. Older door jambs rarely remain perfectly square over time.
- Measure the Width: Measure horizontally between the inside faces of the exterior trim at the top, the middle (near the latch), and the bottom. Write down all three numbers. Use the narrowest measurement when determining fit.
- Measure the Height: Measure vertically from the top jamb down to the door sill at both the left side, center, and right side. Use the shortest measurement.
- Check for Square: Measure diagonally from the top-left corner to the bottom-right corner, then from top-right to bottom-left. If the two measurements differ by more than 1/4 inch, your frame is out of square, and a trimmable wood door will be much easier to install than a rigid metal one.
- Inspect Trim Depth: Ensure your exterior casing has at least 1 inch of flat mounting surface depth so the hinges and latch strike have solid wood backing.
Step-by-Step: Trimming a Wood Door to 35 Inches
If you decide to trim a standard 36x80 wood screen door down to 35 inches, follow this simple process to ensure clean, splinter-free cuts:
- Calculate the cut: Subtract your required width (35 inches minus 1/4 inch for hinge and latch clearance = 34-3/4 inches) from the actual door width (36 inches). In this case, you need to remove 1-1/4 inches total.
- Divide evenly: Remove 5/8 inch from the hinge side and 5/8 inch from the handle side. Splitting the difference keeps the frame symmetrical.
- Score your cut lines: Mark the cutting line with a straightedge, then score deeply along the line using a utility knife. Scoring prevents the circular saw blade from tearing out the surface wood fibers.
- Clamp a straightedge guide: Clamp a level or metal rule parallel to the cut line to serve as a guide fence for your saw shoe.
- Make the cuts: Run your saw at high speed using a 40-tooth or 60-tooth carbide blade. Sand the cut edges with 120-grit sandpaper.
- Seal the bare wood: Apply two coats of exterior primer and paint (or exterior stain and sealant) to the cut edges before mounting your hardware. Never leave raw end grain exposed to outdoor humidity.
Final Verdict: Keep It Simple and Save
Seeing a 35x80 measurement on your tape measure can feel frustrating, but it doesn't mean you need a bespoke fabrication job. By choosing a trimmable wood frame, utilizing an adjustable retractable kit, or simply repairing the components you already own, you can finish the project over a single weekend while keeping hundreds of dollars in your pocket.