U-Haul Trailer Hitch Installation: Cost & Guide
Adding a receiver hitch to your car, crossover, SUV, or truck opens up a world of utility, from pulling utility trailers and campers to mounting heavy-duty bike racks. If you are not equipped with mechanical tools, jack stands, or the time to bolt steel directly to your chassis, professional fitting is the safest route. A U-Haul trailer hitch installation is one of the most widely available and convenient options across North America, but understanding what it costs, how the process works, and which accessories you actually need will save you time and money.
How Much Does U-Haul Trailer Hitch Installation Cost?
The total price of getting a hitch installed at U-Haul generally ranges between $200 and $600, depending on your vehicle make and model, the hitch class required, and whether you need electrical wiring.
Unlike shops that quote a single flat rate, U-Haul calculates costs à la carte:
- Hitch receiver: $130 to $300+. Basic passenger car hitches sit on the lower end, while heavy-duty hitches for modern full-size trucks or luxury SUVs cost more.
- Installation labor: $50 to $150. Labor rates depend on installation complexity. Vehicles requiring rear bumper fascia trimming or exhaust lowering take longer and cost slightly more.
- Wiring harness and installation: $30 to $120. If you only plan to carry a bicycle rack or cargo carrier, you can skip wiring. If you plan to tow any trailer, functional tail, brake, and turn signal lights are legally required.
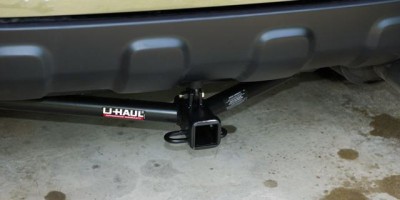
- Ball mount, pin, and hitch ball: $25 to $60. The hitch receiver is only the frame tube; the removable insert that holds the ball is sold separately.
U-Haul also offers an optional Hitch Lifetime Warranty for around $5. This warranty covers the hitch receiver itself against collision damage, rust, and fatigue for as long as you own the vehicle—one of the best values in the towing industry.
Understanding Hitch Classes Before You Book
U-Haul carries hitches manufactured primarily by industry leaders like Curt and Draw-Tite, tailored directly to vehicle-specific bolt patterns. Before scheduling, determine what hitch class your vehicle can safely accommodate and what your cargo requires.
Class I and Class II Hitches
Designed primarily for compact cars, sedans, and light crossovers. These hitches feature a smaller 1-1/4-inch receiver opening. Class I hitches handle up to 2,000 lbs gross trailer weight (GTW), while Class II handles up to 3,500 lbs. They are ideal for 2-bike racks, small cargo platforms, or lightweight single-axle utility trailers.
Class III Hitches
The most versatile and common receiver size on the market. Class III hitches feature a standard 2-inch receiver tube and support weights between 3,500 and 8,000 lbs depending on the chassis. If your vehicle can accommodate a Class III hitch, choose it even if you only need a bike rack, as the 2-inch format offers far greater accessory compatibility.
Class IV and Class V Hitches
Engineered for full-size pickups and large body-on-frame SUVs. Class IV hitches utilize a 2-inch receiver and handle up to 10,000–12,000 lbs. Class V hitches use a 2.5-inch or 3-inch receiver and can tow up to 16,000–20,000 lbs, designed for heavy construction trailers, horse trailers, and large toy haulers.
Step-by-Step: The U-Haul Trailer Hitch Installation Process
Booking and completing an installation through U-Haul follows a standardized system. Knowing what happens at each stage helps ensure a smooth appointment.
1. Online Lookup and Custom Quote
The easiest way to schedule is through the U-Haul hitch portal. You enter your vehicle’s year, make, model, and trim. The system automatically filters out incompatible parts and displays custom-fit hitches, exact labor times, and compatible wiring kits.

2. Parts Delivery to the Selected Center
Not all company stores stock every single hitch model on-site. When you book online, the system typically schedules your appointment a few days out to allow the warehouse to ship the exact hitch, wiring harness, and vehicle-specific hardware kit directly to your chosen service center.
3. Dropping Off the Vehicle
On installation day, drive the vehicle to the U-Haul location. Plan to leave the car for 2 to 4 hours. While the actual physical wrenching often takes 45 to 90 minutes, check-in, lift availability, and final electrical testing require a buffer.
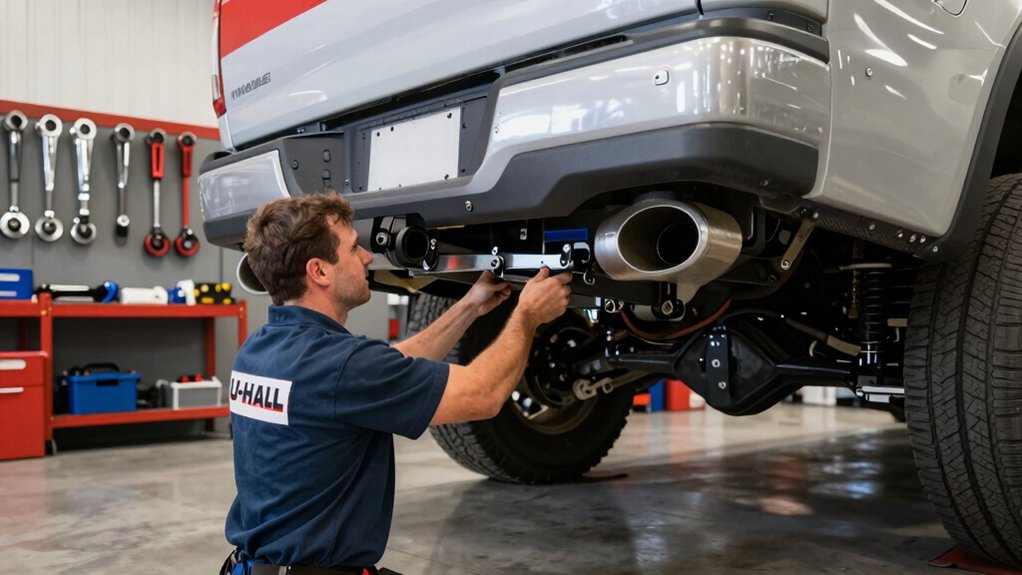
4. Professional Mounting and Wiring
Certified technicians bolt the hitch directly to your vehicle’s frame rails using factory weld nuts or through-bolt designs. If your vehicle requires a wiring harness, the technician will route it to tap into the taillight circuits or install a direct battery-powered module to protect your vehicle’s sensitive computer systems.
5. Demonstration and Pickup
Before you drive away, the technician should walk you through the installed receiver, demonstrate how to secure your hitch pin, and verify electrical continuity using an external circuit tester.
Wiring Considerations: 4-Way vs. 7-Way Connectors
If you intend to haul trailers, your hitch is only half the equation. You must choose the right electrical setup:
- 4-Way Flat Connector: Transmits power for running lights, brake lights, and turn signals. This is the standard connection for boat trailers, basic utility trailers, and U-Haul rental trailers.
- 7-Way RV Blade Connector: Includes auxiliary 12V power, reverse lights, and a brake controller line. You need a 7-way connector if you plan to tow a travel trailer or heavy tandem-axle trailer equipped with electric brakes.
If your vehicle requires an aftermarket brake controller (such as an auxiliary Tekonsha or Curt unit inside the cab), confirm in advance whether your local U-Haul center performs internal in-cab wiring, as some locations only perform basic rear exterior harnesses.
How to Prepare Your Vehicle for Installation Day
A little preparation prevents delays, surprise labor charges, or rescheduled appointments:
- Clean the underbody: Wash away heavy mud, road salt, and caked-on dirt around the rear bumper and frame rails so technicians have clean access to mounting points.
- Clear out the trunk or cargo area: Many vehicle installations require lifting floor mats or removing spare tires to access access holes and wire channels. Remove luggage, sports equipment, and child seats beforehand.
- Address rust in advance: If your vehicle is older and operates in the rust belt, factory threaded frame holes can corrode. Technicians may charge extra labor or decline the job if frame nuts need extensive tap-and-die thread restoration.
- Check spare tire clearance: If your spare tire is underslung beneath the trunk floor, make sure the winch mechanism is functional so the tech can lower it during the install.
Is U-Haul Hitch Installation Worth It?
While an experienced DIYer can install a bolt-on hitch in a home garage, U-Haul provides a practical, low-friction balance between price and reliability. You avoid the cost of specialty tools, torque wrenches, and wire splicing, while paying significantly less than typical dealership labor rates (which frequently exceed $180 per hour).
By selecting the right hitch class, securing the $5 lifetime replacement plan, and choosing the proper wiring harness for your towing needs, you ensure your vehicle is safe, compliant, and ready to tow for years to come.