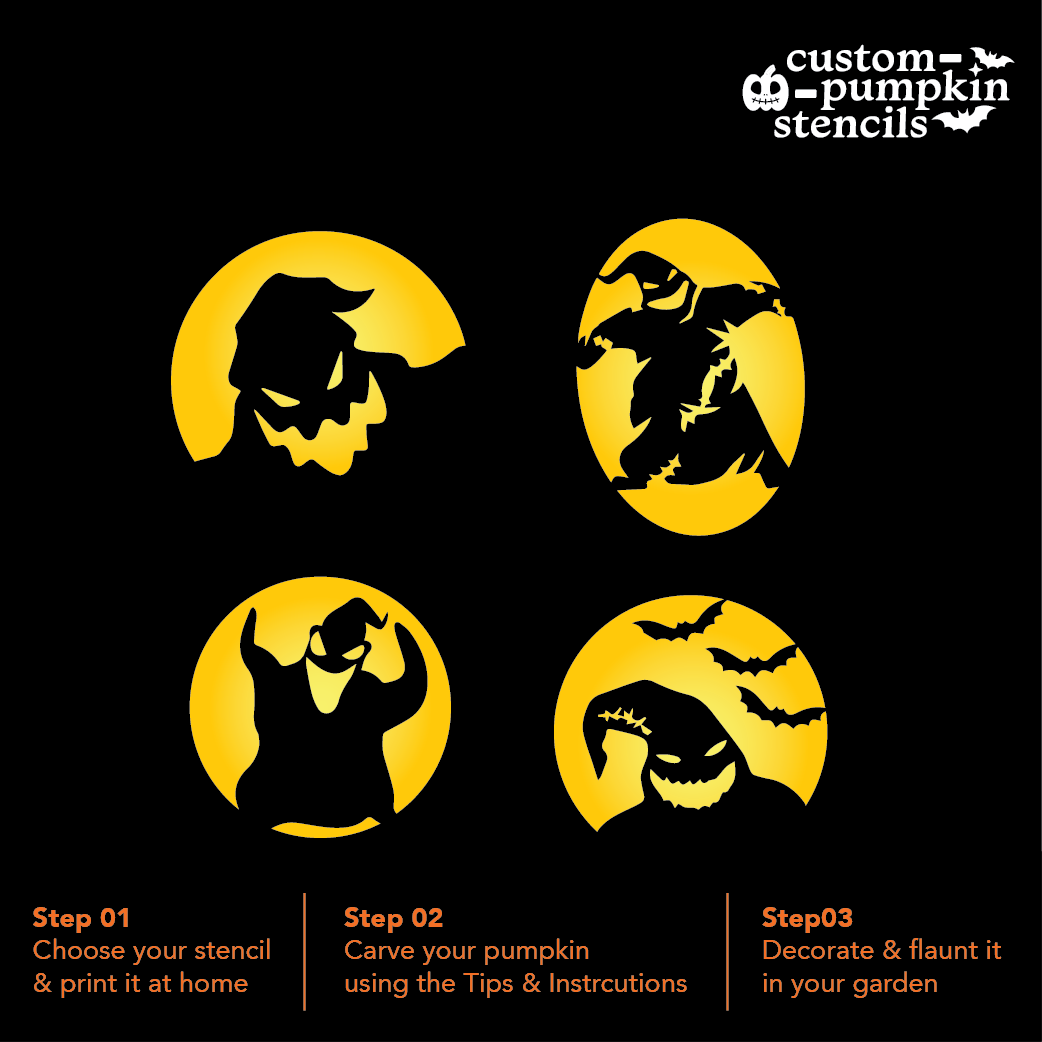
Unlock Expert Pumpkin Carving Oogie Boogie Secrets
Mastering the Ultimate Halloween Villain

When October rolls around, traditional jack-o'-lanterns simply do not cut it for dedicated fans of Tim Burton's classic holiday mashup. If you want to elevate your front porch display, you need to unlock expert pumpkin carving Oogie Boogie secrets that turn a basic gourd into a terrifyingly realistic masterpiece. Oogie Boogie, the burlap sack bogeyman from The Nightmare Before Christmas, offers a unique textural challenge. Unlike smooth-faced characters, his stitched-up appearance, menacing smirk, and creepy bug-filled interior require specialized techniques that go far beyond basic poking and cutting.
Achieving a professional-level carved pumpkin is less about having artistic talent and more about understanding the right tools, planning your depth, and managing your light source. This comprehensive guide will walk you through everything from selecting the ideal canvas to executing advanced shading and structural tricks.
Selecting and Preparing Your Pumpkin Canvas
Before you touch a single carving tool, your success depends entirely on the pumpkin you choose at the patch. Oogie Boogie is inherently round, lumpy, and slightly misshapen, which actually works in your favor compared to trying to find a perfectly symmetrical pumpkin.
Choosing the Right Shape and Texture
Look for a pumpkin that features natural bumps, ridges, and asymmetrical curves. A smooth, flawless pumpkin will make Oogie look too clean and cartoonish. Instead, seek out medium-to-large pumpkins with rough, textured skin that mimics coarse burlap fabric. The stem should ideally curl downward like a wicked witch's hat or a twisted horn.
The Bottom-Cut Technique
Most beginners cut a hole around the stem to gut their pumpkins, but experts know better. Always cut your access hole through the bottom of the pumpkin. This preserves the structural integrity of the top and stem, prevents the pumpkin from drying out and collapsing prematurely, and makes it vastly easier to place over an electric light source later on.
Scrape the interior walls until they are roughly one inch thick. If you leave the walls too thick, light cannot shine through; if you make them too thin, the pumpkin will rot quickly and sag under its own weight.
Essential Tools for the Oogie Boogie Design
Standard serrated kitchen knives and flimsy plastic orange tools included in cheap grocery store kits will not yield clean results for complex pop-culture designs. To execute sharp lines and detailed stitches, invest in or gather the following gear:
- Linoleum cutters (printmaking gouges): These are the ultimate secret weapon for pumpkin carving. The U-shaped and V-shaped blades allow you to peel away layers of pumpkin flesh without cutting all the way through, creating stunning 3D shading effects.
- Surgical scalpels or X-Acto knives: Perfect for navigating tight corners, intricate eye sockets, and delicate thread lines.
- Battery-operated tea lights or LED pucks: Real candles generate too much heat, cooking your pumpkin from the inside out and ruining your hard work within 48 hours.
- A needle tool or pushpin: Essential for transferring your reference template onto the pumpkin's surface.
Step-by-Step Carving and Shading Techniques
Capturing Oogie Boogie's sinister charm relies heavily on contrast. Because he is made of stitched burlap, you want to combine full-thickness cutouts with shallow-depth shaving.

1. Transferring the Stencil
Print your favorite Oogie Boogie face outline to scale. Tape the paper securely to the pumpkin's face. Use your needle tool or a dressmaker's tracing wheel to punch tiny, closely spaced holes along the lines of the design. Remove the paper, leaving a dotted map of pinpricks on the pumpkin skin.
2. Carving the Major Features
Start with the largest elements, typically his gaping, toothy grin and his menacing, slanted eyes. Use your sharpest blade to cut completely through the pumpkin wall for these open areas. Keeping the mouth as a fully open cutout allows maximum light to pour through, casting a warm, eerie glow that defines his facial expression.
3. Simulating Burlap Stitches and Texture
This is where the linoleum cutters shine. Oogie Boogie is covered in thick, cross-hatched stitches holding his burlap body together. Instead of cutting holes for these stitches, use a V-shaped gouge to carve shallow grooves into the pumpkin skin.
- Carve intersecting vertical and horizontal hash marks across his forehead and cheeks to mimic woven fabric.
- Use a U-shaped gouge to carve thick, looping 'X' shapes around his mouth and eyes to represent heavy twine stitches.
- Scrape away the outer orange skin within these stitch marks, leaving the paler yellow flesh exposed underneath for dramatic color contrast when lit.
Advanced Lighting and Preservation Secrets
Even the most meticulously carved pumpkin will fall flat if the lighting is poor or if the gourd dehydrates before Halloween night.
Multi-Level Illumination
Standard single-bulb lighting often leaves the top half of the pumpkin in shadow. For an expert finish, use a string of battery-operated fairy lights coiled inside the cavity, supplemented by a bright, directional LED puck light placed near the base. This ensures light hits both the fully cut areas and the shaved, translucent flesh evenly.
Locking in Moisture
Pumpkins start shriveling the moment oxygen hits their raw flesh. To keep your Oogie Boogie looking fresh and plump for days:
- Submerge the carved pumpkin in a cold water bath mixed with a few tablespoons of bleach for 30 minutes to kill mold spores.
- Pat the pumpkin completely dry with a towel.
- Apply petroleum jelly (Vaseline) or vegetable oil to all cut and shaved edges. This creates a moisture barrier that traps hydration inside the pumpkin flesh, preventing premature wrinkling.
By combining clever canvas selection, multi-depth shaving tools, and smart preservation tactics, your finished creation will look like it walked straight out of Halloween Town and onto your front steps.