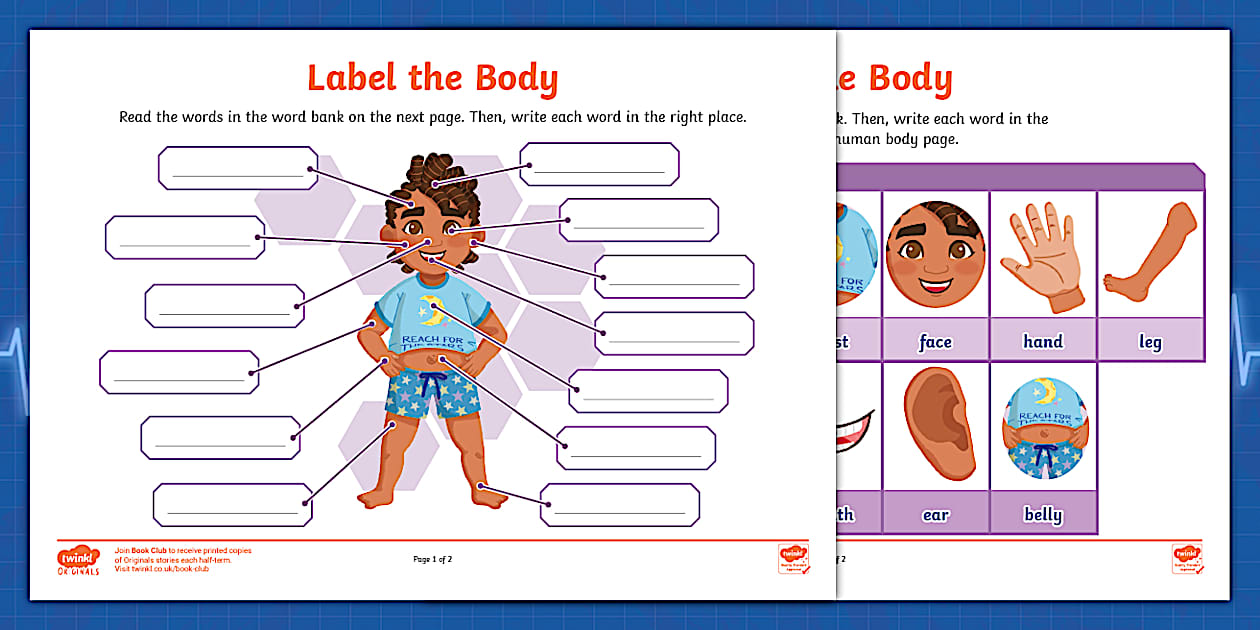
Vibrant Body Part Labels for Summer Fun
When warm weather arrives, outdoor play offers a golden opportunity to combine physical exercise with hands-on learning. Introducing vibrant body part labels for summer fun gives parents, camp directors, and educators an inventive way to teach anatomy, build spatial awareness, and sharpen gross motor skills. Whether you are running backyard sprinkler games, designing sidewalk chalk obstacle courses, or teaching swim lessons, these bold visual markers turn everyday play into dynamic, kinetic education.

Why Use Vibrant Body Part Labels for Summer Fun?
Young children learn best through full-body engagement. Visual cues paired with active movement create strong neural pathways, improving both vocabulary retention and proprioception—the body's ability to sense its location and movements in space. High-contrast, colorful markers provide several distinct developmental benefits:
- Kinesthetic Reinforcement: Attaching a physical label directly to a limb or drawing it on a life-sized outdoor outline connects abstract anatomical terms with real physical sensations.
- Bilateral Coordination: Differentiating left from right becomes intuitive when labels use contrasting color palettes (such as neon green for left appendages and bright magenta for right).
- Language and Vocabulary Growth: Visual labels help toddlers expand basic speech, assist preschoolers in mastering complex body geography, and provide bilingual learners with dual-language vocabulary reinforcement.
- Sun Safety and Body Awareness: Associating specific body zones with visual targets makes practical routines—such as thorough sunscreen application—approachable and fun.
Durable Materials for Outdoor and Water Play
Summer activities often involve sweat, grass, water, and heat. Standard paper stickers quickly tear and disintegrate. To keep labels readable and reusable throughout the season, choose durable, child-safe materials suited to your play environment.
1. Laminated Cardstock with Hook-and-Loop Straps
Print high-contrast labels on heavy cardstock, run them through a thermal laminator, and trim them with rounded corners to eliminate sharp edges. Fasten them to soft, elastic hook-and-loop (Velcro) bands. These can be adjusted around wrists, ankles, bicep areas, or waistlines without sticking to delicate skin or leaving adhesive residue.
2. Waterproof Vinyl Decals
For pool decks, kickboards, or outdoor plastic mats, commercial-grade removable vinyl holds up against chlorinated water and direct sunlight. Vinyl stickers can also adhere temporarily to swim shirts (rash guards) for aquatic learning games.
3. Liquid Chalk and Washable Body Paints
If you prefer a zero-waste, single-afternoon setup, dermatologically tested body crayons or washable neon markers allow you to write directly onto shoulders, knees, and forearms. Always patch-test a small area of skin first and rinse off thoroughly after play.
5 Active Summer Games Using Colorful Body Labels
1. Splash and Stick Anatomy Relay
Set up two buckets on opposite sides of the yard: one filled with water and floating foam body part labels, and another stationed by a blank poster board featuring a silhouette of a child. Players sprint to the water bucket, fish out a labeled body part using their hands or a small net, run to the poster, and slap it onto the correct anatomical position before racing back.
Video: Body [Kids Vocab] My Body Parts 🖐️ Head to Toes English for Kids

2. Driveway Chalk Shadow Mapping
Have children strike dynamic poses on a paved driveway while a partner traces their full-body shadow in sidewalk chalk. Once the outline is complete, give the kids a set of vibrant, color-coded labels (or colored chalk sticks). Challenge them to label major joints—elbows, patellas, ankles, and wrists—before the sun shifts and changes their shadow angle.
3. Neon Twister on the Lawn
Instead of traditional floor mats, spray non-toxic chalk circles on the grass labeled with specific body parts (e.g., "Yellow Left Foot," "Orange Right Hand"). Call out instructions that require players to match their physical labeled bands to the matching zone on the grass. This develops balance, flexibility, and spatial reasoning under open skies.
4. Pool Deck "Simon Says"
Swim coaches and camp counselors can use wearable wrist and ankle bands to make swimming instruction clearer. Rather than shouting "kick your feet harder," an instructor can direct kids: "Kick your neon blue ankles up to the surface!" Alternatively, play a fast-paced game of Simon Says on the pool deck: "Simon says touch your left knee sticker to your right elbow sticker!"
5. Sunscreen Target Practice
Sunscreen application can feel like a chore for young kids. Turn it into a game by placing small, removable color-dot labels on areas frequently missed—the tops of the ears, the back of the neck, the shoulders, and the bridge of the nose. Challenge children to rub sunscreen over the target spots, removing or rubbing around the indicators until every zone is completely protected.
Tailoring Label Activities by Age Group
To keep activities engaging without causing frustration, align the complexity of the labels with the developmental stage of the participants.
- Toddlers (Ages 2–3): Keep labels simple, large, and illustrated. Focus on primary vocabulary: Head, Tummy, Hands, Feet. Use bright, primary colors and include simple icons (like a smiling face for head or a sneaker for foot) to support emerging literacy.
- Preschoolers (Ages 4–5): Introduce joints, directional language, and bilateral awareness: Left Shoulder, Right Hip, Left Ankle. Color-code the left side in one hue (e.g., cool teal) and the right side in another (e.g., bright coral) to reinforce lateral awareness.
- Early Elementary (Ages 6–8): Elevate the scientific terminology. Replace "shin" with Tibia, "knee" with Patella, or "arm muscle" with Bicep. You can also introduce bilingual text (such as English/Spanish pairing: Elbow / El Codo) to support dual-language immersion while kids stay active outdoors.
Step-by-Step: Crafting Your Reusable Summer Set
Making a DIY set of weatherproof labels takes under an hour and provides materials that last for multiple seasons.
- Design the Cards: Use an online design app or word processor to create bold text blocks using high-contrast fonts (e.g., black text on vivid yellow, neon green, or electric pink backgrounds). Keep the dimensions around 2x4 inches for easy reading from a distance.
- Print and Laminate: Print onto heavyweight cardstock (65 lb or higher). Run sheets through a 5-mil thermal laminator pouch for heavy-duty moisture resistance.
- Cut and Punch: Cut along the borders, rounding off sharp corners with a corner-round punch or scissors. Punch two parallel slits on either side of the card.
- Thread Elastic Straps: Thread comfortable 1-inch elastic hook-and-loop strapping through the slits. The resulting bands can be comfortably wrapped around arms, legs, or hats without constricting movement.
Active Learning That Sticks
Blending physical movement with targeted visual cues prevents summer learning loss without feeling like classroom drill work. By introducing colorful, dynamic markers to your outdoor games, you turn backyards, parks, and pool decks into engaging spaces for discovery, laughter, and healthy physical development.